Hi there
I hope your Monday has been a good one – mine was pretty good. A group of us from work went out for lunch today to celebrate the Persian New Year which is called Nowruz. We have a couple of staff from Iran so it was really nice to do something from their culture. I had a yummy Lamb on rice dish 🙂
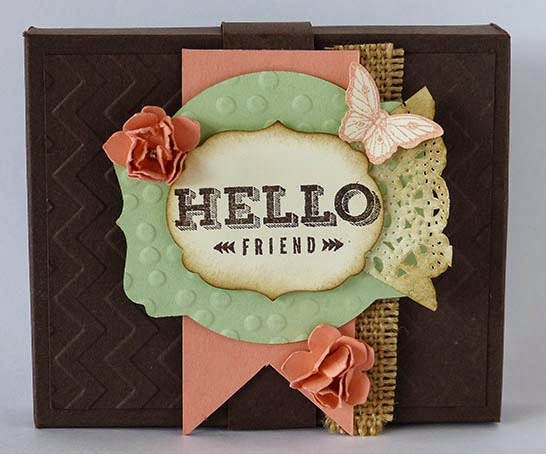
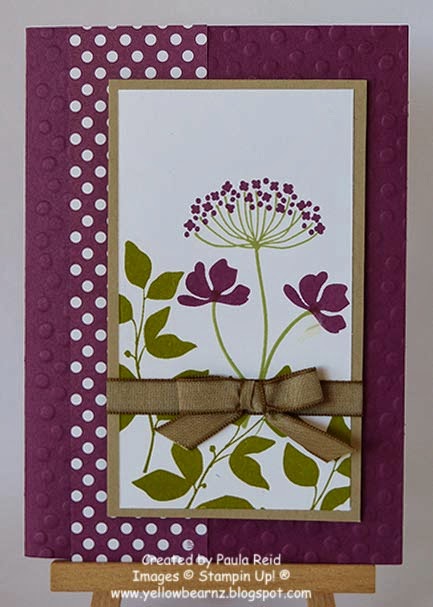
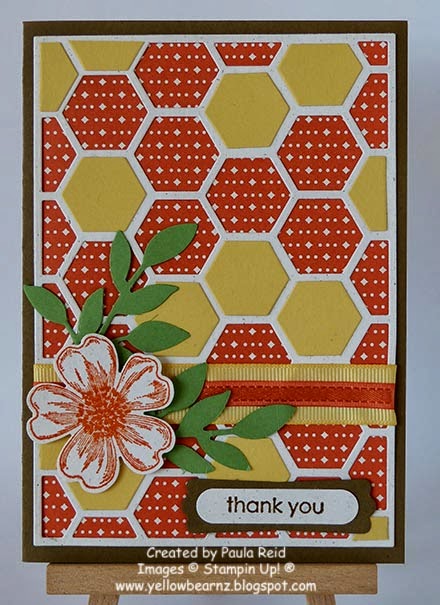
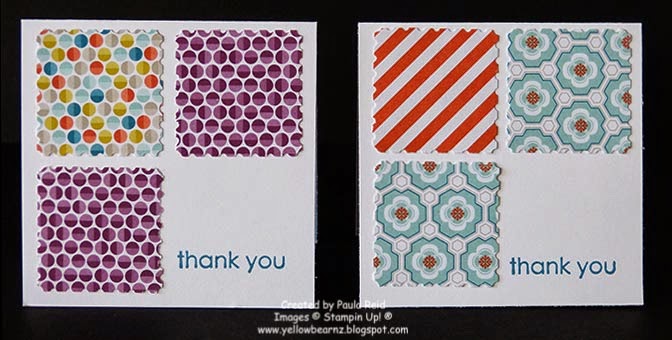
Here are two of the projects that were taught on Saturday at our Auckland Extravaganza event. They are so much fun so keep an eye out for details of our next event which will be happening around July.
This first project was taught by Barbz and her team – I really love this colour combination. It is a box made with the Envelope Punch Board and inside is a ‘card’ containing a hot chocolate sachet – perfect as the evenings are getting a bit cooler.