Hi there
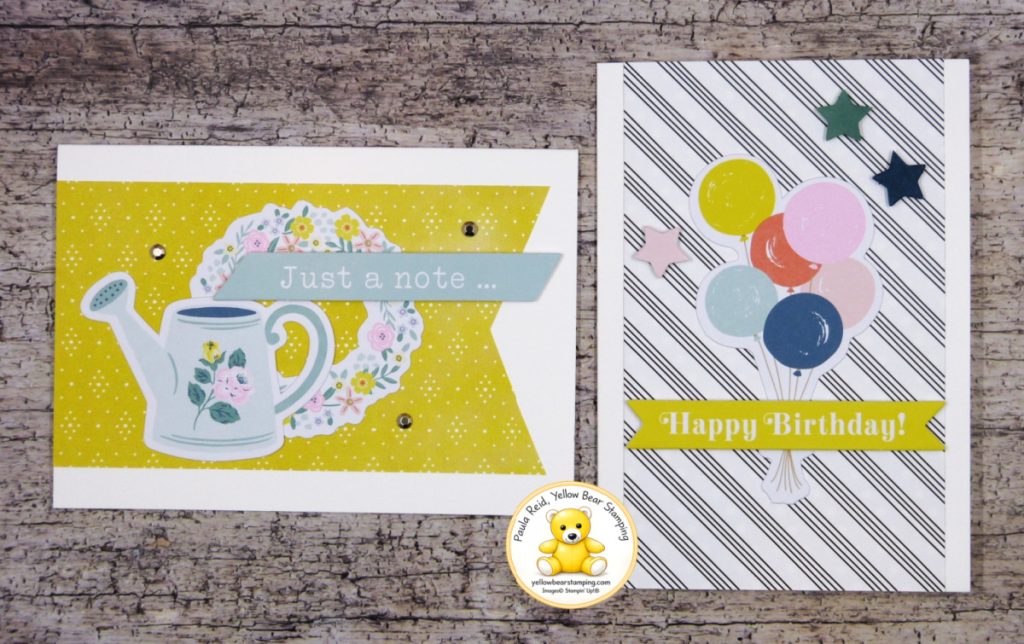
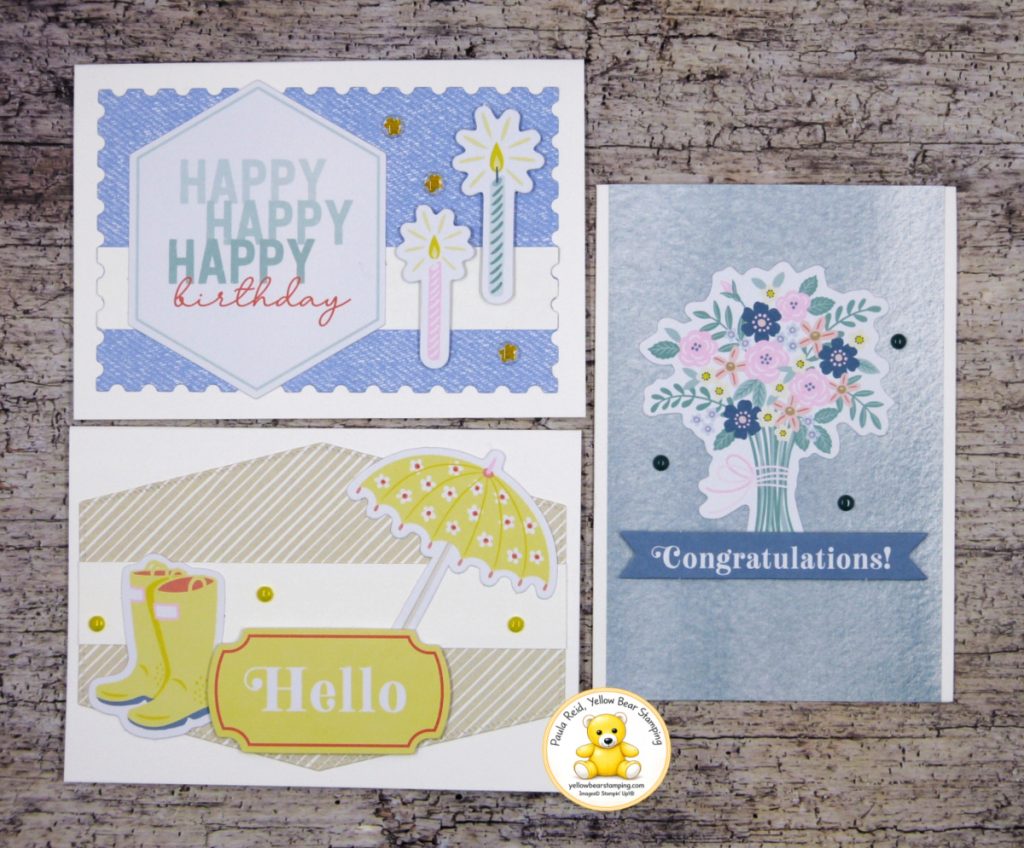
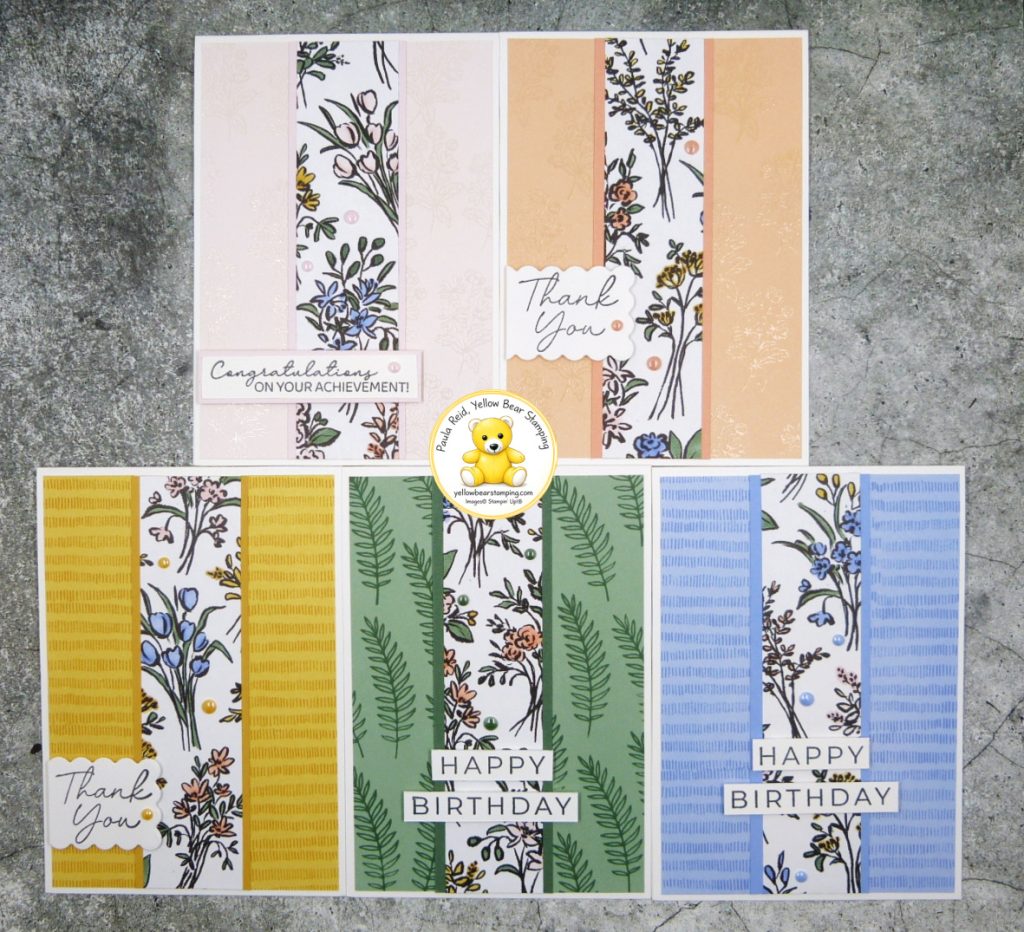
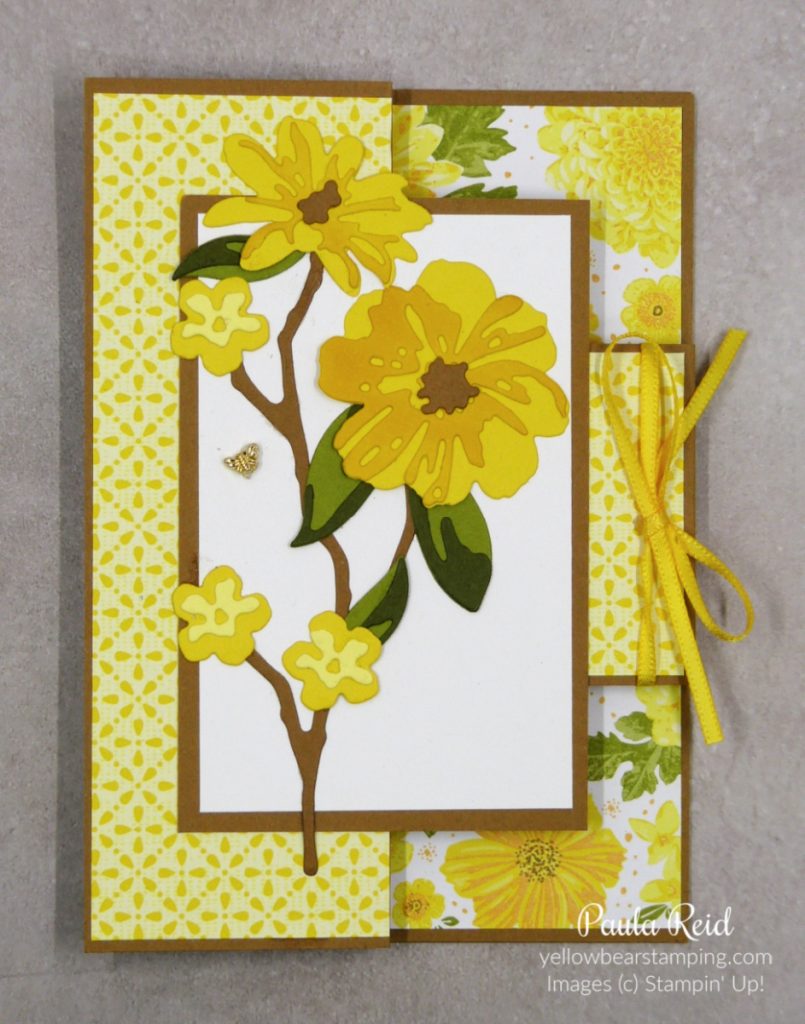
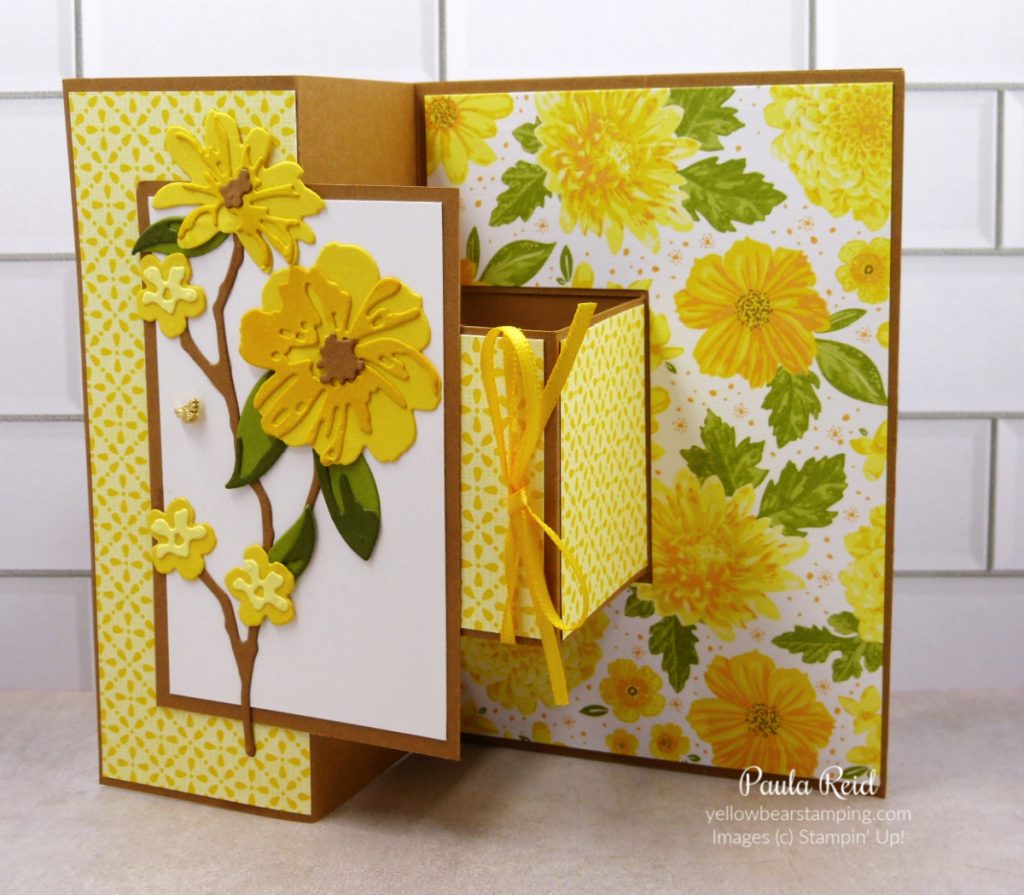
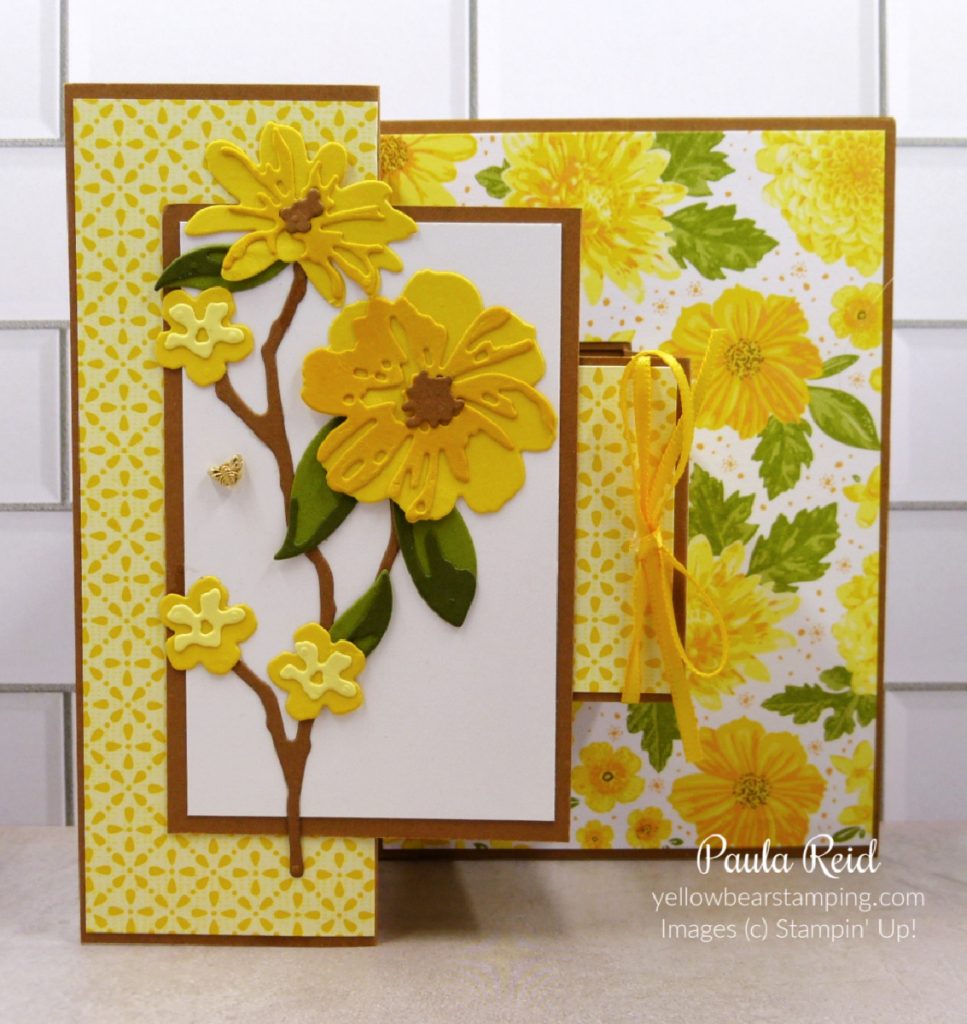
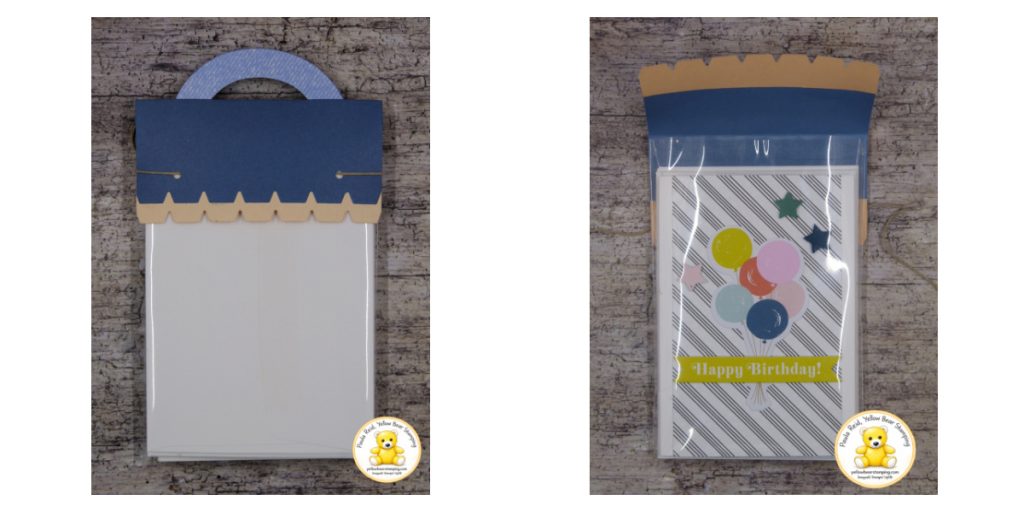
One of the things I love about Stampin’ Up! products is how easy they are to adapt to suit your own ideas. Today’s project is a perfect example. This fun gift packaging is a CASE (Copy And Share Everything) of the sample on page 48 of the May–August Catalogue, created using the Playful Packaging Bundle. While the catalogue sample is filled with yummy yoghurt-covered pretzels, I decided to use mine to package something a little different – the set of five Mix & Match Notecards & Envelopes that I shared recently. It turns a simple set of handmade cards into a lovely gift that’s ready to give.
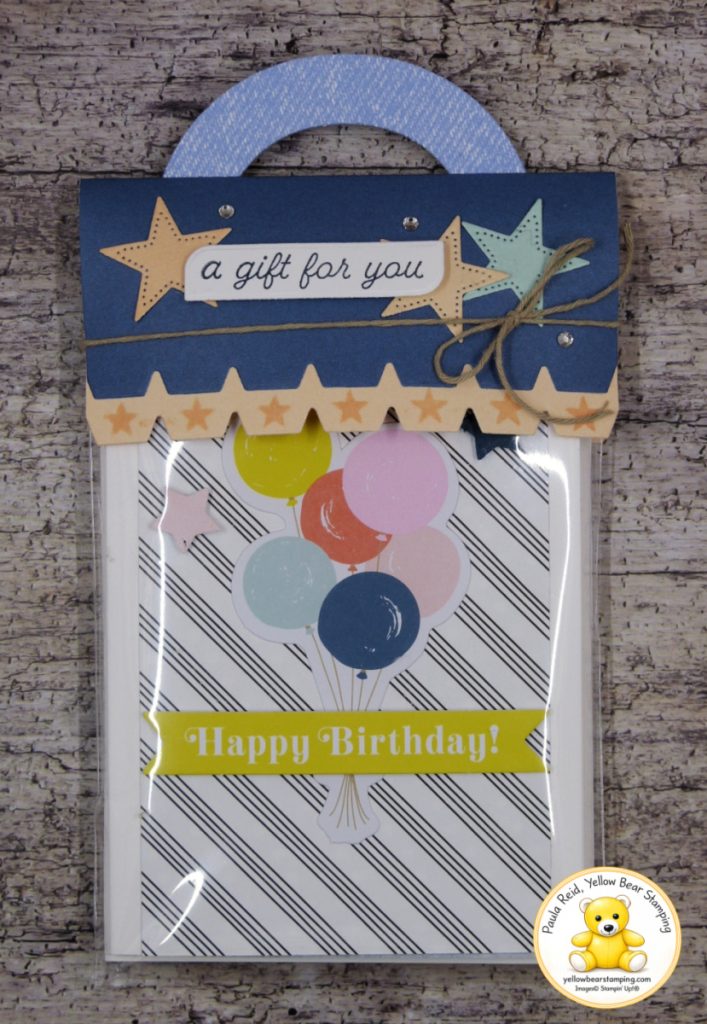
One small change I made was to the way the topper is attached. Rather than sealing the topper closed, I punched two holes in the back section, threaded some Crumb Cake Baker’s Twine through the holes and wrapped it around to the front, finishing it with a bow. This means the recipient can simply untie the bow and remove the cards without damaging the packaging, making it easy to reuse if they’d like. To see how I assembled this topper – check out my YouTube channel here.
The Playful Packaging Bundle makes decorating the topper quick and easy. The stamp set includes four small decorative images, and I chose the sweet little star stamp to add a subtle pattern to the Petal Pink border. I then layered a few die-cut stars for extra dimension. The coordinating dies include three fun shapes – hearts, flowers and stars – making it easy to customise your packaging for different occasions. There are also three sentiments included in the stamp set, so whether you’re creating a birthday gift, party favour, thank you treat or just a little surprise, you’ll have the perfect finishing touch.
I love that this project combines beautiful packaging with handmade cards. The packaging makes the gift feel extra special before it’s even opened, and because it can be untied rather than torn apart, it’s practical as well. The Playful Packaging Bundle isn’t just for sweet treats—it can also be used for small gifts, stationery, gift cards, craft supplies and so much more.
I hope this project inspires you to look beyond the catalogue sample and think about other creative ways you could use this versatile bundle.
Until next time …