Hi
I have finally got round to photographing this weeks challenge.
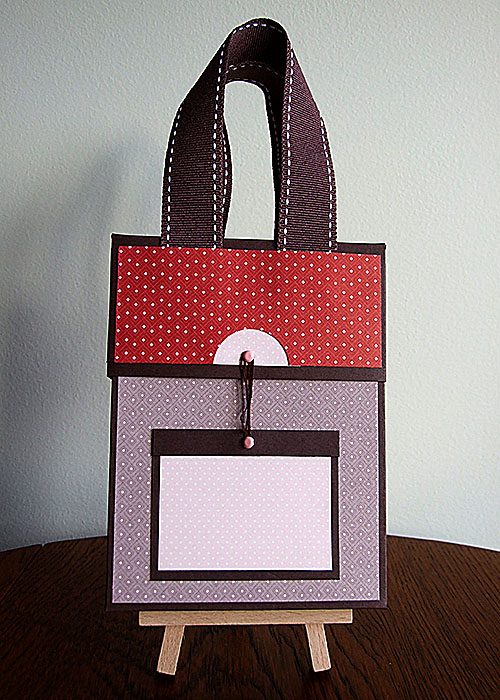
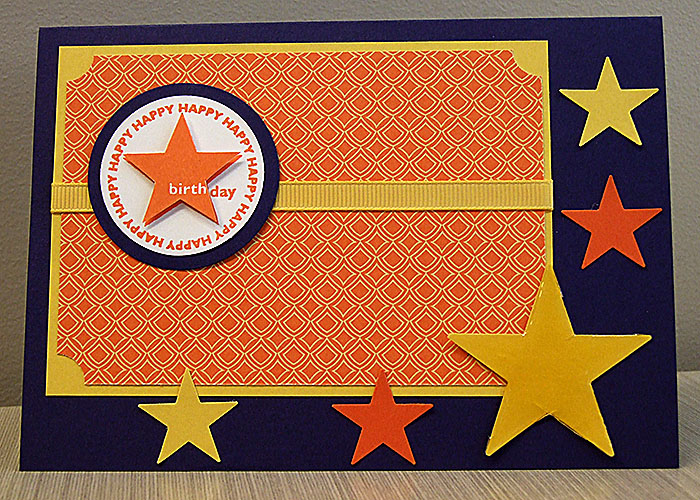
Here is the layout:
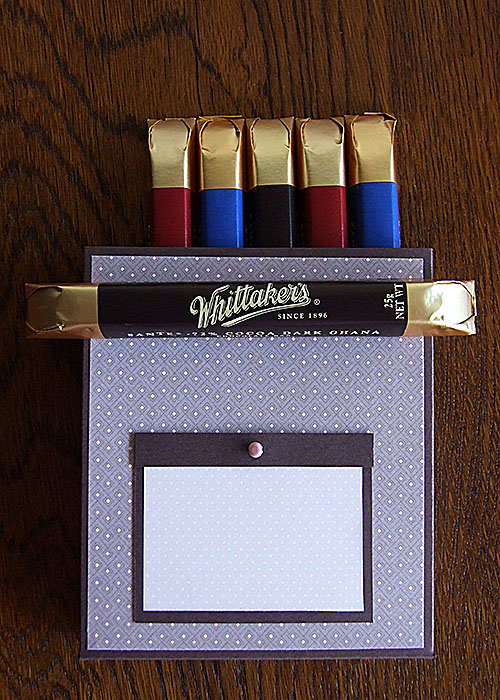
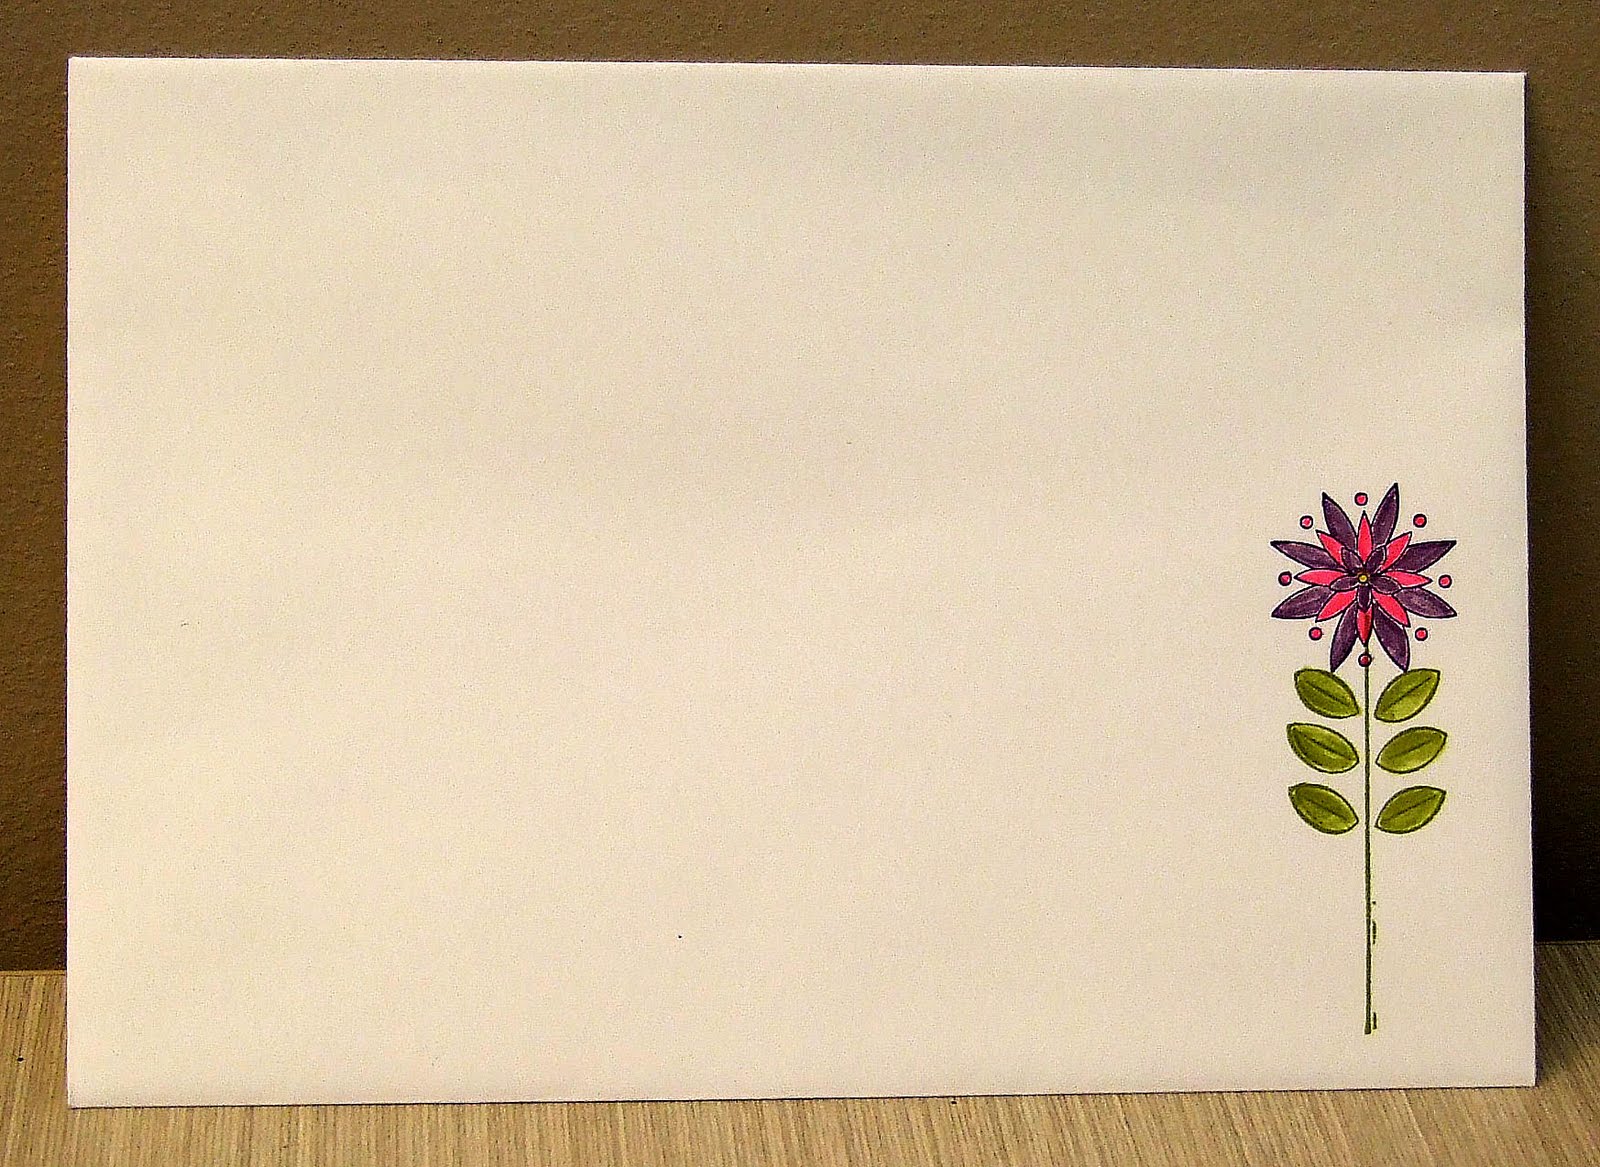
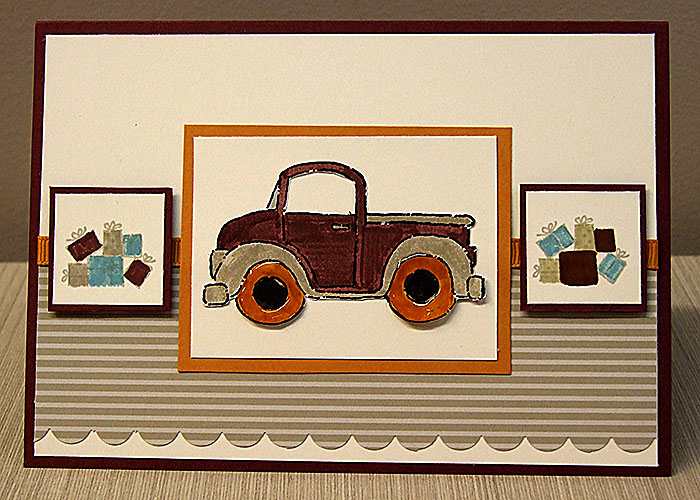
And here is my finished card:

I sat at my crafting desk the other night looking at my stamp sets trying to work out which set would go well with this layout. After a few ‘off the shelf, back on the shelf’ attempts I settled with Totally Tools.
I’ve turned the layout around to so that I could ‘hang’ my tools. I’ve used the Woodgrain stamp (which goes perfectly with Totally Tools) for my background. I stamped the images in Versamark, embossed them, cut them out & coloured them with markers. I stamped the Screwdriver on the inside of the card.
Supplies:
Stamp set – Totally Tools, Woodgrain
Card stock – Cajun Craze, Sahara Sand, Whisper White
Ink – Crumb Cake, Cajun Craze
Other – VersaMark, White Embossing Powder, Brads, 1/2″ Circle Punch, 3/16 Corner Small
Check back later for the cards I made at SENZ.
Paula