Hi there
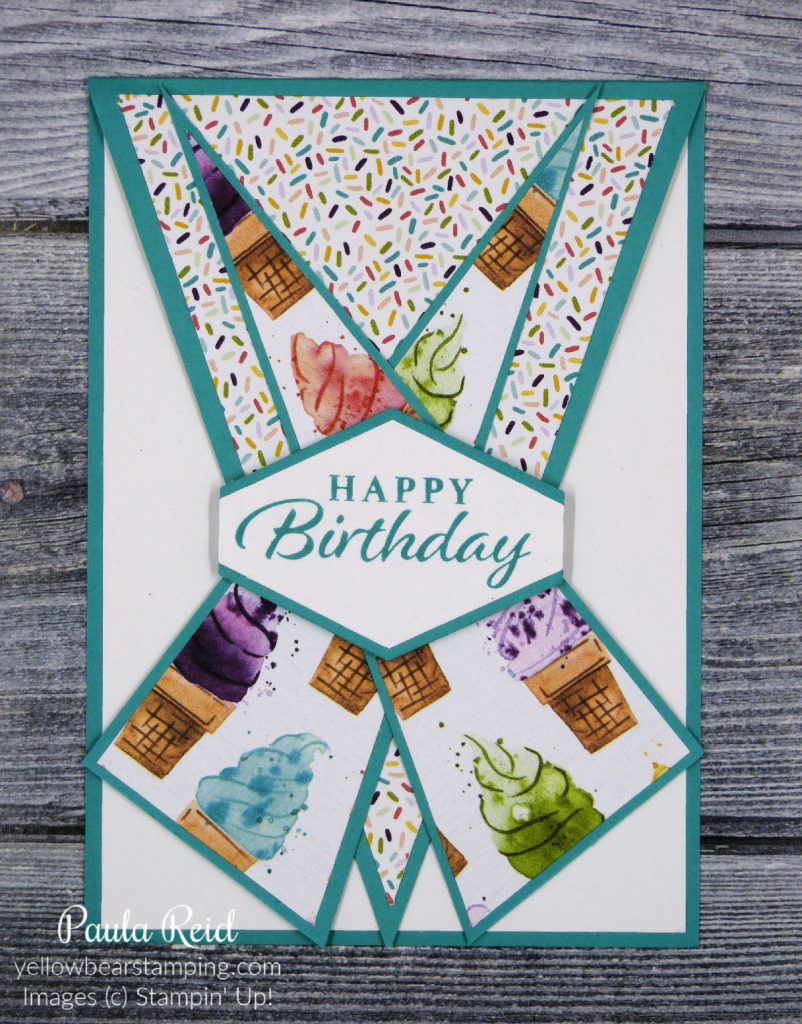
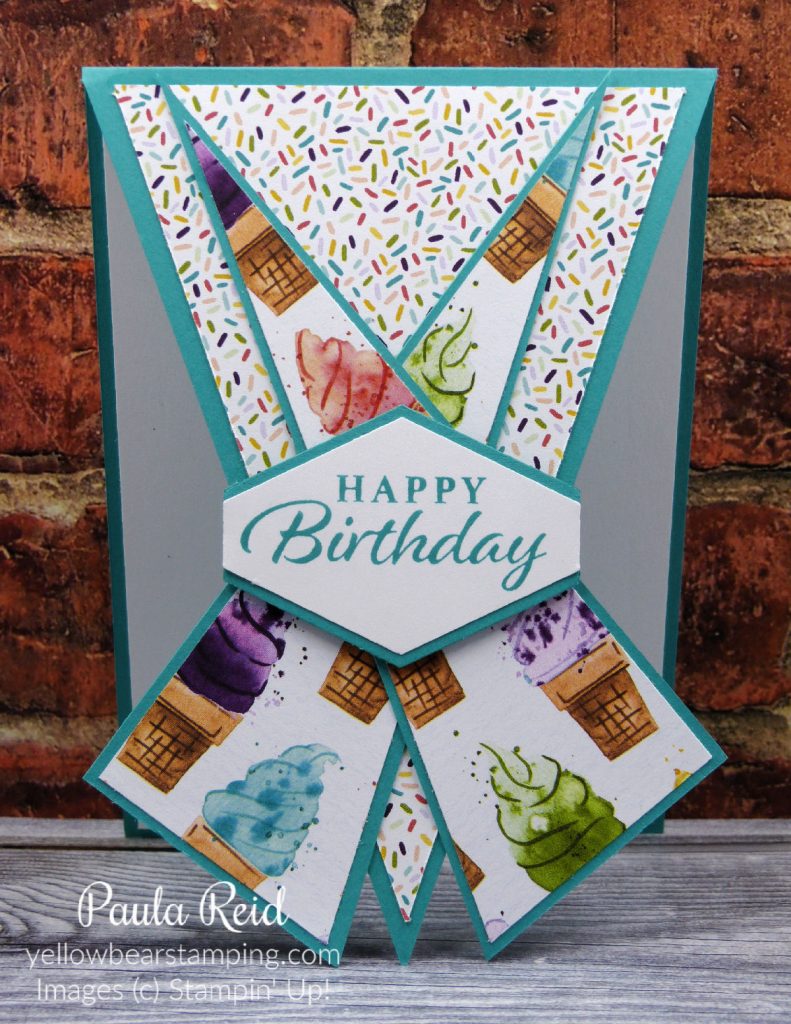
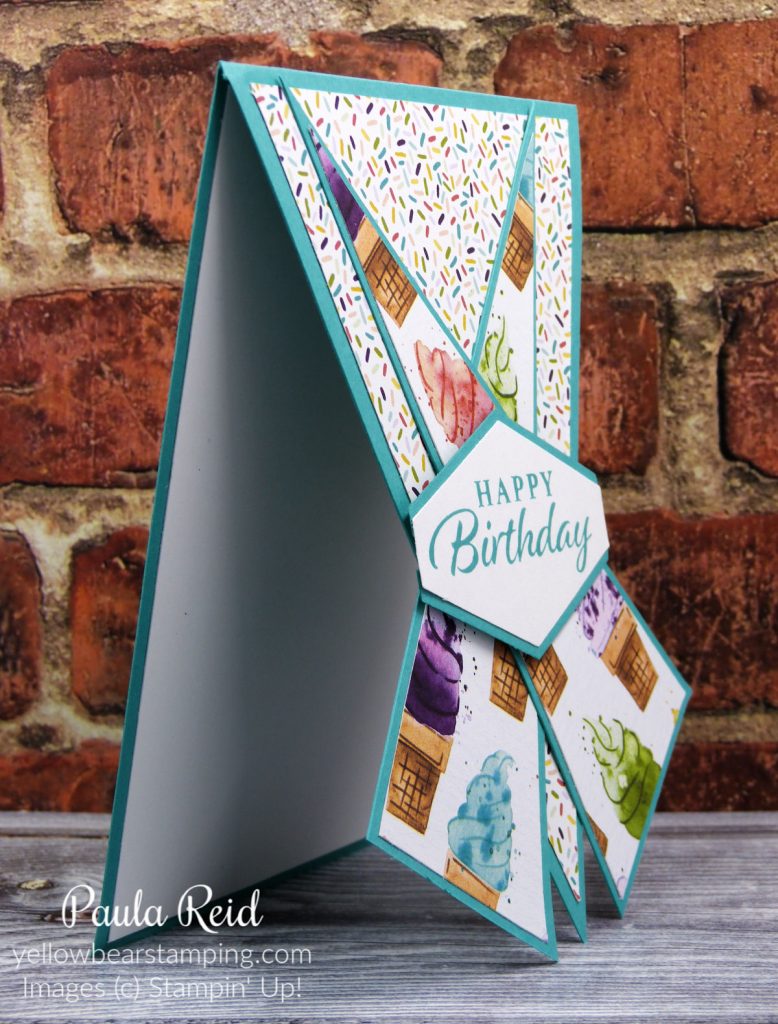
I have a new fold (to me) to share today – it’s a variation on an ‘Arrow’ card that I saw online. The original one I saw (by Tina Hewett) was done as a square card so I used the same method and created a standard portrait sized card.

I think this looks really cool and it was simple to create.

Fold your card base in half and then make a mark along the bottom at the centre point of the card front. Place your card base in your trimmer and cut from your pencil mark to the top corners where the score line is. Do the same with your Designer Series Paper (DSP) and then adhere to your card pieces. My starting piece of DSP measured 9.5cm x 13.8cm. I’ve used the soon to retire Ice Cream Corner DSP.

I used both sides of my DSP – one design for the centre triangle and then the other side of the paper for the two side triangles. Before you adhere your side triangles have a play with positioning them so that you know where to place them once they have adhesive on them. NB: also note how far you need to apply the adhesive as it is only partially adhered. I found it was easier to adhere the side triangles with liquid glue as it gives you a bit of ‘wriggle room’ to get them in the correct location.
I hope you like this fun fold card and give it a try – another great way to use your DSP.
Until next time …

