Hi there
We’ve made it to the last month for 2015! I haven’t even started thinking of Christmas shopping (I still have to finish my nephews present from last year! – bad aunt).
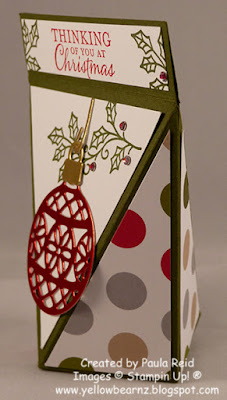
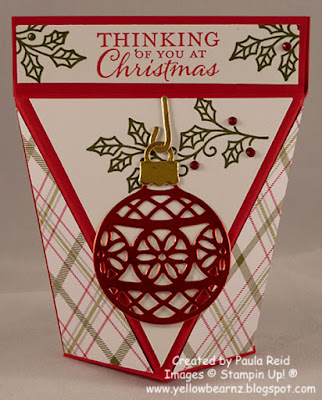
This afternoon I finally got round to photographing a number of projects I created last month – now I need to blog them all. So first off are the two projects we created for my monthly card class. Seeing as we are close to Christmas I decided to do a card and a 3D project.
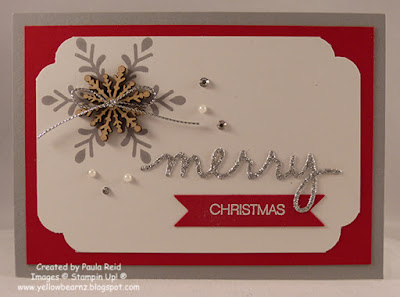
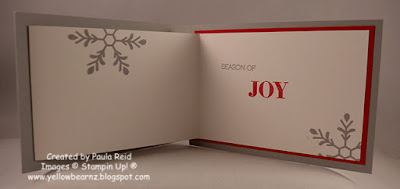
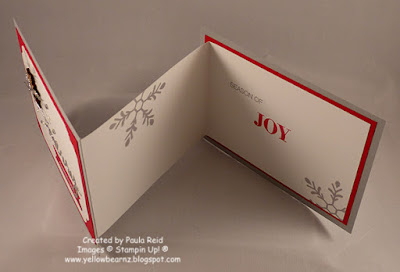
This is a fancy fold card called a ‘Z’ fold. The measurements for this card are:
Card base (Smoky Slate) – 10.5cm x 14.8cm (cut 2)
Mat (Real Red) – 9.5cm x 13.8cm (cut 2)
Whisper White – 8.5cm x 12.8cm (cut 1)
Z Fold insert – 9cm x 29.7cm (cut 1) – score at 13cm and 26cm
Adhere the ‘Z’ fold to the base first then close the ‘Z’ fold and put adhesive on the small flap of the ‘Z’ fold (this will then be attached to the back of the front section). Line the front to the back matching the left hand side first. This way your card will be aligned when closed.
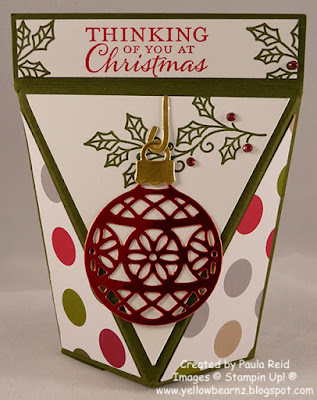
You may have noticed the red ‘berries’ – these are rhinestones coloured in with a red Sharpie marker – thanks Sally for that tip 🙂
Supplies:
Card
Stamp Set – Holly Jolly Greetings
Card Stock – Smoky Slate, Real Red, Whisper White, Silver Glimmer Paper
Ink – Smoky Slate, Real Red
Other – Snowflake Elements, Silver Cording, Pearls, Rhinestones, White Embossing Powder, Bitty Banners Framelits, Christmas Greetings Thinlits Dies, Curvy Corner Trio Punch
Snap Close Box
Stamp Set – Embellished Ornaments
Card Stock – Mossy Meadow/Real Red, Whisper White, Gold and Red Foil
Ink – Mossy Meadow, Real Red
DSP – Merry Moments DSP Stack
Other – Stylus, Delicate Ornament Thinlits Dies, Rhinestones, Red Sharpie (Non SU)


