Hi there
I hope everyone is enjoying the lovely summer weather 🙂 Well it must be sunny somewhere in NZ – it just wasn’t happening in Auckland today. Never mind tomorrow is meant to be a better day.
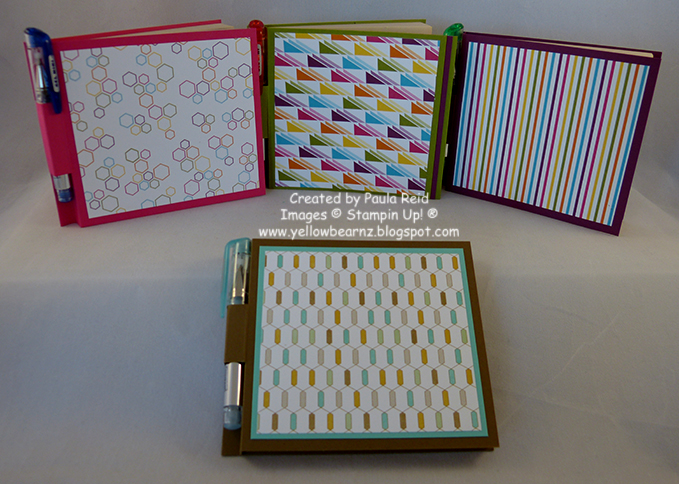
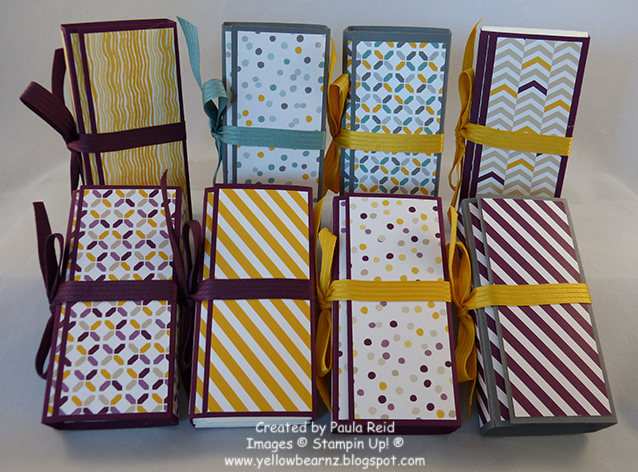
I ran out of time last year to show you the ‘Thank You’ gifts I made for my card class ladies. First off here’s a selection of covered Jotta notepads I made. I tried to coordinate the mini pens with the DSP.
Supplies:
Card Stock – Melon Mambo, Old Olive, Rich Razzleberry, Soft Suede, Coastal Cabana
DSP – Sweet Taffy and Lullaby (retired)
Other – Mini Pens and Jotta Pads (non SU)
And then I made them each a tissue cover. I keep one of these in my handbag and now need to make one to keep in the car glovebox.
Supplies:
Card Stock – Blackberry Bliss, Basic Grey
DSP – Moonlight (retired)
Other – Extra Large Oval, Blackberry Bliss, Lost Lagoon, Hello Honey Stitched Satin Ribbon (retired), Tissues, Fast Fuse
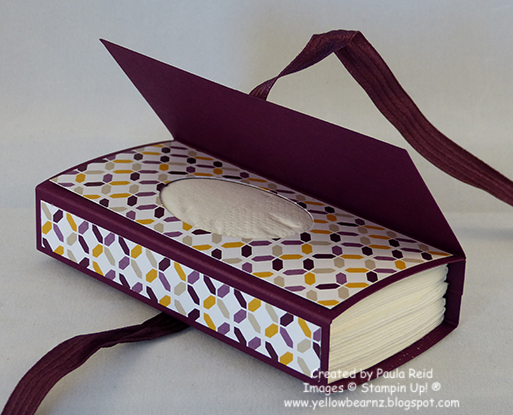
I’ve been making a few of these tissue covers lately – they’re quick and easy to make and you can get two covers from a sheet of A4 cardstock. The first batch I made a few years had washi tape to keep the cover closed but I’ve refined my design and now use coordinating ribbon which lasts.
Check back tomorrow for some other Thank You gifts I made.