Hi there
A couple of months ago my brothers eldest turned 21 and I forgot to blog the card I made for him! (I hadn’t downloaded it to the laptop).
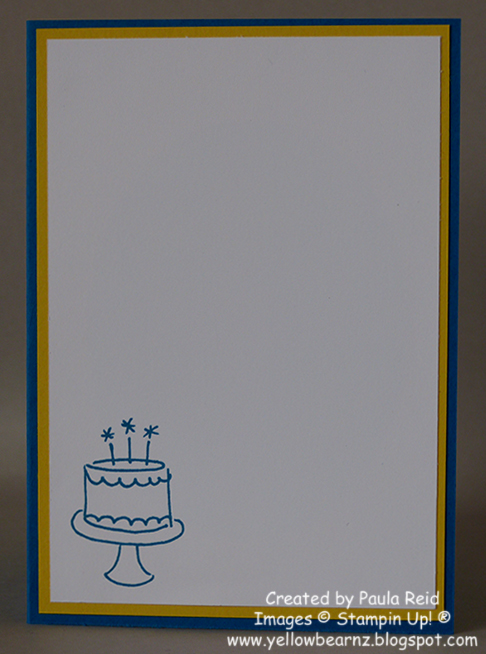
Most of us find masculine cards hard to create – try a ‘special’ birthday – that’s even harder. I happened to spot this design on Pinterest and thought it would be perfect for Matt’s special birthday.

To create this card I randomly placed all my Little Numbers Thinlits on the card front plus the ’21st’ and ran it through the Big Shot. I had to run it through again to change the ‘6’ to a ‘9’. At this point do not discard the ‘inserts’ for the numbers (0, 4, 6, 8 and 9) – you will need them shortly. I heat embossed the sentiment with white embossing powder and the adhered a scrap piece of your chosen colour card stock behind the ’21st’ – I went with Daffodil Delight of course! The card front is then adhered to the base with dimensionals. Now comes the tricky part – placing the inserts back in the correct place. I put a bit of Tombow on the back then placed it with tweezers – the ‘8’ was the most trying.
Supplies:
Stamp Set – Endless Birthday Wishes
Card Stock – Pacific Point, Daffodil Delight, Whisper White
Ink – Pacific Point
Other – Little Numbers Thinlits, White Embossing Powder, Dimesionals