Hi there
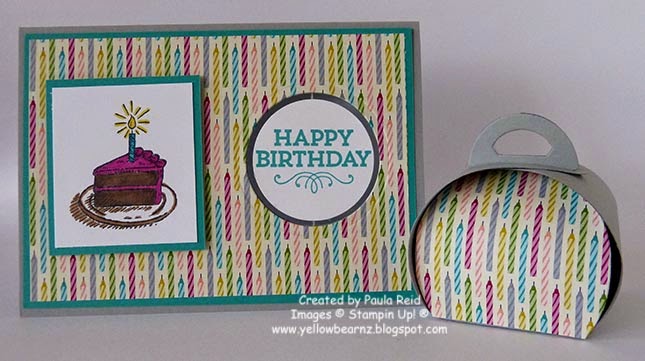
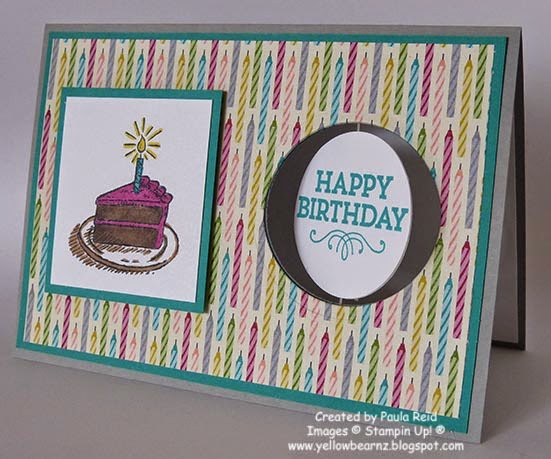
Sorry for the break in blogging so to make up I’ll show you three cards I’ve made recently using the Circle Card Thinlits die.
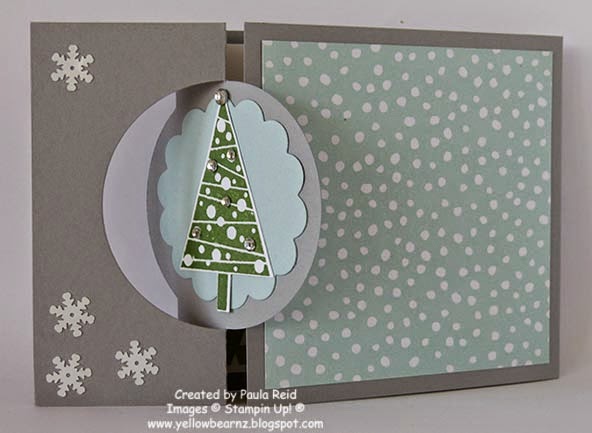
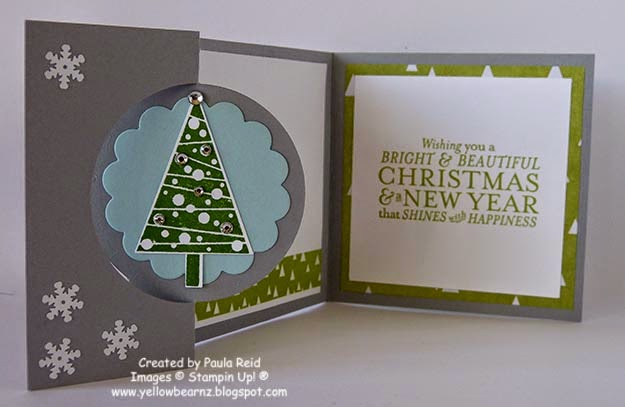
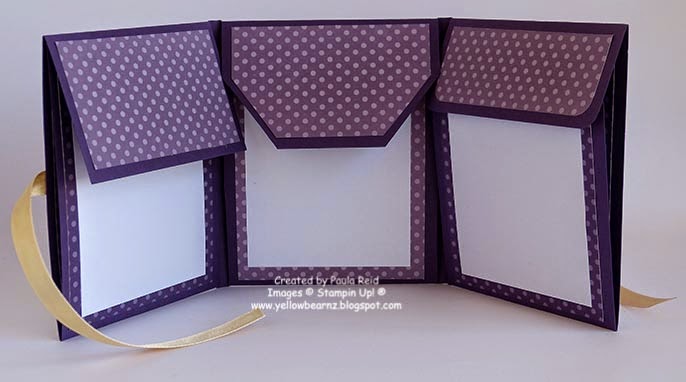
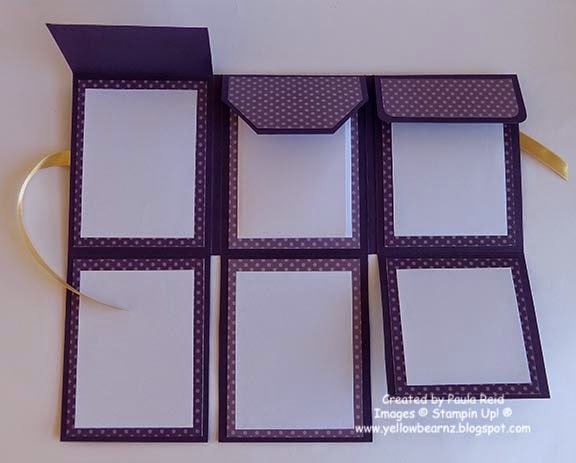
The first two are extended cards and you can get two of these from an A4 sheet of card stock which is great.
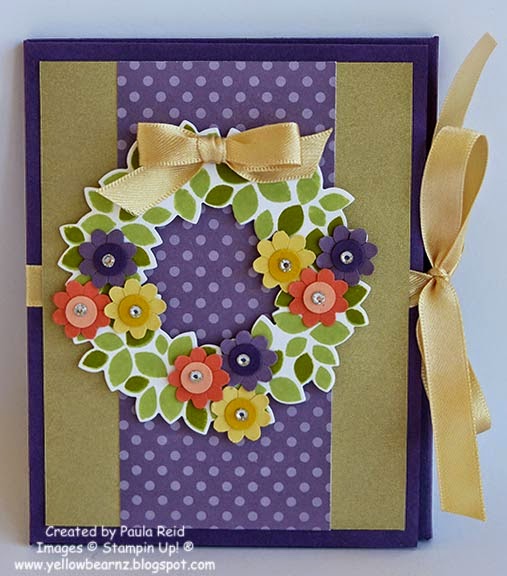
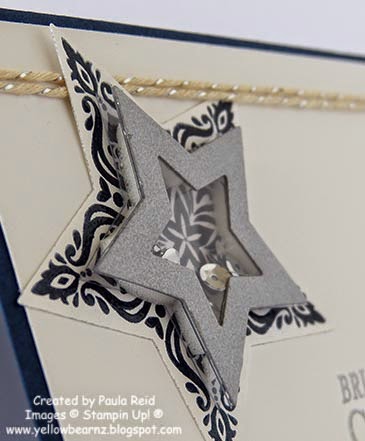
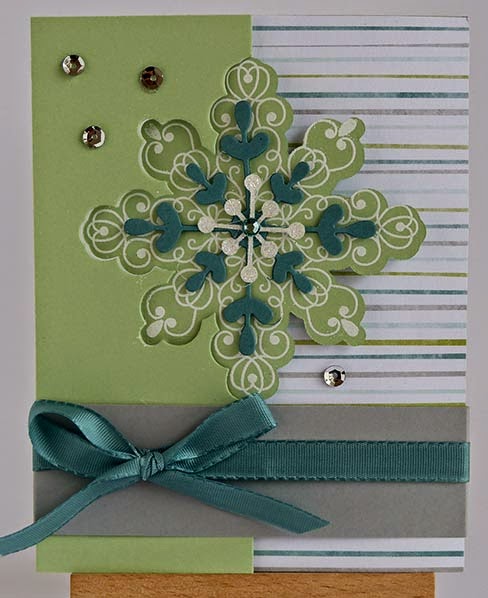
The first one uses the Wondrous Wreath stamp set and matching framelits.
The second card uses the Festival of Trees set and matching punch.
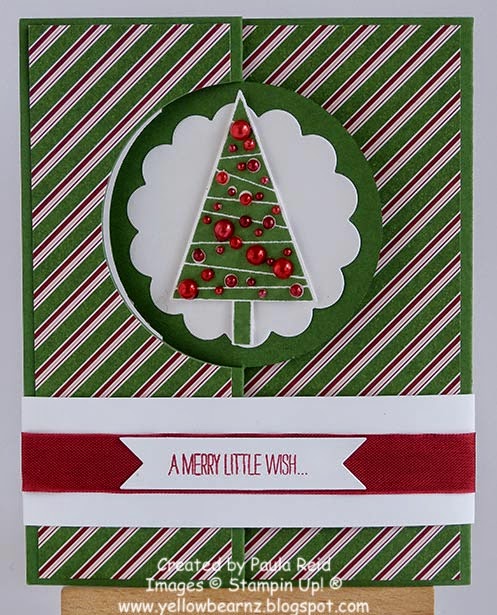
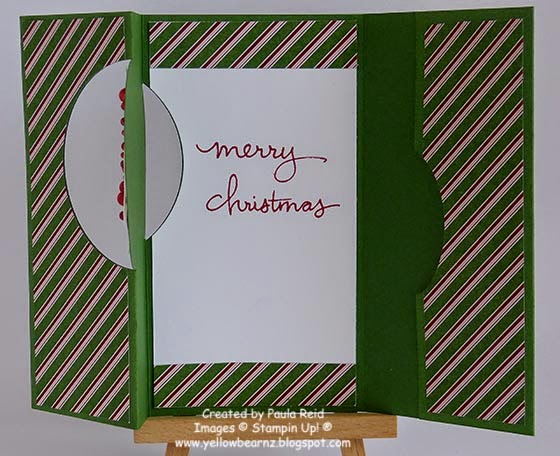
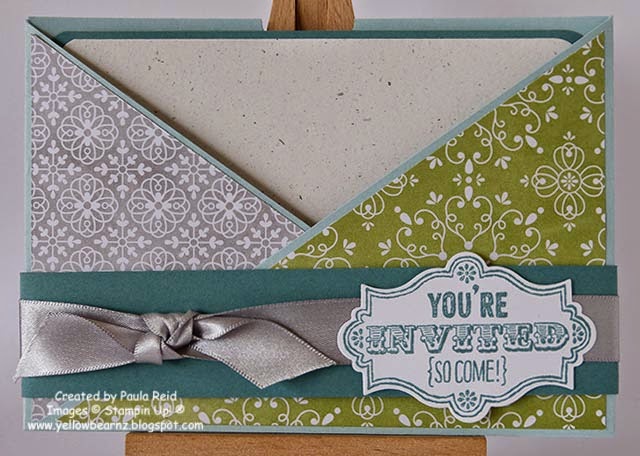
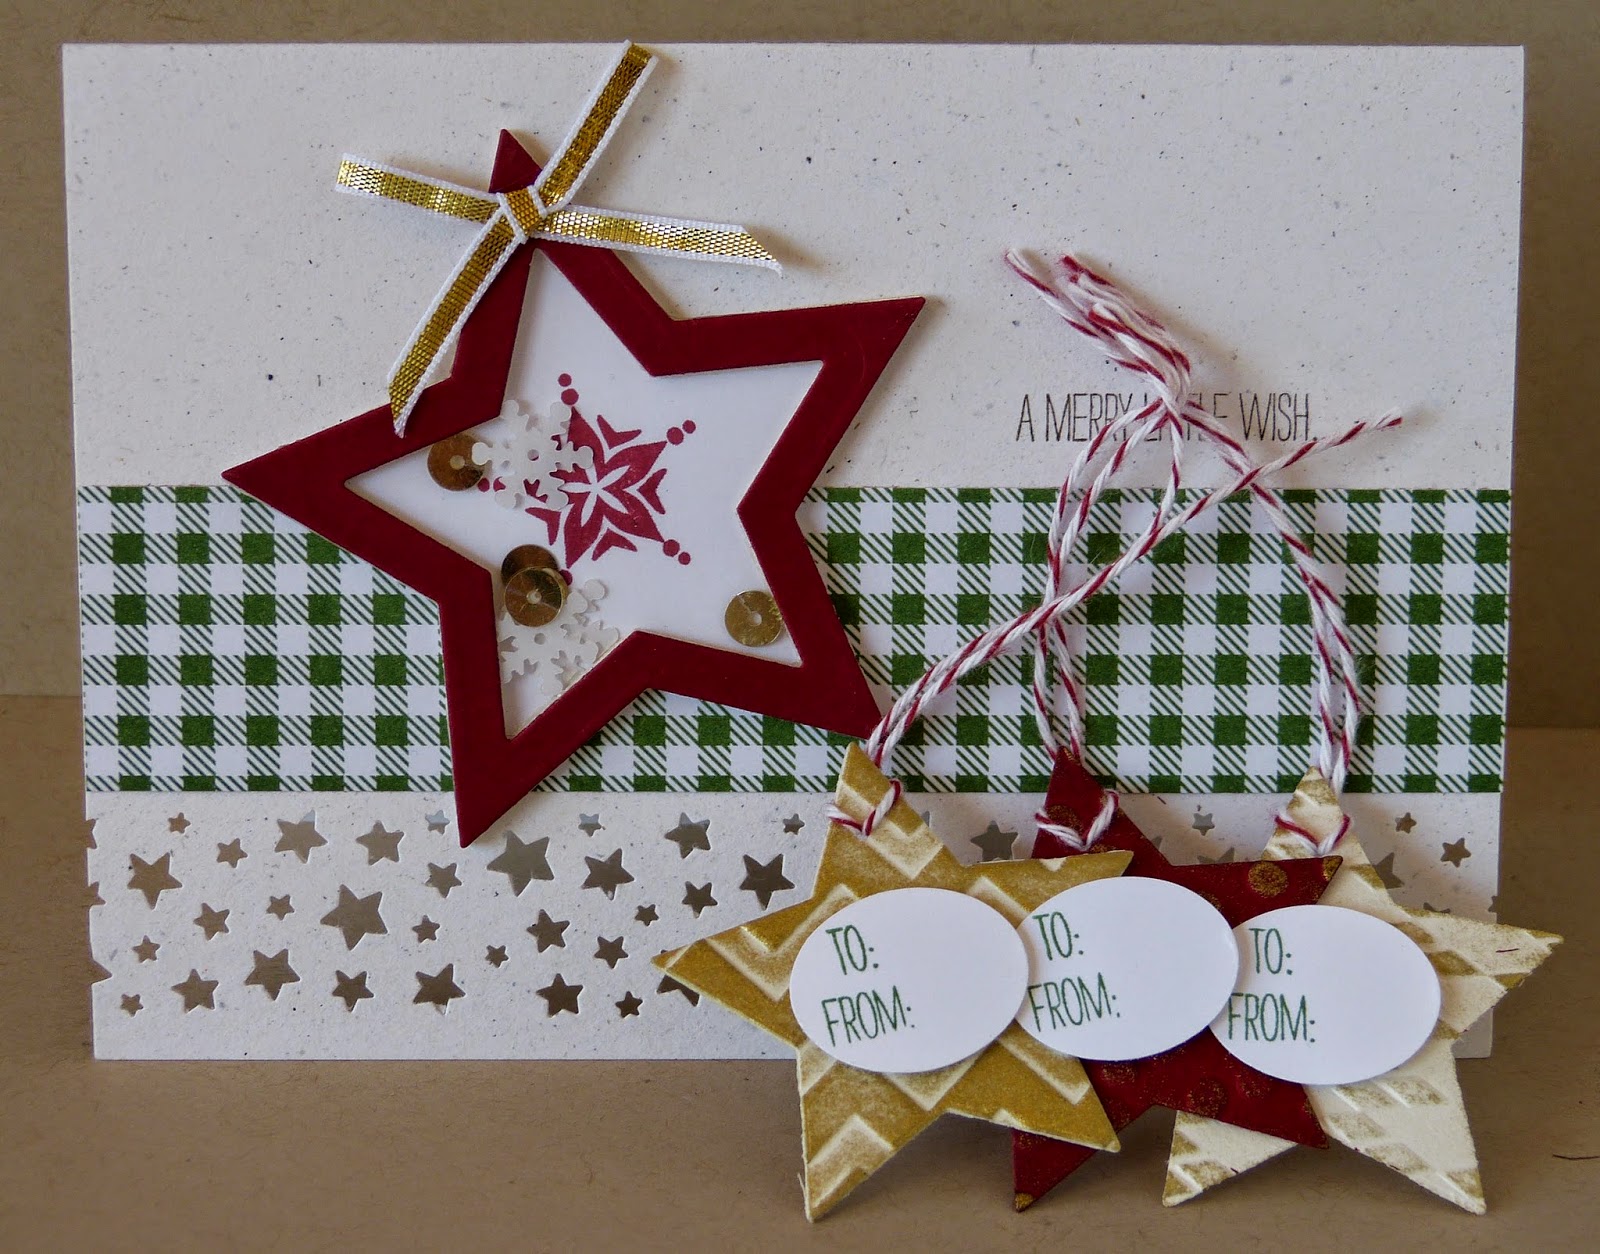
And the last card is an extended gift card – similar to the one we made at the Christmas Extravaganza
The section on the right is where you can put a gift card.
Supplies: Card One
Stamp – Wondrous Wreath, Bright and Beautiful
Card Stock – Smoky Slate, Lost Lagoon, Whisper White
Ink – Pear Pizzazz, Lost Lagoon
DSP – All is Calm
Other – All is Calm Washi Tape, Circle Card Thinlits Die, Wonderful Wreath Framelit, Silver Embossing Powder, Frosted Sequins
Supplies: Card Two
Stamp – Festival of Trees, Bright and Beautiful
Card Stock – Smoky Slate, Pool Party, Whisper White
Ink – Garden Green, Pear Pizzazz
DSP – All is Calm
Other – Circle Card Thinlits Die, Tree Punch, All is Calm Washi Tape, Frosted Sequins, Glue Dots, Rhinestones
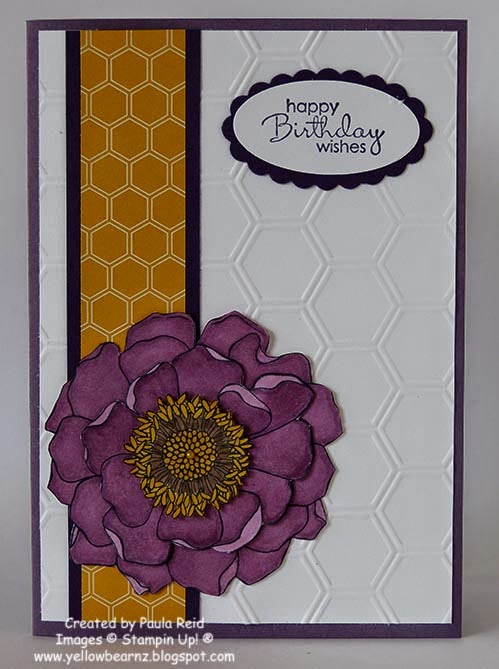
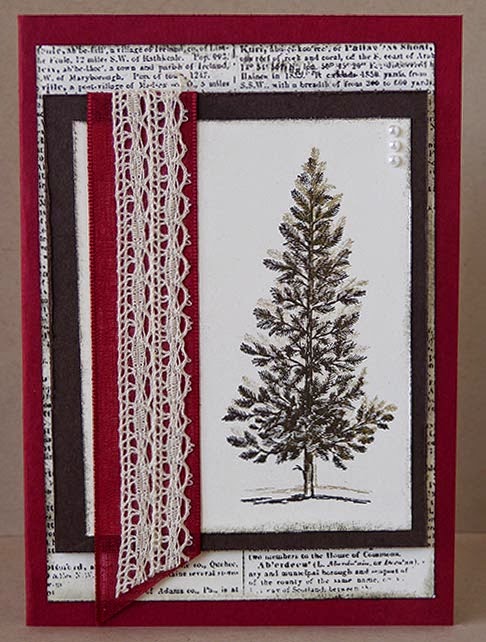
Supplies: Card Three
Stamp – Festival of Trees, Endless Wishes
Card Stock – Garden Green, Whisper White
Ink – Garden Green, Cherry Cobbler
DSP – Trim the Tree Paper Stack
Other – Bitty Banner Framelits, Circle Card Thinlits, Wide Oval Punch, Basic Pearls, Cherry Cobbler Blendibilities, Cherry Cobbler Seam Binding Ribbon, Dimensionals.
Over the holidays I’ll try and put together a tutorial showing how to make both styles of cards.