Hi there
Back again with another I made in the weekend.
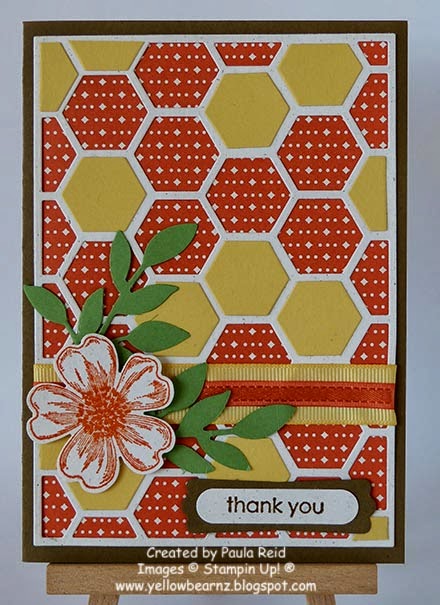
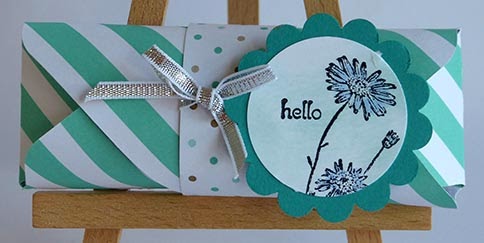
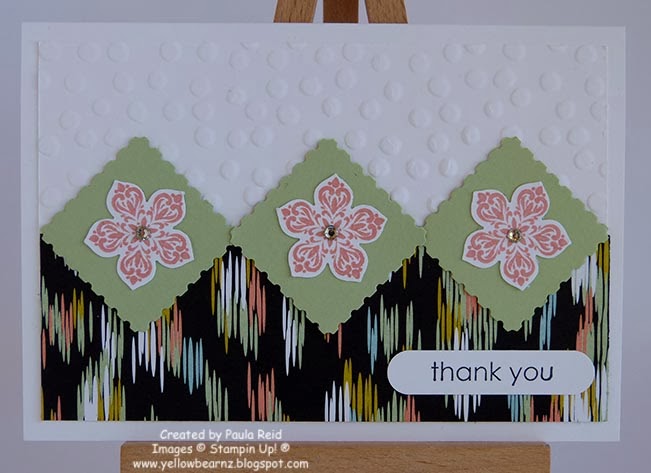
I’ve used Summer Silhouette which is a two step stamp set for this card – have you tried two step stamping? Two step stamping is where you image has two parts to it – in this case step one is the stem of the flower and then step two is the actual flower. You really need a Stamp-A-Ma-Jig for this so that you align everything up properly.
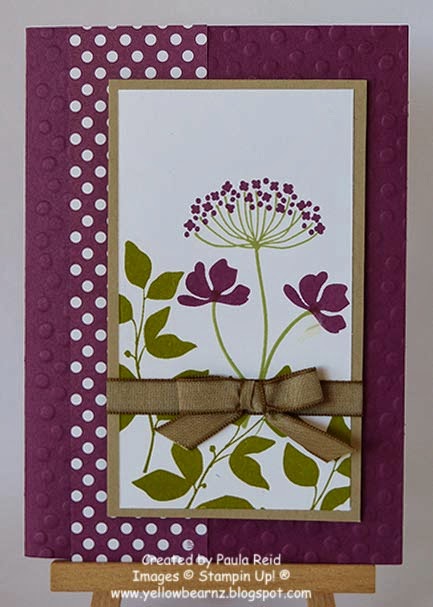
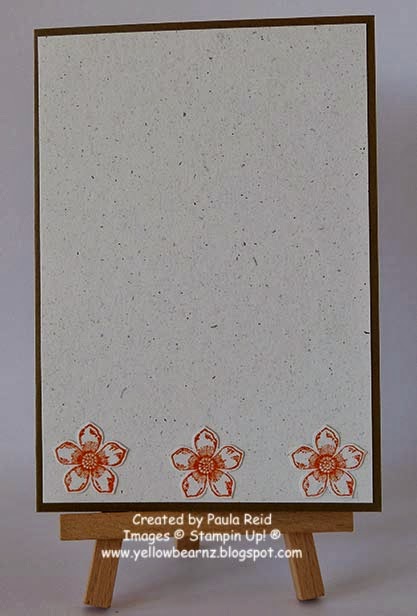
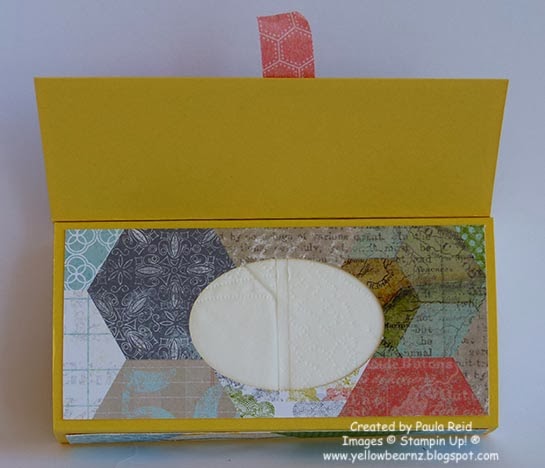
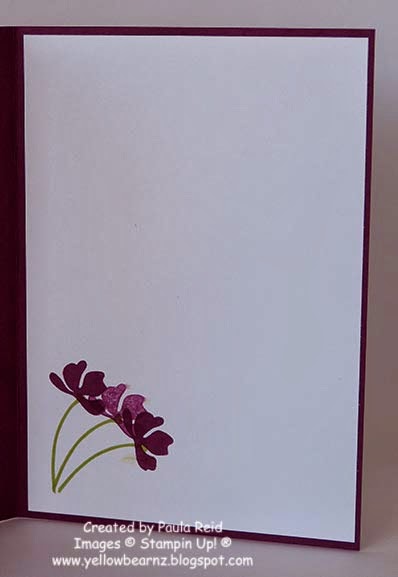
For the inside of the card I used the smaller flower. To get the lighter colour of flower I inked the stamp then stamped it first onto a scrap piece of paper then stamped on the card stock – the other two I stamped as normal.
Supplies:
Stamp Set – Summer Silhouette
Card Stock – Rich Razzleberry, Crumb Cake
Ink – Old Olive, Pear Pizzazz, Rich Razzleberry
DSP – Polka Dot Parade
Other – Stamp-A-Ma-Jig, Soft Suede Taffeta Ribbon, Decorative Dots Embossing Folder