


Hi
A friend of ours had her birthday yesterday and this is what I made. It was a project from the last round of Stampin Fun and Friends. This is such a neat little gift and was fun to make – thanks Tanya for your great project.
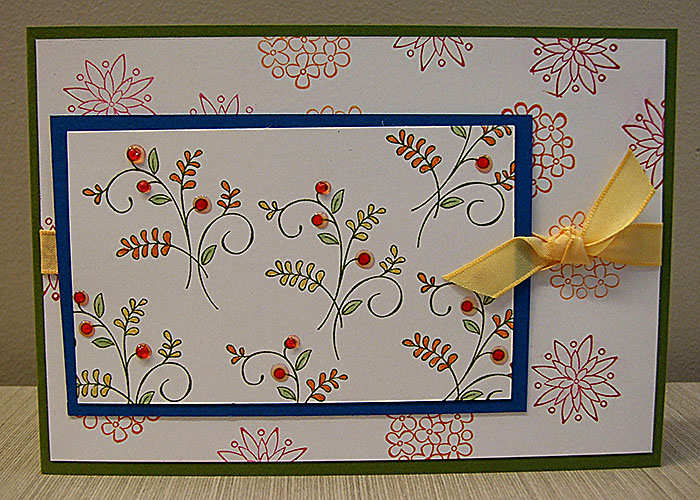
Card front

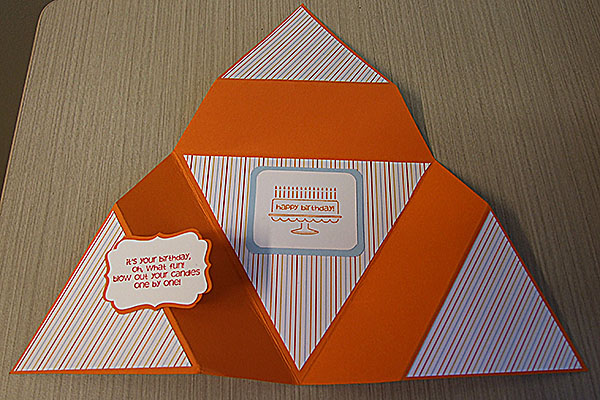
Card inside with seed packet
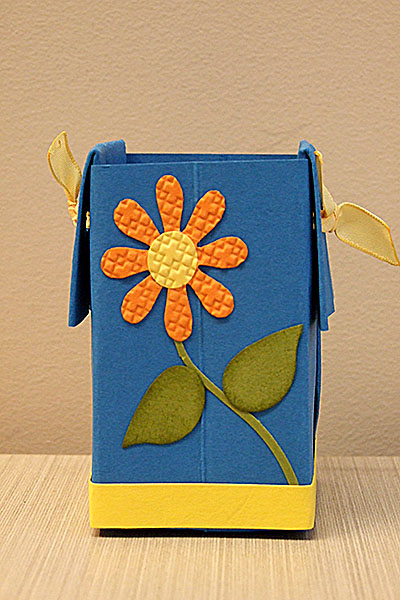
Biodegradable pot (once you take the ribbon off). I filled a cellophane bag with potting mix and put it in the pot. All you have to do is add some seed, water it a little and watch the seeds grow – how cool is that!
Supplies:
Stamp – Sweet Summer
Card Stock – Pacific Point, Pumpkin Pie, Old Olive, Daffodil Delight, Whisper White
Markers – Daffodil Delight, Old Olive, Pumpkin Pie, Real Red
Ink – Real Red, Pumpkin Pie
Ribbon – Daffodil Delight Taffeta
Punches – Trio Flower, Word Window, 2 Step Bird
Other – Crystal Effects, Big Shot, Blossom Party Die, Square Lattice Embossing Folder, Crop-A-Dile
I hope you have a great day – if you are in NZ keep warm and dry 🙂
Paula


