Hi there
Here’s a bit of background about what Bokeh means. In photography, bokeh (/ˈboʊkə/ BOH-kə or /ˈboʊkeɪ/ BOH-kay;[1] Japanese: [boke]) is the aesthetic quality of the blur produced in out-of-focus parts of an image.[2][3][4] Bokeh has also been defined as “the way the lens renders out-of-focus points of light”. Now onto the project 🙂
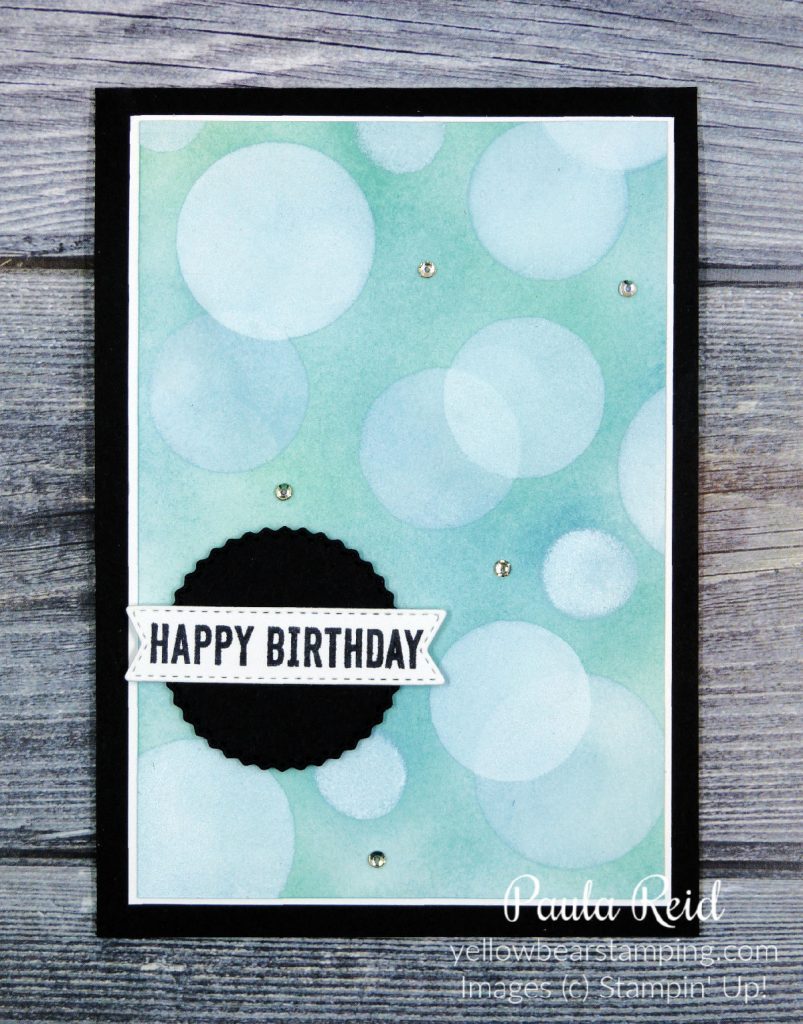
Here’s the finished card. For my background I’ve used Balmy Blue, Coastal Cabana and Pool Party ink. This has been applied using the new Blending Brushes – so much easier to apply than with a Sponge. Check out the steps below on how to create this card.
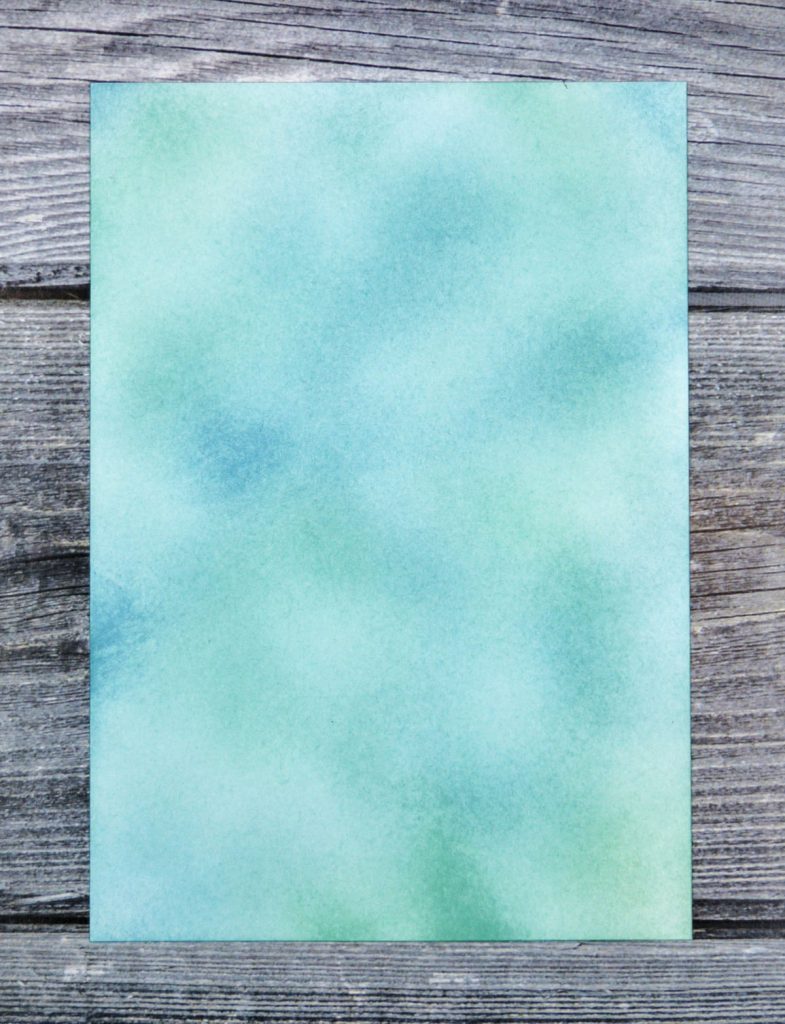
Apply your ink so that the whole card front is covered. I have blending the ink more in some places than others to give a sense of depth.
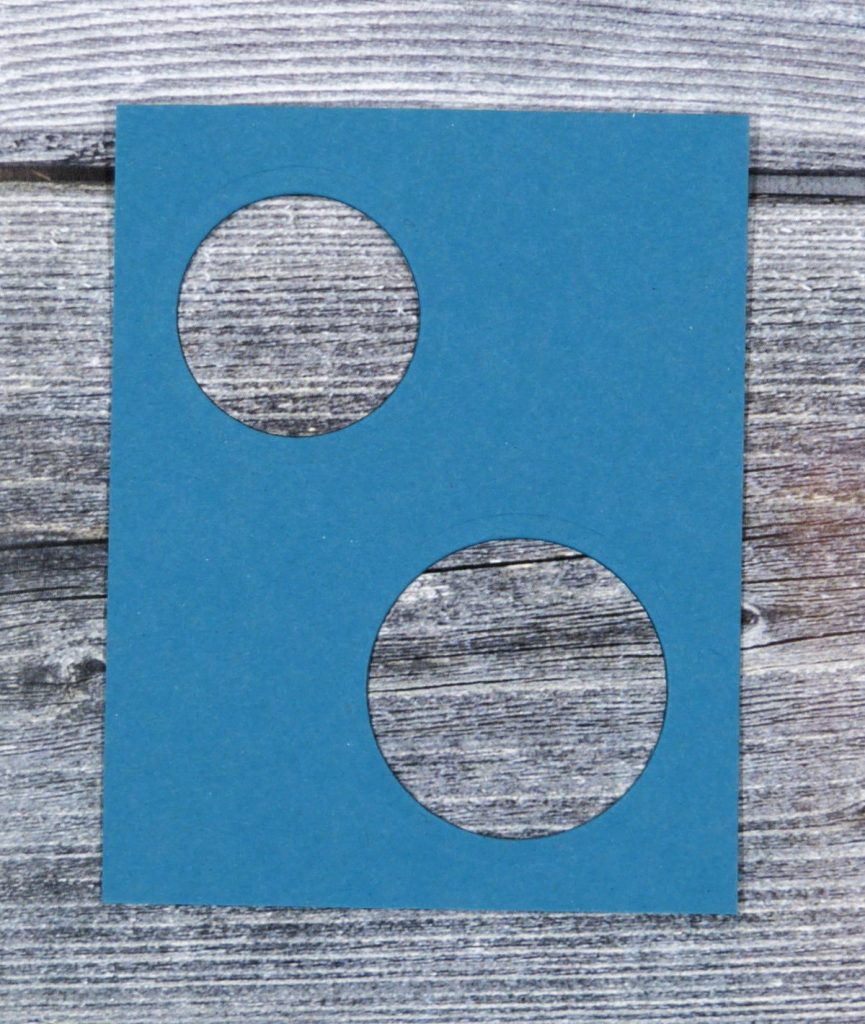
Create a ‘template’ by die cutting (or punching) various sized circles from a scrap of cardstock. You could also use some Vellum Cardstock. I used the two smallest circles from the Layering Circles Dies.
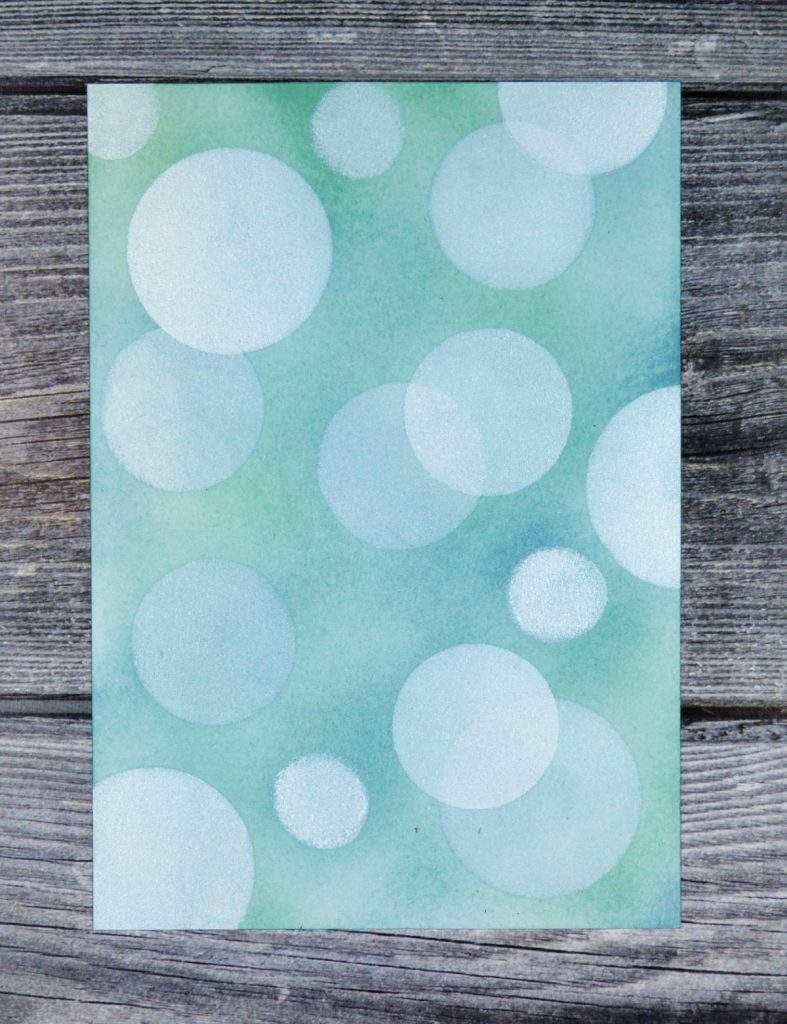
Place your circle template on top of your card front then using a Sponge Dauber and White Craft Ink fill in the circles. Move the template around and repeat. Sometimes you can overlap the template on an already inked circle. If some circles aren’t dark enough place the template back over them and reink. I did this a couple of times – it helps to add more depth to your project.
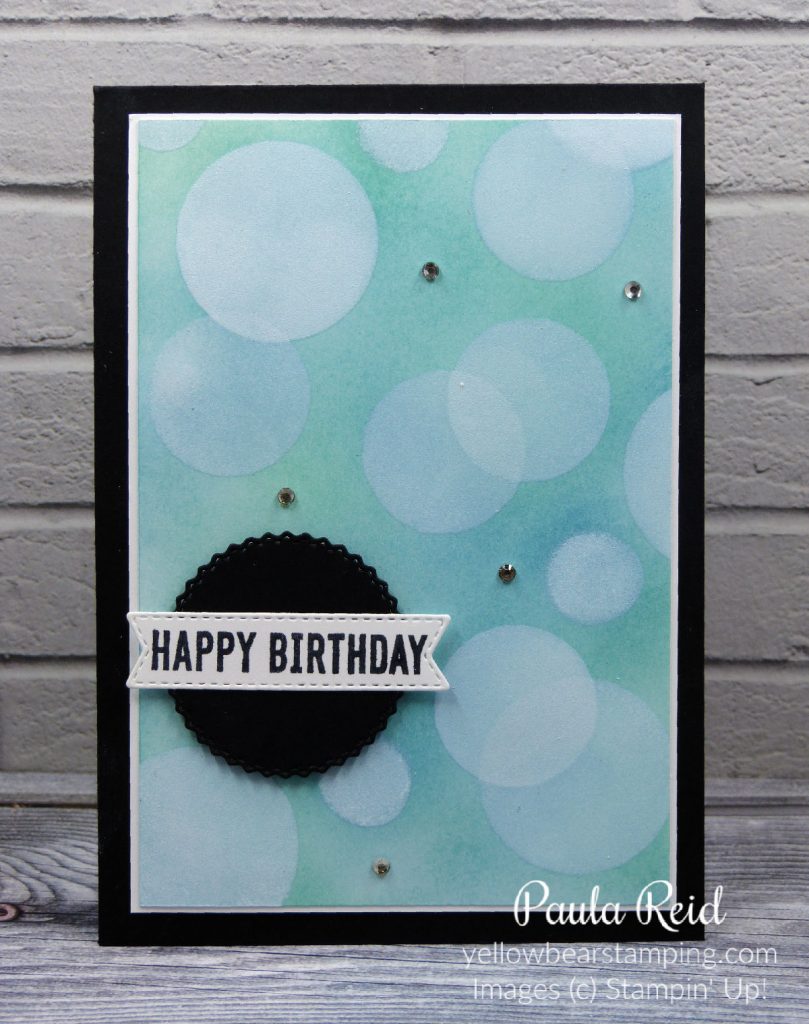
Finish your card by adding a sentiment and some ‘bling’. I used Itty Bitty Birthdays and Tasteful Labels Dies to complete mine.
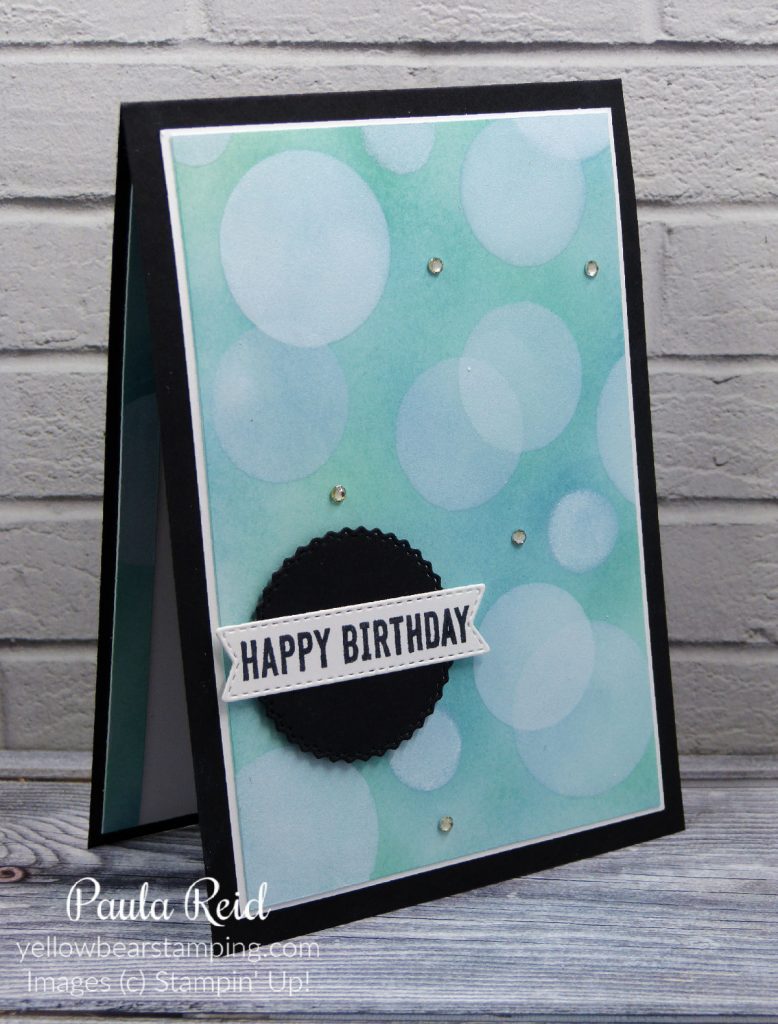
I trimmed my card front down to 9.3cm x 13.6cm and matted it on Basic White (9.5cm x 13.8cm) before adhering to a Basic Black card base. My trimmed off piece did not go to waste – I adhered it to the inside of the card 🙂
Well that’s all for now. Until next time …


Love this! This is such a fun technique! Tfs.
Thanks Carol – it sure is.