Hi there
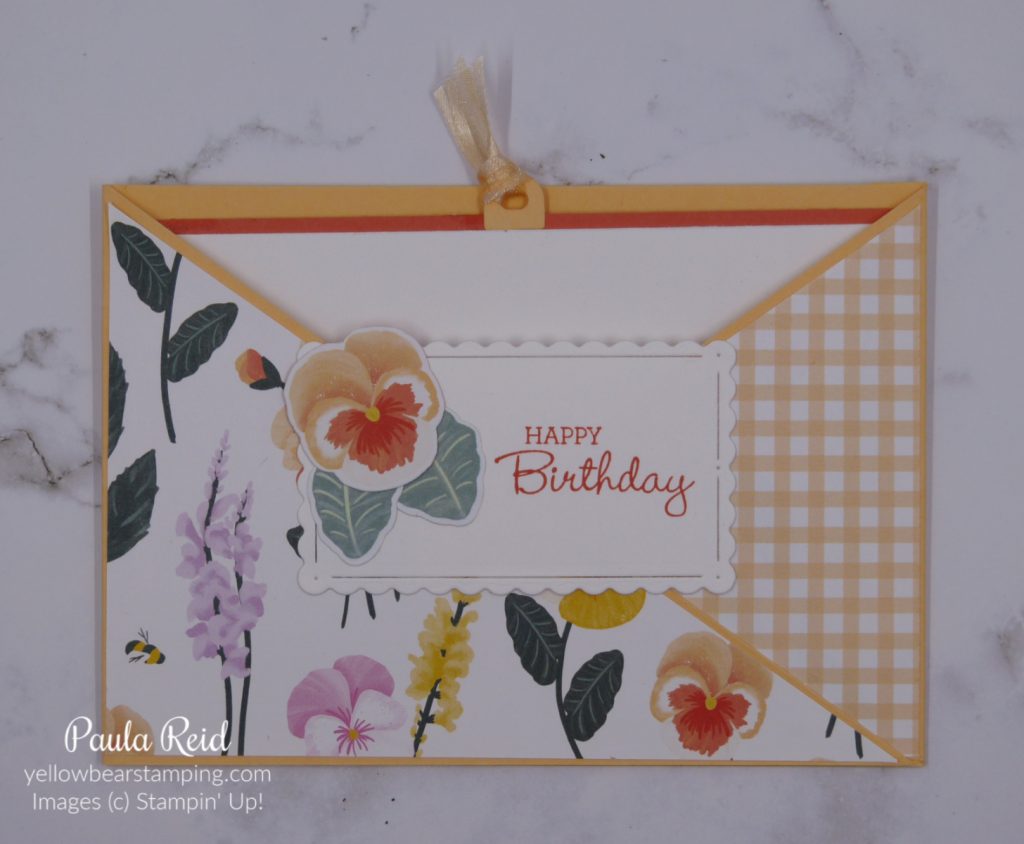
Last Friday I shared a Faux Pocket Card and today I have a ‘real’ Pocket Card to share. I’ve used one of my favourite suites from the Annual Catalogue – Pansy Petals Suite. I love this paper and am now on my second pack of paper.

This card looks similar to the one from last week but keep reading to see the difference.

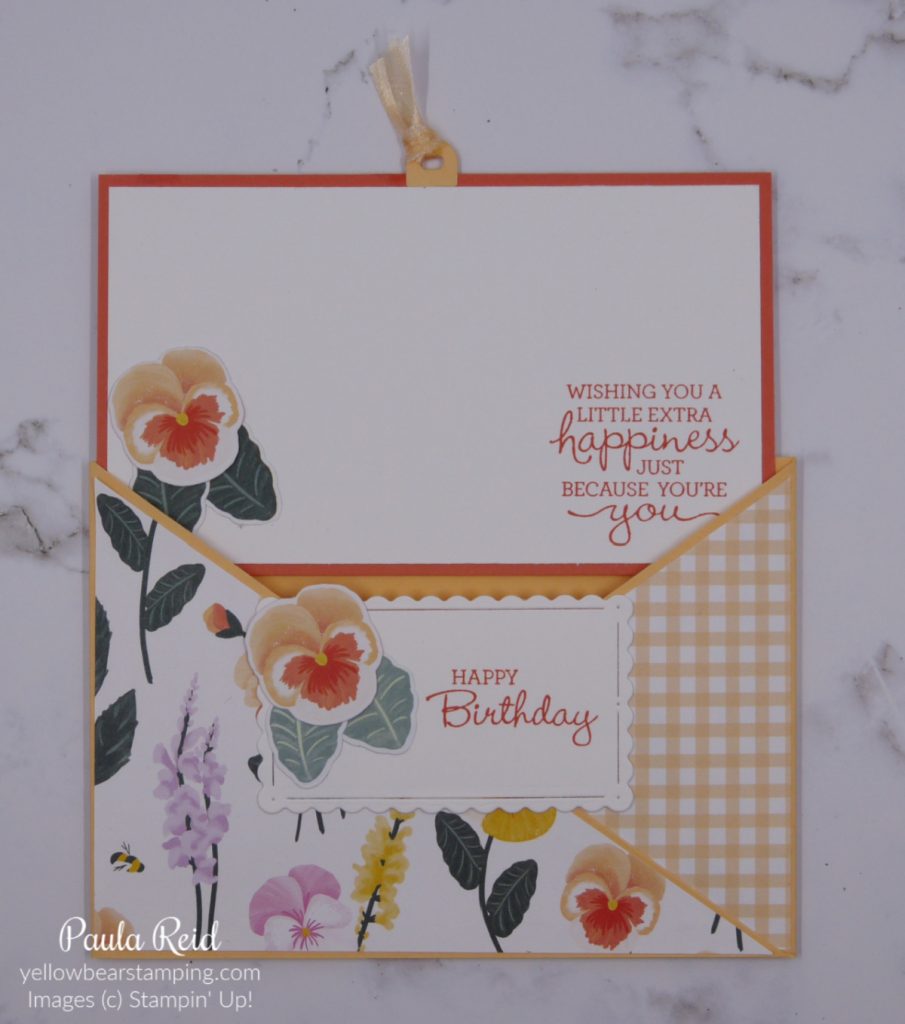
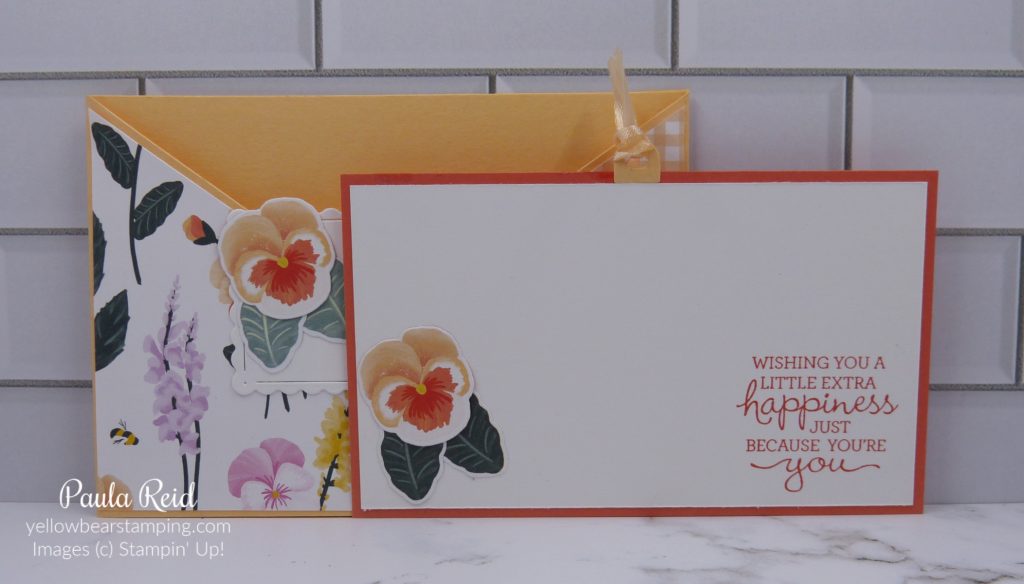
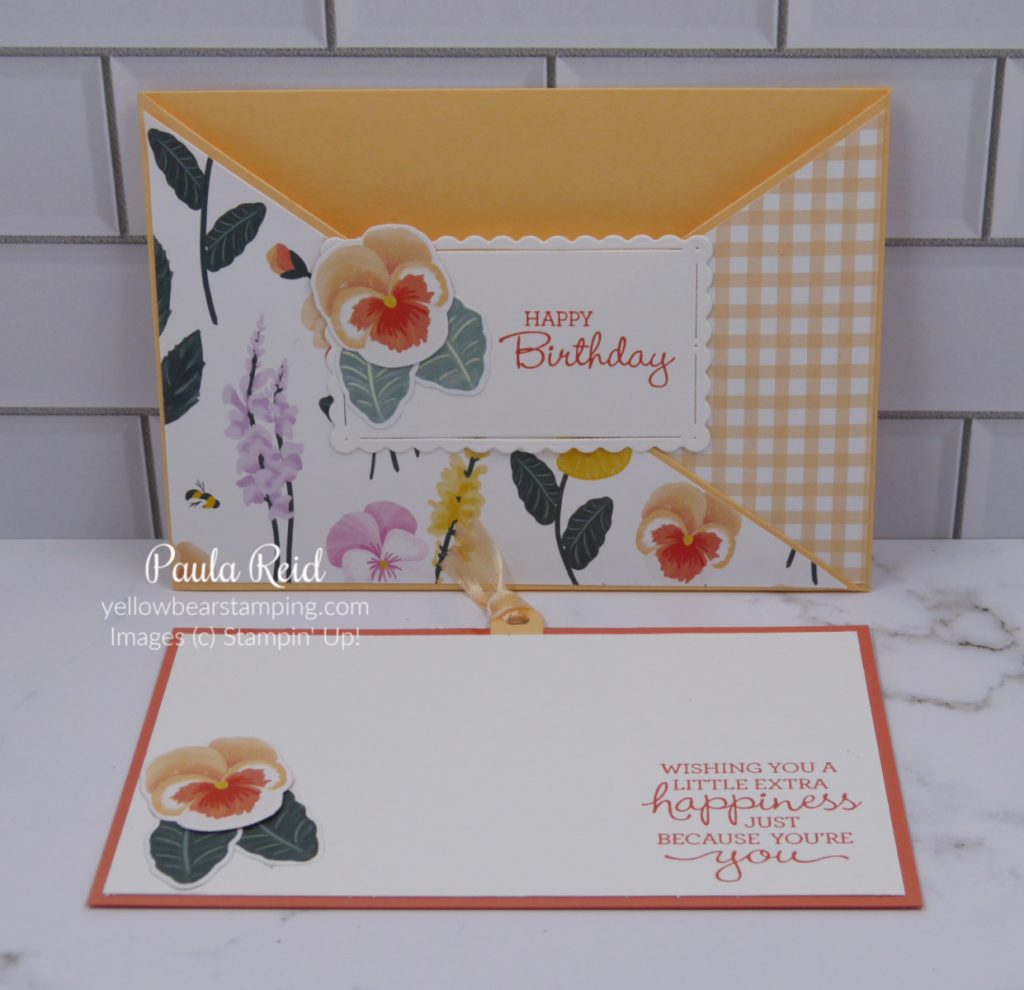
Instead of opening the card you pull the the tab up to reveal the insert. The ‘card’ outer creates a pocket for the insert.

The ‘pocket’ uses a whole sheet of cardstock which has been cut in half lengthwise (10.5cm x 29.7cm) and scored in half at 14.8cm. Taking one piece at a time cut it diagonally from centre top to bottom left and then the next piece centre top to bottom right. Adhere both ‘rectangle’ sections together making sure that the long edges of the diagonal sections are on the bottom. Decorate the diagonal sections with Designer Series Paper (10cm x 14.3cm – cut in half on the diagonal). Before you ‘criss cross’ your pocket shut apply Tear & Tape at the bottom of the middle section as well as at the bottom of the triangle flap that will be the top layer – for my card the top layer was the left hand flap.

To decorate the front of my pocket I used a Scalloped Rectangle die from the Scalloped Contours set and added a die cut Pansy and leaves from some of the DSP designs. I also carried it through to the insert – this time using some darker leaves. The sentiment on the front and inside of the card are from the Pansy Patch set. The insert measures 9cm x 13.8cm for the Basic White and 9.5cm x 14.3cm for the Calypso Coral mat. For my ‘tab’ I die cut two ‘eyelets’ from the Tailor Made Tags die set and adhered them either side of the insert.
You now have two variations of Pocket Cards to create – which one will you try first?
Until next time …

