Hi there
You may have heard of or made a Pocket Card but have you made a Faux Pocket Card? This was my first attempt at a Faux version and I love how easy it was to create.

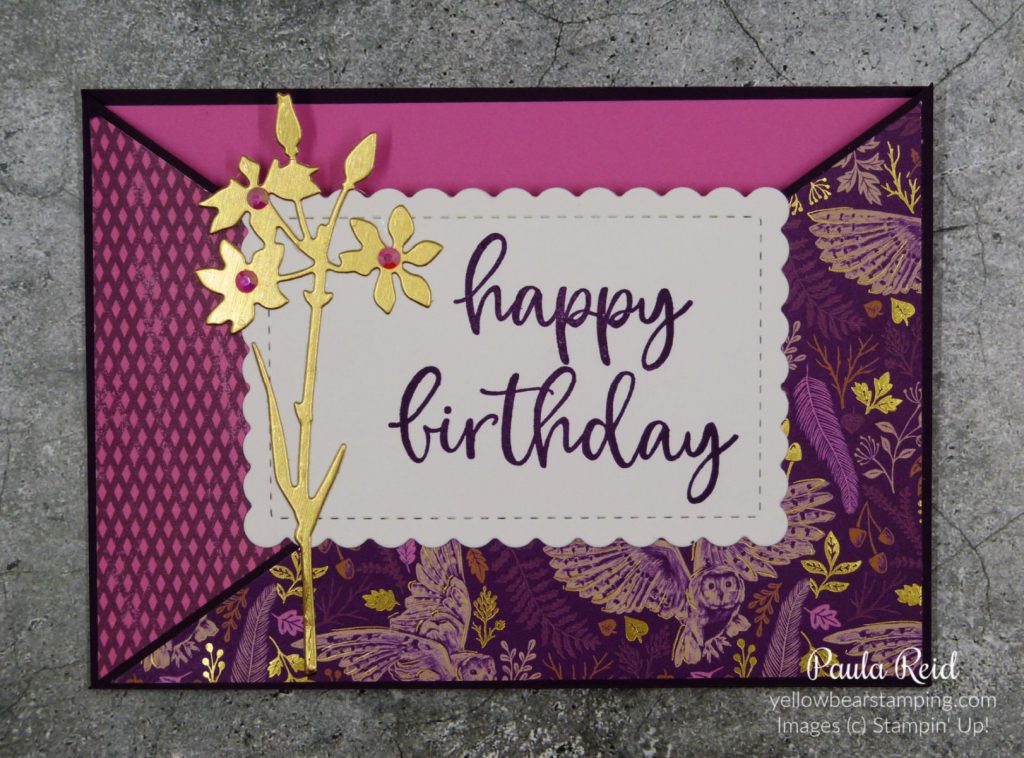
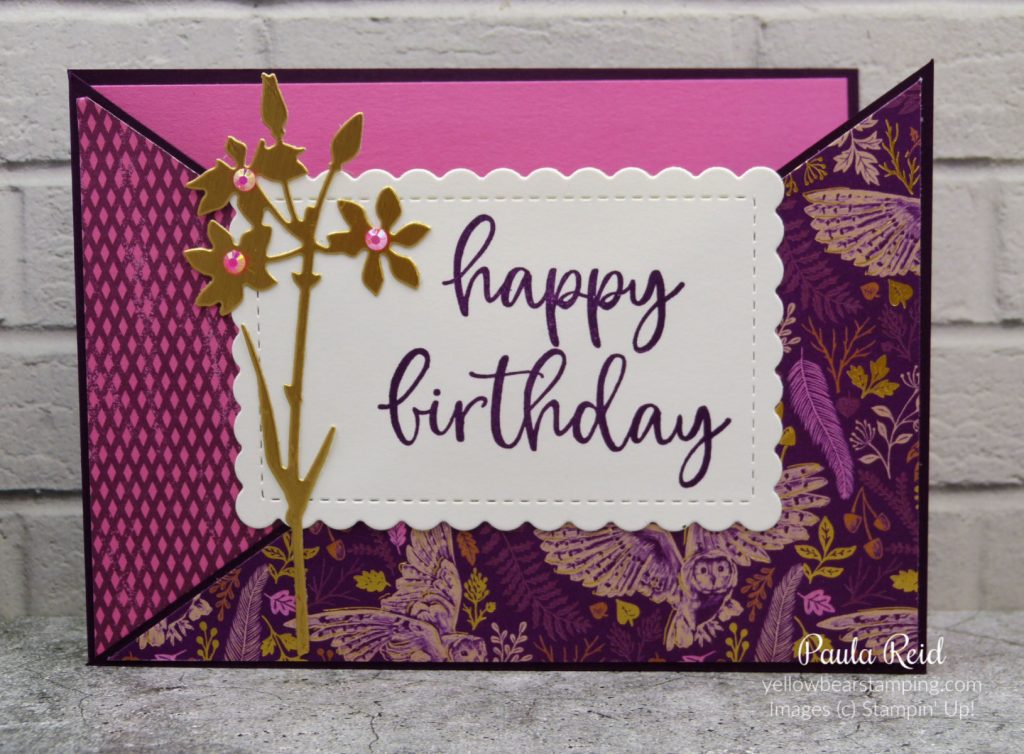
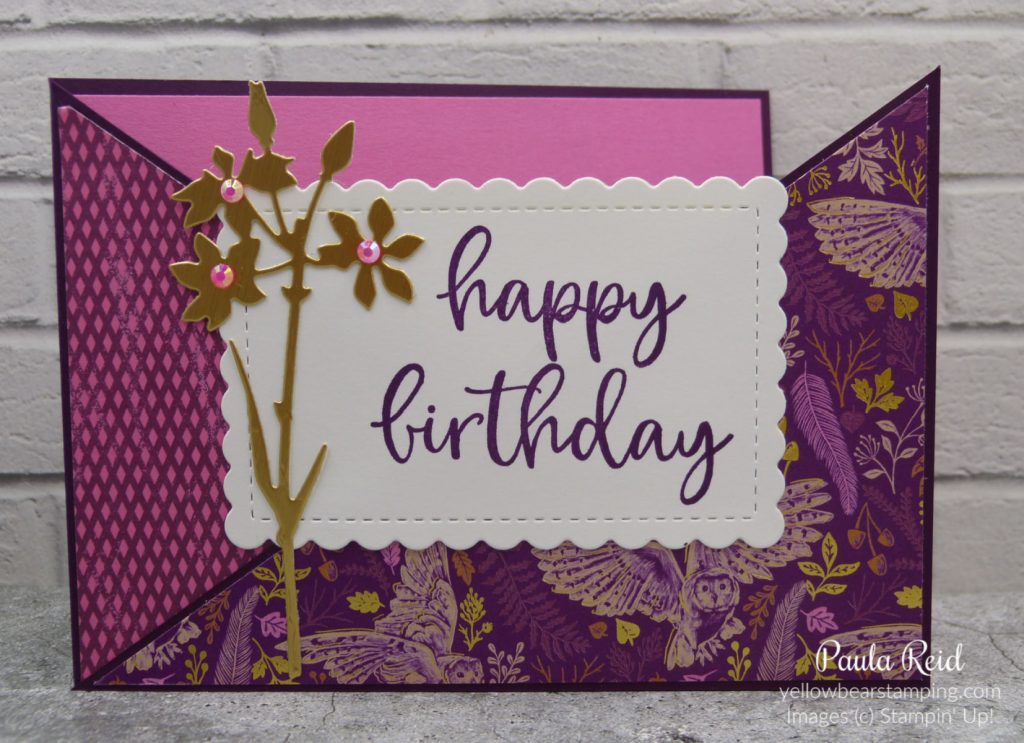
From this view the card base looks as though it’s a ‘pocket’ but in fact it opens up like a normal card.

My card base measures 10.5cm x 29.7cm and is scored in half. You now want to cut the front in half on the diagonal from the top left (centre fold) to the bottom right. It’s best to decorate your front before adding the cut of portion back onto the card base. My Designer Series Paper (DSP) is from the beautiful Blackberry Beauty Suite on page 44-45 of the current July-December mini catalogue. This paper is stunning – one side is patterned and the other a design which has gold foil accents. My DSP measures 10cm x 14.3cm and was cut on the diagonal. Before adhering the DSP to the cut off triangle you need to flip it over so that the long edge is at the bottom and the short edge is on your right.

Now that the DSP is adhered we’re ready to ‘reassemble’ the card. As you can see from the photo above the triangle is adhered on top of the base with the long edge at the bottom. I used liquid glue to adhere my triangle – just make sure you only apply glue to where it will be adhered to the card base. To decorate the front I die cut a Scalloped Rectangle from the Scalloped Contours dies, added a die cut Brushed Metallic flower from the Meadow dies plus some Polished Pink Jewels.

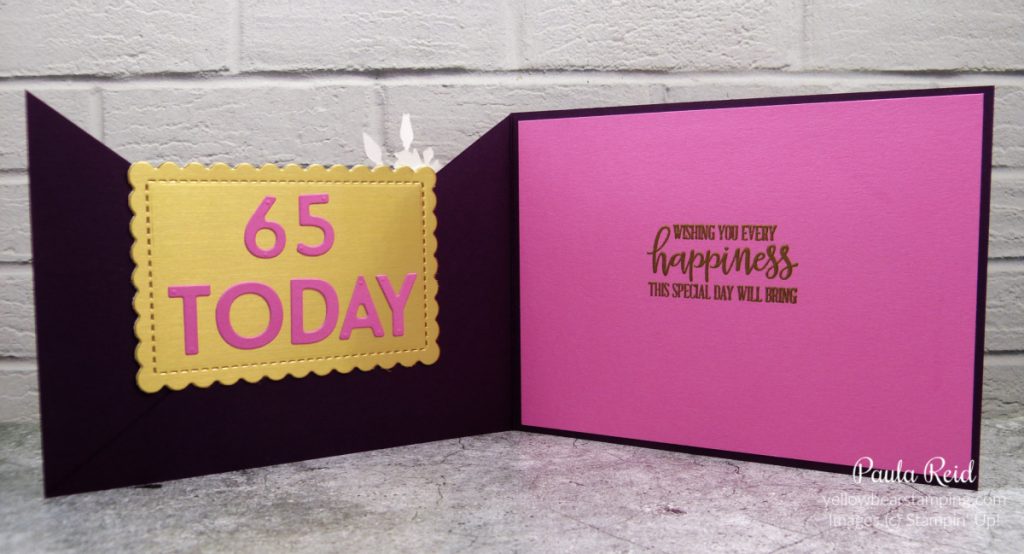
This card was for a ‘special’ birthday and as you get your ‘Gold’ Super card on reaching 65 I created my own ‘Gold’ card for the inside. This also covers up the cross over part of card and gives it a bit more stability.
This is another quick and easy fold to create with a standard card base. Next week I’ll share with you a pocket card so remember to check back.
Until then …

