Hi there
This time next week and I’m sure there will be lots of very excited children around the world waiting for Santa to arrive. Now that I’ve outgrown Santa I’m looking forward to spending the day with family and friends and celebrating the birth of Christ. What will you be celebrating this Christmas?
Last week I held my last card class for 2017. I have really enjoyed teaching my ladies this year and look forward to 2018 and doing it all again :). If you would like to join one of my card classes let me know. I’m planning on running an additional class next year on a Saturday so watch this space for more details.
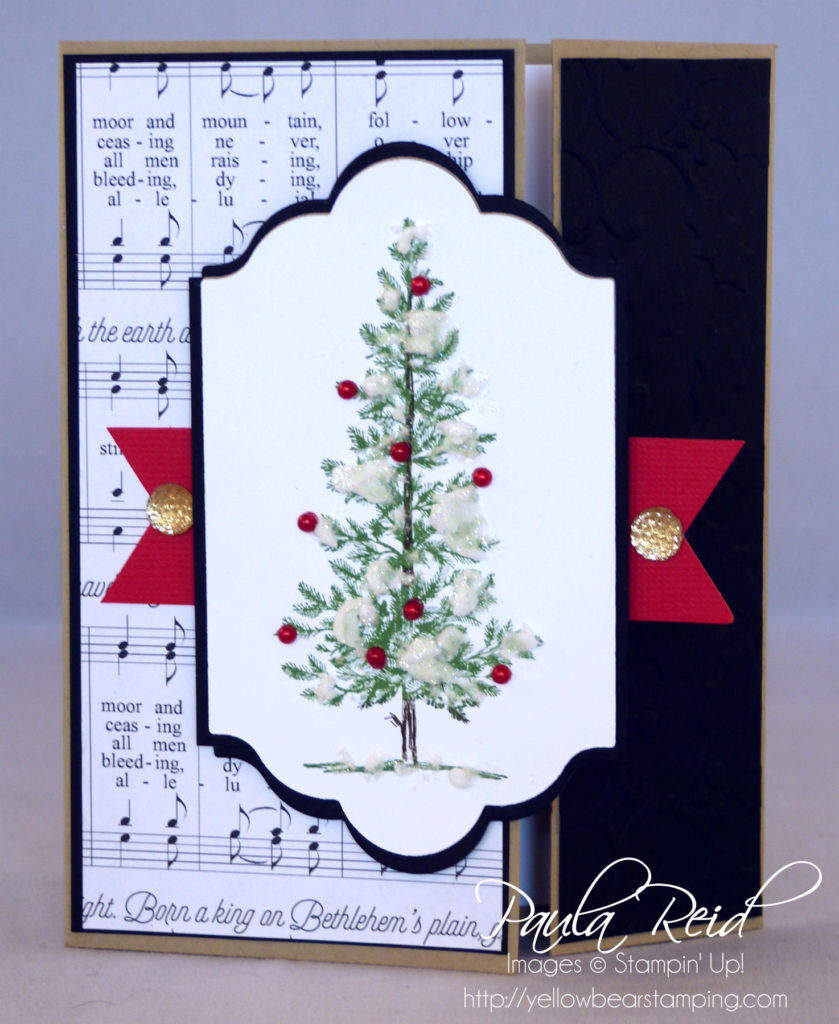
Each class we do two projects – this month I taught a card and a 3D box. The card was based on one that was taught at the recent Creative Inkers Extravaganza. I didn’t have the stamp set that had originally been used so I changed it for a good old favourite – Lovely as a Tree. This card style is known as a ‘Gate Fold’.

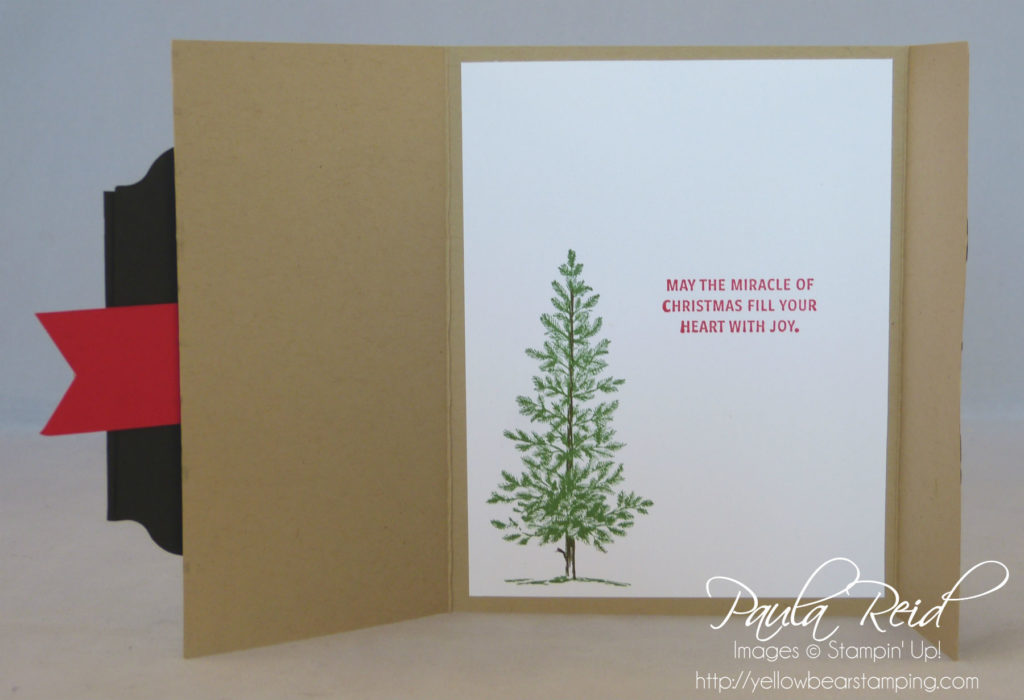
The original stamp set that was used was Season Like Christmas which is a two step stamp allowing for two tones in the tree and a different colour to be used for the trunk. As Lovely as a Tree is just one stamp I worked out a way to still get the trunk a different colour :). First up we stamped the image in Garden Green then using the Early Espresso Marker coloured over the top of the stamped image and voila our tree has a different coloured trunk.
Even though we don’t get snow in New Zealand I liked the idea that the tree had snow. As a kid we used to add cotton wool for our ‘snow’ effect. Here we used our Embossing Paste in dabs to create snow then applied some Dazzling Diamonds. To get the paste to dry we applied a little bit of heat with the heat tool.
Now that we have the new Stampin’ Blends our pearls can become any colour you want – we used the dark Cherry Cobbler marker to colour our small pearls and then added them to the tree as ornaments.

We used the same method as the front for colouring our tree on the inside. The sentiment is from Snowflake Sentiments and is inked in Real Red.
Other products used on this card are: Merry Music Specialty DSP, Gold Faceted Gems, Holly Embossing Folder, Lots of Labels Framelits. To mat the image on the front we started with a square measuring 6.6cm x 7.3cm then added a frame (the same as the Whisper White one) cut in half to the top and bottom.
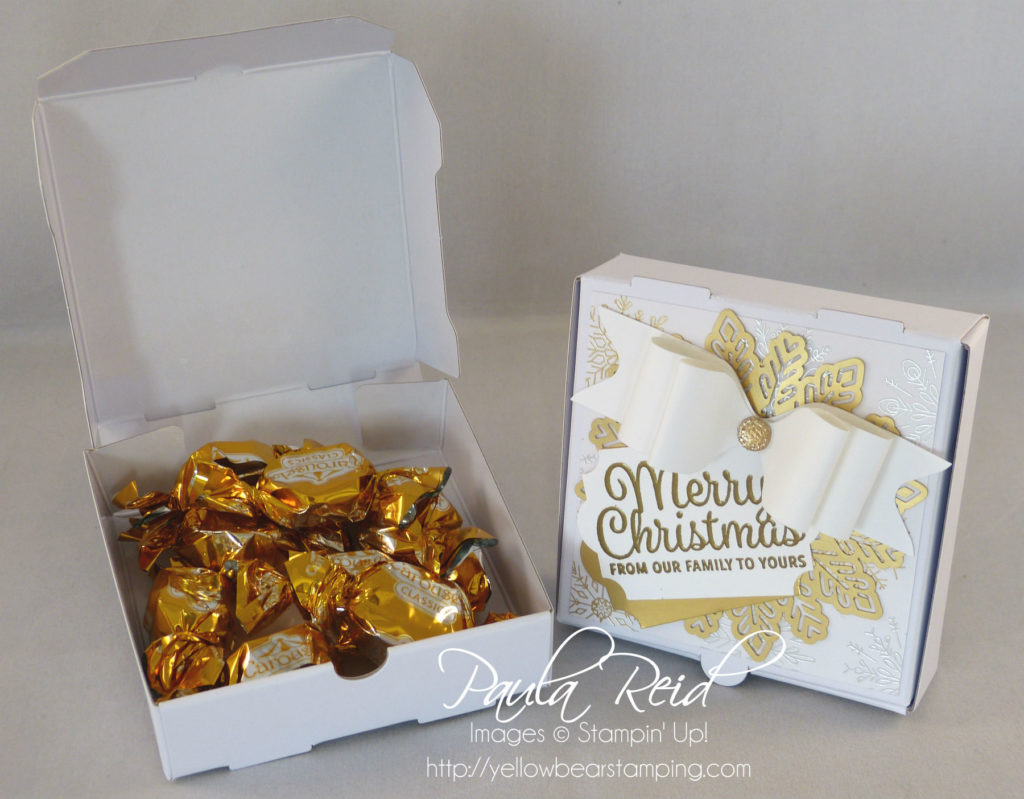
The second project we made was the one I taught at Extravaganza – the decorated pizza box. The ladies loved learning how to make a bow with the Envelope Punch Board. Check out the details for the box project here.

Have a great week – I’m off to tidy my craft desk 🙂

