Hi there
Today’s card was a ‘self directed’ card we made halfway through our training day. Nobody actually taught us this card – we just followed the step by step instructions like a production line :).

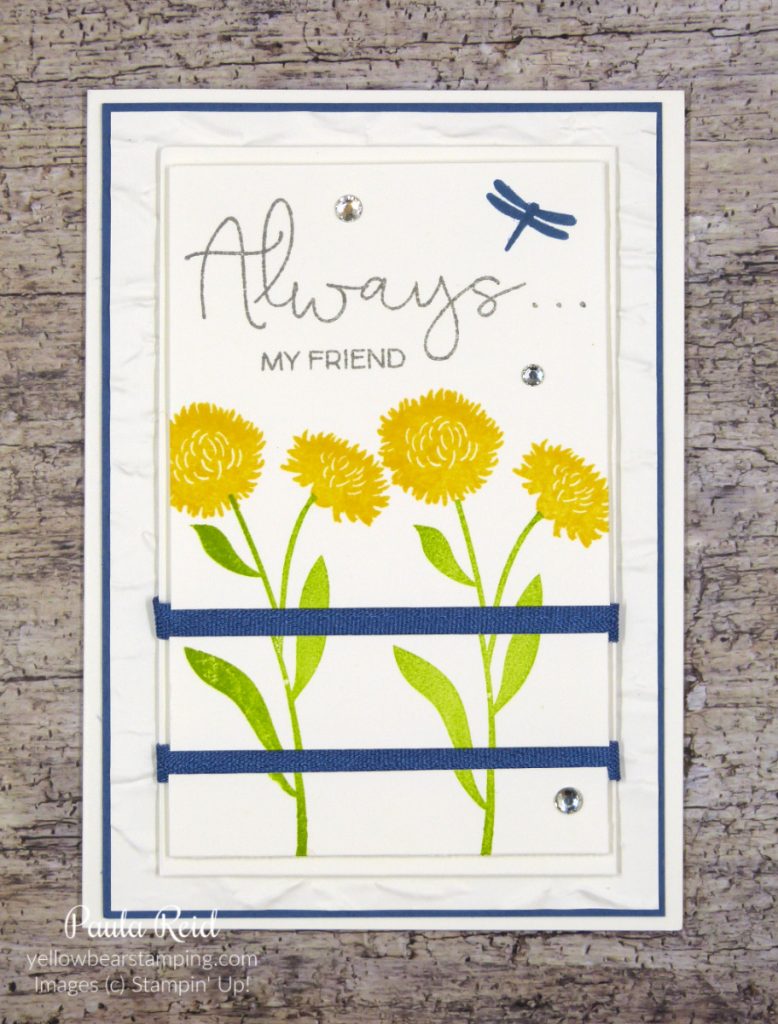
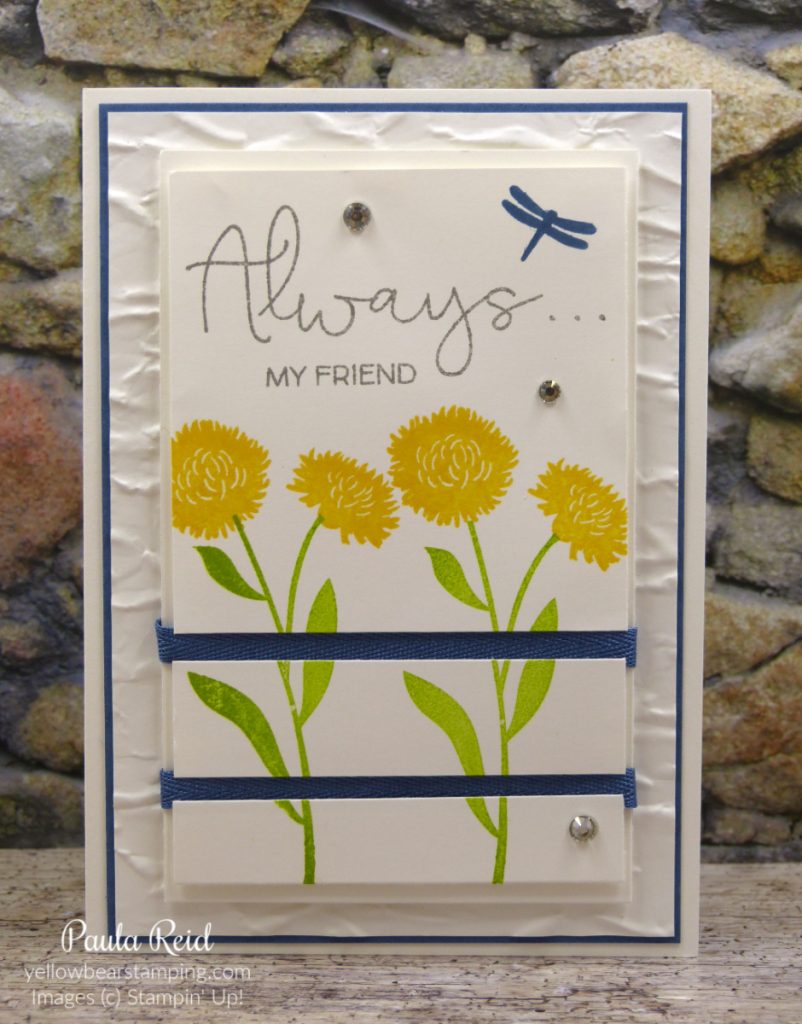
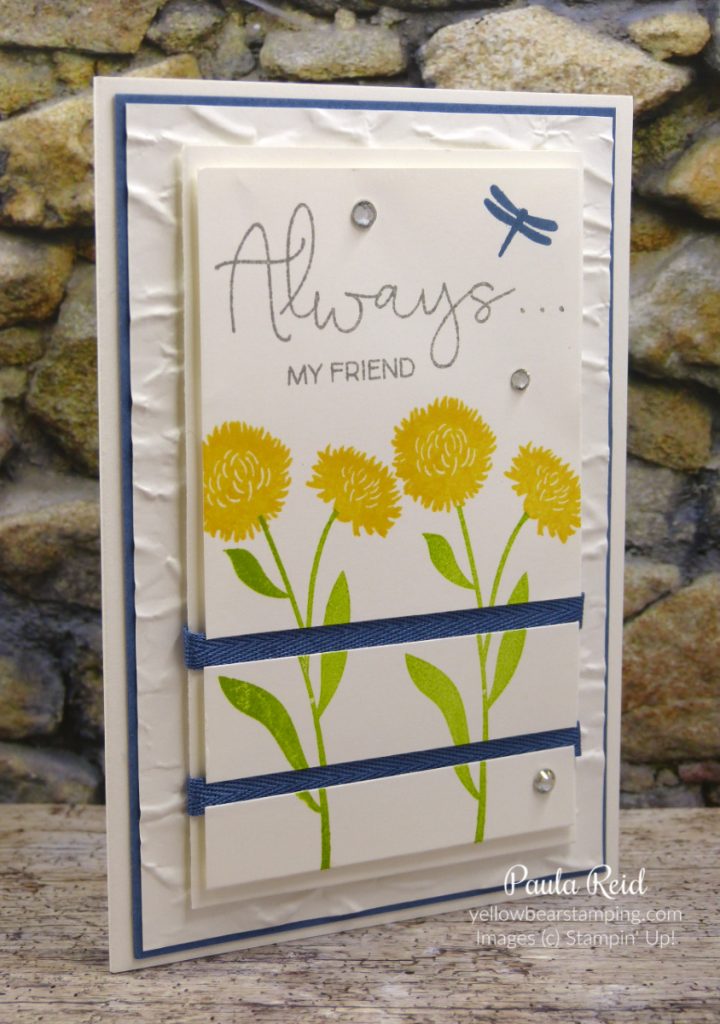
This is another set I don’t have so it’s great to have a sample to show. There are five layers to this card – a standard card base using Thick Whisper White, Misty Moonlight (3 7/8″ x 5 5/8″), Whisper White dry embossed with the Old World Paper 3D Embossing Folder (3 3/4″ x 5 1/2″), Whisper White (3 1/8″ x 5″, Whisper White (3″ x 4 1/2″).

With the smallest piece of Whisper White we started stamping the sentiment near the top of the cardstock in Basic Grey. By doing this first you then know where to stamp the flowers. The stems are stamped in Granny Apple Green with the flower heads stamped in Daffodil Delight. The Dragonfly is stamped in Misty Moonlight. Once the stamping is done cut 1/2″ from the bottom of the image, then cut a further 3/4″ of the image. The final piece should then measure 3″ x 3″. Now to assemble the card.

Adhere the embossed layer to the coloured cardstock and then adhere this directly to the card base. Next add dimensionals to the back of all remaining pieces. Work out your placement and spacing of the three pieces on the 3 1/8″ x 5″ piece of Whisper White before removing the backings from the dimensionals. Once you are happy with your spacing remove the backings from the dimensionals and add the big section then adhere a length of ribbon. If you wanted to you could add a bow or a knot or leave it as I have. Repeat the process with the remaining two sections. If you want a second length of ribbon add it before adhering the last section. Adhere these two layers to the card base and then add a couple of Rhinestones.
This was a great project and I’ll give this design a try with some other sets I own. What sets do you own that you could use to recreate this card too?
Well that’s all for now. I’ll be back tomorrow with the fourth card. Until then …

