


Hi there
Today’s post features the second card we made at our team training – the In Good Taste Suite on pages 122-124 – this was at the top of my shopping list. This suite is all about textures – the stamp set, papers, embossing folder and wooden elements.
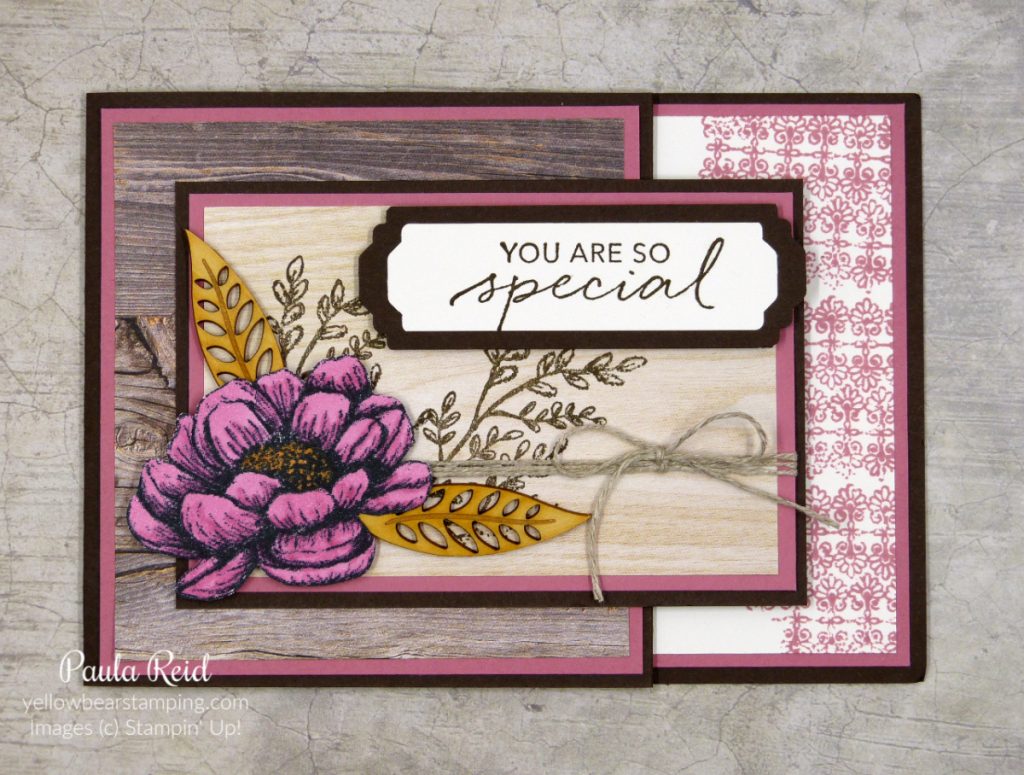
The papers which include photographic images and visual textures work well for a variety of projects. The predominant colours are the Neutrals with a touch of Night of Navy, Petal Pink and Rococo Rose. These papers will be great for masculine or feminine projects. Rococo Rose – one of the 2019-2021 In Colours – teams beautifully with Early Espresso and here we’ve made a gift card for that special friend or family member in your life.
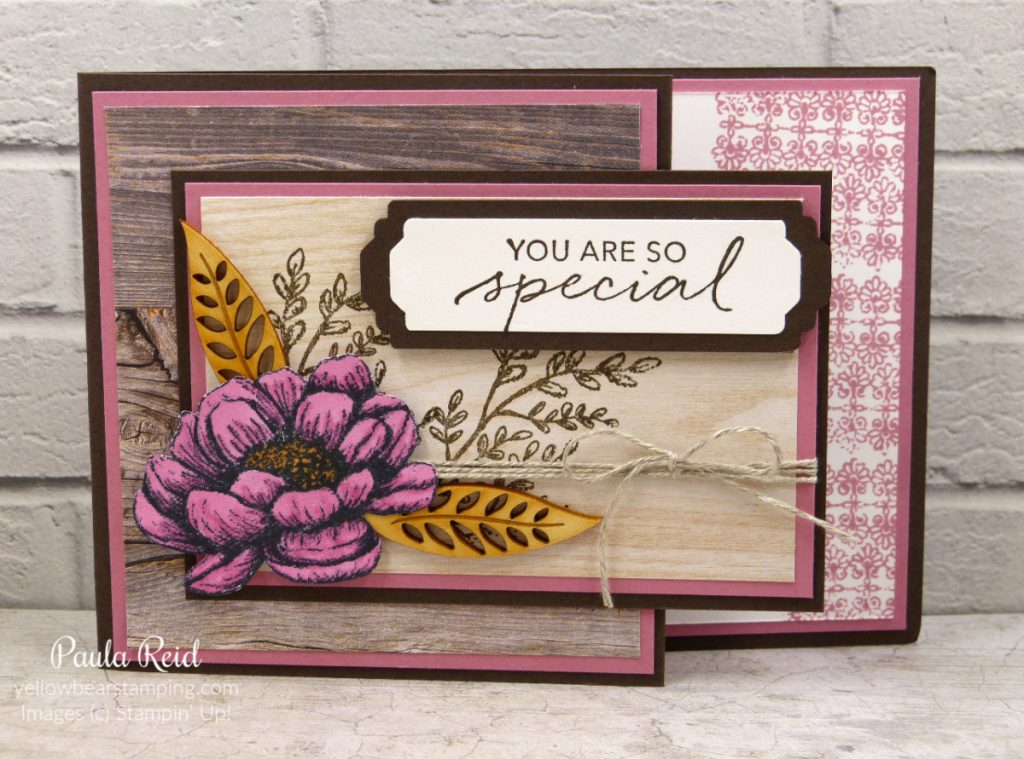
Don’t forget that you can stamp directly onto your Designer Series Paper (DSP) as we have done here with the leaves image. Once stamped the DSP has been adhered to the Rococo Rose mat with linen thread wrapped around and tied in a bow. I find it easier to wrap the thread and attach a bow separately with a glue dot. The main flower image has been stamped on a scrap and ‘fussy’ cut out – sorry no die for this image but it’s an easy image to cut out. I coloured mine in with the Rococo Rose Stampin’ Blends. The wooden leaf elements just finish off this card. The sentiment is also from the Tasteful Touches stamp set and we used the very versatile Lovely Labels Pick A Punch from page 22. We’ve only had this punch a month and it’s already been put through it’s paces – I love it.
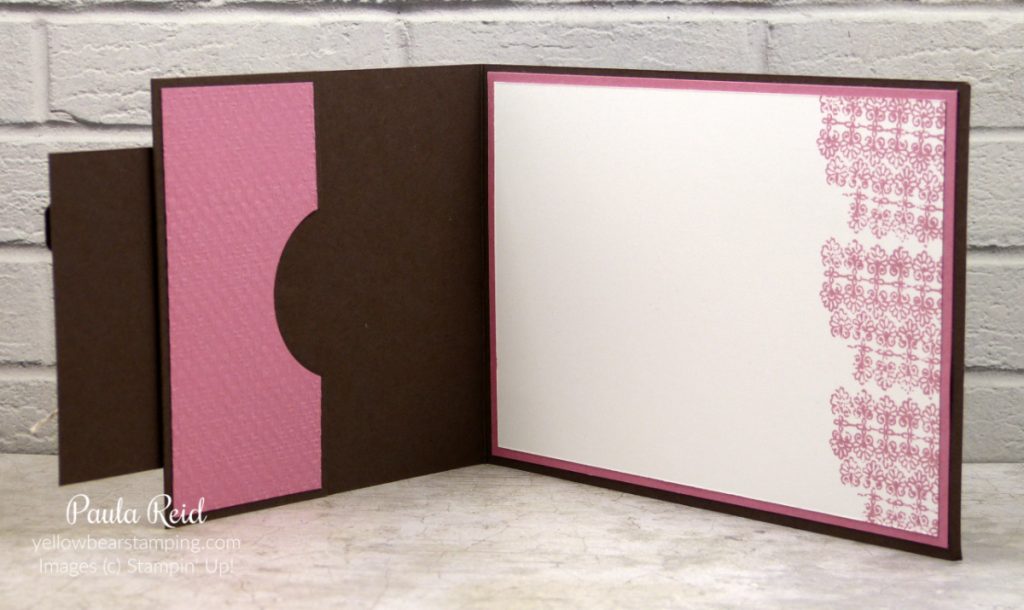
This card uses a standard card base with one additional score at 4.7cm from the edge which is then folded back on itself to create a pocket for a gift card. We added a piece of Rococo Rose cardstock (4.4cm x 10cm) which was dry embossed using the new Tasteful Textile 3D Embossing Folder. The measurements for the front of the card were: Rococo Rose 9.5 x 10cm, DSP 9 x 9.cm. The attached panel measurements were: Early Espresso 7.5 x 11cm, Rococo Rose 7 x 10.5cm, DSP 6.5 x 10cm. When you attach this piece to the card front remember not to adhere the whole piece as part of it overhangs as per the photo above.
Well that’s all for now – I’ll be back tomorrow with another fun stamped project. Until then …
