


Hi there
A couple of weekends ago we had a team training day and made five projects with new products – it was a fun, relaxed day and so good to finally be able to meet together. The first project we made uses products from the World Of Good Suite – pages 24-26. I don’t have this suite so it was great to have a play with it.
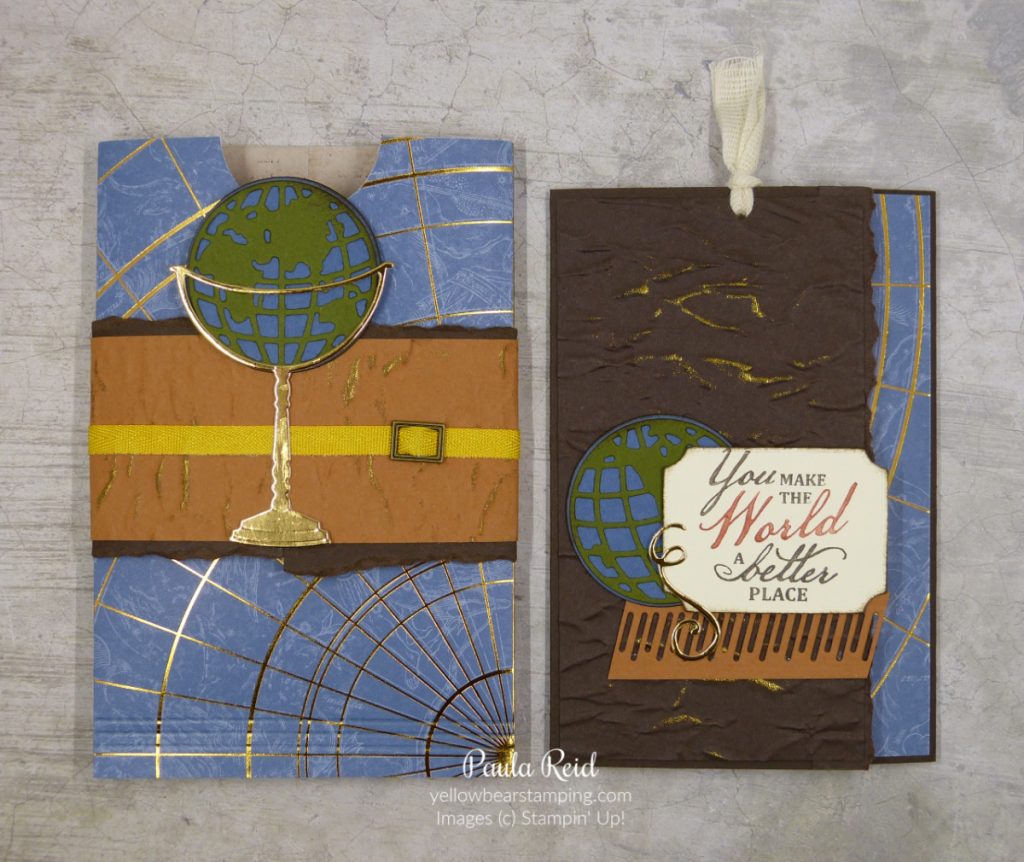
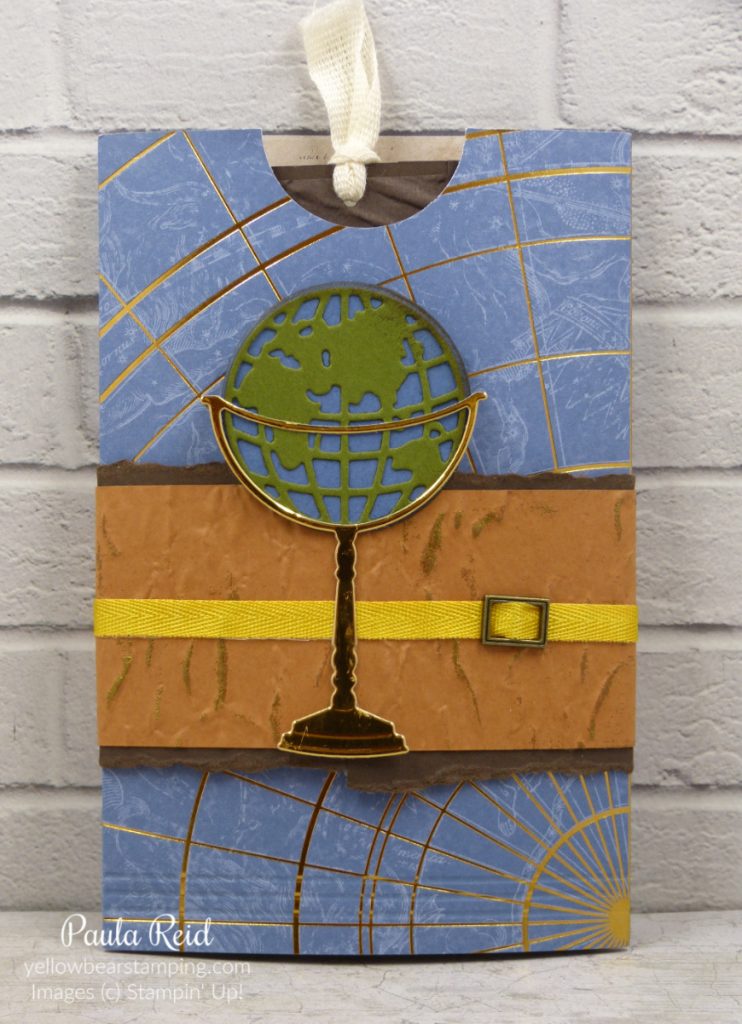
To make the envelope start with a piece of the World of Good Specialty Designer Series Paper measuring 6″ x 9″ and score at 2″ and 6″. Before you join the ends make sure you cut the half circle using the 1 1/2″ Circle punch. Make a ‘belly band’ from Cinnamon Cider cardstock which has been dry embossed with the new Old World Paper 3D Embossing Folder. We lightly ran a VersaMark pad across the cardstock and heat embossed it with Gold Embossing Powder – add some ‘torn’ stips of Early Espresso cardstock to either side, wrap around your envelope pocket and adhere ends together. Wrap some Bumblebee 1/4″ Twill Ribbon (threaded through a Antiqued Slide (page 157) and a die cut ‘globe’ from the Beautiful World dies.

And now the card – the card base is Early Espresso (8 1/4″ x 5 1/2″ – scored @ 3″ and 6 3/4″). The front panel of Early Espresso (2 7/8″ x 5 3/8′) has also been dry embossed with the Old World Paper 3D Embossing Folder and Gold Embossing Powder added. A thin strip (3/4″ x 5 1/2″) has been roughly torn then add to the card base before adhering the front panel.
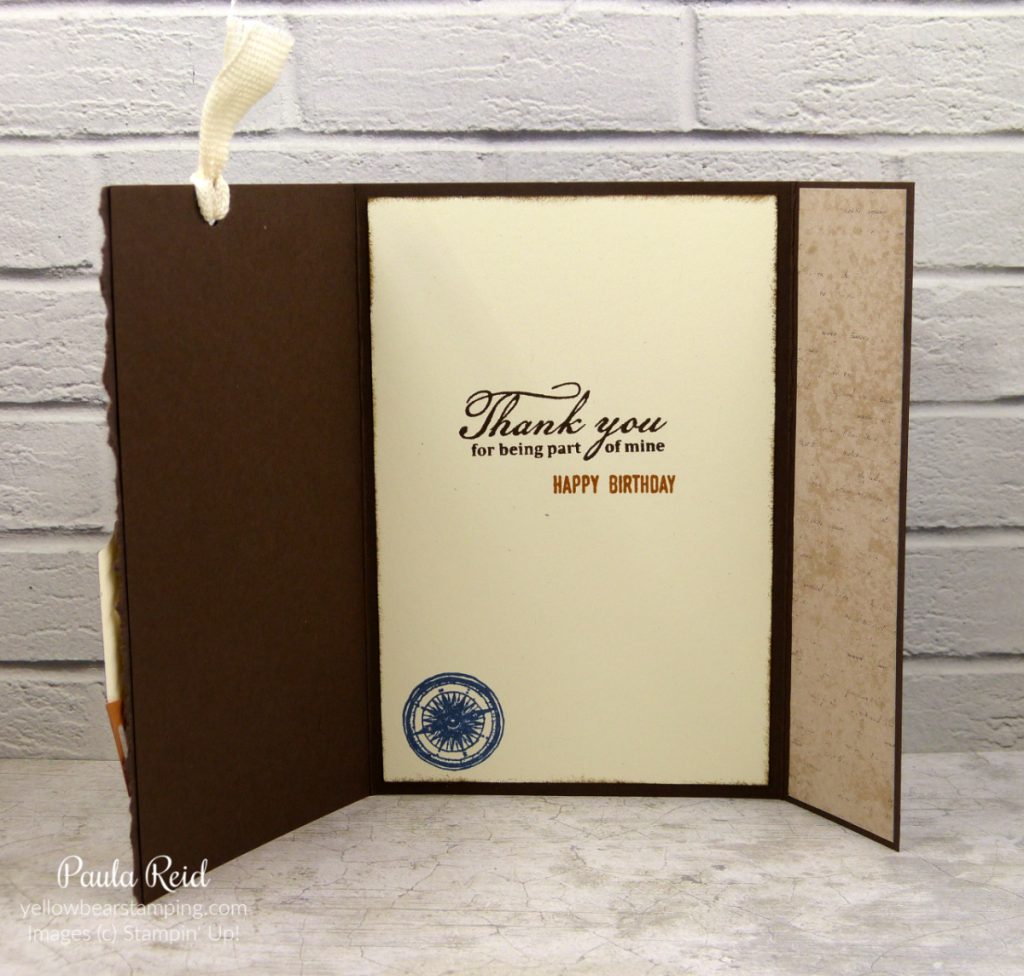
The inside Very Vanilla cardstock has been stamped with sentiments from the Beautiful World stamp set and lightly sponged around the edge with Early Espresso ink. The inside panel of DSP measures 1 3/8″ x 5 3/8″. There is also another piece on the other side of the flap. In total this project uses half a sheet of 12″ x 12″ paper.
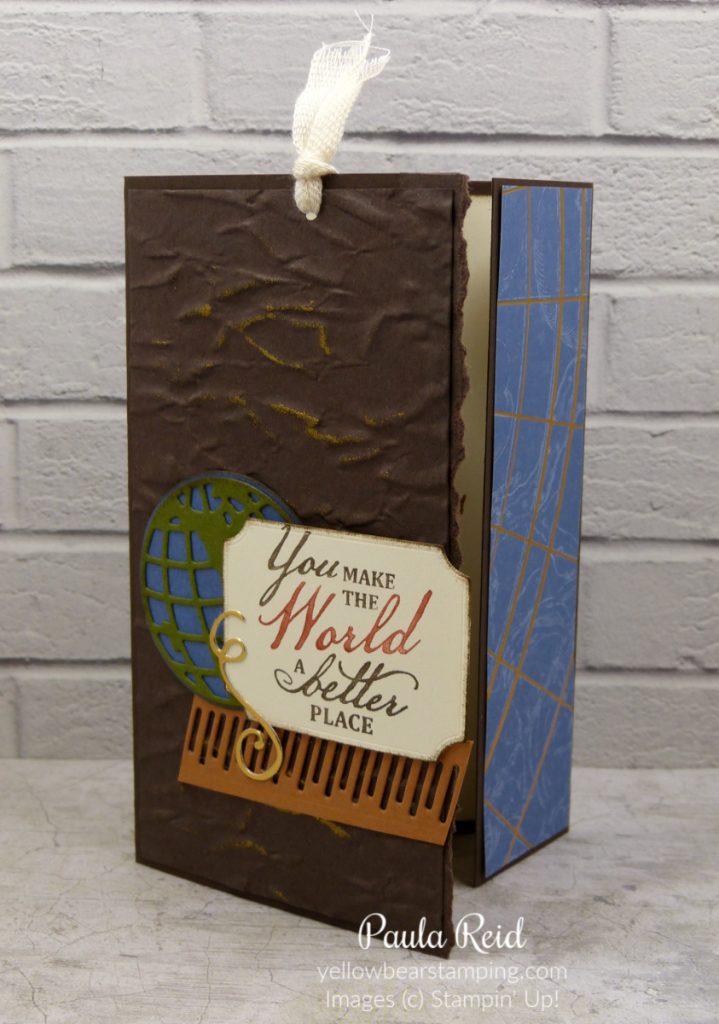
Here you can see the other side of the DSP. The ‘Globe’ has been die cut using Misty Moonlight and Mossy Meadow. Quick tip for punching the hole for the ribbon – pop the card into the envelope, make a pencil mark on the card so that the hole will be in the centre of the punched out circle. Remove the card and punch your hole then thread the ribbon through.
Well I hope you’ve enjoyed seeing this project – it’s a great way to use your DSP and be able to see both sides of it on the project. I’ll be back tomorrow with project #2.
Until then …
