Hi there
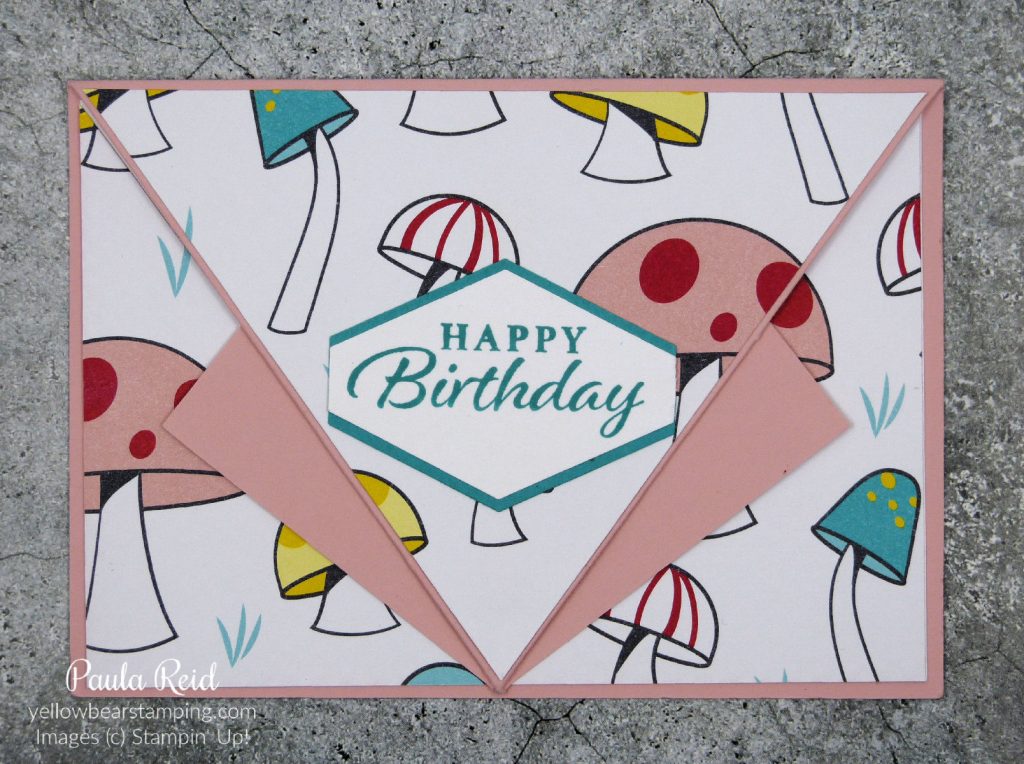
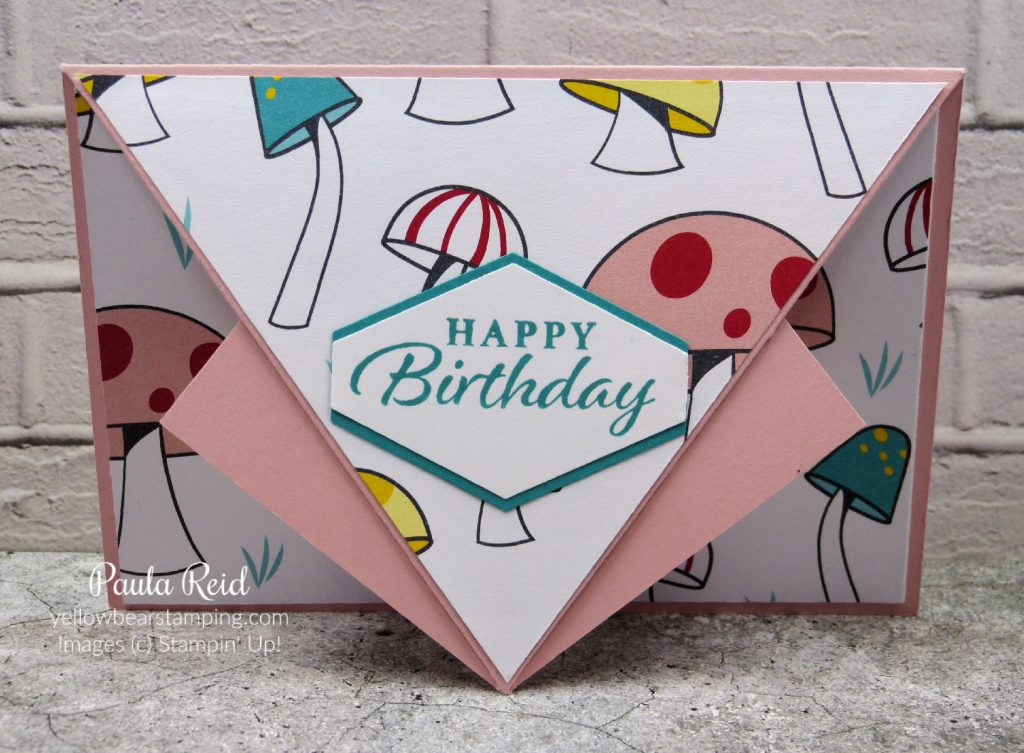
I’ve been having fun making Arrow Fold cards lately. This fold has been around for some time but I’ve been a bit slow to give them a go – but now I can’t stop making them :). The are so quick and fun to make. Today’s Arrow Fold is in a landscape orientation. You can also create these in a vertical orientation.

I’ve been trying to use up my Snail Mail Designer Series Paper (DSP) before it retires next Wednesday – it’s rather cute.

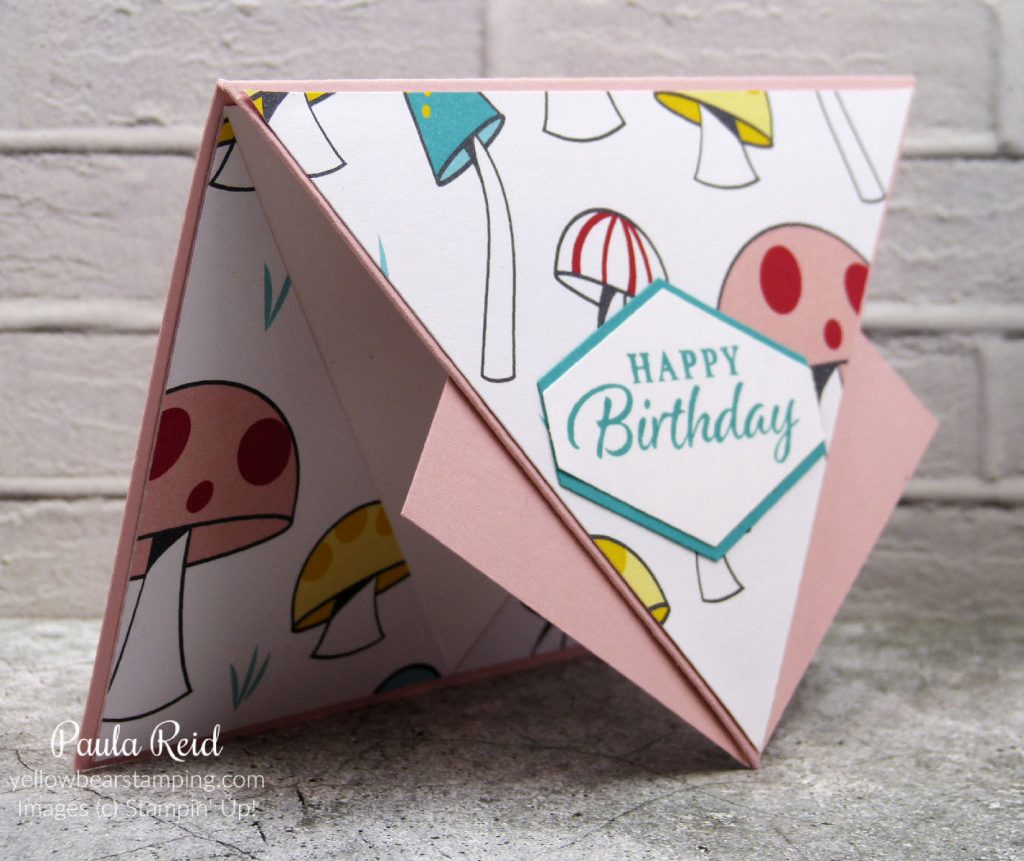
For this card you need a standard card base, a piece of DSP measuring 10cm x 14.3cm and a card insert measuring 10cm x 14.3cm. To create the ‘arrow’ make a pencil mark half way along the bottom edge and half way on both sides. Using your scoring blade on your paper trimmer or a ruler and stylus score from the pencil mark on the bottom to the pencil mark on the left hand side. Then score another line from the bottom to the top left hand corner of your card front. Repeat these two score lines on the right.

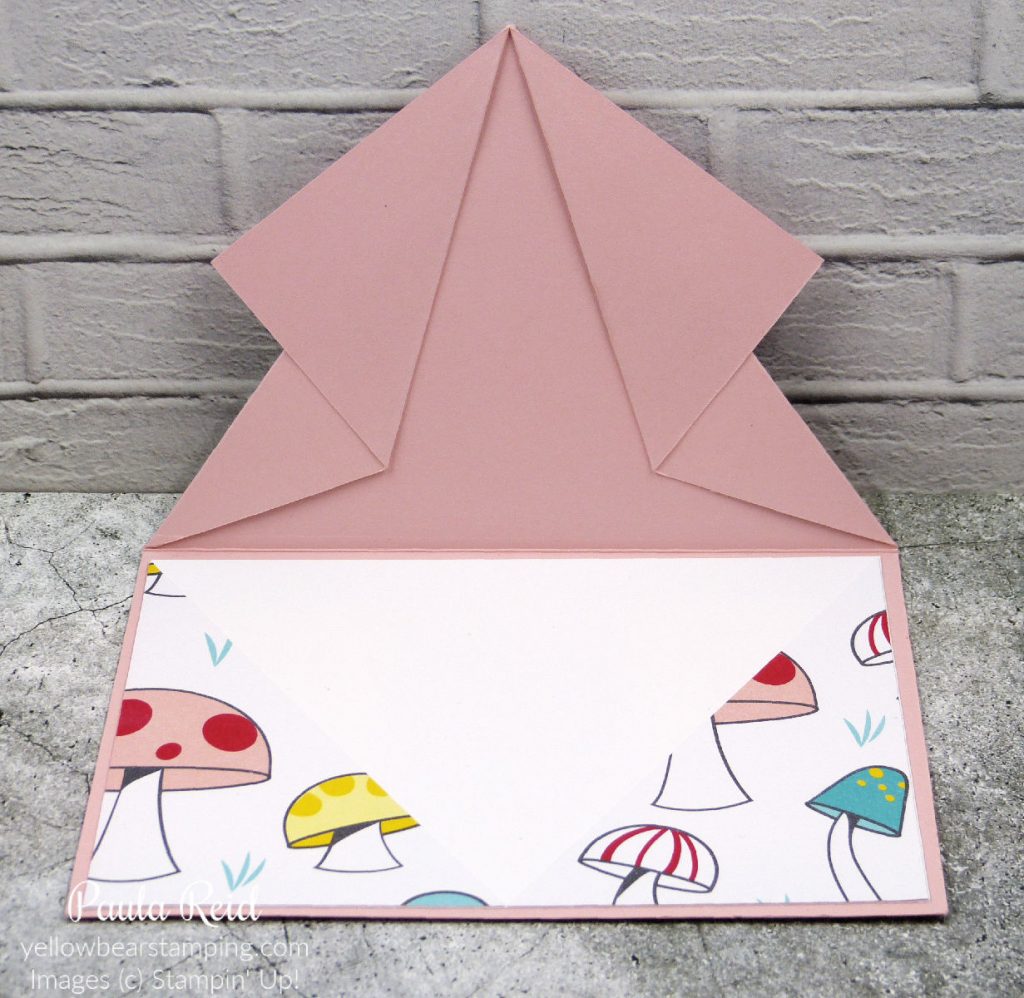
Fold your score lines in a valley ‘V’, mountain ‘M’ formation. I adhered them together with a bit of liquid glue. You can see it better on the next photo. For the DSP make a pencil mark at the half way point on the bottom edge then cut from that mark up to the top left and then top right to create the two side triangles and the large centre triangle. I’ve kept my paper the same design for inside and outside but you can use the design on both sides if you want.

Here you can see how the fold looks from the inside and how I mentioned above about adhering down the ‘flaps’. Adhere the two triangles to the inside and decorate the front of your card. As you know I love fun folds where you can get two out of a sheet of A4 and this ticks that box plus you don’t need heaps of supplies and it’s another great way to use up your DSP.
I hope you’ve enjoyed seeing this fold – even if it’s an ‘old’ fold for you.
Until next time …

