Hi
Just a quick post for now – I made the top 3 again on Try Stampin on Tuesday. If you haven’t already checked it out I highly recommend that you do. Thank you ladies for voting for my card. The recipient loved his card.
Have a great day.
Paula
Hi
Just a quick post for now – I made the top 3 again on Try Stampin on Tuesday. If you haven’t already checked it out I highly recommend that you do. Thank you ladies for voting for my card. The recipient loved his card.
Have a great day.
Paula
Hi
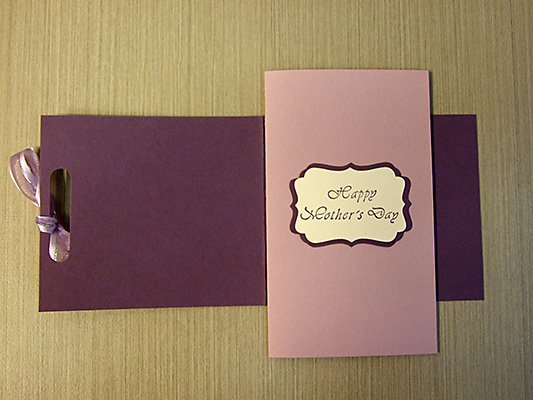
Happy Mothers Day Mum – you are a wonderful Mum & friend! To all the crafting Mum’s – I hope you have a happy day.
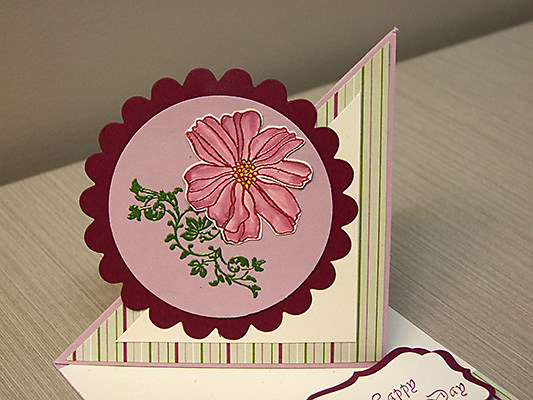
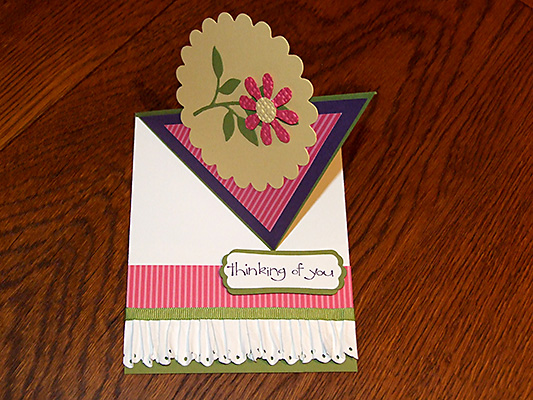
I can finally show you the card I made for Mum. This was the first Twisted Easel card that I made but can only post it now (in case Mum spotted it before the day!). I have stamped the flower & greenery with embossing powder and then filled in the flower with a blender pen & ink pads. I had fun putting the ‘paper lace’ down on top of the sticky tape – I had to keep pulling my hand off the tape! I really love this style of card – it is easy to make and very effective.
TFL
Paula
Hi
Here is the card that I have made for my MIL. Happy Mothers Day Jean.
I saw the card design on Dawn Olchefske‘s blog and just had to have a go at recreating it. Her video turorial is great. The stamp I’ve used is one I got while on holiday in Christchurch recently. I really enjoy colouring in & this one lends to heaps of colour options.
Hi
Well May is certainly the month for birthdays at my work – there are 13 of us with birthdays in May out of a staff of 79. My husband (Phil) and I share the same day – 26th May – which is great as he can never forget my birthday! This year we are celebrating our birthday with an extended weekend and are heading down to New Plymouth. I haven’t been there since 1975 and can’t wait to explore Taranaki.
I’ve made this weeks challenge for one of the guys at work.
Supplies:
Hi there
Just a quick post – I made the top three at Try Stampin on Tuesday again. Thanks ladies for your votes and congratulations to Sharna & Amy on also being in the Top 3. Here is the card that won me my badge.
Well I’d better go and have dinner and then finish off this weeks entry.
TFL
Paula
Hi
The latest round of U Stamp with Dawn & friends has started – it’s not too late to join. This time I decided to join in the fun with Worldwide Swaps – my first time doing swaps. All you have to do is make 6 identical cards using the Big Shot in some way. So yesterday afternoon I started making my cards so that I could get them off to the US ASAP.
I knew what type of card I would make (Twisted Easel) but it took a bit of time deciding how to decorate it. I have just recieved my new Blossom Party die so it was a good time to trial that. In the end I used four different dies – can you pick them? and an Embossing Folder to make the cards. So tomorrow 6 of these will be winging their way to Idaho (Well I think that’s where they’re heading).
I chose my colour combination with the help of the Colour Coach. I decided I wanted to have Melon Mambo as one of the colours as I haven’t used it yet. The flower has been embossed with the Square Lattice, this is my favourite EF. I cut out the Modern Label then stamped my sentiment and then cut another two labels to mat it. I was really pleased with the end result – I hope the recipients like it too.
Supplies:
Stamp – So Happy For You
Cardstock/Paper – Old Olive, Elegant Eggplant, So Saffron, Whisper White, Melon Mambo DSP Pattern Stack
Dies – Scallop Circle #2, Blossom Party, Little Leaves, Punch Windows – Modern Label
Other – Square Lattice Embossing Folder, Eyelet Border Punch, Dimensionals, Old Olive Ribbon
Hope you have a great week.
Paula
Hi
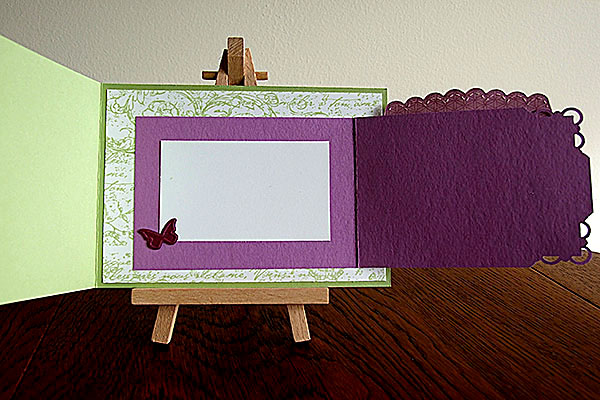
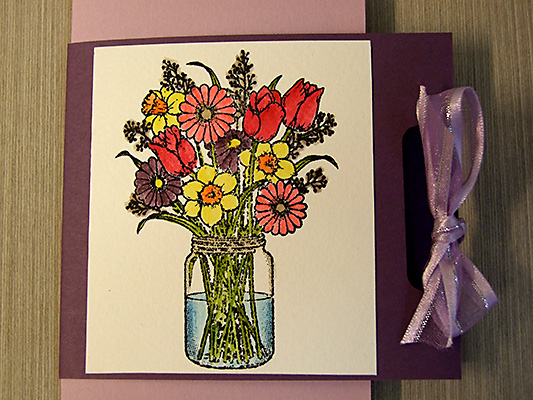
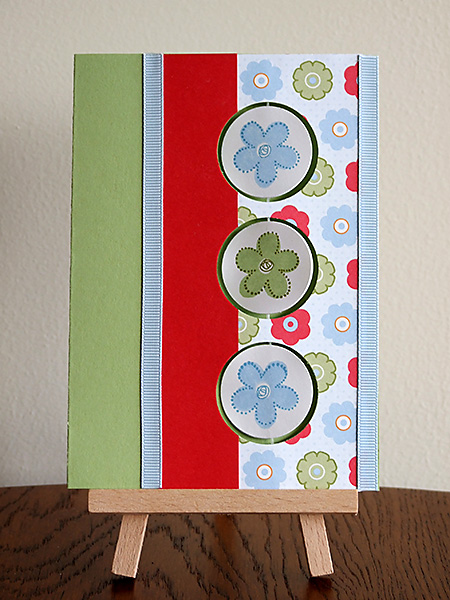
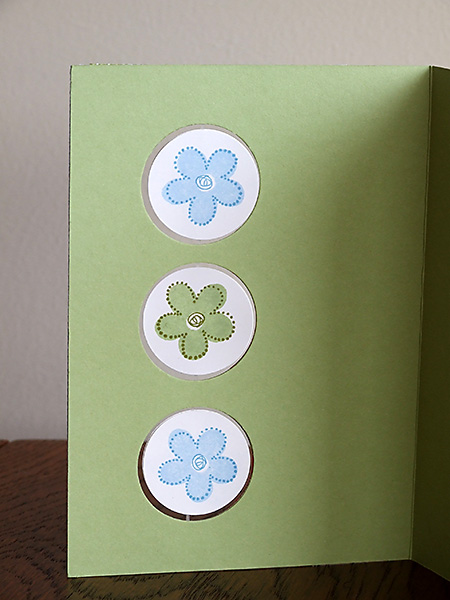
Here is another take from last Monday nights Crafters Anonymous class. This time I changed it to a vertical card and did three suspended images:
Supplies:
Hi there
Well it’s that time of the week again – a new Try Stampin on Tuesday challenge has been loaded. This weeks challenge was to have an envelope or pocket holding something on the front. I’ve gone for a sweet treats cup filled with M & M’s. Great for a birthday card.
So that you don’t ruin the card getting to the M & M’s I’ve made a ‘trap’door on the inside of the card. This allows you to keep the card for another refill!
Hi
I hope you had a lovely Easter break. The weather in Auckland wasn’t that great for outdoor activities but when you are a crafter that is often a good thing as you get time to create. I was able to make my Mothers Day cards (can’t post my Mum’s yet as she might see her card!).
I had a bit of a disaster on Saturday – my laptop died on me 🙁 One minute it was working and the next minute the screen went blank and no power. Phil took it in this morning to get looked at. Hopefully it’s just a fuse that’s gone.
Last night I attended my second online class for Crafters Anonymous (Phil had to watch TV so I could use his computer – what a good husband). It was heaps of fun – 37 women on-line making the same card but with different finished products depending on the paper & stamp sets we had chosen. Thanks Tia for a wonderful evening.
Here is my finished spinner card – which I’ve already given away! I will have to make another one & see how it turns out with a different stamp & paper.
Hi
I hope you are having a lovely Easter break. The weather in Auckland yesterday wasn’t that great but it was good for crafting so I made my card for this weeks challenge at Try Stampin in Tuesday. We were given a basic layout but I knew immediately what I would do.
During the week I had visited Dawn’s blog and seen her card using the technique of Emboss Resist. (Check out her entry on preparing solid image stamps). Ages ago I bought the stamp set Inspired by Nature but hadn’t used the flower stamp. Well now I have & I am really pleased with how this turned out.
I also had time to tidy my craft desk – it’s amazing what you find hidden under everything! I found my little easel which makes it easier for taking pictures.
To make this card I started with Whisper White cardstock and inked the stamp with Versamark and then applied white embossing powder. I then sponged Daffodil Delight ink to the background in a circular motion. It doesn’t have to been applied evenly – that is part of the effect. If there is any ink on the embossed area just wipe it off with a tissue. For my colour combination I used the trusty colour coach – where would we be without this! I left it for a bit to dry and then cut it up as per the sketch making sure I didn’t cut the flower. At this stage the inside of the card is blank as I’m not sure what I will use it for.
Supplies:
Cardstock – Whisper White, Cherry Cobler, Early Espresso
Ink – Daffodil Delight
Other – White Embossing Powder
TFL
Paula
Hi
I have finally got around to posting my project from Monday nights on-line class at Crafters Anonymous. It was the first time I had particpated and it was fun. Here is what we made:
Hi
Just to let you know I made the top 3 over at Try Stampin on Tuesday for the first time. I am so happy.
Here is my badge:
and here is my winning card.
Have a wonderful Easter break and take time to remember the reason for Easter.
If you are travelling please have a safe journey.
Paula
Well today is my dad’s birthday and tonight the family are getting together to celebrate.
I recently saw a card using the technique of inlaid embossing so thought I’d give it a go. When I was cleaning my crafting desk (there was no room left to craft!) I found some cirlces left over from other projects so that gave me the base for my card. Here is my first attempt at inlaid embossing:

I also made a box (filled with chocolate!) carrying on my circle theme. This is the same box that I showed last month except this time I adhered the sides together rather than having it like an explosion box.

Dad will get his ‘real’ present tonight.
Supplies:
Stamp – On Your Birthday
Cardstock – Crumb Cake, More Mustard, Baja Breeze, Bravo Burgundy
Other – Square Lattice Embossing Folder, Scallop Circle Die, 1″ & 1 3/4″ Circle Punches, Modern Label Punch
Paula
A while ago I mentioned that I make the birthday gifts for staff – well I have finally got round to photographing them! I made up 60 of these over the Christmas holidays with the help of my niece & mum – we had fun making them. The cards and ‘owl’ paper clips were made using up leftovers from the old Bright cardstock that I’d used for last years birthday gifts and the boxes are made using the current Bright cardstock. Each box gets filled with: a note pad, highlighter, vivid, bulldog clip, post-it pad, two long paper clips, three pens a Chuba Chup and the Owl paper clip. I got some ‘wobbly’ eyes from Spotlight to use for the owls and then adhered two scallop circles together (paper clip in between) with big dimensionals. Everyone loves getting stationery. The dies certainly make a big job so much quicker.

Supplies:
Stamp – Fox & Friends
Cardstock – Brights and Whisper White
Ink – various
Other – Fancy Favour Die, Circle Punches, Owl Punch, Scallop Circle Punch
Paula
Hi
As promised here is the gift box I made for my friend. I saw this on DawnOlchefske’s blog and have made a few of these (still have to blog the first few batches!). It’s a lovely way to box up some cards for a gift.

Supplies:
Stamp – A Flower for all Seasons
Cardstock – Early Easpresso,Whisper White, Pink Pirouette, Riding Hood Red, Close to Cocoa (retired)
DSP – Candy Lane (retired)
Markers – various
Other – Polka Dot Embossing Folder, Brads, 1 3/4″ Circle Punch, Dimensionals, Riding Hood Red Ribbon (retired)
Paula