


Hi there
The Picture Perfect DSP is rather cool – one side of the paper is a photograph image and the other side is a design image. The cards I’m going to share with you all use the design side of the paper.
I’ve created three cards in the same design but each one has a slight change as we move through them.
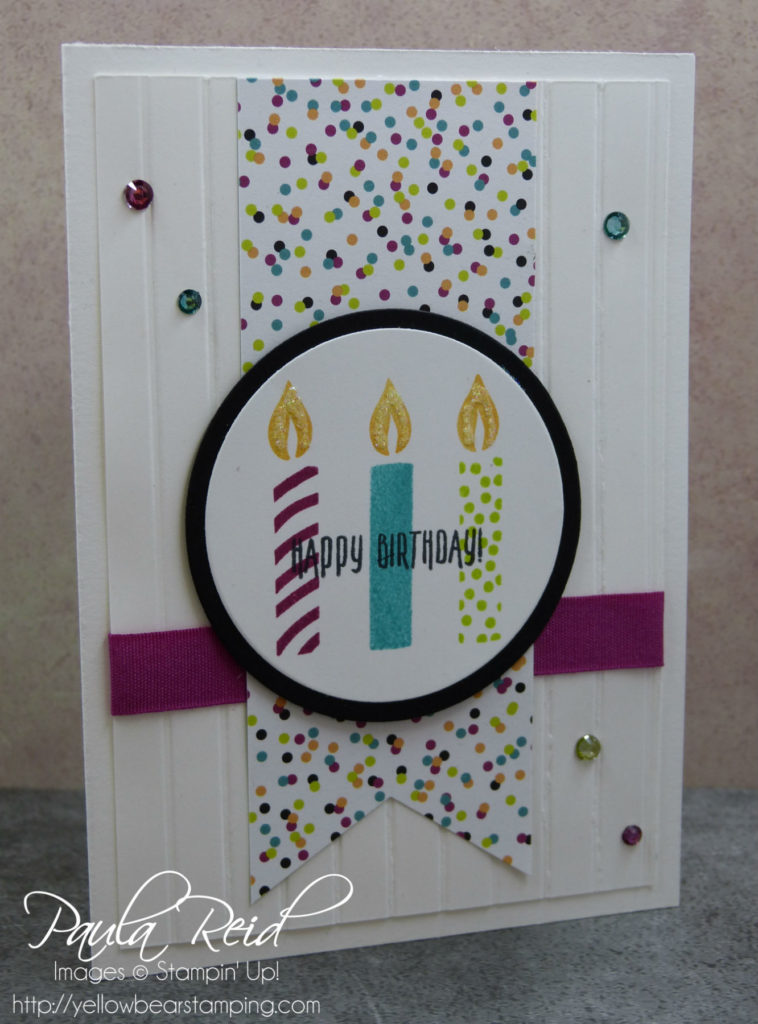
The front panel has been embossed using the Simple Stripes Embossing Folder and adhered straight to the card base. This embossing folder can be used either way – the grooves down or up – I’ve gone with the ‘down’ for this card. To make my ‘flames’ shimmer I’ve used the Fine Tip Glue Pen and then added some Dazzling Diamonds. Stampin’ Blends come in handy to colour your Rhinestones to match your card – here I’ve used Rich Razzleberry, Bermuda Bay and Old Olive.
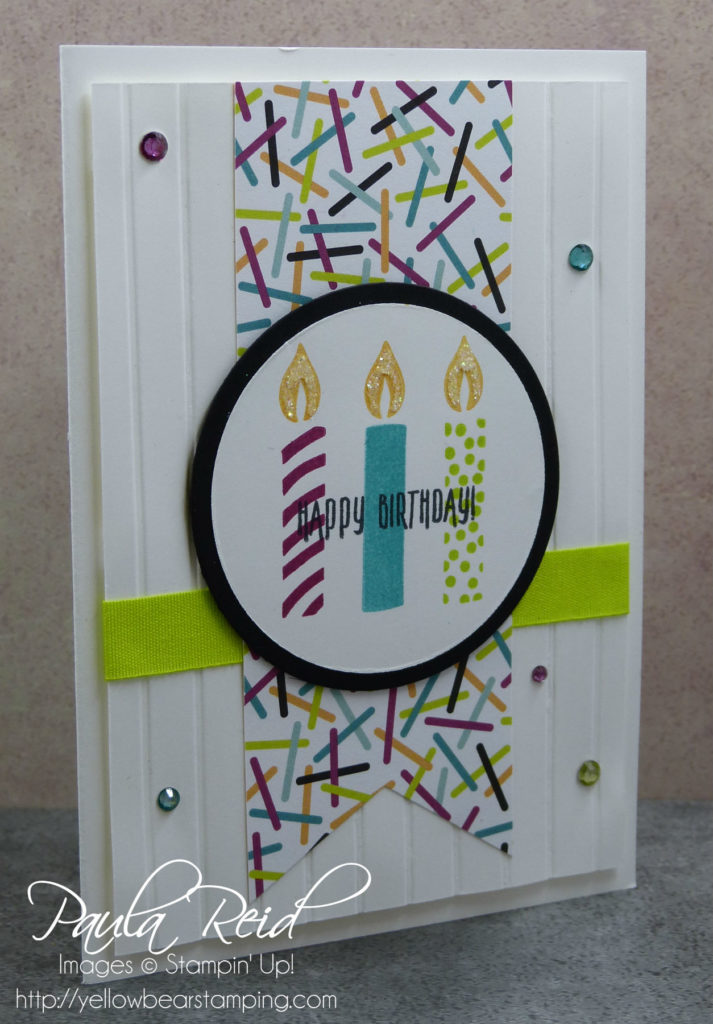
The second card looks the same but this time I’ve adhered the embossed cardstock to the Thick Whisper White card base using dimensionals for a bit of extra height. The centre image has been adhered with dimensionals on both cards.
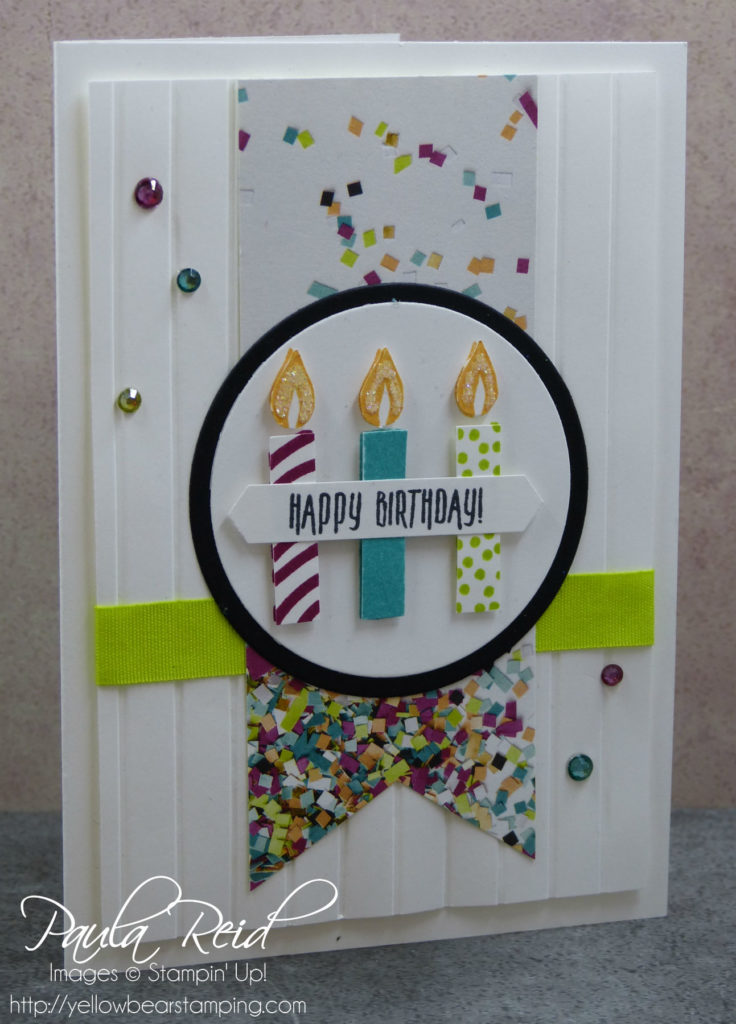
The third card also has the front panel adhered with dimensionals and this time the candles have been stamped again on scrap card stock, fussy cut and adhered with mini dimensionals. The ‘Happy Birthday’ was stamped and punched out using the Classic Label Punch and adhered across the candles.
After making these cards (and some kits for my team) I ended up with a number of narrow strips which I couldn’t let go to waste so I created a Herringbone card using the DSP. I find it’s easier to adhere the stripes of DSP to a piece of copy paper cut to the right size (9.5cm x 13.8cm) and then adhere it to your coloured card mat and then to the card base. This way you don’t end up with too thick a card front. The card base is Thick Whisper White. The stamped image is cut out with the Stitched Circle Framelits and adhered with dimensionals over a piece of Berry Burst ribbon and then finally the felt bow is attached.

Well I’m to bed for an ‘early’ night. Check back tomorrow for some more projects using the photographic images on the DSP.
Until then …
