


Hi there
I got so carried away crafting in the weekend that I forgot to post my other ‘Quite Curvy’ creations. Better late than never.
I created this card for a team swap earlier this year. Swaps are a great way to get samples of other products that I don’t have that I can then share with you. How a swap works is that we get into groups of 10 and we each make a card except we don’t just make one of it we make 10. And then we swap our card with the other 9 group members and end up with 10 different cards.
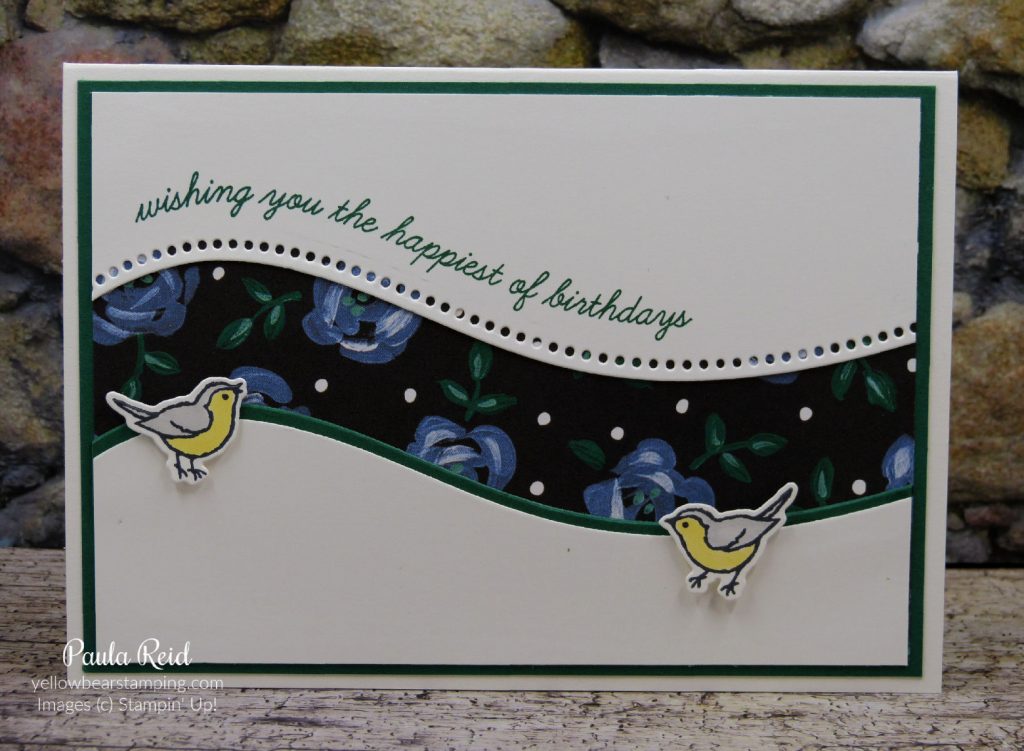
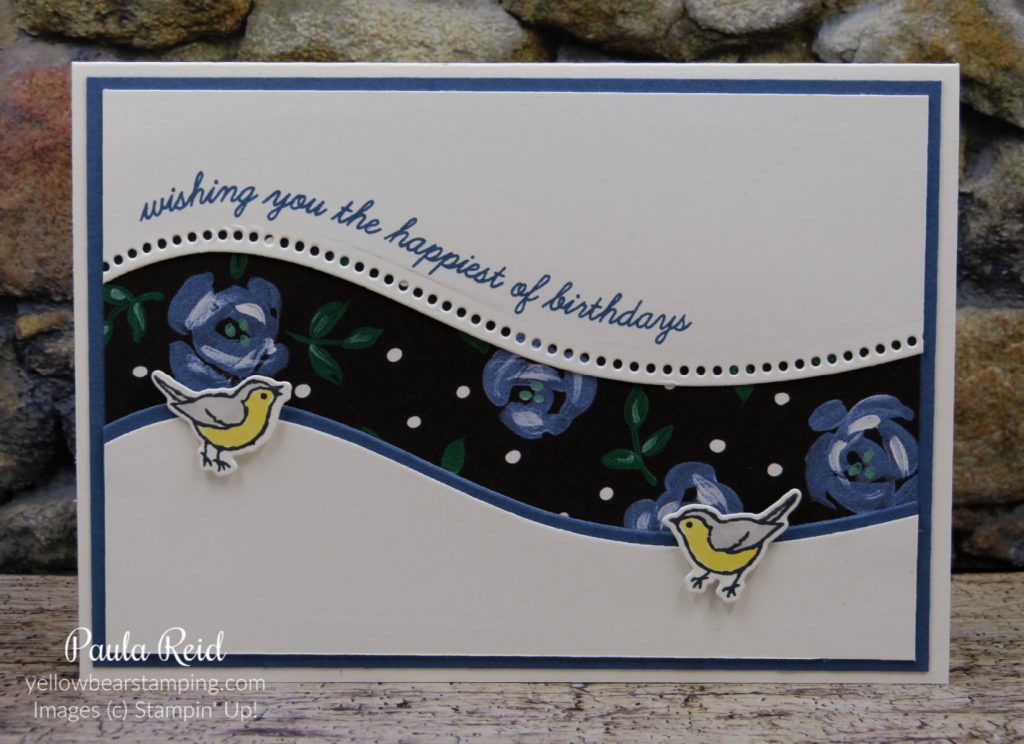
For my swap I used the Quite Curvy Bundle and the Flowers & Field Designer Series Paper (DSP) that was part of the Sale-A-Bration brochure. I decided to make 5 using Shaded Spruce for my mat and 5 using Midnight Muse.
To get my ‘curvy’ cut I started out with a piece of Basic White measuring 7cm x 13.8cm. Position the die so that you are happy with the ‘split’ making sure you have enough room for your sentiment and anything else you want on the front then die cut.
Once die cut I stamped my sentiment to follow the curve of the cut. With this set being Photopolymer it allows a bit of flexibility so that you can mould the words to match the curve.
For the lower section I added a mat (Shaded Spruce or Midnight Muse). This was a bit tricky to cut making sure it matched the Basic White section but I worked out a way – especially as I was making 10 of these. I also numbered the back of the card so my top and bottom pieces matched.
The little birds are also included in this bundle – it’s great having a ‘left’ and ‘right’ facing bird. They were coloured in with Stampin’ Blends and adhered with dimensionals.
I have one other card I made to share. This time I just used the lower section of the die cut which was cut from DSP and used one of the intricate Butterflies (from the Butterfly Brilliance Bundle) on top of a solid die cut from DSP.
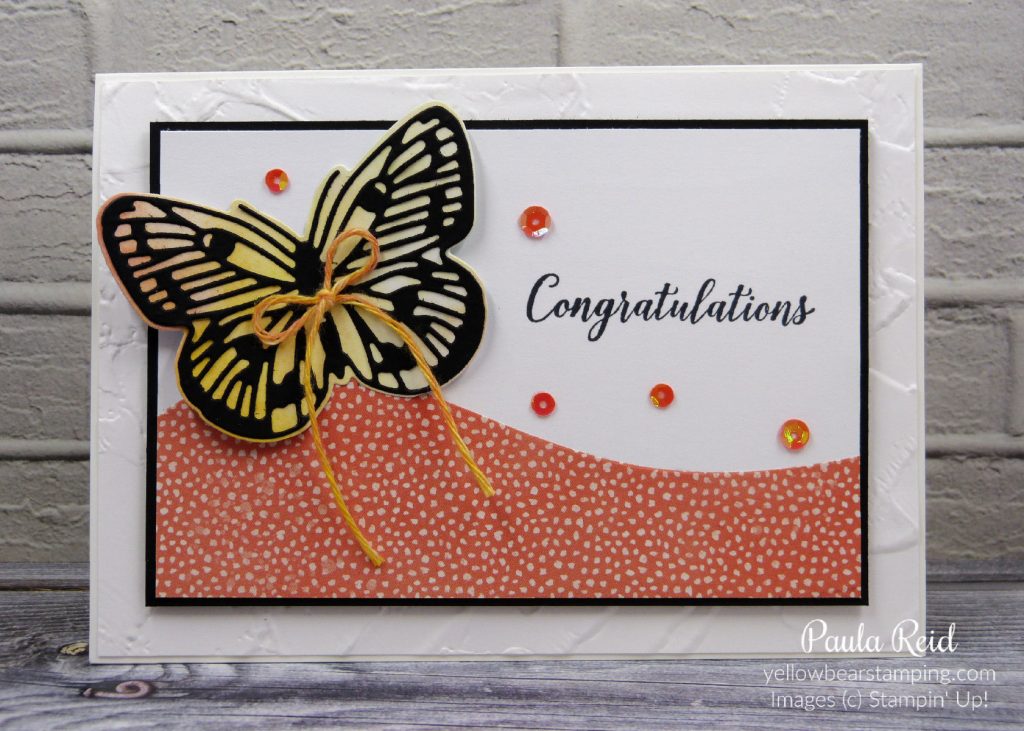
This card has a few layers – the card base of Thick Basic White, a mat of Basic White which has been dry embossed with the Painted Texture 3D Embossing Folder (10.3cm x 14.5cm), Basic Black mat (8.5cm x 12.7cm), Basic White (8.2cm x 12.4cm) and finally the DSP (4.5cm x 12.4cm) adhered to the Basic White. The Basic Black is adhered to the embossed layer with dimensionals. Did you know that the Mini Dimensionals aren’t as high as the bigger Dimensionals? I used the Mini for this card as it already had a bit of height with all the layers. My Baker’s Twine started our life being white but by colouring it with a mix of Stampin’ Blends I was able to create my own colour Baker’s Twine.
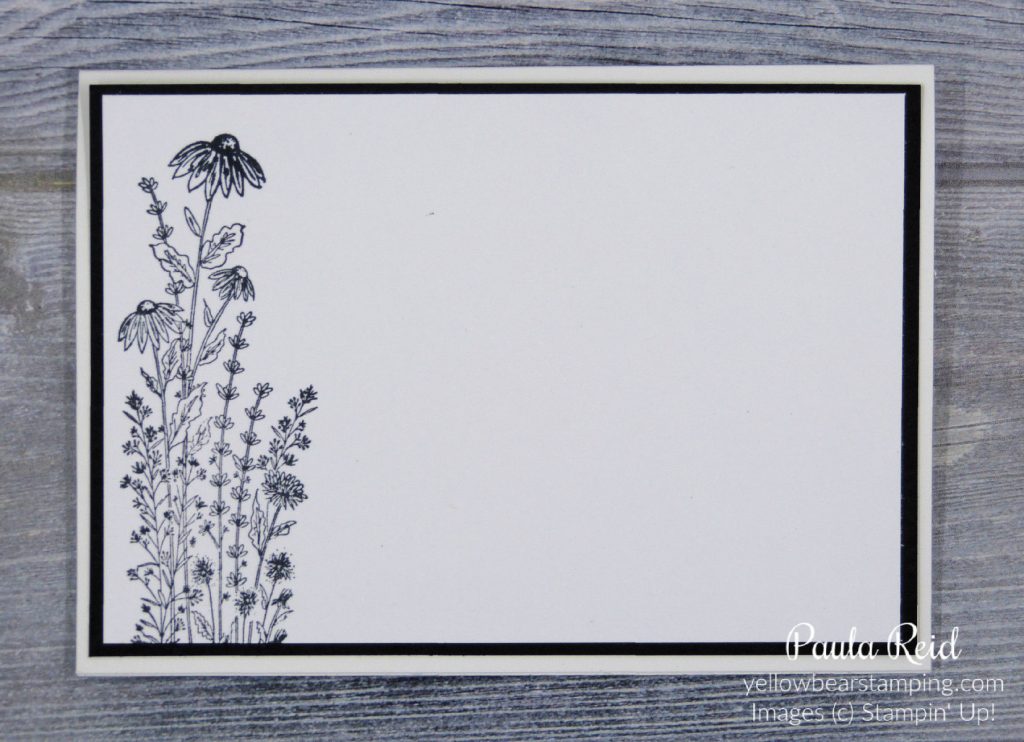
For the inside I stamped the flower image from Dragonfly Garden bundle on page 23 of the new Annual Catalogue.
Well that’s all for now. Until next time …
