Hi there
I hope you’ve kept warm and dry over the past few days – summer is meant to be around the corner but it feels like winter has come back. The positive is we haven’t had to water the garden :).
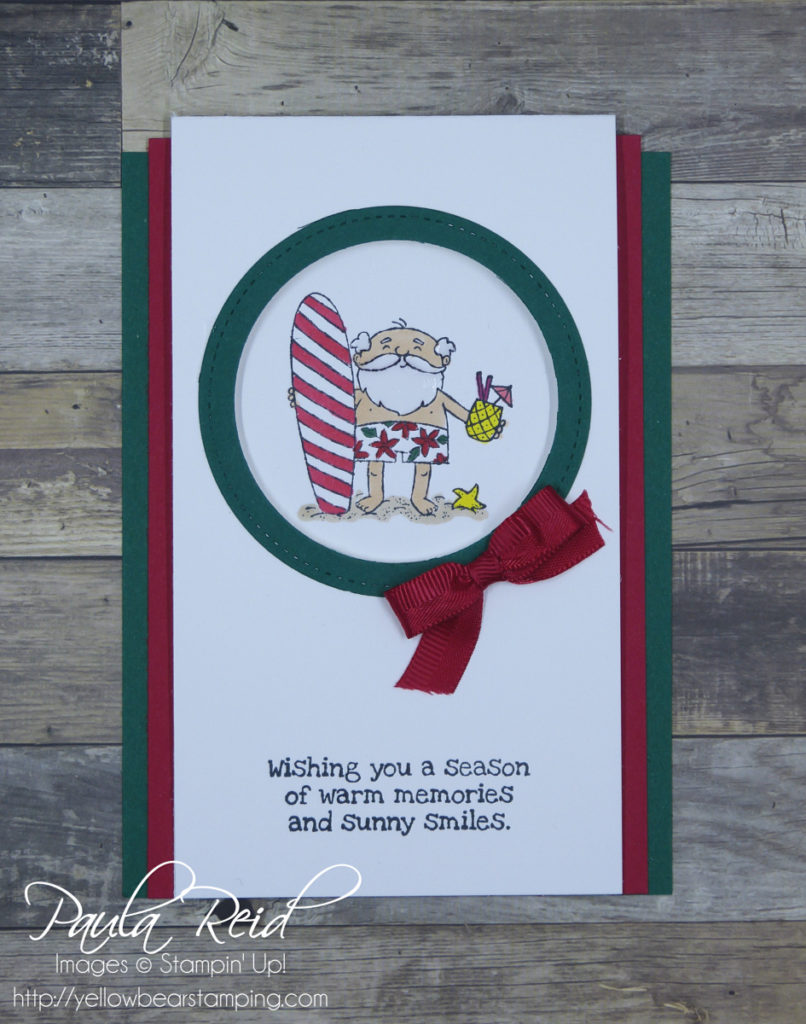
Talking of summer – down here in the South Pacific it’s summer when we celebrate Christmas so for me seeing cards of snow and open fires just doesn’t seem right. It’s great that Stampin’ Up! provide applicable holiday stamps for the various regions. One such stamp that is available in the current Holiday Catalogue is the So Santa set. It consists of three fun line art images and coordinating sentiments.
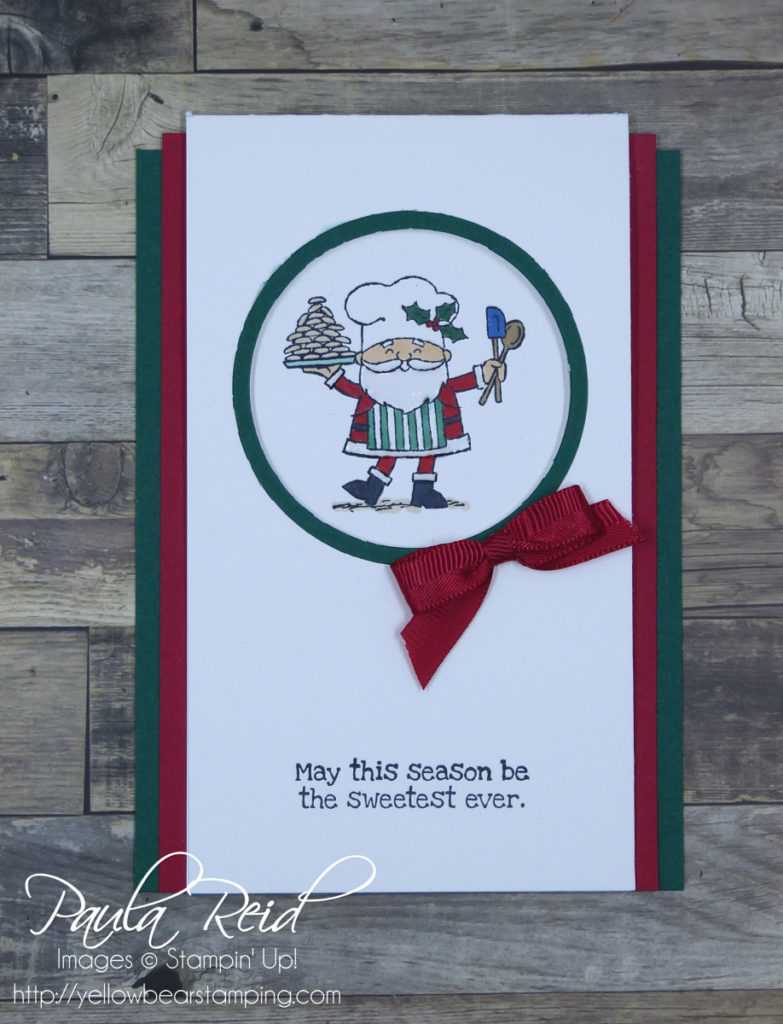
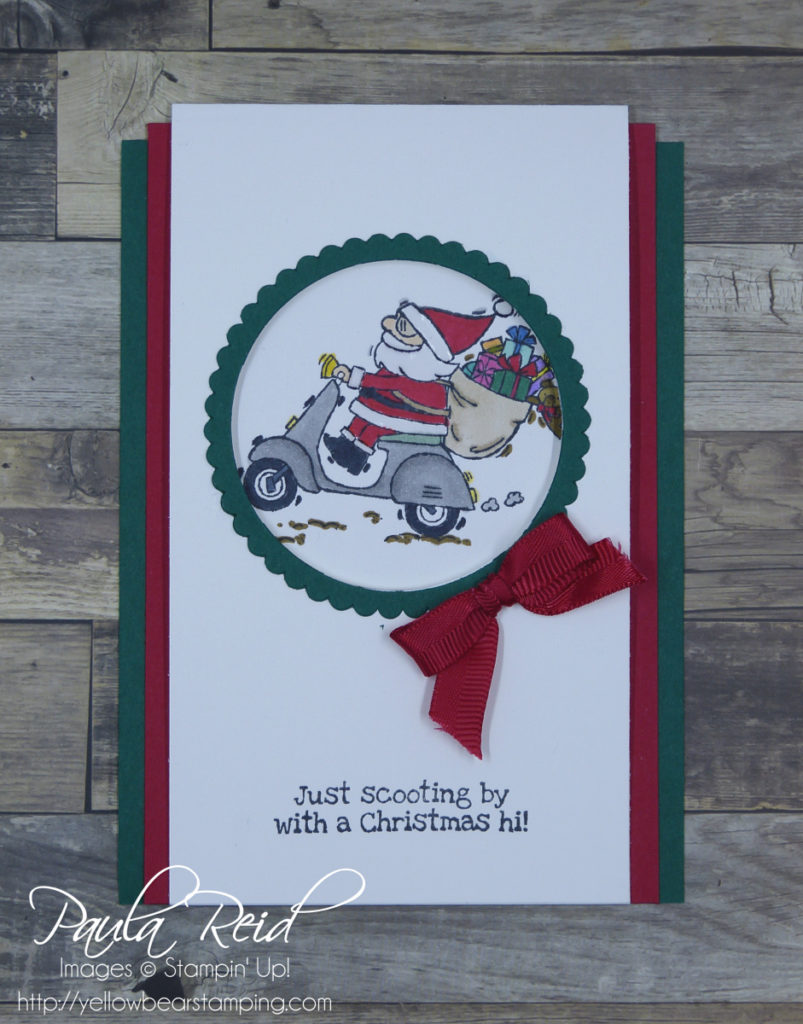
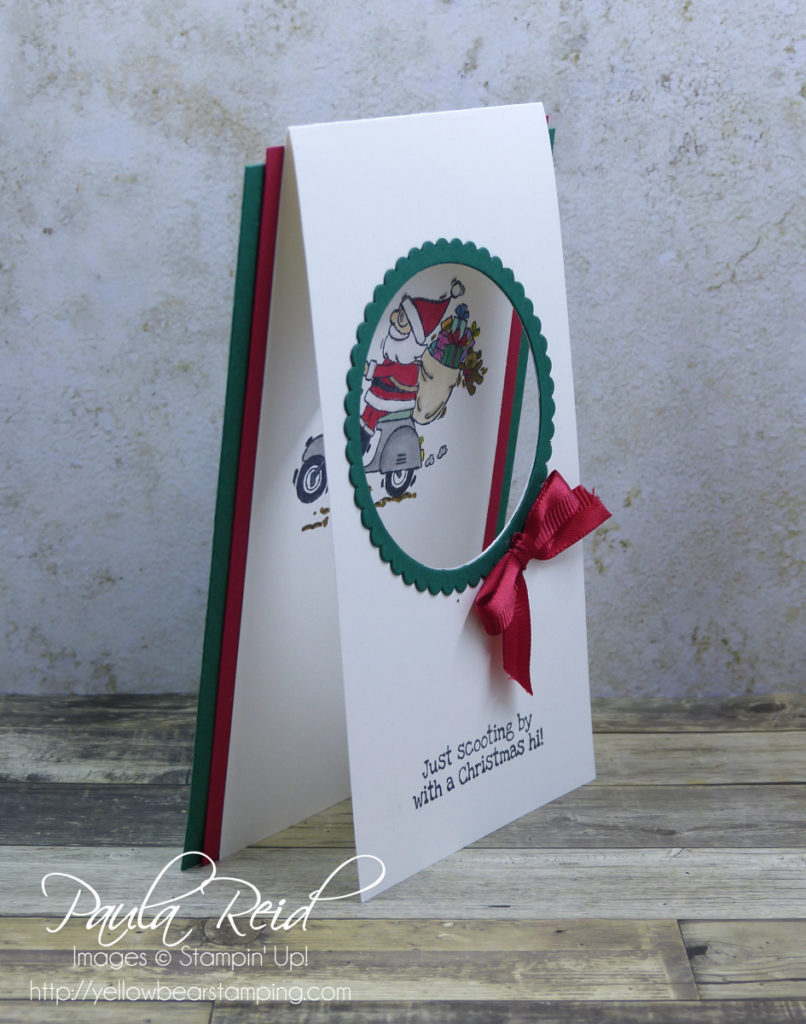
I couldn’t decide which image to use so created three cards. This is a fold I used for a card back in April 2015 based on a creation by Dawn Olchefske.

I’ve used Shaded Spruce, Real Red and Thick Whisper White cardstock for my cards. The ribbon is the Real Red Mixed Satin Ribbon from the Holiday Catalogue. I used different dies to create the circle surround – here I’ve used the Stitched Shapes Die and then cut a circle from the centre. I was actually able to ‘nest’ the two dies together and die cut in one go. Santa has been coloured in with our Stampin’ Blends. Santa’s skin has been coloured in using the Ivory blend and then I used a variety of colours for the rest of the image.

For this card I used two circle dies to create my surround. I cut the circle from the Whisper White first then made some little pencil marks on the inside so I knew where to stamp my image so that he would show through the hole. The image and sentiment are stamped in Memento Black. As there is no white Stampin’ Blend I applied our Fine Tip Glue to his beard, moustache, hair and fur on his suit. This just gives the image a bit of a 3D look.

For the last card I used the Scallop Circle and an ordinary circle for the surround. The Shaded Spruce cardstock measures 10.5cm x 14.2cm, the Real Red measures 9.5cm x 14.5cm and the Thick Whisper White measures 8.5cm x 29.7cm (folded in half). Adhere the two coloured pieces of cardstock together then add the Whisper White making sure they are all lined up at the bottom. I used Thick Whisper White so that the card will stand up on it’s own and is stronger than just ordinary Whisper White.

And here’s what it looks like side on. You could use any colour combination for this card and you could also make the aperture any shape – I might give this a go with an oval.
These cards were fun to create.
Until next time …


Very. Pretty and creative
Thanks – it’s a great fold to create.