


Hi there
Back again with the remaining projects from Stamp Camp using products from the Mini Catalogue – Forever Blossoms from the Parisian Blossoms Suite (page 14-17), Poppy Moments from the Peaceful Poppies Suite (page 24-27) and the Best Dressed Suite (page 54-56).
First up a fancy fold card – Triangular Tri-fold – using the Forever Blossoms Bundle.
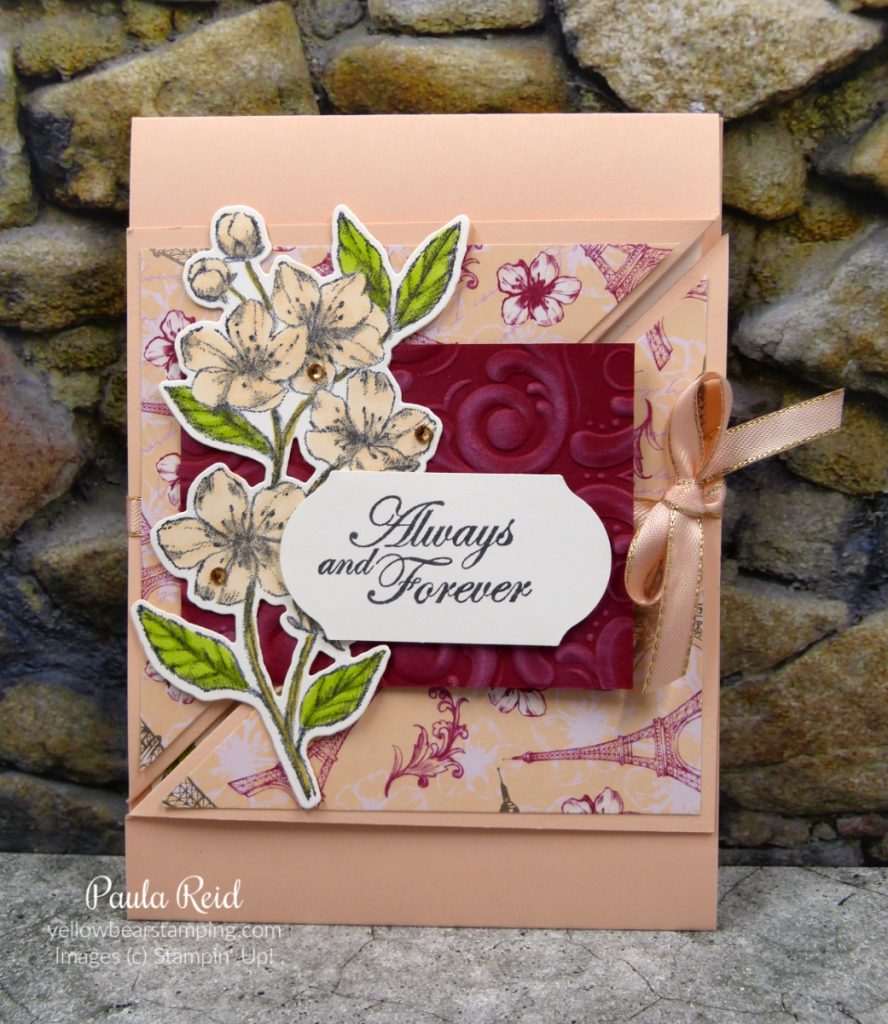
The Parisian Blossoms Suite has two bundles within the suite and we used the Forever Blossoms bundle. The papers – Parisian Blossoms – coordinate with both bundles and are a mix of Petal Pink and Pool Party tones. The main image is stamped in Memento then coloured in with Petal Pink, Granny Apple Green and Soft Suede Stampin Blends – a few of the gorgeous Champagne Rhinestones have been added for a bit of ‘bling’. We dry embossed the Cherry Cobbler cardstock with the Parisian Flourish 3D Embossing Folder then lightly applied some Whisper White ink using a Sponge Dauber – it really shows of the embossed effect of the folder.
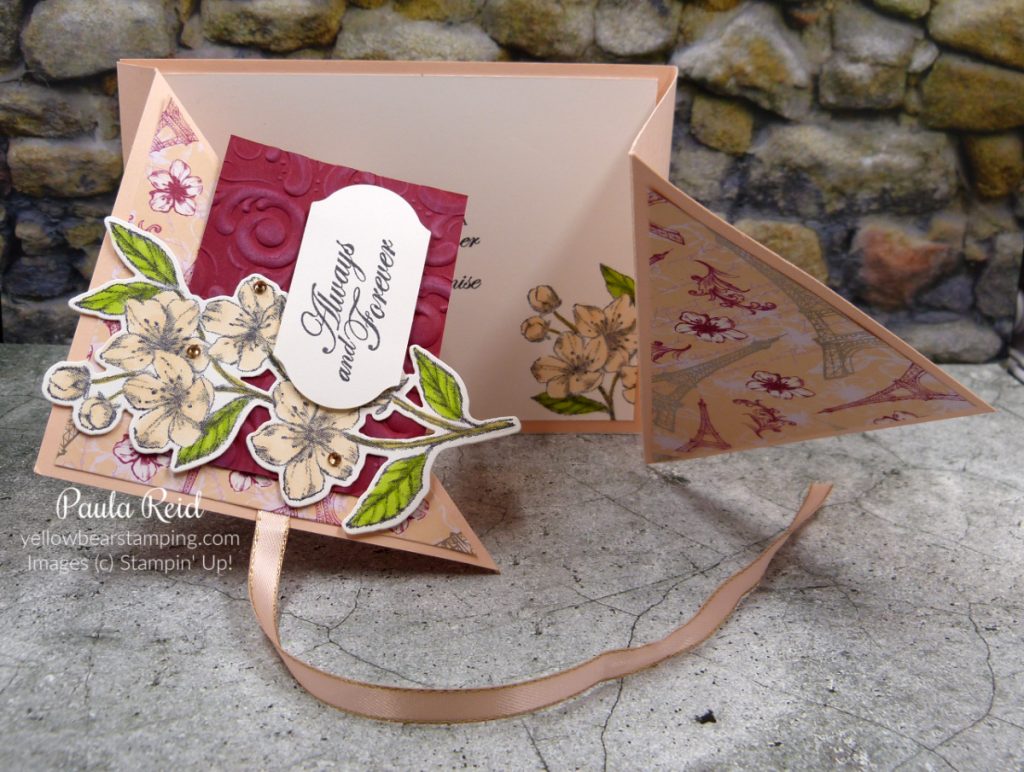
Once you untie the bow the the card opens up to a landscape orientation to show the inside sentiment and a partially stamped flower image.
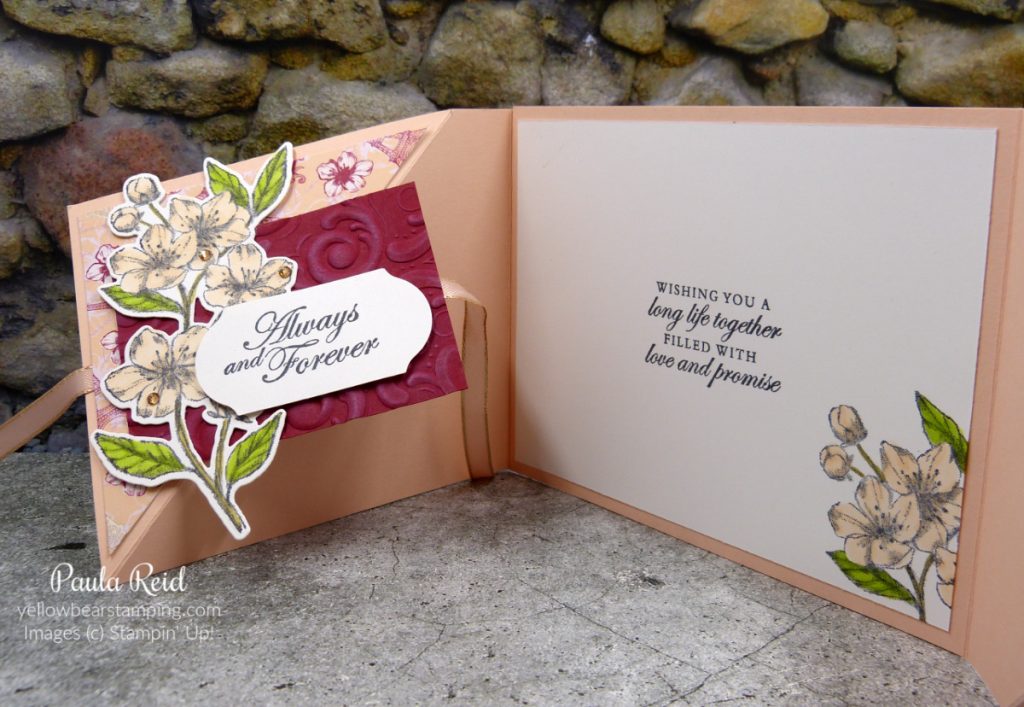
This card uses a whole sheet of A4 – cut in half lengthwise and adhered together on the central portion. You do have to concentrate in getting your score lines the right way but after that it’s an easy card to construct. I love fun fold cards so will be giving this one a go with some new products out of the 2020-2021 Annual Catalogue.
Next up is a fun project featuring the Poppy dies.
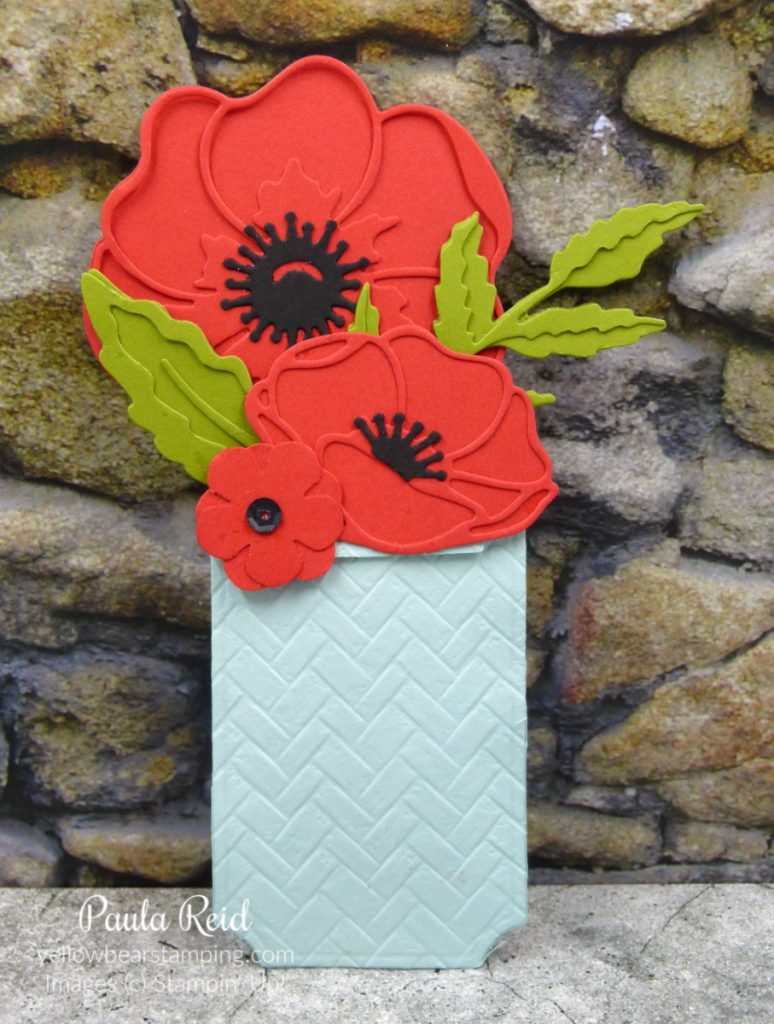
How cute is this little project – and not a stamp in sight :). When you pull the ‘poppies’ up take a look at what you will find.
Poppy seeds ready to plant :). The dies used were the Poppy Moments Dies and the Small Bloom Punch. The Poppy holder has been dry embossed with the Coastal Weave 3D Embossing Folder.
The last project features the Best Dressed Suite and has a special holder inside for a gift card
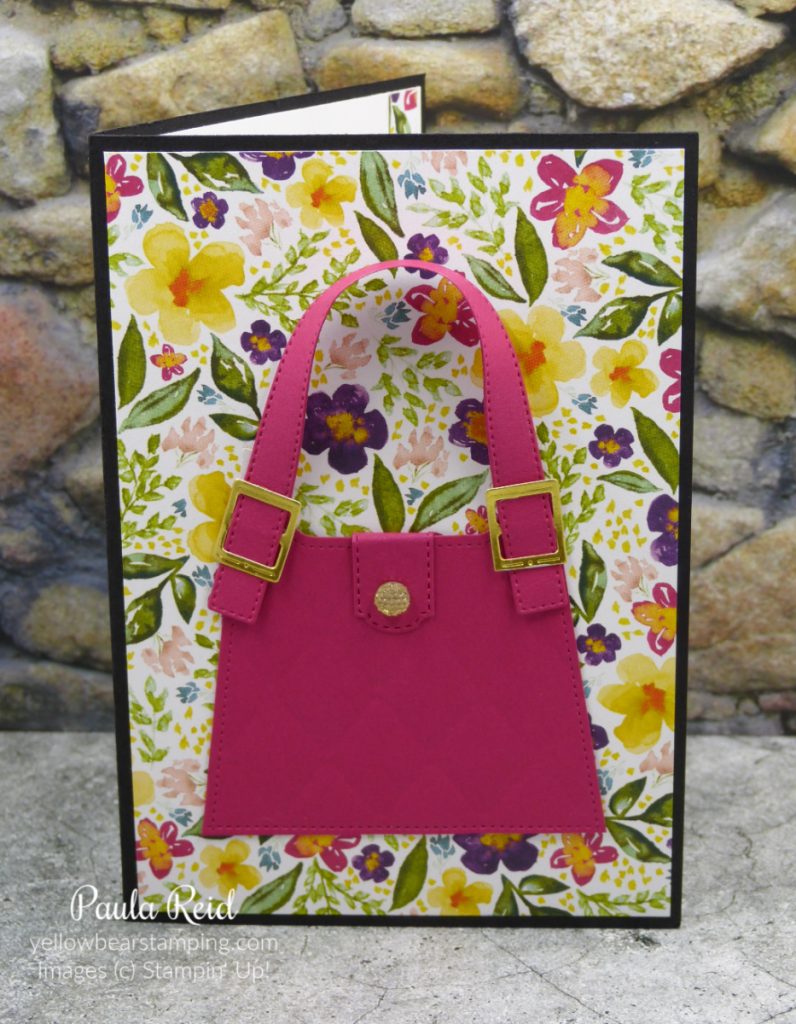
We’ve used the Best Dressed 6″ x 6″ DSP for the background and then die cut one of the ‘bag’ cutouts in Lovely Lipstick to create a flat bag for the front of the card. The buckles are cut from Gold Foil and I added a Gold Facted Gem as the clasp for my bag. When you open the card you’ll find a holder for your gift card to sit in.
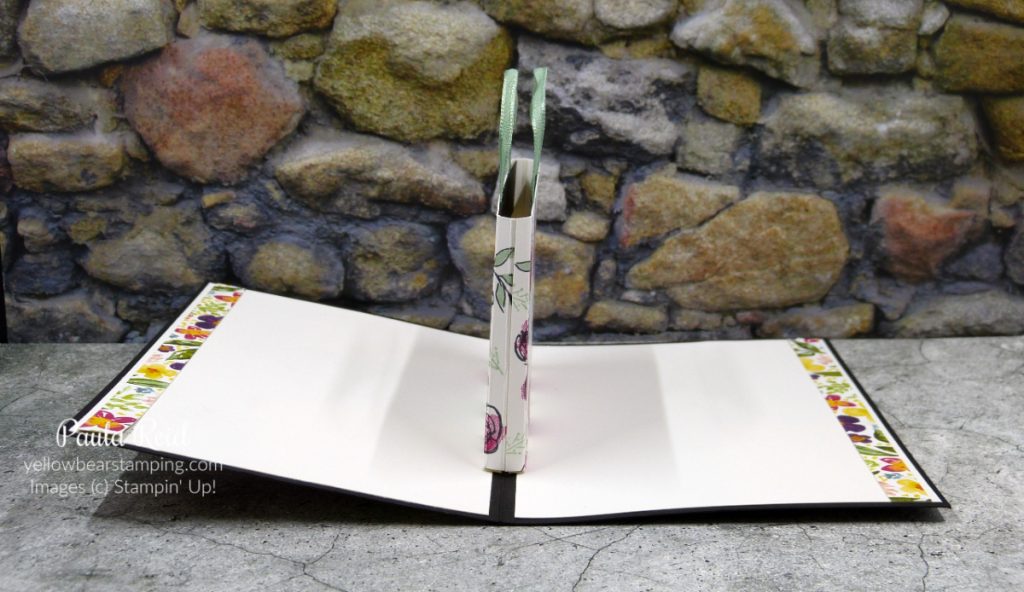
It’s a bag within a bag – how cool is that. It’s the perfect size for a gift card to fit in. You could put a shop bought voucher inside or you could create your own one. I have yet to add a sentiment to the inside.
Well that’s all for today – I hope you’ve enjoyed seeing these projects. Don’t forget you have until Tuesday 2 June to place orders for retiring products from the Mini Catalogue and the 2019-2020 Annual Catalogue. From Wednesday 3 June we will be able to order products from the new 2020-2021 Annual Catalogue – what’s first on your ‘shopping list’?
Until next time …
