Hi there
For today’s card I used a very useful tool – the Stamparatus – to help me create my stamped circle image. The Stamparatus is a stamp positioning tool and can be used for a number of techniques too.

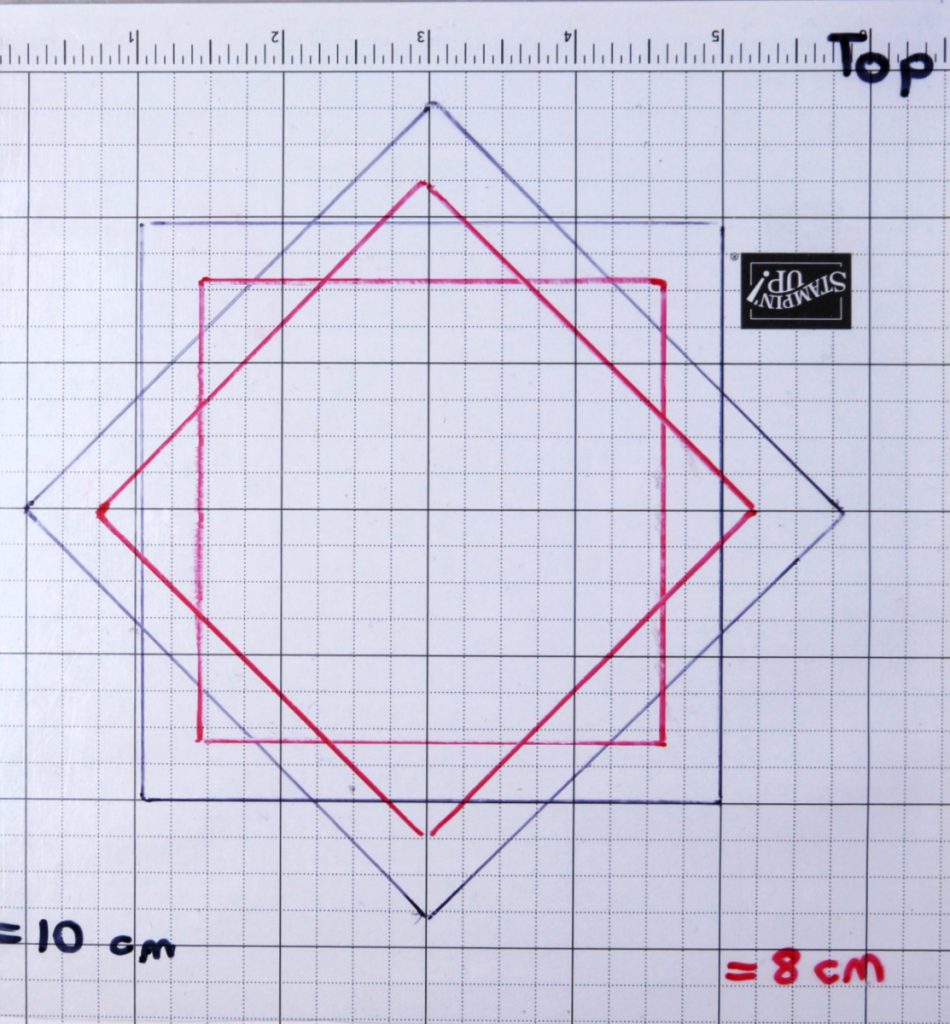
I’ve been wanting to use this technique for some time and the Tidings & Trimmings set was perfect to create a wreath. You’ll need a square of cardstock (mine is 8cm square), a template (as per below), your Stamparatus and your chosen stamp/ink.

Place your square so that it is centered on the grid paper and draw around the edge then turn it 45 deg so that the corners of the square are now on the vertical and horizontal central lines of the grid paper and draw around the edge.
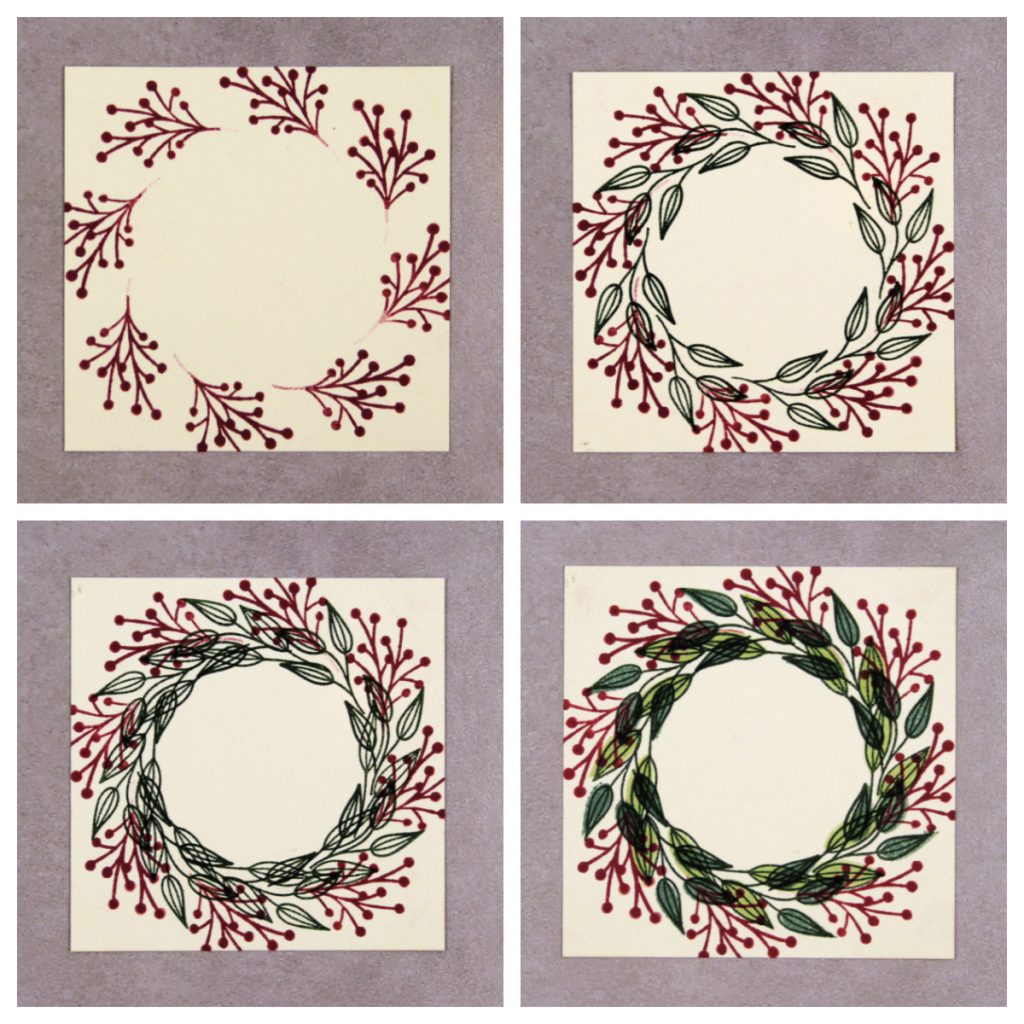
Place the template and the cardstock (in the square position rather than the diamond) in your Stamparatus. Stamp your first image then rotate the cardstock one position to the left and stamp again. Repeat this until you have the first circle (first photo below). Change your stamp and repeat as many times as needed until you create your circle/wreath image.

For my first image I didn’t fully ink up the stamp so that the stem stayed within the wreath. My second and third stamps are stamped in Evening Evergreen to create the base of the wreath. I then stamped the solid stamp in Soft Succulent and Soft Sea Foam to colour in the leaves.

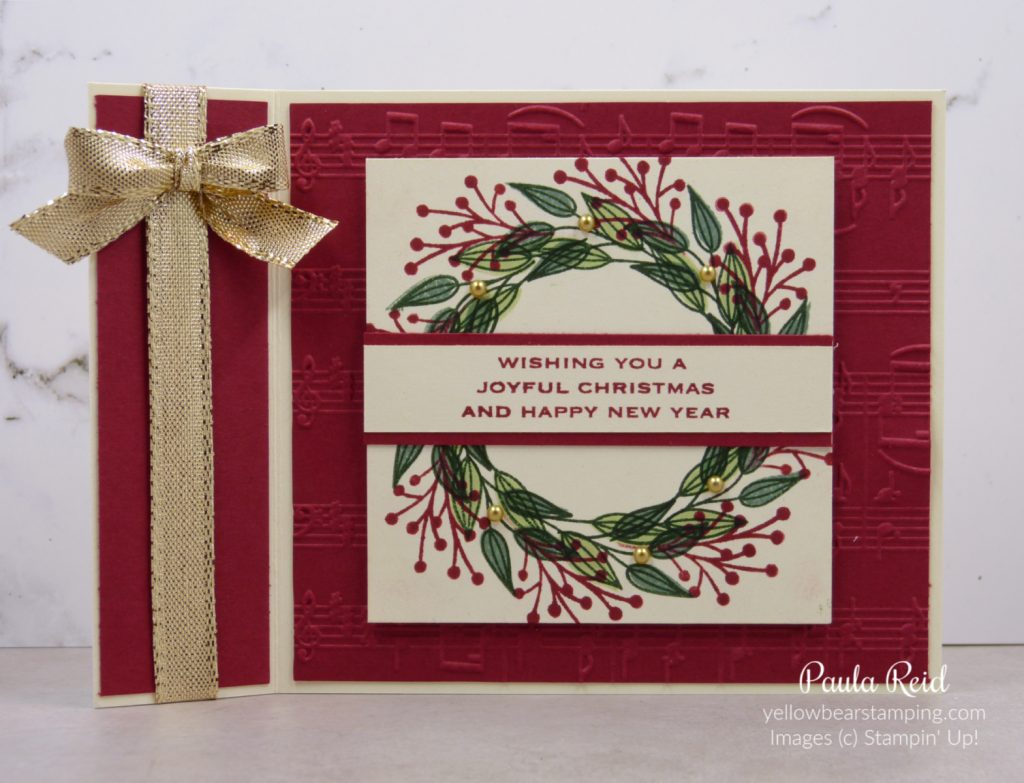
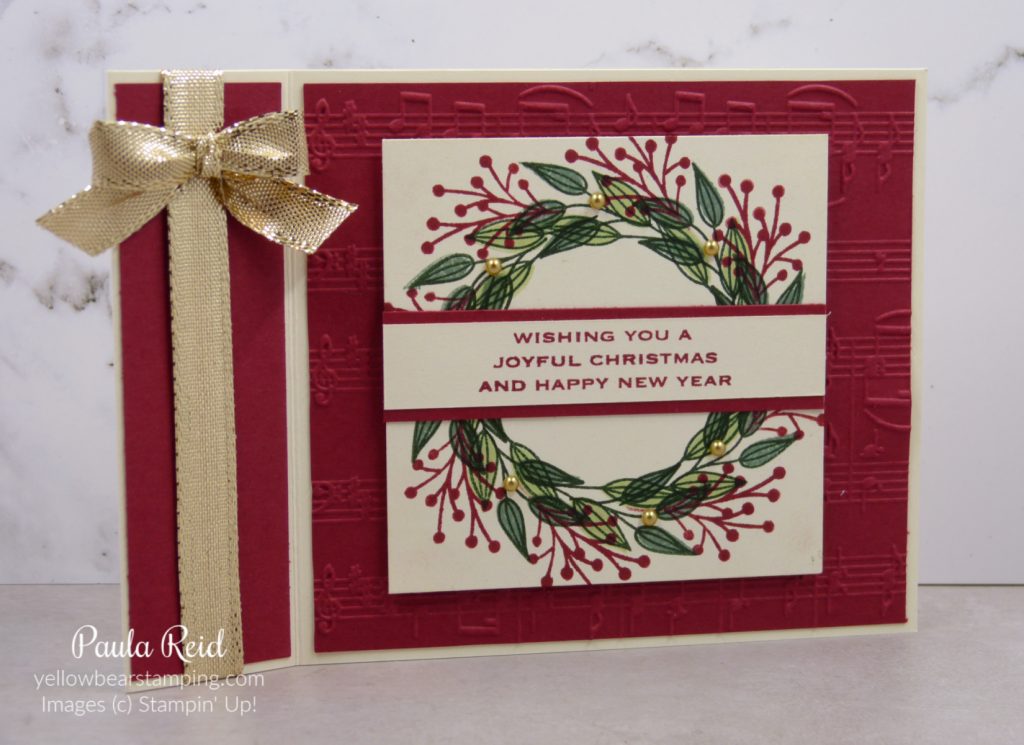
And the finished card – my favourite fun fold. The background has been dry embossed using the Merry Melody 3D Embossing Folder – I’m loving this folder. Instead of ‘bling’ I used the Metallic Gold Pearls to add some dimension to the wreath.
We that’s it for now. Until next time …

