Hi there
Over the last couple of weeks I’ve shared some different ways for you to use our Gilded Leafing – applying with Tear & Tape and also with Heat & Stick Powder. Today I have another method using our Adhesive Sheets which can be found on page 167 of the Annual Catalogue.

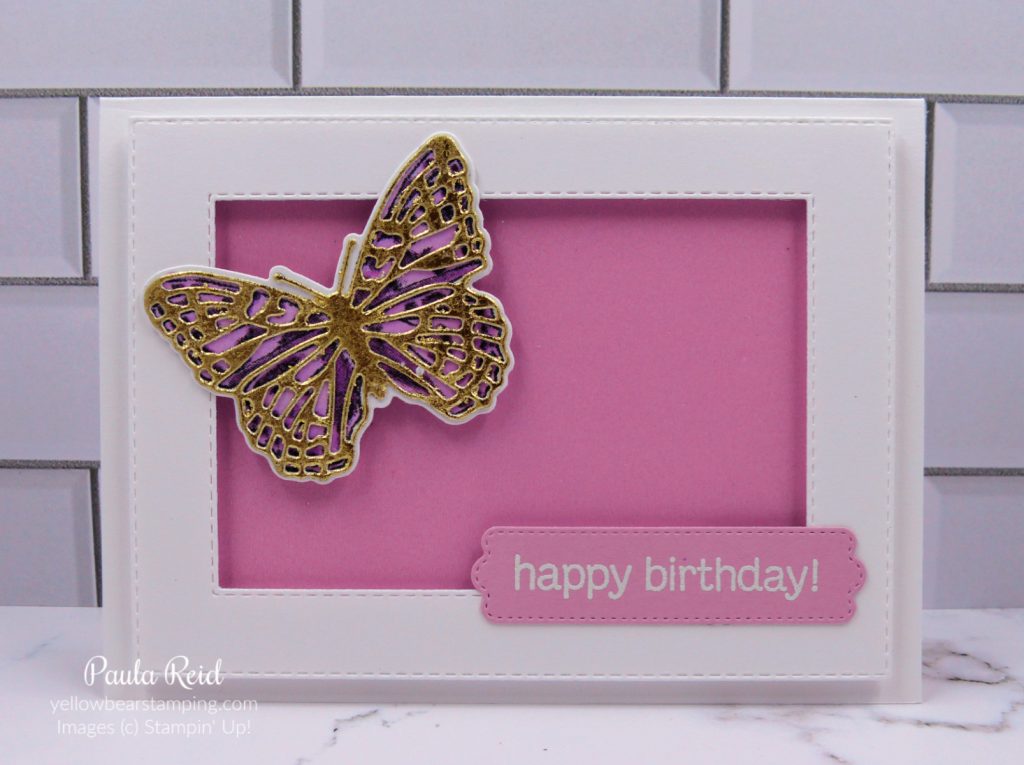
For this card I wanted the overlay for the butterfly to have the Gilded Leafing on it. The Heat & Stick Powder wouldn’t have worked as this is a die and not a stamped image which has been die cut. The Adhesive Sheet works really well with die cut images. I started with a scrap piece of Basic White just bigger than the die. Normally you would adhere the Adhesive Sheet to the back of your image so you can adhere it to your project but this time you want to adhere the sheet to the top. Next, place your die on top and run it through your die cutting machine. Remove the protective sheet and apply the Gilded Leafing patting it down to a smooth finish. Now to create the card base.

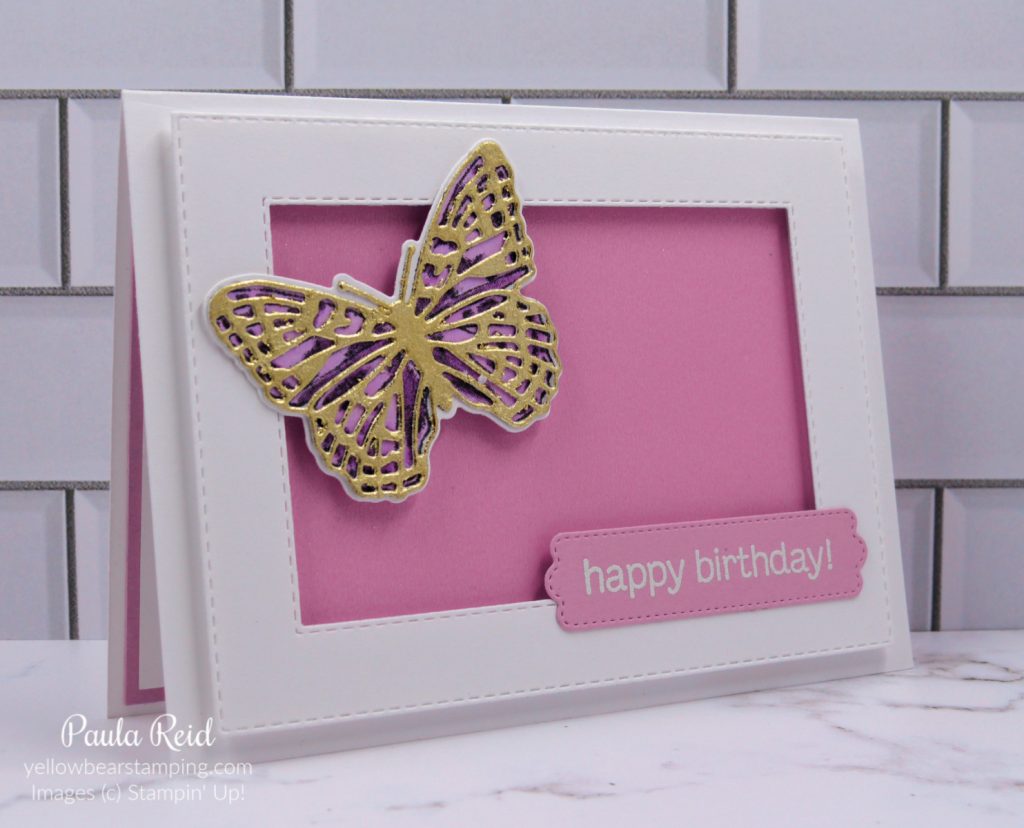
Using the second and fourth largest Stitched Rectangle dies create a frame from Basic White. I cut them at the same time. Adhere Foam Adhesive Strips to the back of the frame around the outer and inner edges. My card base is slightly smaller than usual and measures 10.5cm x 14.3cm to accommodate the frame. Before adhering the frame to the base I added my background which is the lovely Fresh Freesia Shimmer Vellum from page 135. The sentiment is from the Turtle Friends set – I love this font – which has been heat embossed in White and die cut using one of the labels from the Pretty Pillowbox dies. Now that the base is complete adhere your Gilded butterfly – I used some of the Foam Adhesive Strips for this.
I hope the last couple of weeks projects have inspired you to try our the Gilded Leafing and also highlighted some of alternative uses of our adhesive range. If you have any questions about these projects please leave me a comment.
Until next time …

