


Hi there
I hope you’re enjoying the Technique Tuesday blog posts and are giving some of these techniques a go yourself. I must admit I hadn’t done some of these for ages so it’s good to revisit them. Today’s post uses a technique called ‘Josephs Coat’ – it uses lots of colours randomly sponged on a piece of white cardstock.
I wasn’t sure how this would turn out as it’s ages since I’ve done a card with this technique but I love the final result – the colours really ‘pop’ off the page. There’s really only three steps to this:
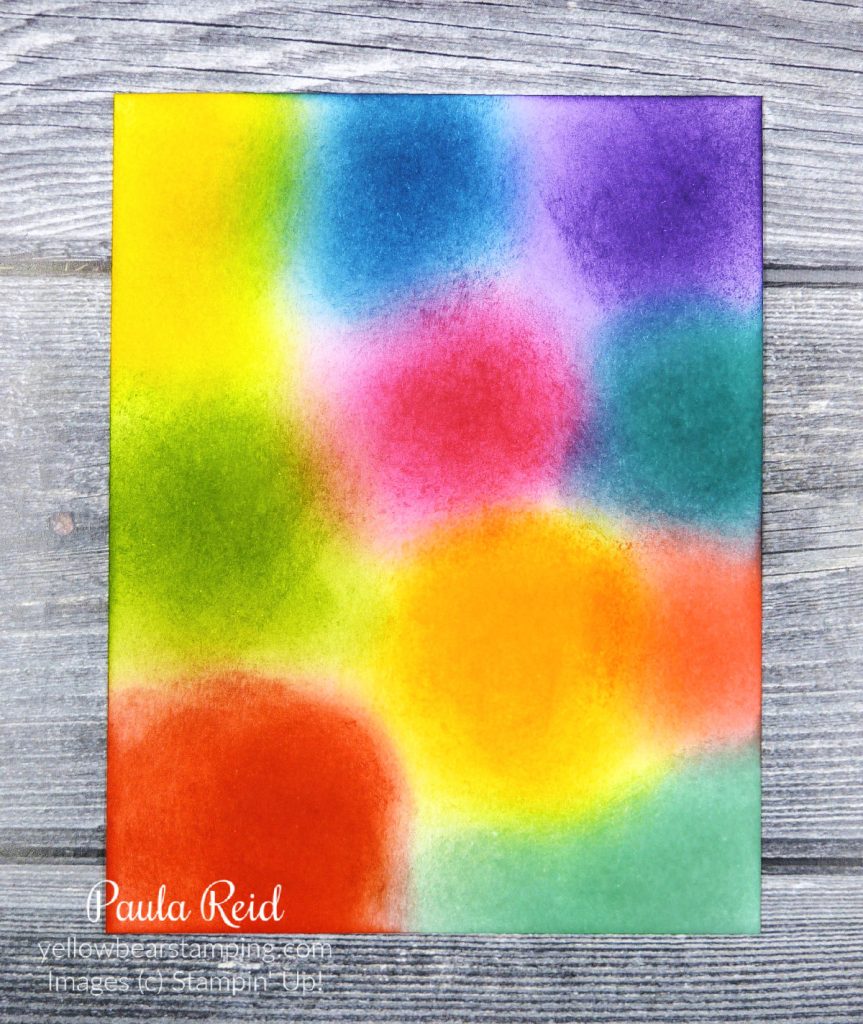
First colour your entire cardstock using a sponge to apply the ink – I used a piece of Basic White measuring 10cm x 14.4cm. The ‘Brights‘ family of colours is my favourite so I used all 10 colours to colour my cardstock. You don’t have to use this many but I thought ‘why not’ :).
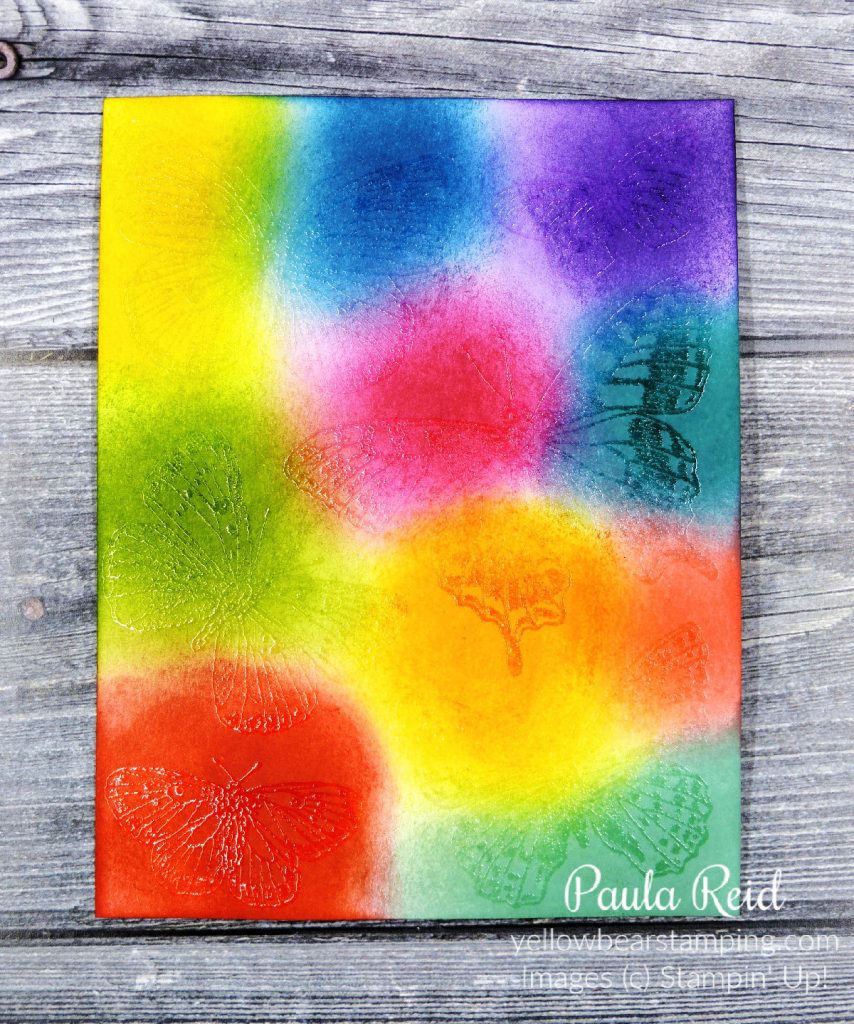
Next wipe across the whole of the cardstock with an Embossing Buddy and then stamp your chosen image with VersaMark ink. Pour clear embossing powder over the top, remove any excess powder and heat with your heat tool. I hope you can see my stamped image – it’s the new Butterfly Brillance stamp.
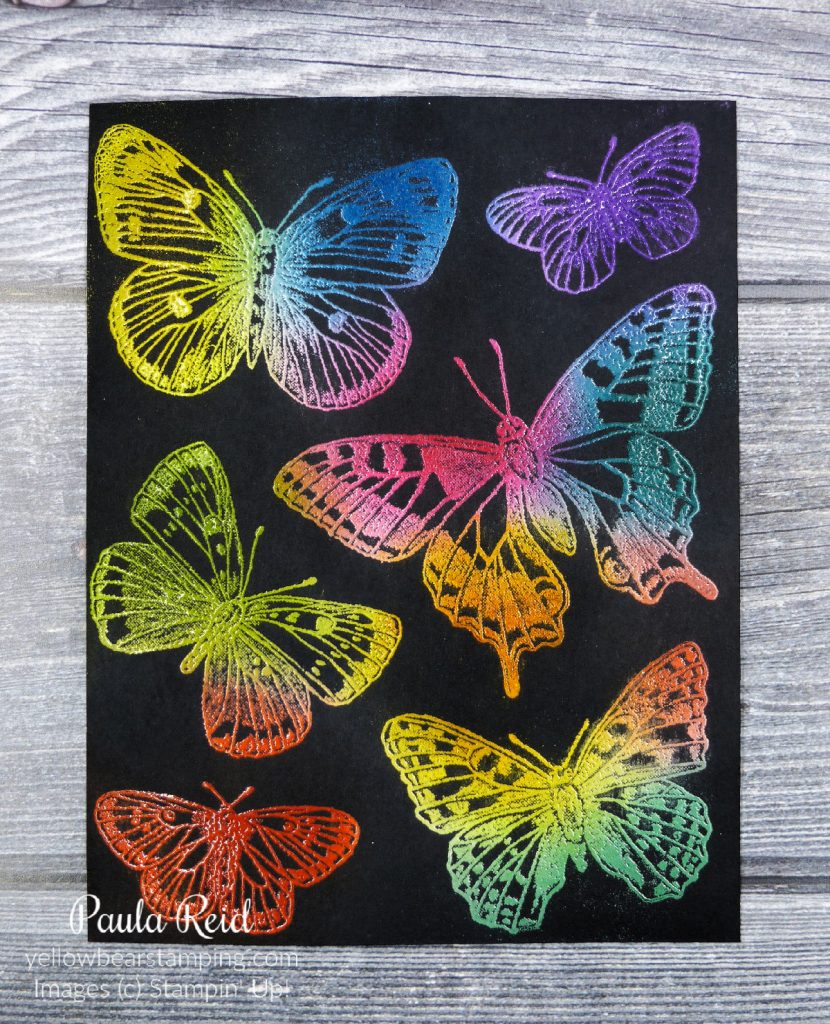
Now you can see it. Using a dark ink (black or navy) and a sponge brayer cover the entire cardstock. For this card I used Memento Black and actually dragged the ink pad across the cardstock rather than using a brayer. Both methods work well. Wipe off any excess ink from your embossed images. You are now ready to assemble your card.
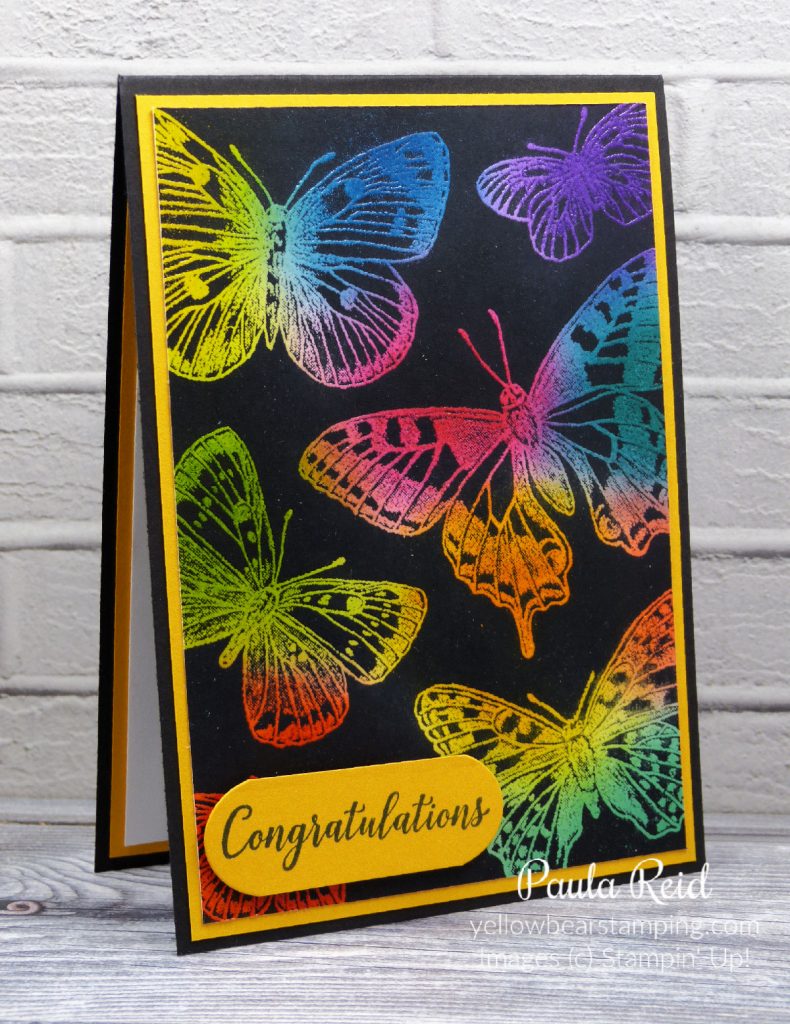
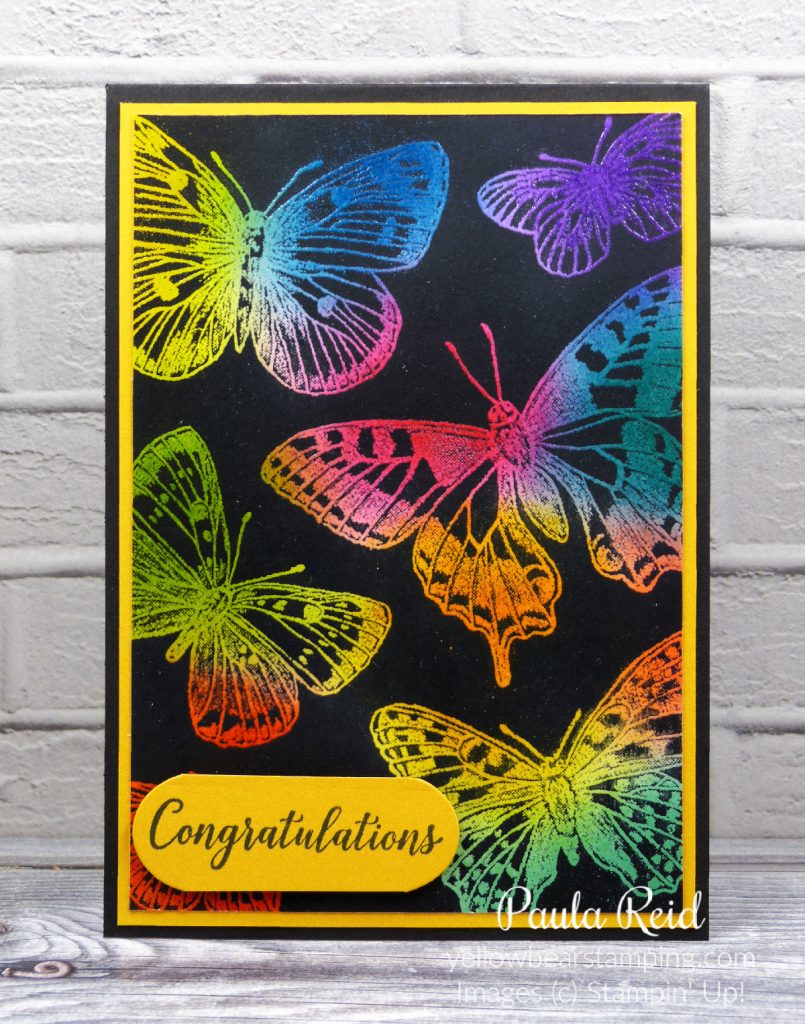
I decided that I wanted to mat my card front so tried a couple of options – Pacific Point, Bermuda Bay – but settled on Mango Melody as I felt it enhanced the colours of the butterflies. As I wanted to mat this I trimmed my stamped cardstock down to 9.5cm x 13.8cm – this allowed me to get rid of the excess black around the edges.
My butterfly at the bottom left was the only one that ended up being a solid colour so I covered most of it with my sentiment :). The sentiment is from the Happy Thoughts stamp set and has been die cut from with a die from Perfect Parcels. I trimmed the cutout top and bottom to create my own shape.
I hope you’ve enjoyed this technique and give it a go for one of your own projects.
Until next time …
