Hi there
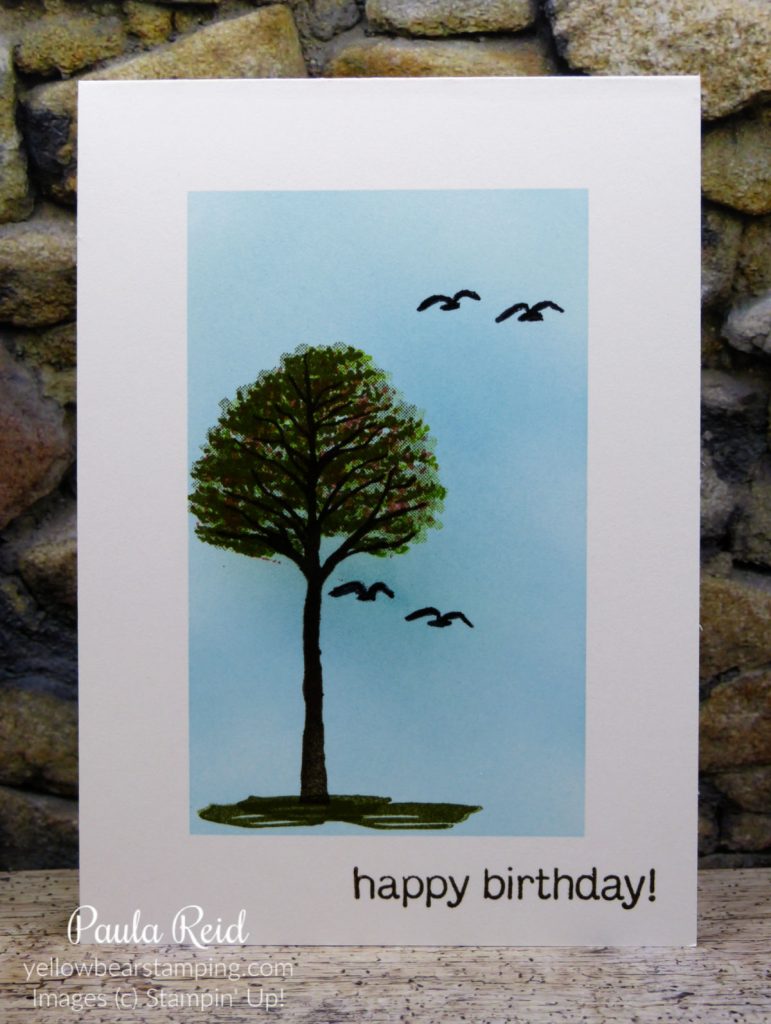
I fellow demonstrator recently shared a card she had made that had only one layer – the card base – so I thought I’d give it a go. It’s actually harder than it seems – getting some depth to your project by just using stamps and ink. This was a first for me.

To start I created a mask around the edge of the card leaving a 3/4″ border using Post-It Notes. Using Pacific Point and a Blending Brush I applied ink to fully cover the unmasked area. TIP: once you’ve inked up your brush start off your project on your scrap paper and slowly work in a circular motion onto the area you want coloured. This will help to get an even application of ink. If you need to reink your brush repeat the process. If you start on your project 9 times out of 10 you’ll be too heavy handed with the pressure and end up with a dark patch – trust me I’ve learnt the hard way.

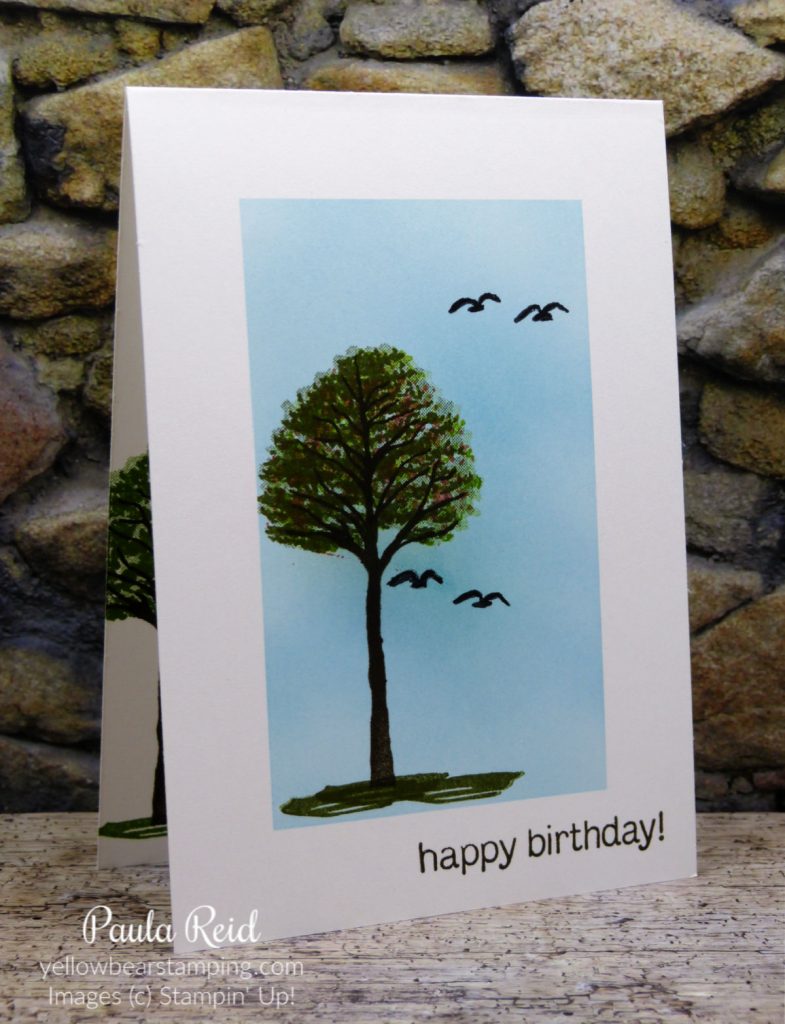
Once you’re happy with the coverage stamp your image. The foliage stamp from the Beauty of Friendship set is a two-step stamp which means there are two different images that get stamped to make up the full depth of the foliage. For this example I stamped both images in Mossy Meadow and then added some ‘blossoms’ using Flirty Flamingo. After stamping my tree I felt my project still needed something more and knowing it was a ‘one layer’ card I searched my stamp sets and found the ‘birds’ from Beautiful Moments. Having the birds at two different heights gives the card some depth too.

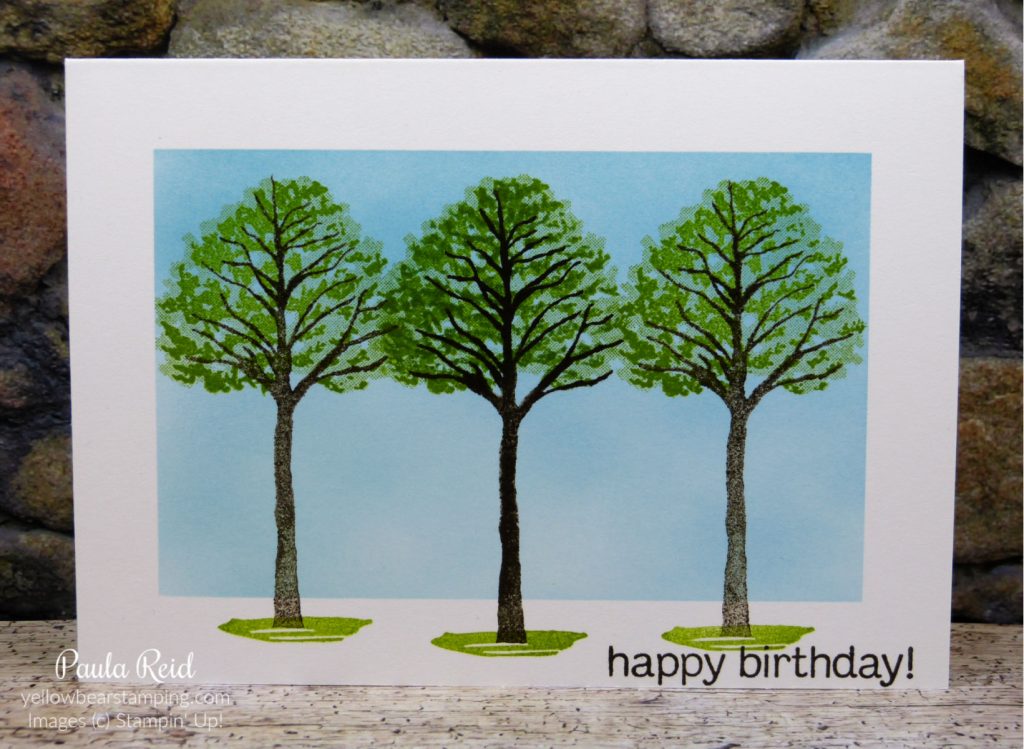
I had fun making the first card so thought I’d try a ‘take two’. This time I changed the orientation so that I could stamp more trees. The process was the same with the Post-It Notes and applying ink. TIP: previously when I’ve wanted some ‘sky’ I’ve used Balmy Blue but haven’t been completely happy with the colour so I tried Pacific Point which I feel gives a truer ‘blue’. I’d never used it before as I thought it would be too bright but when applied with a Blending Brush it ticks the box.

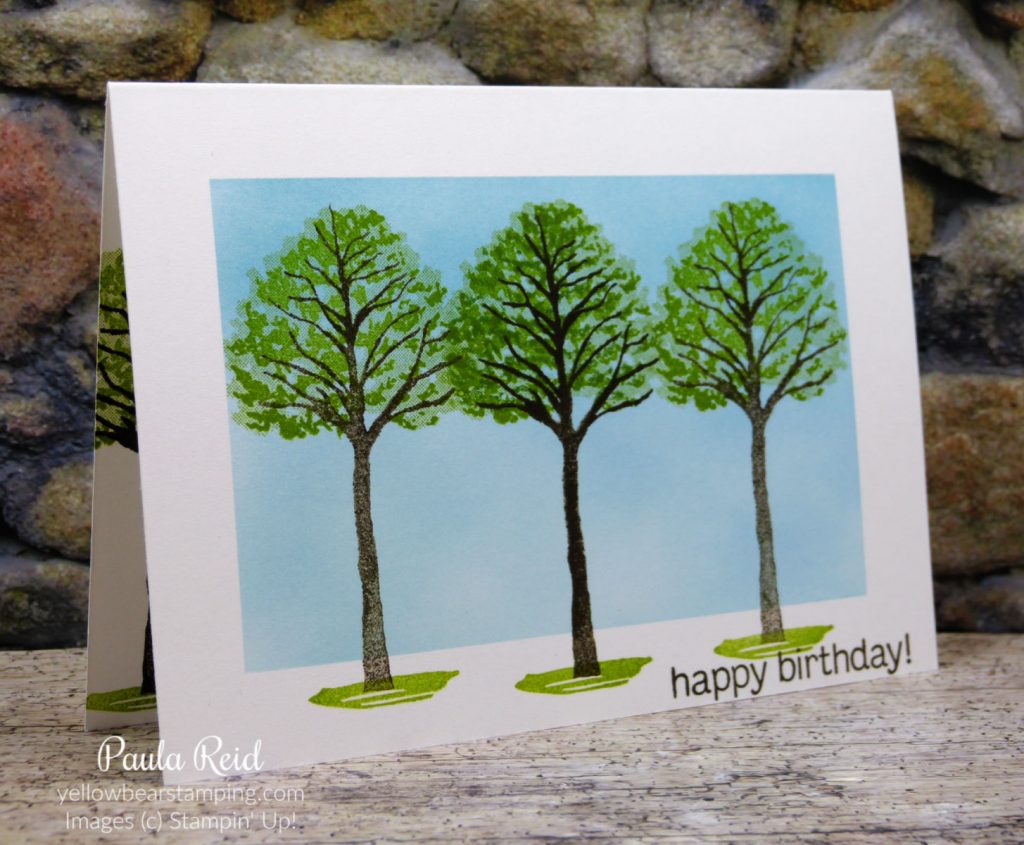
The middle tree trunk is stamped at full strength but the left and right trunks have been stamped with the ‘stamped off’ technique as used in this blog post. For a more ‘spring’ look I used Granny Apple Green for the foliage using only one image for the left and right trees. This image gives the effect of two stamps – part of the image is solid and part is lighter – I love this effect. For the centre tree I stamped part two of the two step in Garden Green for extra definition and depth. You can just see the inside tree which has been partially stamped off the card base.
Well there you have another technique to try – can you create a one layer card with only stamps and ink?
Until next time …

