Hi there
Masking is a great technique to add depth to your project. It gives the illusion that an image is behind another image – check out my blog post here on masking to see how to do this technique. Reverse Masking is the opposite of masking – rather than the mask covering an already stamped image you create a mask to protect the outside area so that you can stamp on the inside of the mask. I’ve used a die frame from the Tasteful Labels Dies.
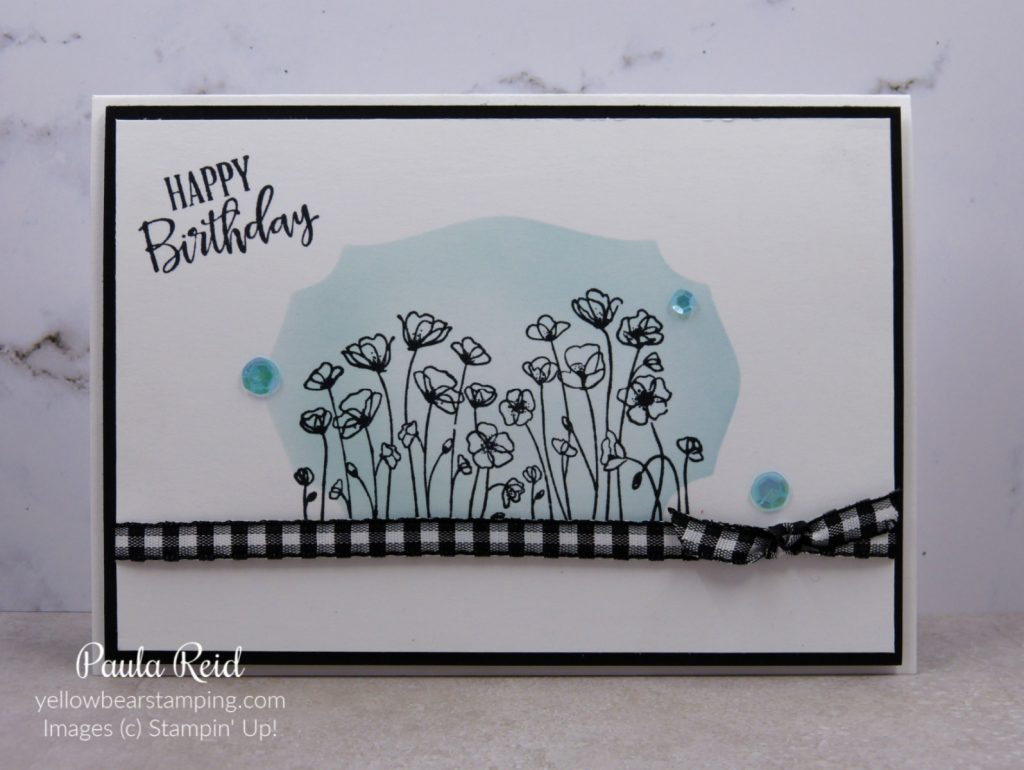
This version of masking still gives the illusion of depth. Don’t be afraid to have ‘white’ space on your card as this also helps with the feeling of depth.
The following steps can be used with any ‘frame’ die shape you have.
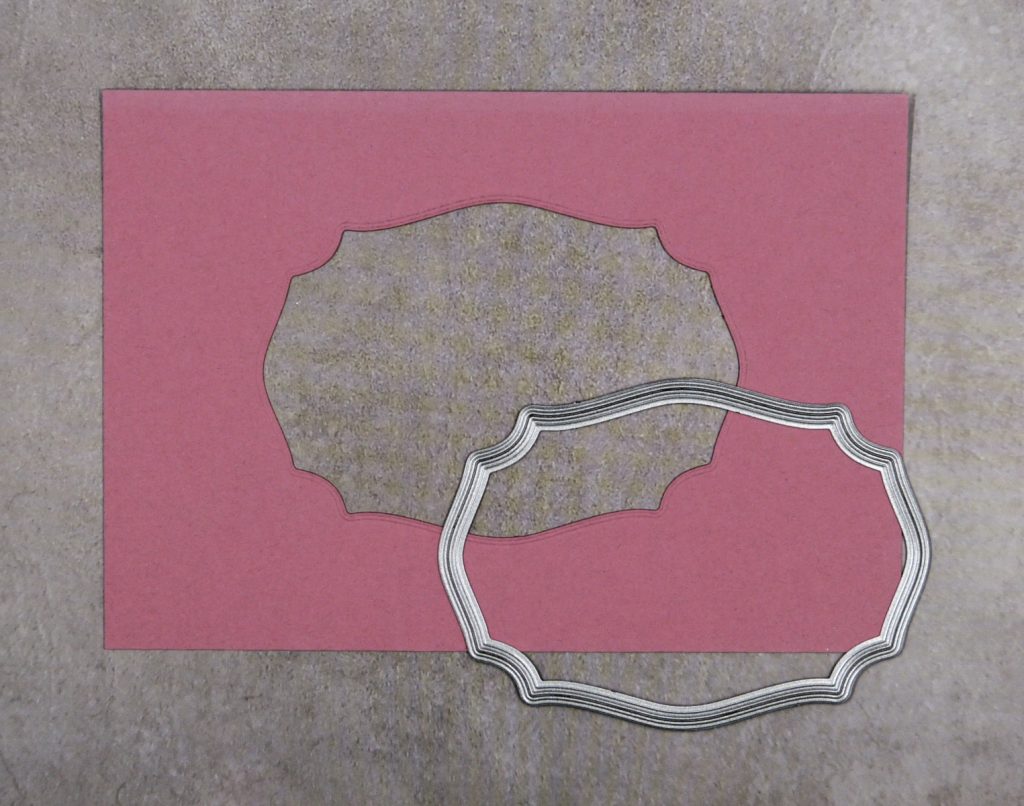
To create your mask die cut your chosen die from a scrap piece of cardstock. I find it’s easier to have this the same size as the piece of cardstock I’m going to be stamping on – in this case it’s 9.5cm x 13.8cm.
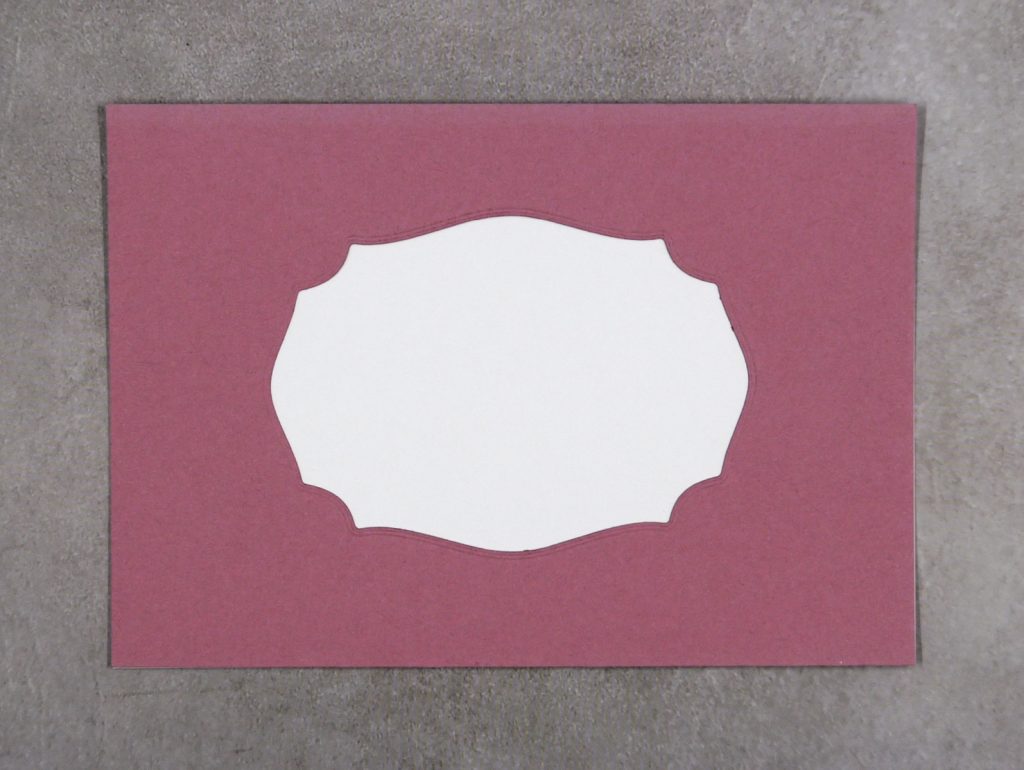
Place your mask on top of your cardstock. Use some temporary adhesive to keep it in place then select your ink and a Blending Brush and apply colour to the white space. Don’t be too ‘heavy handed’ with applying the ink otherwise you won’t see your final image. For this card I used Balmy Blue ink.
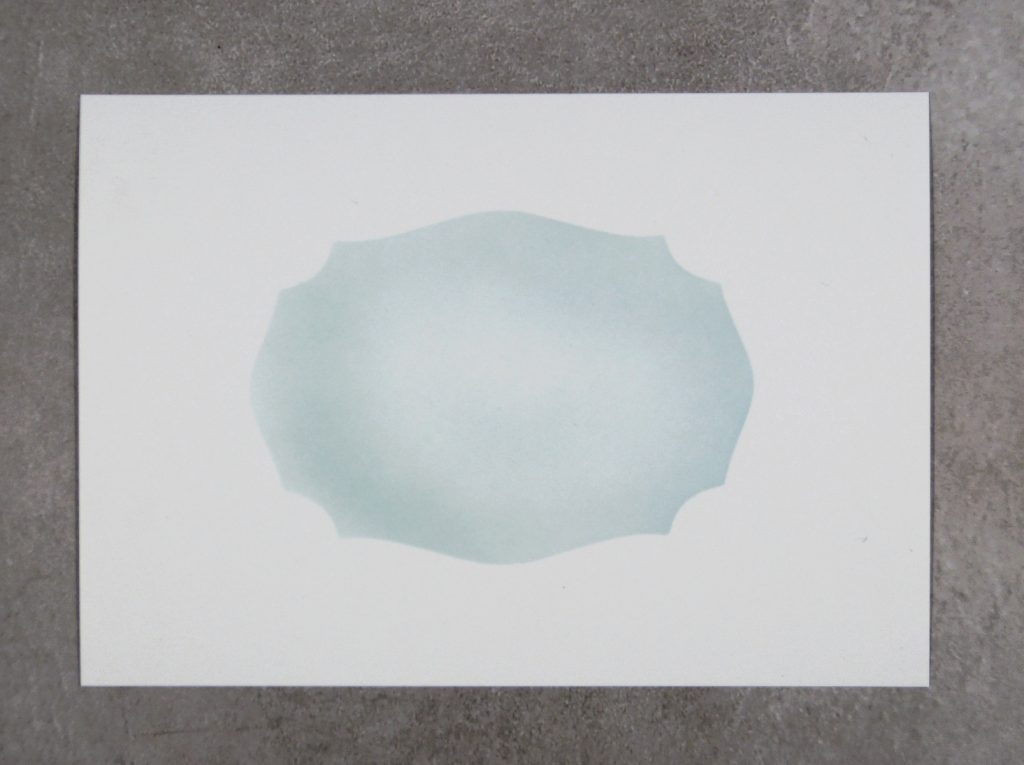
And this is the end result. Now you’re ready to add your stamped image and put your card together.
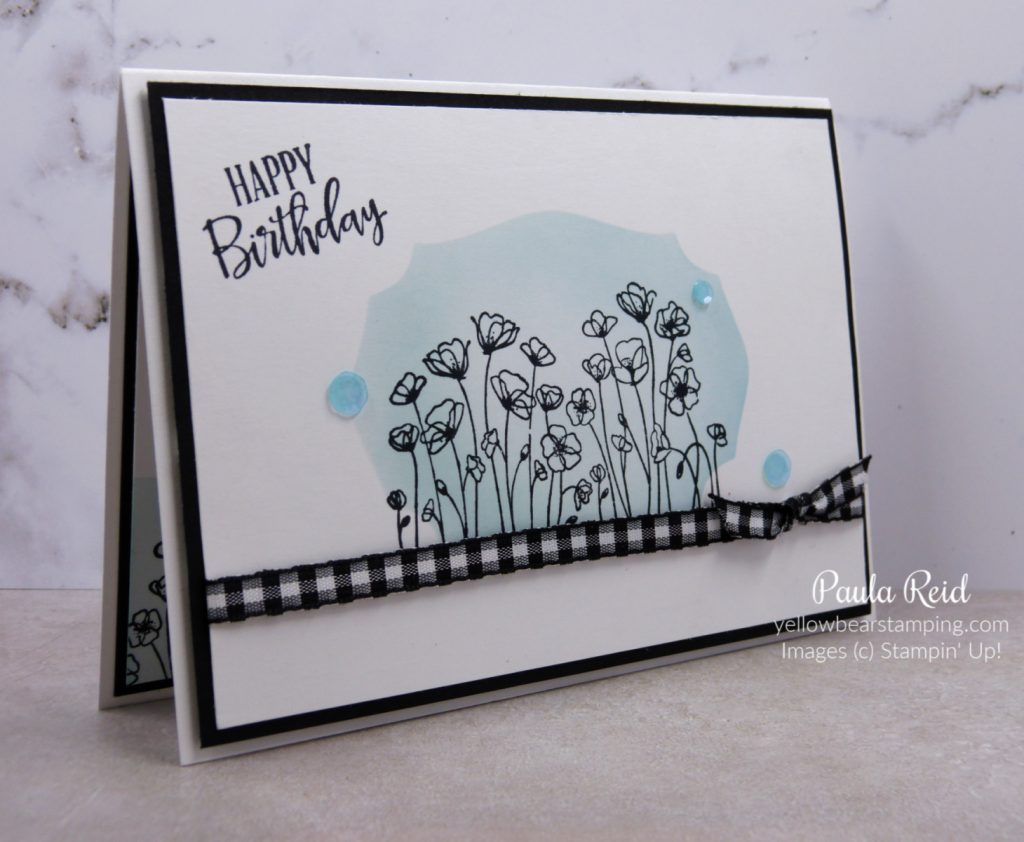
I’ve used the Painted Poppies stamp set and stamped my image in Memento Black. I added a piece of the Black & White 1/4″ Gingham Ribbon (which is carrying over) which I’ve secured only at the back of the card – this meant I could tie a knot to the ribbon and slide it along to the desired location. The final touch – adding some Artistry Blooms Adhesive Backed Sequins. You can just get a glimpse of the inside of the card where I’ve done the same technique in the bottom corner of the insert.
I hope you’ve enjoyed see this alternative masking technique and give it a go yourself.
Until next time …
