Hi there
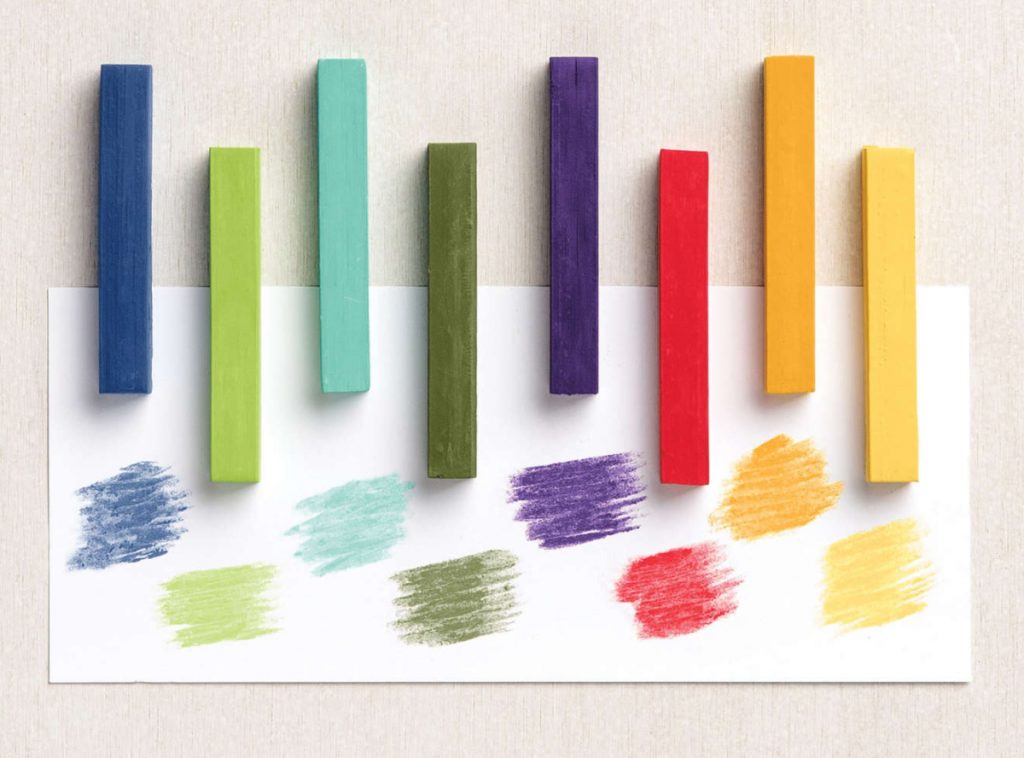
Who knew the Chalk Pastels were so versatile? Today’s project features another technique for you to try with the Chalk Pastels and an Embossing Folder. I’ve chosen the Seashells 3D Embossing Folder. These aren’t normal colours I would have chosen to use with this folder but I actually really like how it turned out. The Chalk Pastels come in a box of 8 colours

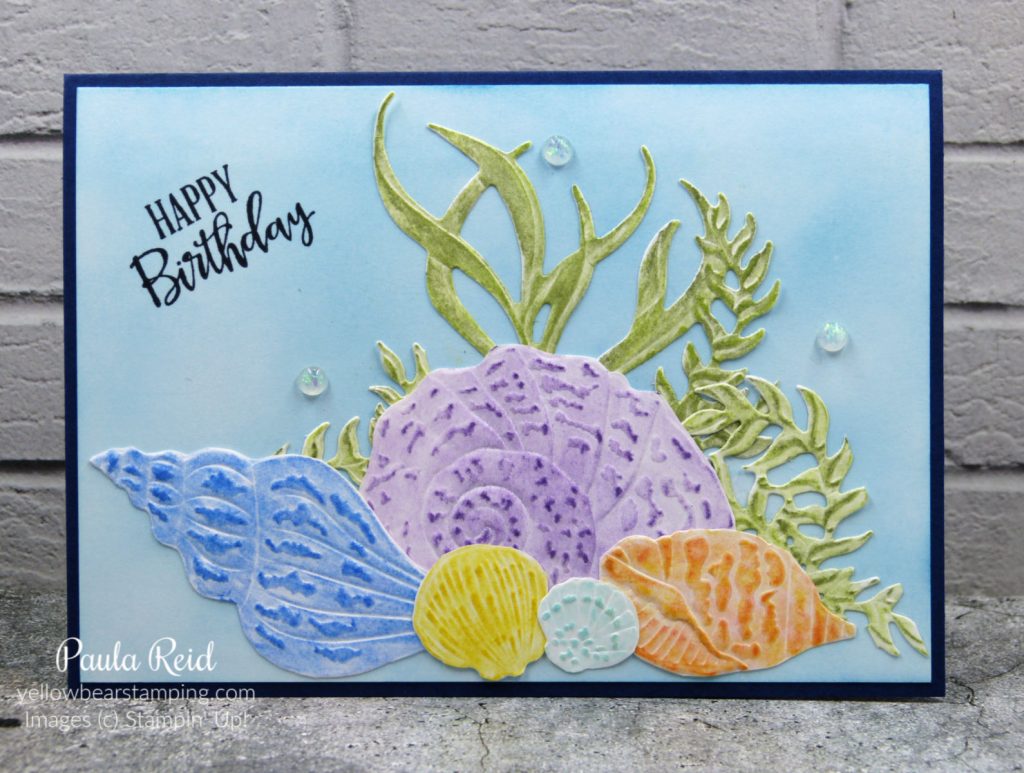
For my card I’ve used all the colours – some images have two colours combined.

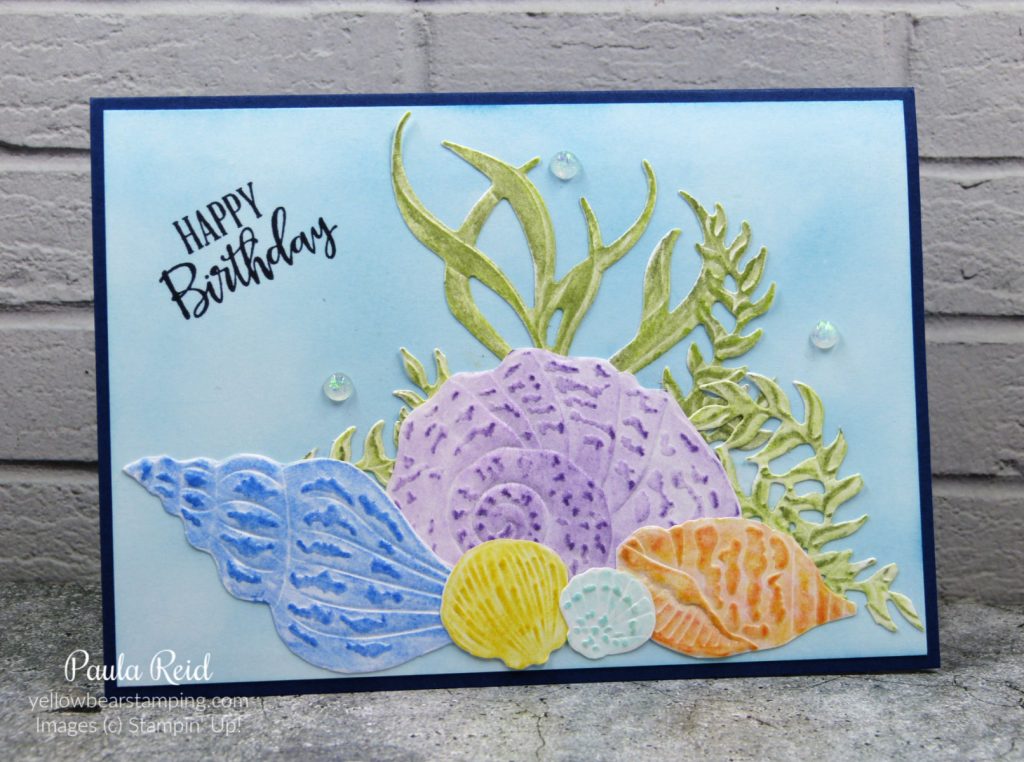
First off I dry embossed a piece of Basic White with the Seashells 3D Embossing Folder then die cut it with the coordinating Seaside Seashells die – some of the images needed a bit of ‘fussy cutting’ to get them as individual pieces. Next the colouring. With the Chalk Pastel flat I rubbed it across the embossed image. To begin with I was disappointed with the look as only the ‘raised’ portions of each image had been coloured. Using a trusty Cotton Bud I spread the chalk dust so that the entire image was coloured – much happier with this technique. I then went over the top again to add more definition. The shell on the far right was first coloured with Mango Melody and then I added a bit of Poppy Parade to create a more ‘orange’ colour. The underwater ‘greenery’ is a mix of Mossy Meadow and Granny Apple Green.

For my ‘bling’ I used the Opal Rounds which carried over from the last mini catalogue. To create my background I used a Blending Brush and Pacific Point ink. The sentiment is from Peaceful Moments.
You can check out the previous two techniques I’ve shared here and here using the Chalk Pastels. I hope these projects have inspired you to try out the Chalk Pastels. If you’re interested in ordering them or anything else head on over to my online store or contact me directly.
Until next time …

