Hi there
In a previous life I used to do cross stitch and for the last couple of weeks I’ve been busy trying to finish a project for my Great Niece – well it’s now finished and I can get back into my papercrafting :).
In my recent desk clean-up I found some stamped images from past projects so rather than waste them I decided to give the Floating Frame Technique a go – have you seen this style of card before?

You start off by arranging your stamped cut out images to a card front (they’re not going to be adhered yet). Once you’re happy with the way it looks then apply Glad Press’n Seal over the top of the stamped images. Press’n Seal is lightly sticky on one side kind of like a Post It Note. I got my Press’n Seal from the supermarket – near the Gladwrap/Cling Film. I then die cut a Stitched Rectangle from the centre. Then carefully peal the Press’n Seal layer from the card front (use the card base frame for another project). On the back side of the images apply dimensionals to all the pieces. Peal the backs of the dimensionals and adhere to your chosen card base – I went with a Thick Whisper White card base. Once it’s adhered to the base carefully remove the Press’n Seal. The Press’n Seal is sticky but if you peal it back carefully it won’t rip the stamped images. You may need to trim some of the edges. Complete your card with a sentiment.
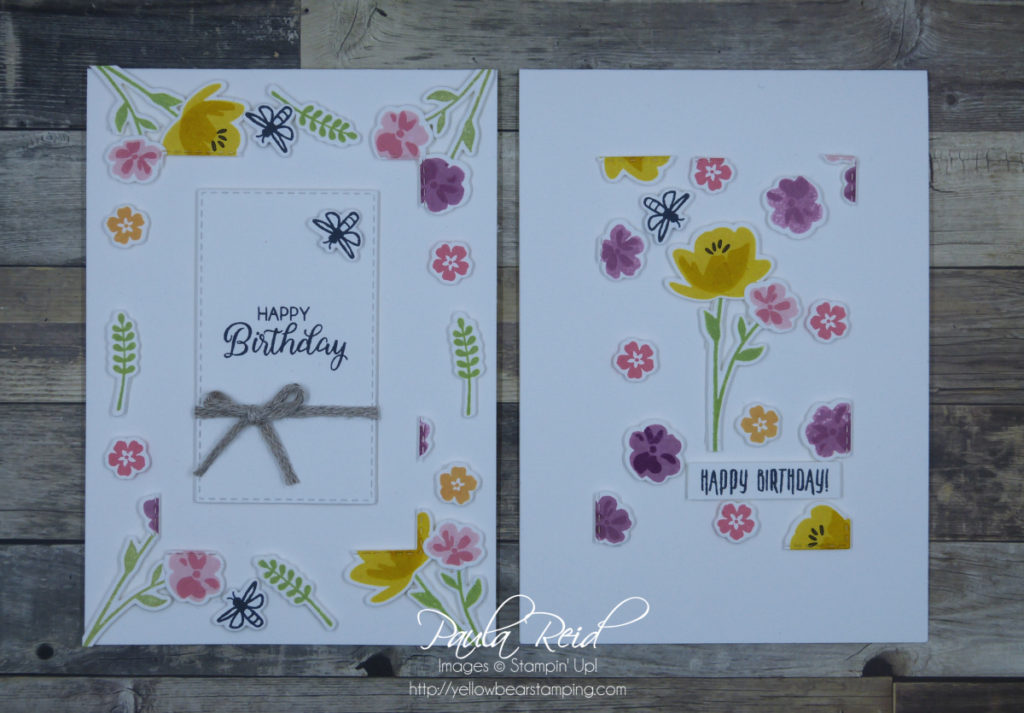
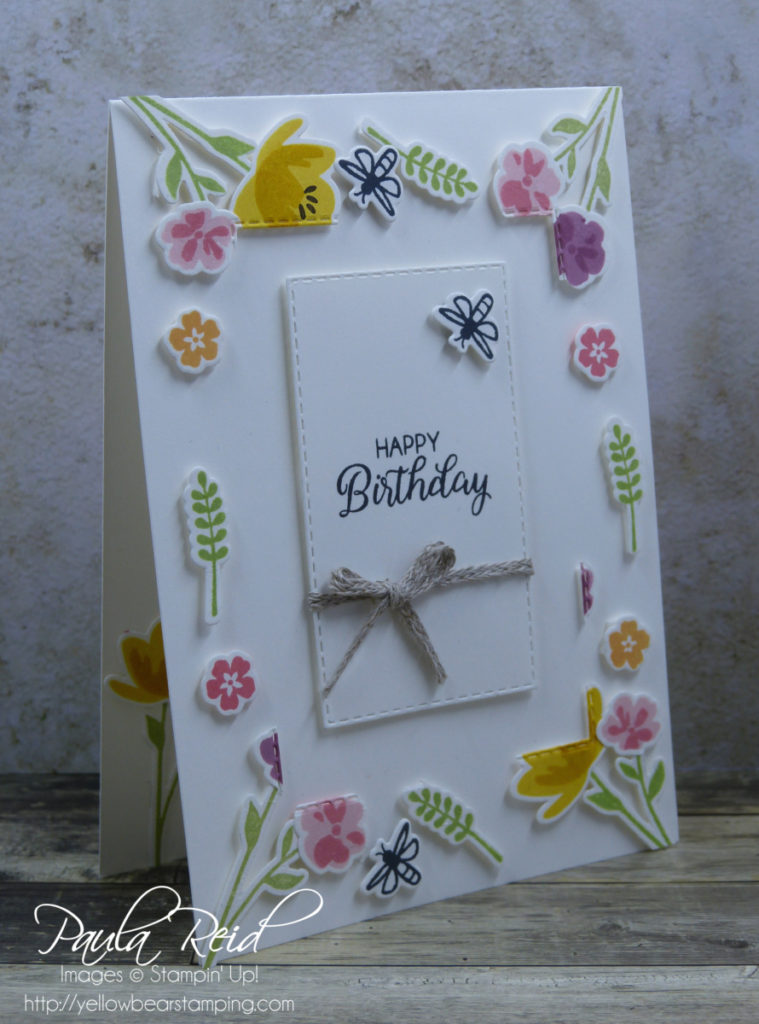
I created two cards with my stamped images – one where the stamped images create the frame

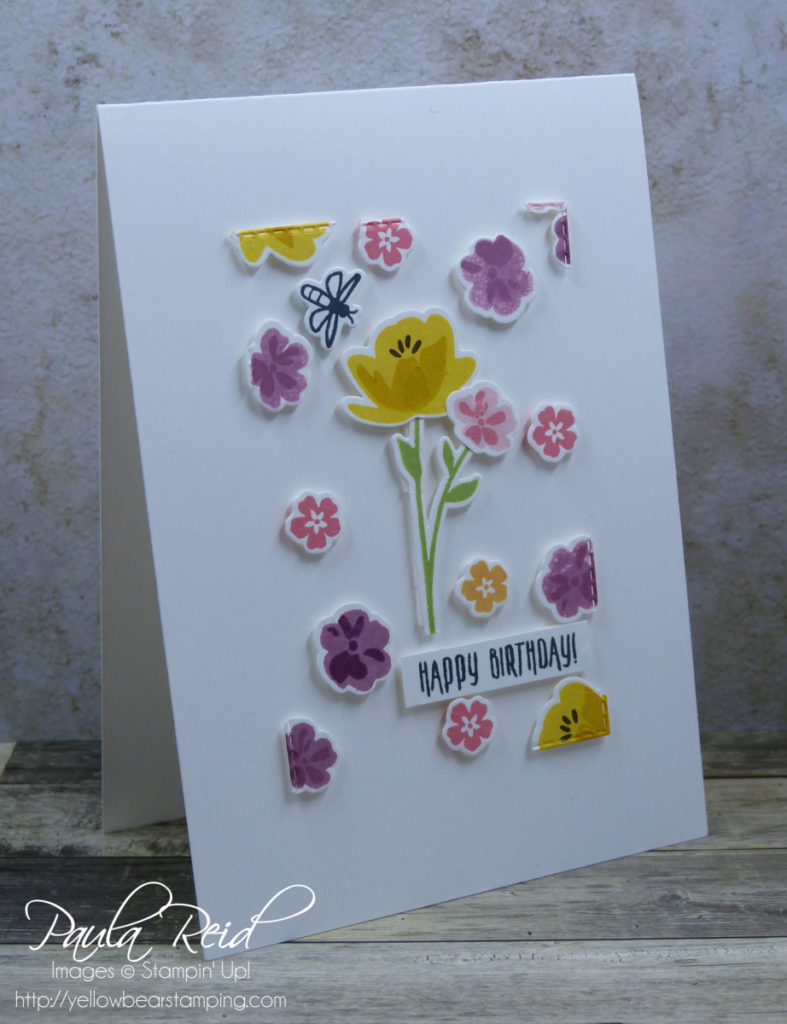
and one where the card base creates the frame and gives a ‘floating’ centre.

The stamped images are from Jars of Love which is retiring at the beginning of next month and include a range of colours – some of these have now retired which shows how long it was since my desk got a proper clean 🙂
I’d love to see your creations using this technique so why not send me a photo.
Don’t forget to check out the promotions page and also let me know if you would like to receive a new catalogue.
Until next time …

