


Hi there
I’ve been wanting to make a Corner Tuck card for some time and today’s the day it happened. I combined a couple of variations to create my Blackberry Beauty themed card.
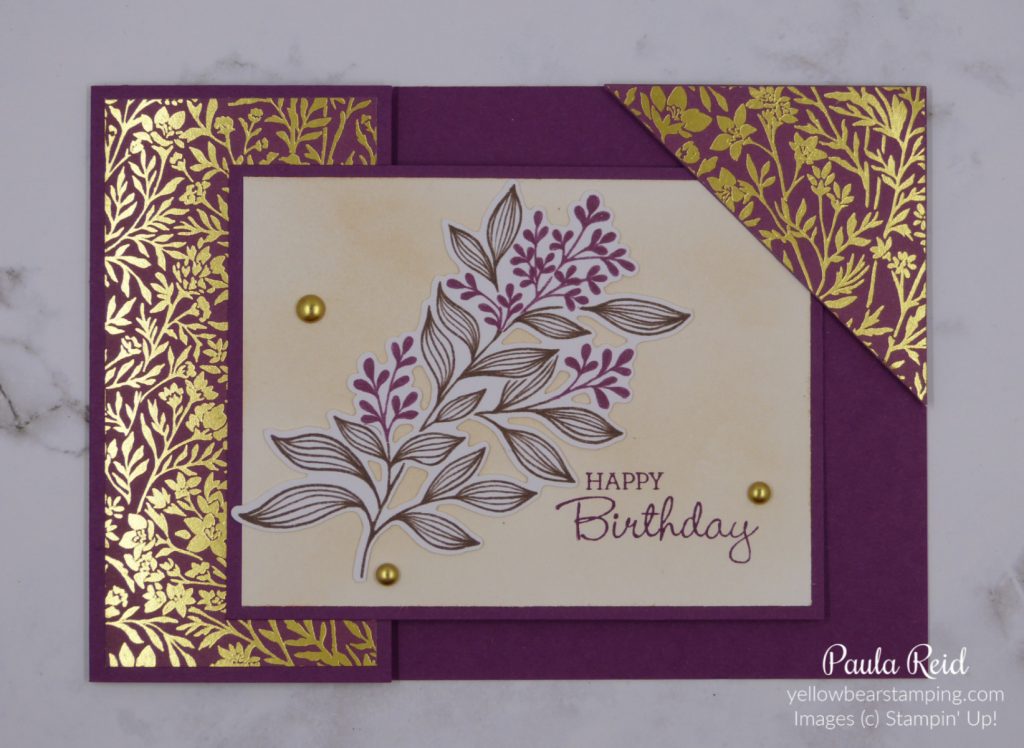
The card gets it’s name as you need to ‘tuck’ the front panel under the ‘corner’ to close the card.
The corner panel is adhered to the base with dimensionals in each corner allowing the front panel to slip in underneath. I cut a 2 1/4″ square from cardstock and Designer Series Paper (DSP) and then cut them on the diagonal before adhering together. This will give the DSP some strength. I now have a left-over triangle to use on another card. To complete the card off I adhered three Brushed Metallic Adhesive -Backed Dots.
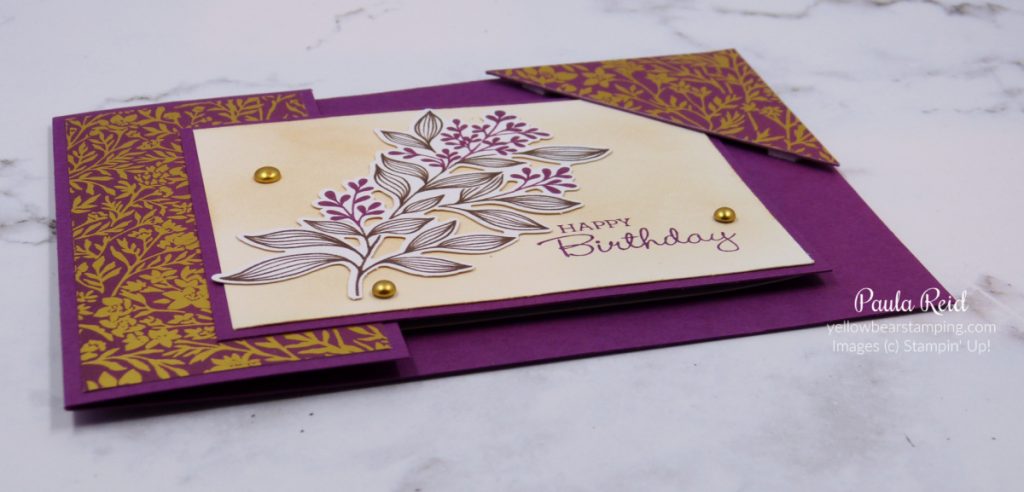
I started off with a card base of 10.5cm x 29.7cm – scored in half. I then cut off 9.5cm which was rotated and used for the front mat panel. I trimmed it down to 8cm x 10.5cm but I think next time I’ll cut off 8.5cm instead of the 9.5cm. The Basic White panel measures 7.5cm x 10cm and has had Cinnamon Cider ink applied with a blending brush so it’s not so stark. The sentiment is stamped in Rich Razzleberry to coordinate with the card base.
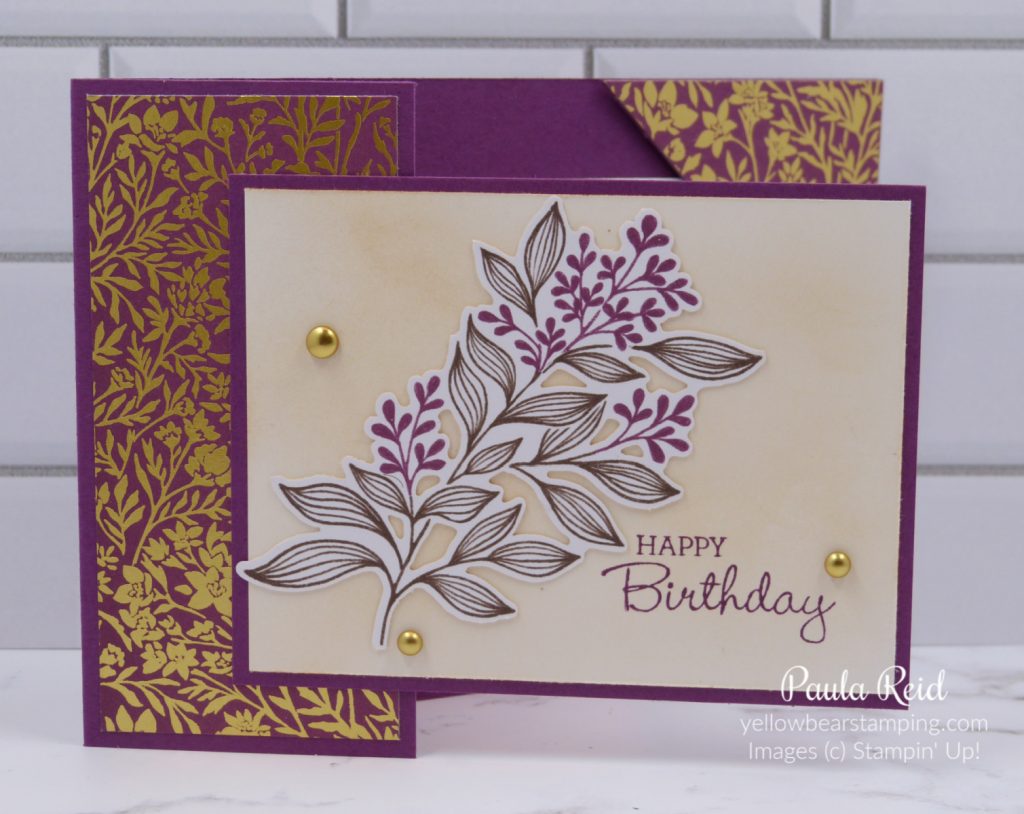
The Blackberry Beauty Suite consists of a stamp and die (also sold as a bundle), Gold Shimmer Vellum, Gold Shimmer Ribbon, the gorgeous Specialty Designer Series Paper and an Ephemera Pack. In the past I have bought these accents and never got round to using them so I decided to make one of the pre cut pieces my focal point for my card.
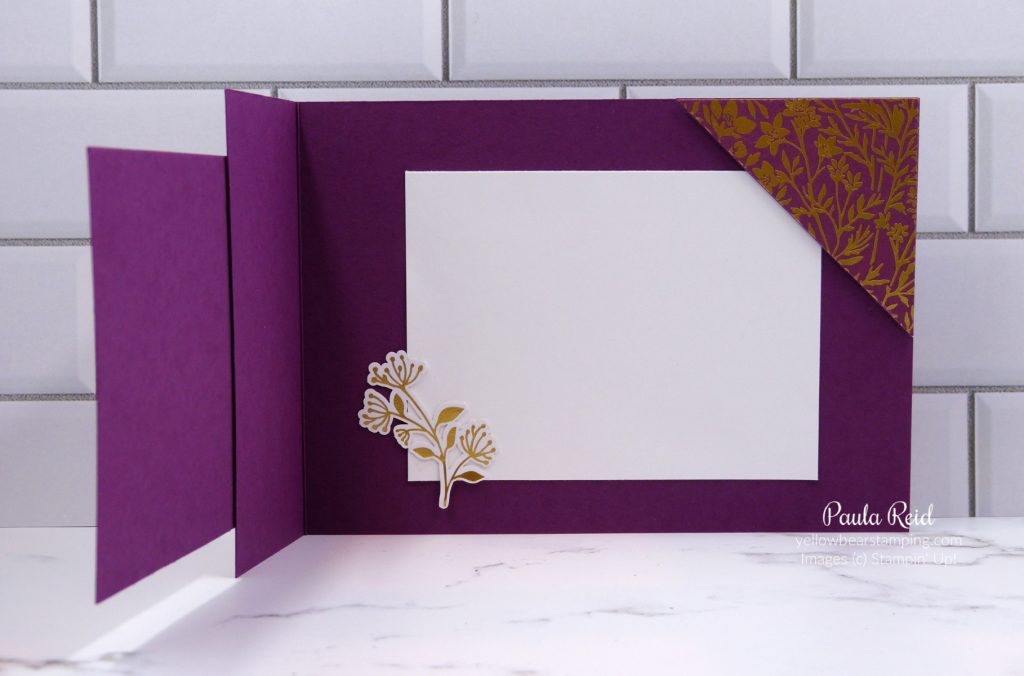
And I even used a small one on the inside. So apart from the sentiment there is no stamping on this card. From the inside you can see how the front panel is only partially adhered to the card base.
This was an easy card to make and with the corner tuck is quite effective – plus you can get two from one sheet of cardstock.
Well that’s all for now. Until next time …
