Hi there
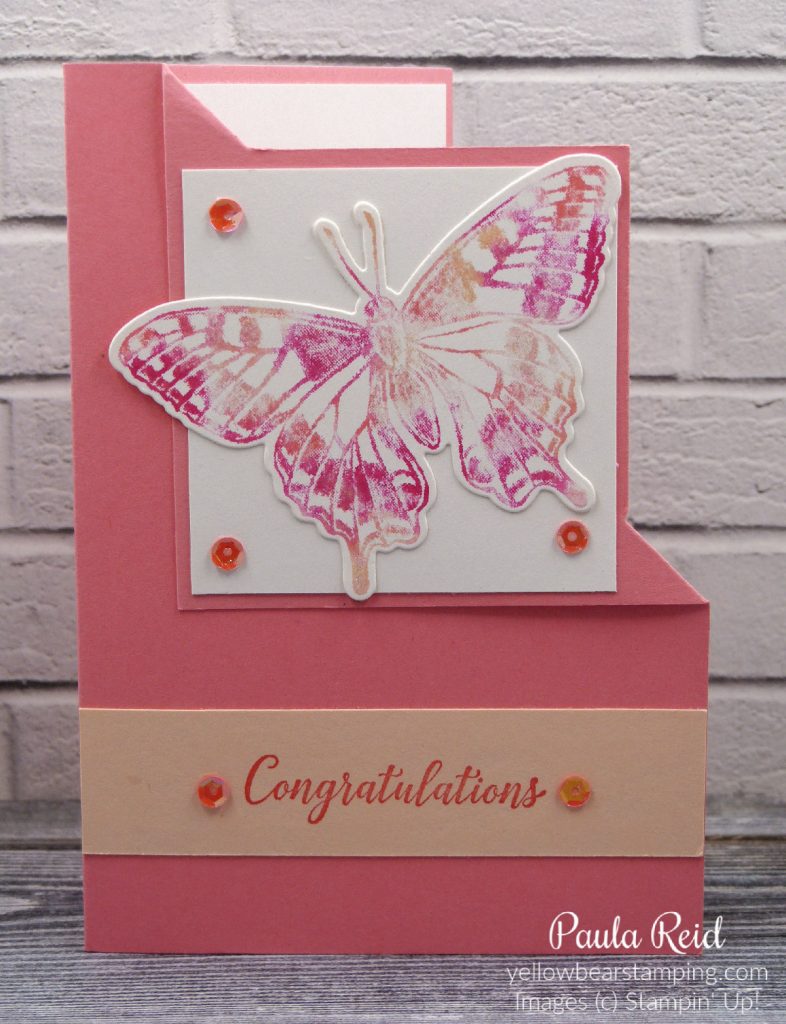
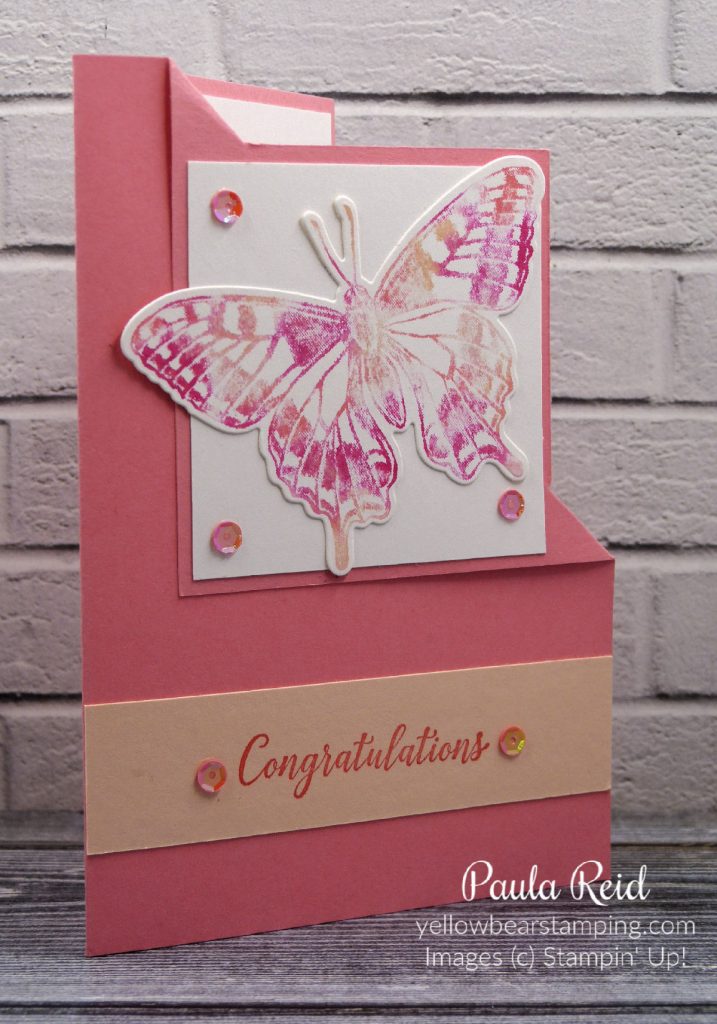
I hope you’ve enjoyed seeing the different ways you can use the Baby Wipe Technique for your projects. Today I have the final card using the last two butterflies from my earlier card. This is another card that uses a standard card base to create a fun fold.

I first saw this card design on a US demo’s page back in 2015. I’ve made this a couple of times since but it’s good to revisit previous folds.
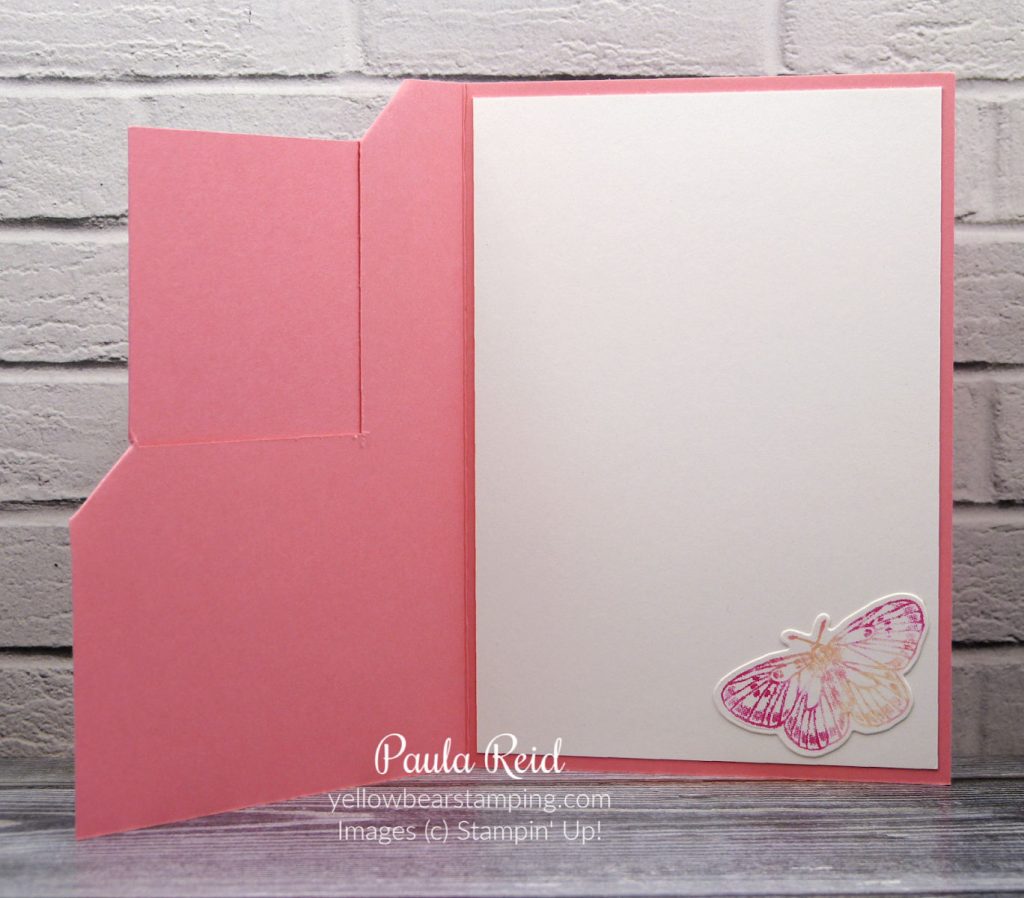
To create the fold you need to make two cuts in the card front as per the diagram below. Place your card base in your trimmer so that the fold is at 3cm. Do a vertical cut from 1.5cm down to 7.5cm. Turn the card 90 degrees to the left. Line the left edge of your card at 7.5cm then cut from 1.5cm to 7.5cm. Fold the top right corner towards the bottom left corner to create the fold. Make sure you burnish your crease lines with your bone folder. Secure the flap to the base of the card with either liquid glue or glue dots.


The square mat that the butterfly is adhered to measures 7cm x 7cm. The sentiment from Happy Thoughts is stamped in Flirty Flamingo on a strip of Petal Pink cardstock measuring 2.5cm x 10.5cm. To finish off the card I added some sequins from the Woven Threads Sequin Assortment. I will be sad to see these colours go. It’s a bit hard to see in the photo but I applied some Wink of Stella to my butterfly for a bit of sparkle.

Hopefully seeing the inside of the card will help you understand how the fold works. The final small butterfly has been added to the inside.
Well that’s it for Baby Wipe Technique – I hope these four projects have inspired you to give this technique a try.
Until next time …

