


Hi there
Our Stampin’ Up! ink refills are great not only to reink your ink pads but to use for a number of techniques. Last Tuesday I shared the Baby Wipe technique and today I have another technique that uses the ink refills. You’ll also need some shaving foam – I use the ‘in house’ brand from the local supermarket. This technique creates a great background design or you could cut it up or die cut images from it. I’ve used mine as a background for my projects.
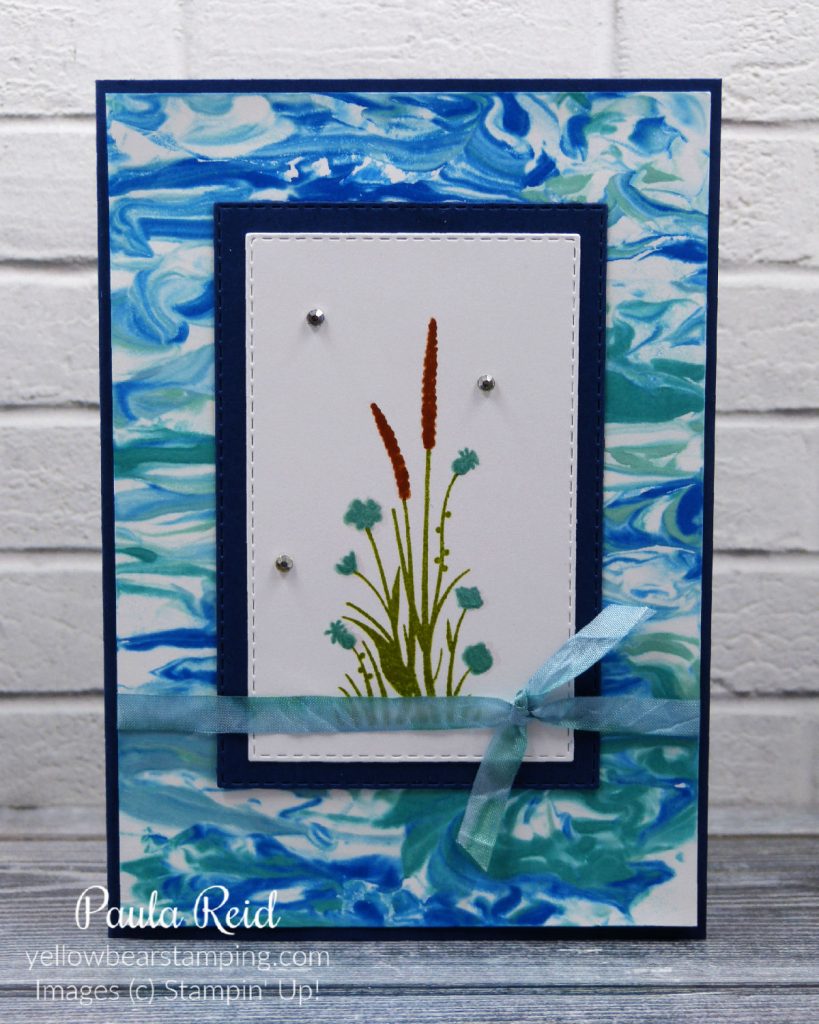
This was the first one I created. My stamped image is from Friend Like You. The image is stamped in Old Olive, Coastal Cabana and Cajun Craze. The ribbon is the 1/4″ Crinkled Seam Binding and I have coloured it in with Bermuda Bay and Balmy Blue Stampin’ Blends.
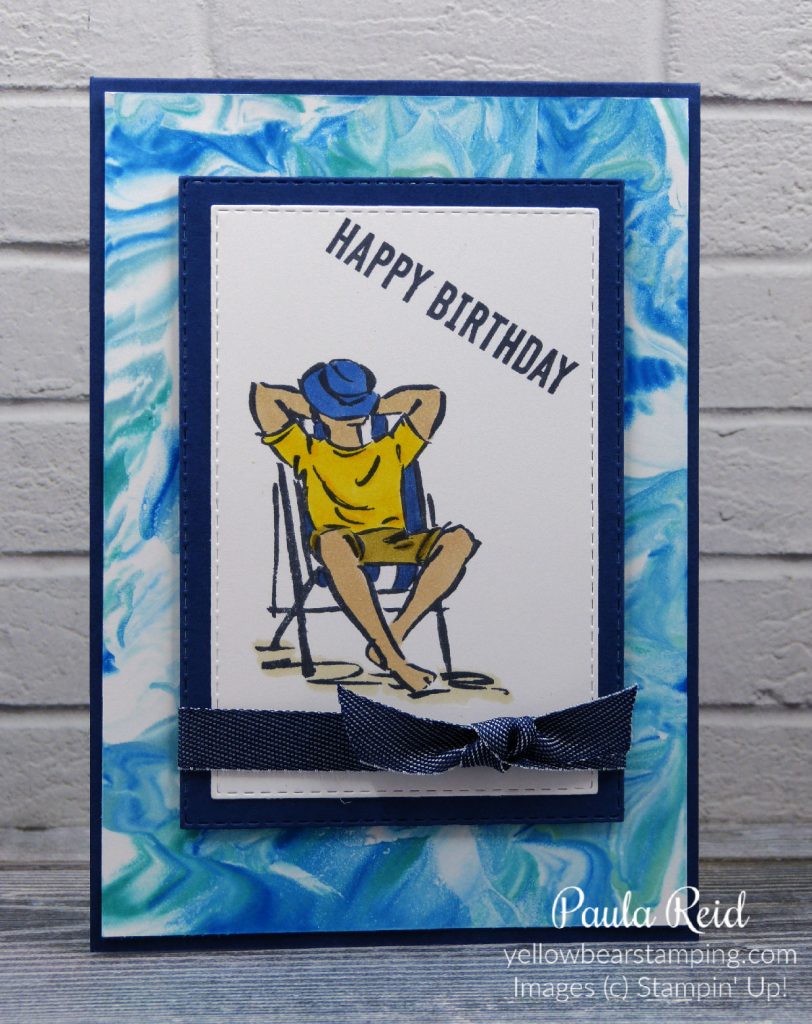
My second card uses a favourite stamp set – A Good Man – and has been coloured in using our Stampin’ Blends. I used Soft Suede for the shorts, Mango Melody for the T-shirt, Night of Navy (light) for the hat and (dark) for the chair, Crumb Cake for the sand and Ivory for the skin. The ribbon is the 3/8″ Denim Ribbon.
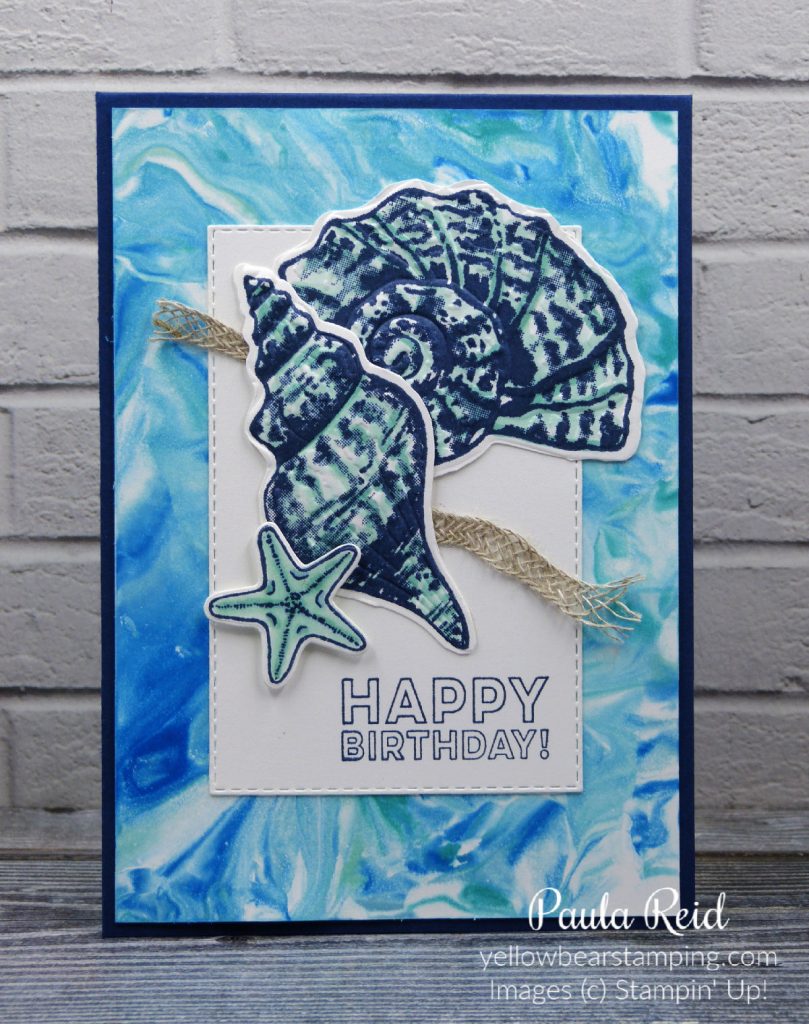
My third card uses images from Friends are like Seashells. The background goes really well with these images. The images have been stamped in Night of Navy then highlighted with Bermuda Bay and Pool Party Stampin’ Blends. The Braided Linen Trim has been slightly ‘teased’ apart to give a net effect. The sentiment is from Many Mates.
Here’s a quick step by step on how to achieve the shaving foam background.
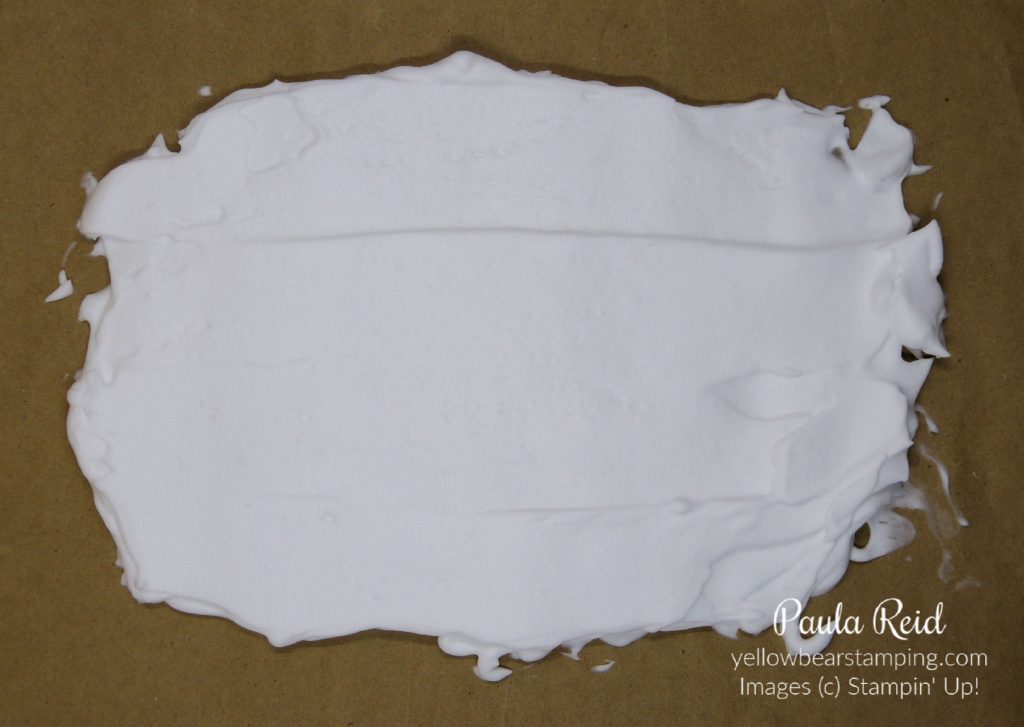
Squirt shaving foam onto a paper tray – I used some brown paper. Smooth it out with the edge of a ruler making sure it is big enough for your card front to be placed on top.
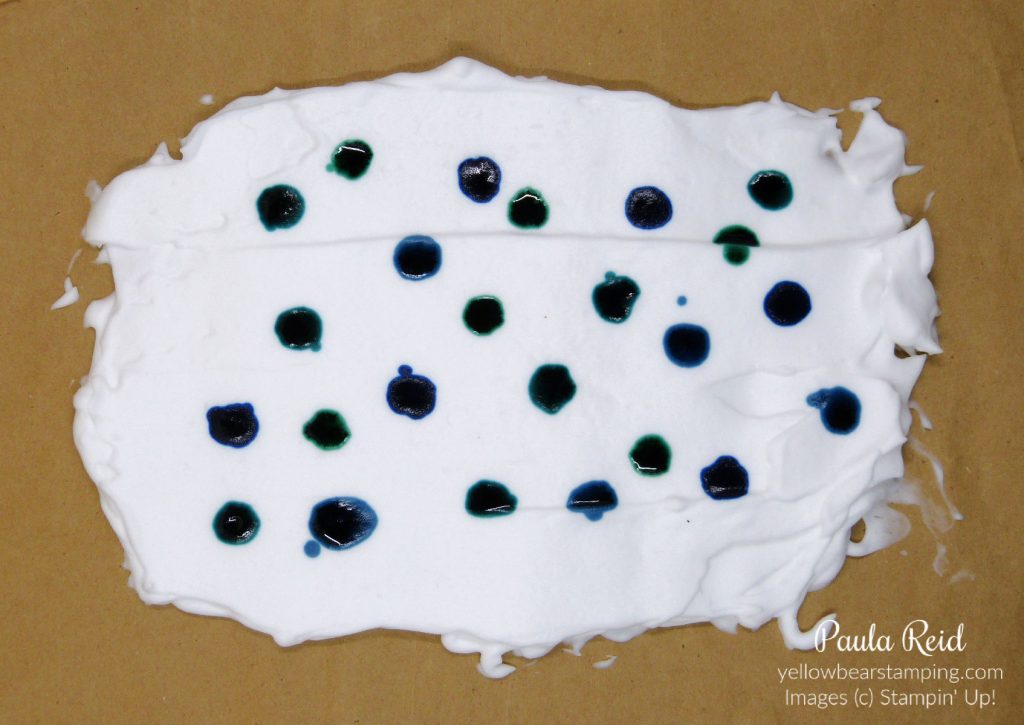
Apply drops of ink from your reinker bottles. I used Bermuda Bay, Coastal Cabana, Pacific Point and Balmy Blue.
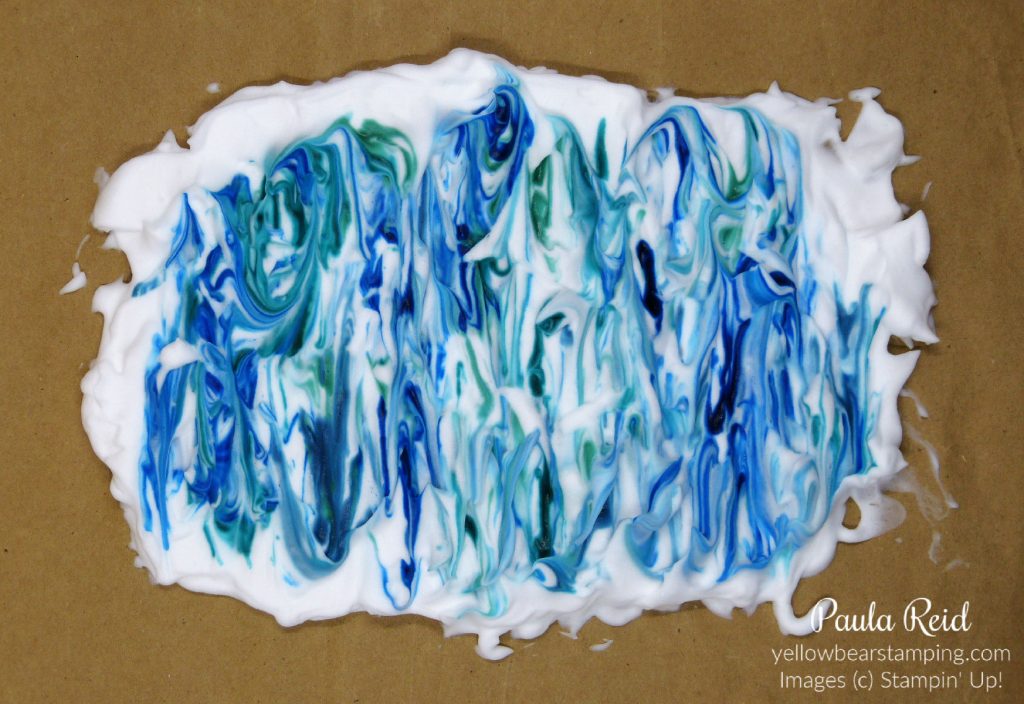
Using a toothpick or bamboo skewer mix the shaving foam and reinker in a swirling motion. I’ve gone from one side to the other and repeated until I was happy with my design. Don’t blend the colours too much.
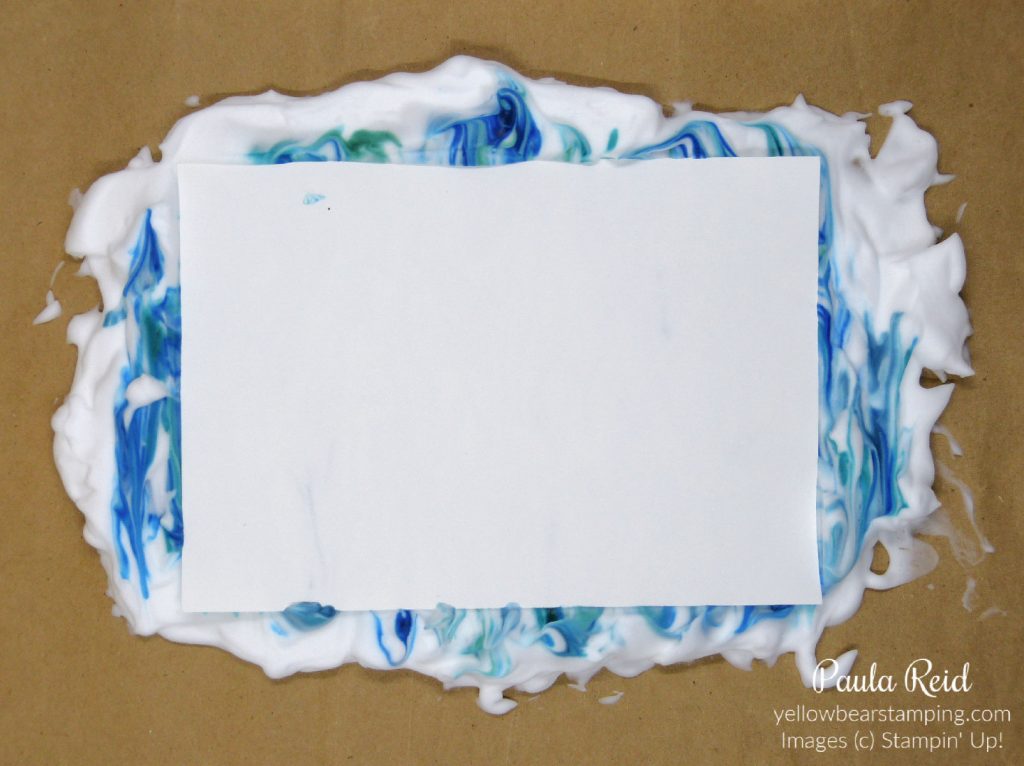
Place your cardstock on top of the shaving foam giving it a gentle press so that it sinks into the shaving foam. Make sure that the cardstock has come in contact with the shaving foam. Remove the cardstock from the shaving foam and wipe any excess foam from the cardstock with a ruler. Set aside to dry.
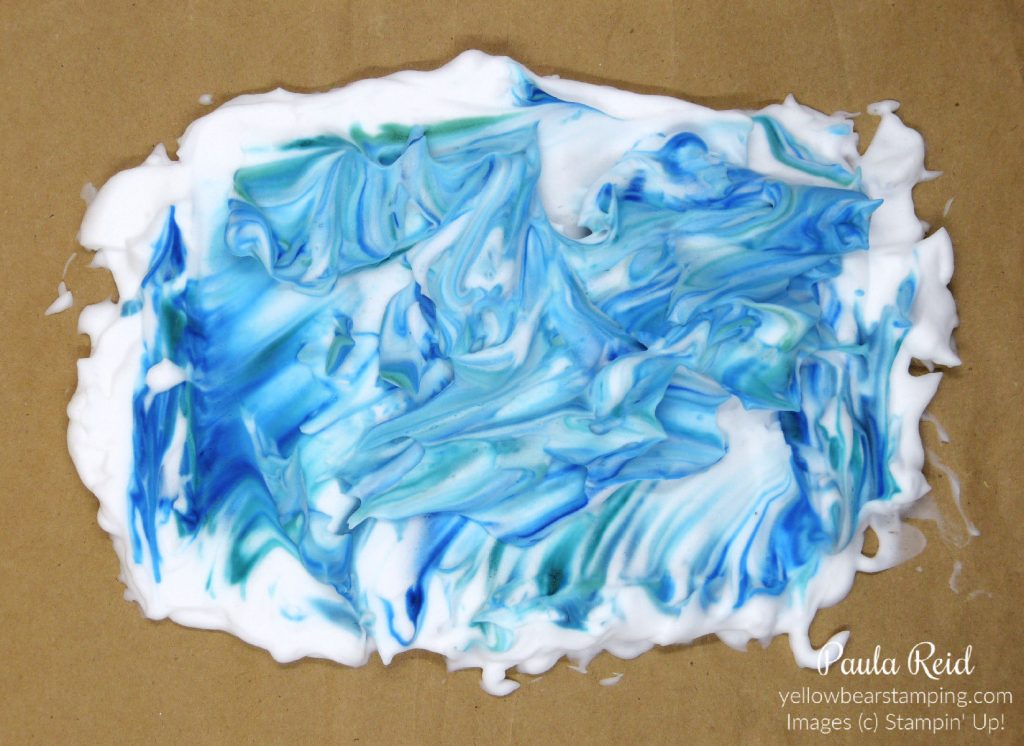
I put the excess shaving foam back on my original ‘pad’, smooth it out and place another piece of cardstock and repeat the process. You can get a number of card fronts from the one lot of shaving foam.
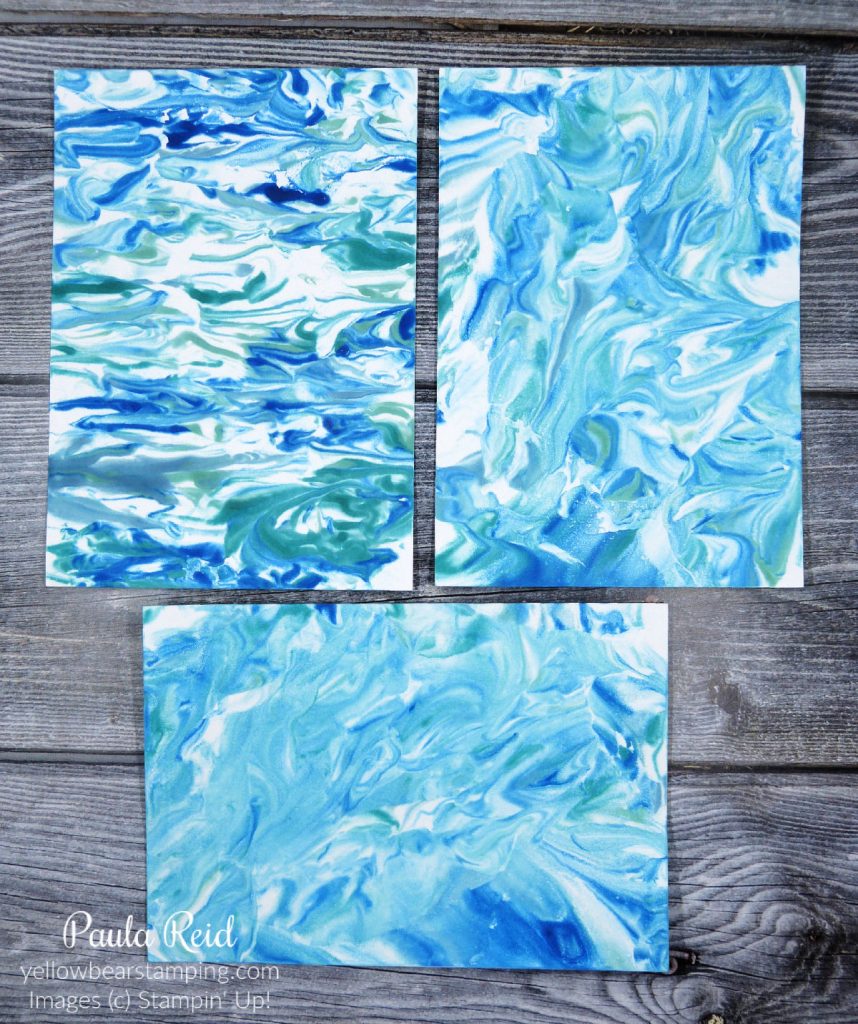
Here are the three different designs I got. Each time you place cardstock down you get a different pattern – heaps of fun. You can use any colour combination you want for this technique – no end to possibilities.
I hope you give this technique a go. Until next time …

Thanks for this great tutorial. It was excellent.
Such a fun project.