Hi there
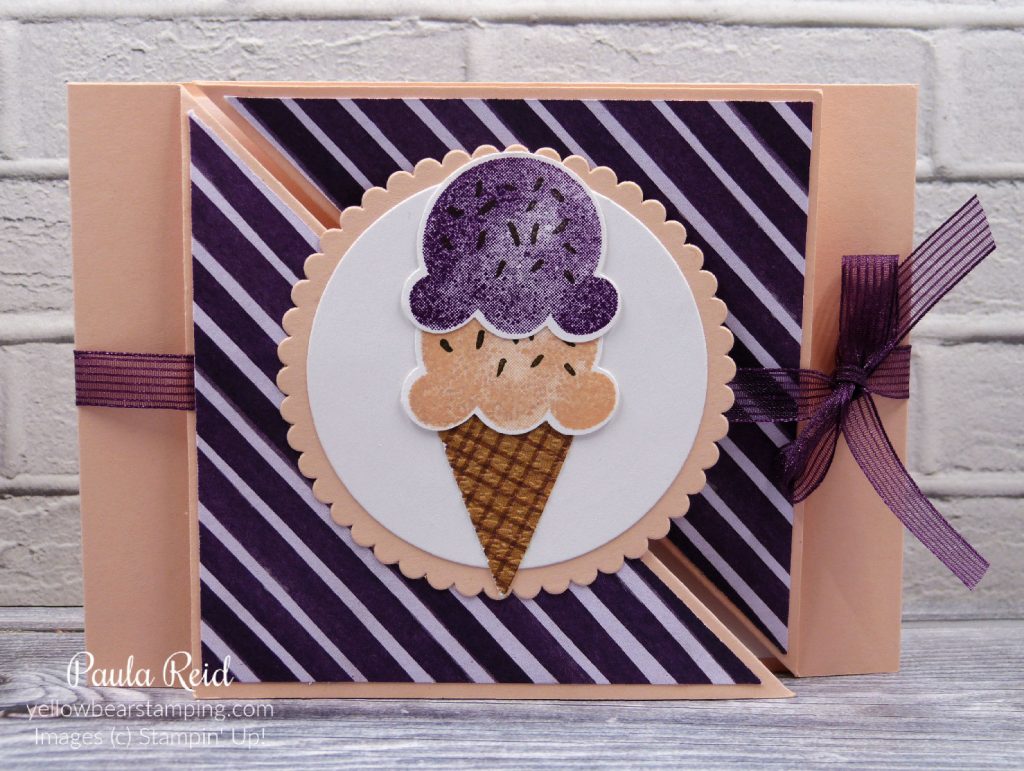
I was first shown this fold of card by another demo -Kristine McNickle – last year. We made it in a portrait orientation but for today’s card I’ve swapped it around to be a landscape card.

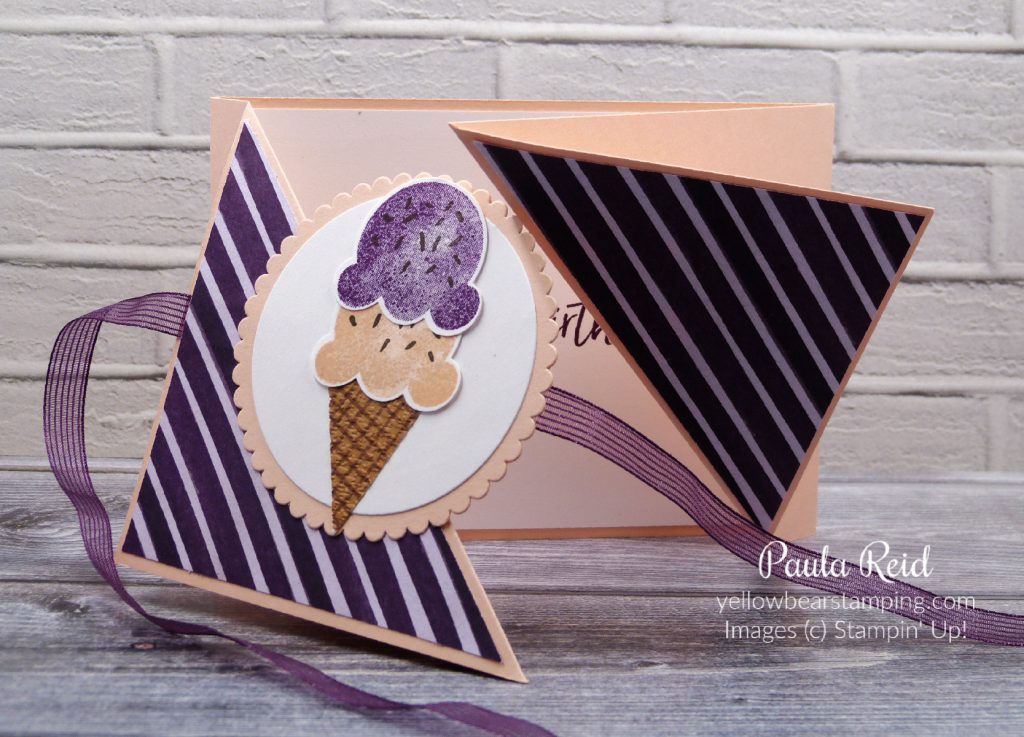
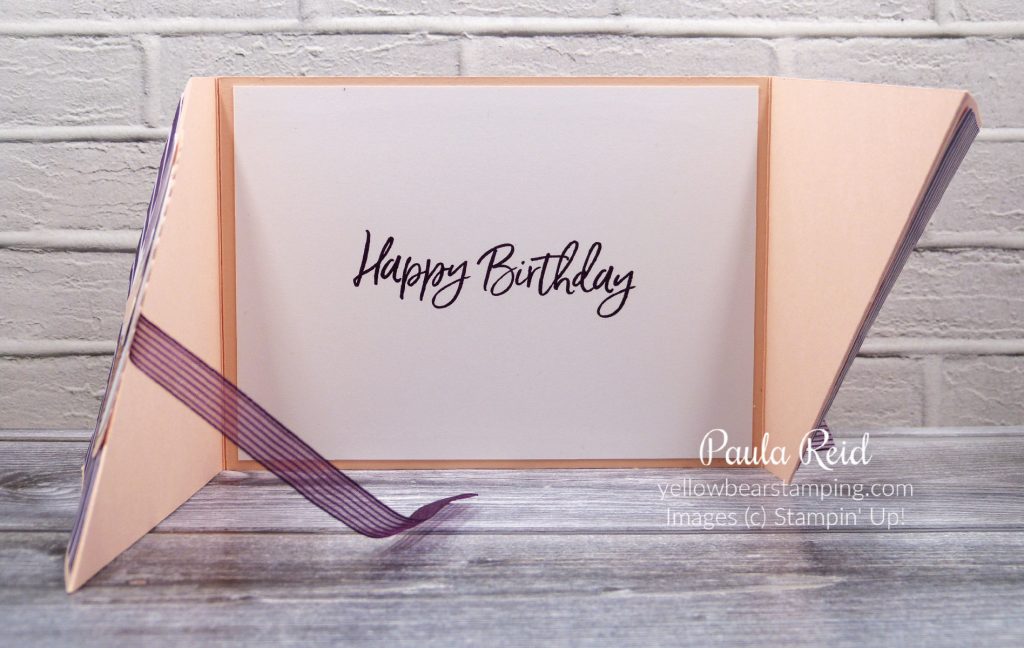
It uses a whole sheet of A4 cardstock for the base – 21cm x 27cm – cut in half lengthwise to give you two pieces 10.5cm x 27cm. To create the folds score at 14.5cm and then with the smaller section on the left of the score line measure in 10.5cm from the top left and make a pencil mark. Repeat on second piece. Place the cardstock in your trimmer lining the pencil mark and the bottom left hand corner in the cutting groove – and score between the two. Fold the diagonal score line in a mountain fold and the centre fold in a valley fold.

To adhere the two pieces start with them on top of each other then rotate the top one 180 degrees to the right. Now adhere the two bases together and you have your card ready for decoration. I used the Ice Cream Corner Designer Series Paper (DSP) measuring 9.5cm x 9.5cm and then cut on the diagonal. A tip I learnt the hard way – adhere your ribbon to the card base before adhering the left hand side DSP. The final step for the front is your image or sentiment. Using Rich Razzleberry and Petal Pink I stamped and punched my ice cream scoops and adhere to the cone which has been punched from the DSP. My background is the largest Scalloped Circle with the second largest circle from the Layering Circles Dies.

I love the font and size of the sentiments in this set – so glad the Sweet Ice Cream Bundle has carried over to the 2021-2022 Annual Catalogue which means I have more time to create with this set.
Well that’s all for now – until next time …

