Hi there
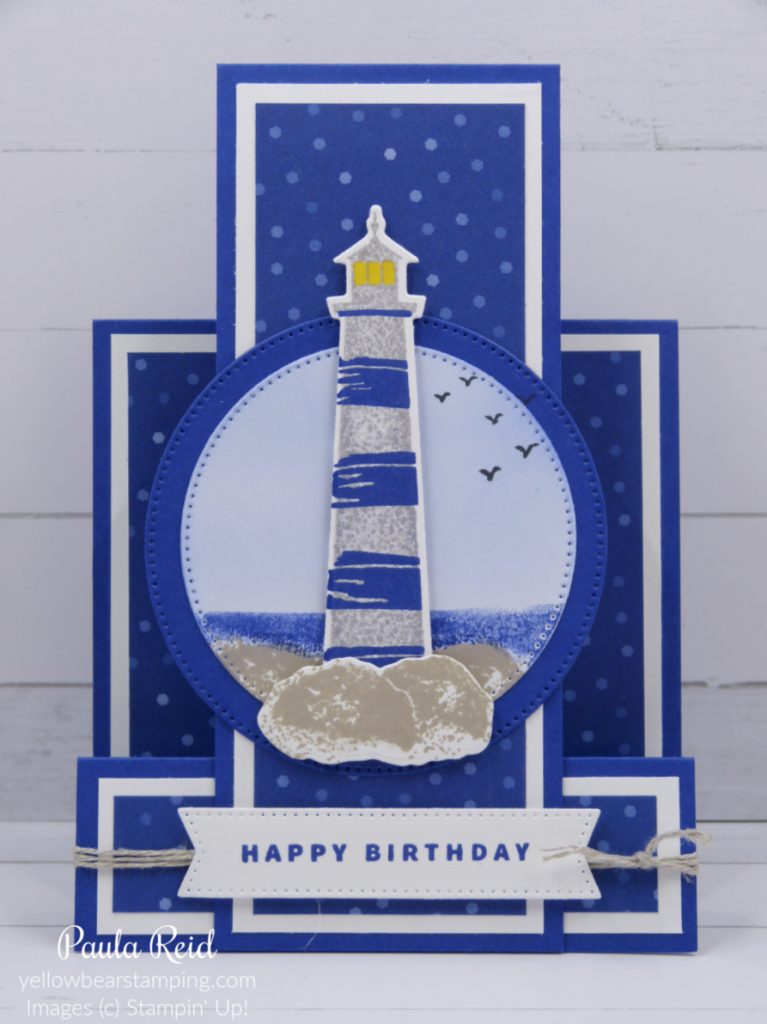
I was in need of two special masculine birthday cards recently and found an easy but effective card to create – it’s called a Faux Centre Step card. I did make some slight adjustments from the tutorial I was CASEing to fit my metric cardstock.

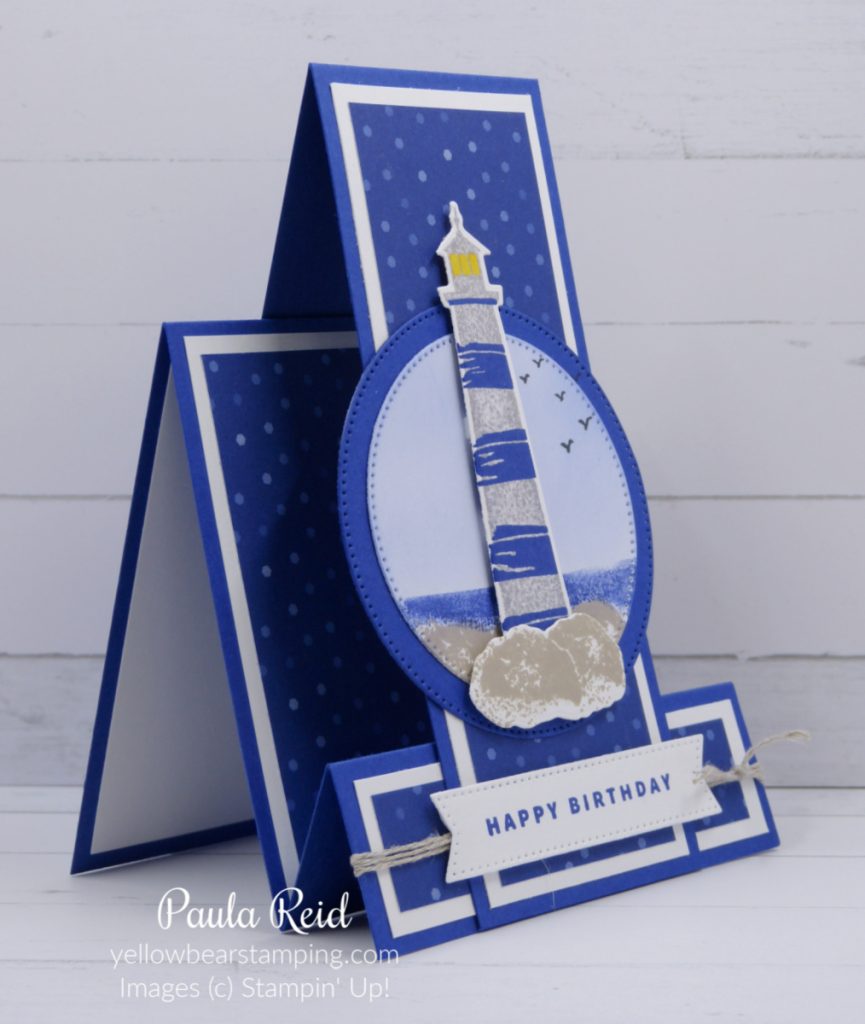
I decided for my first attempt I would CASE the card as per the tutorial (thanks Pat’s Card Corner). It features the Lighthouse Point Bundle which is sadly retiring at the end of this month. The base cardstock is Starry Sky with the coordinating In Colour 6″x6″ Designer Series Paper (DSP).
Step cards are normally one piece of cardstock with a couple of cuts and various score lines to create the folds – check out some previous blog posts featuring two variations here and here.
For the ‘Faux’ design you have two main pieces – the base and then the centre panel which only require scoring.

The fun part was creating the ‘scene’. For the sky I applied a light layer of Starry Sky ink with a Blending Brush coming down to almost the bottom of the circle and then added the rocks at the bottom using Sahara Sand (which is retiring). I then filled in the gap with the water stamp using Starry Sky. The lighthouse is stamped in Smoky Slate with the ‘bands’ stamped in Starry Sky. This is then adhered with dimensionals and extra rocks are added over the top.
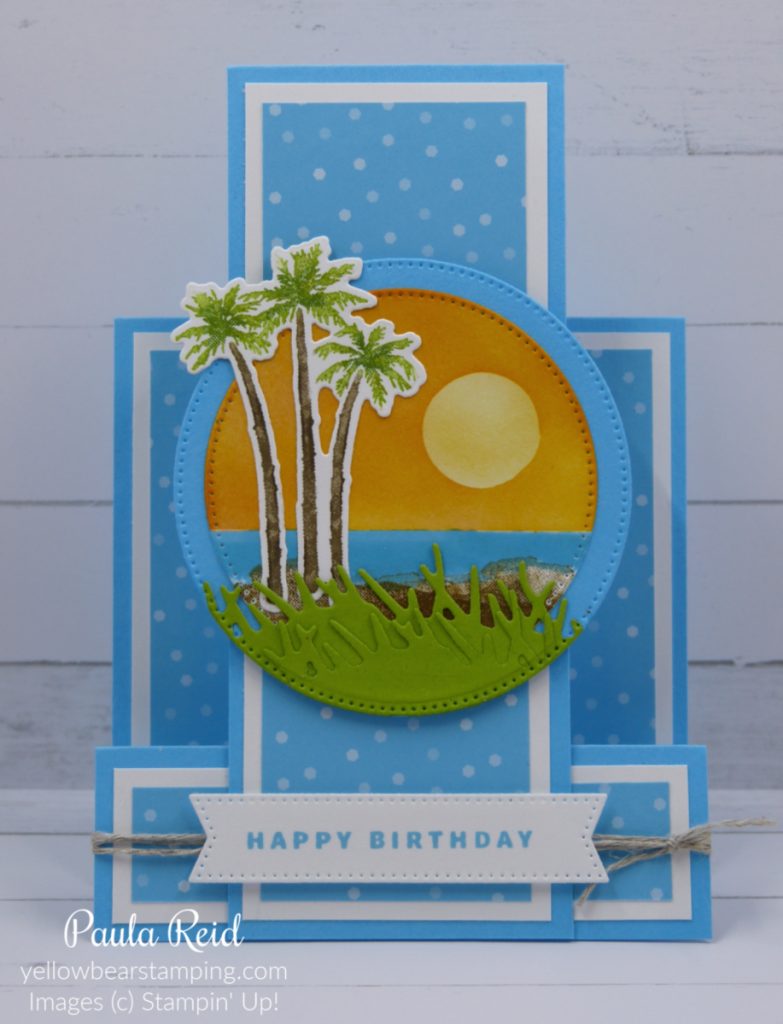
As mentioned earlier I needed two cards so kept with the style of card but changed the stamp set and colours.

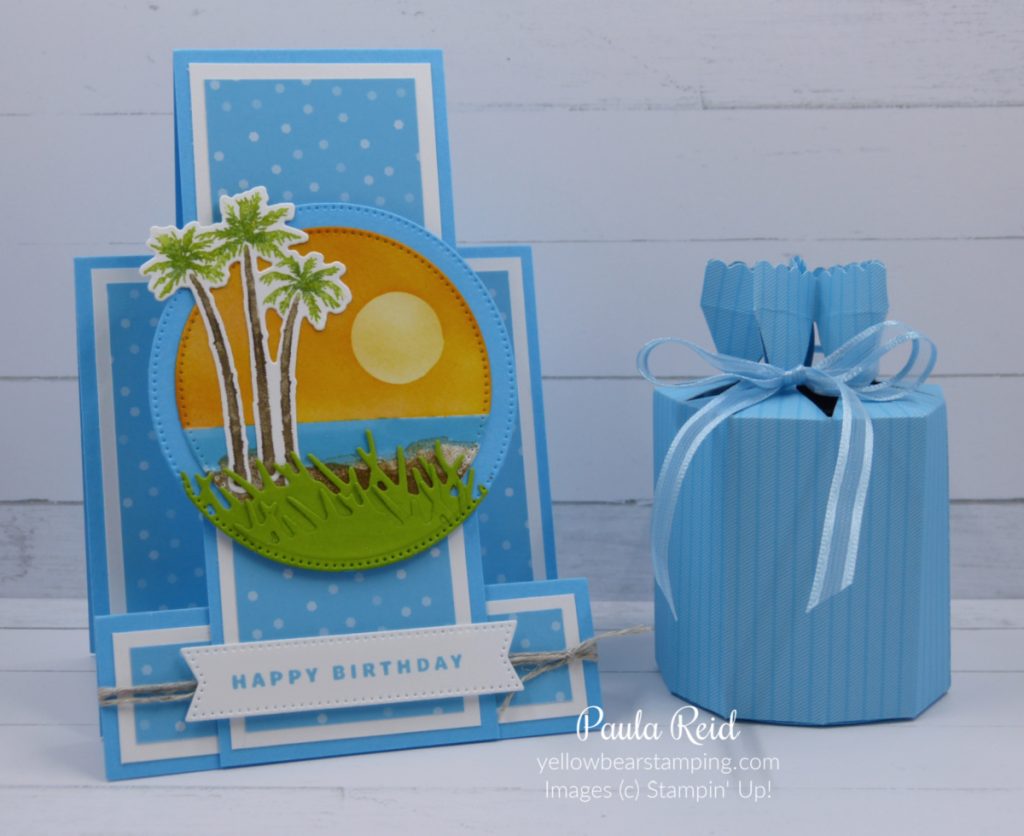
For this card I’ve used the Paradise Palms Bundle which is also sadly retiring. The base for this card is Tahitian Tide. The three palms is one stamp so to get two colours on the one image I used my Stampin Write Markers and the ‘direct to rubber’ technique. I used a couple of different ‘greens’ together for the palm fronds.

This card was being hand delivered so I made a gift box using the Cracker & Treat Box Die (which is carrying over) and filled it with chocolates.
If you’ve missed receiving my latest update and you would like to receive a copy, please head to the top of my blog to sign up.
Until next time …

