


Hi there
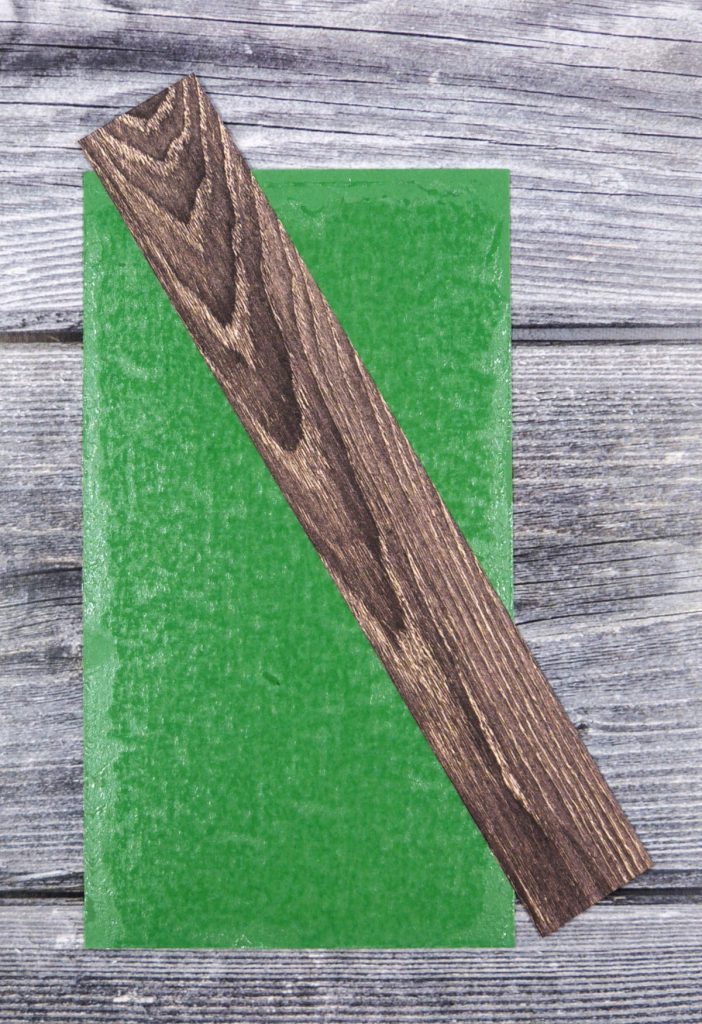
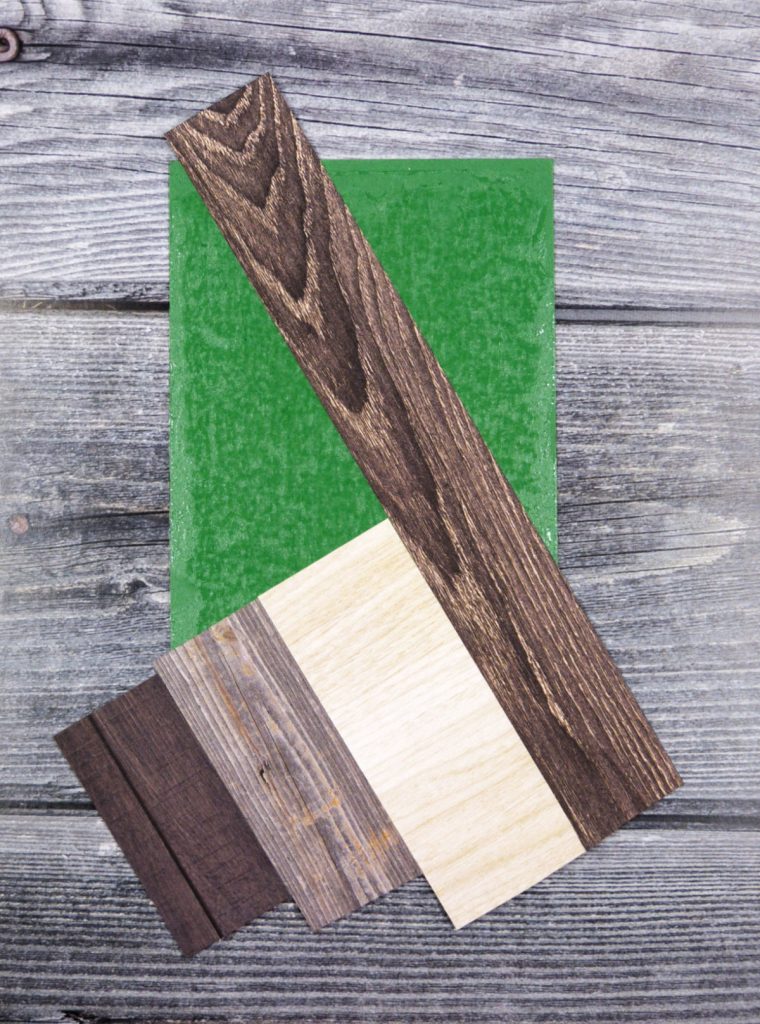
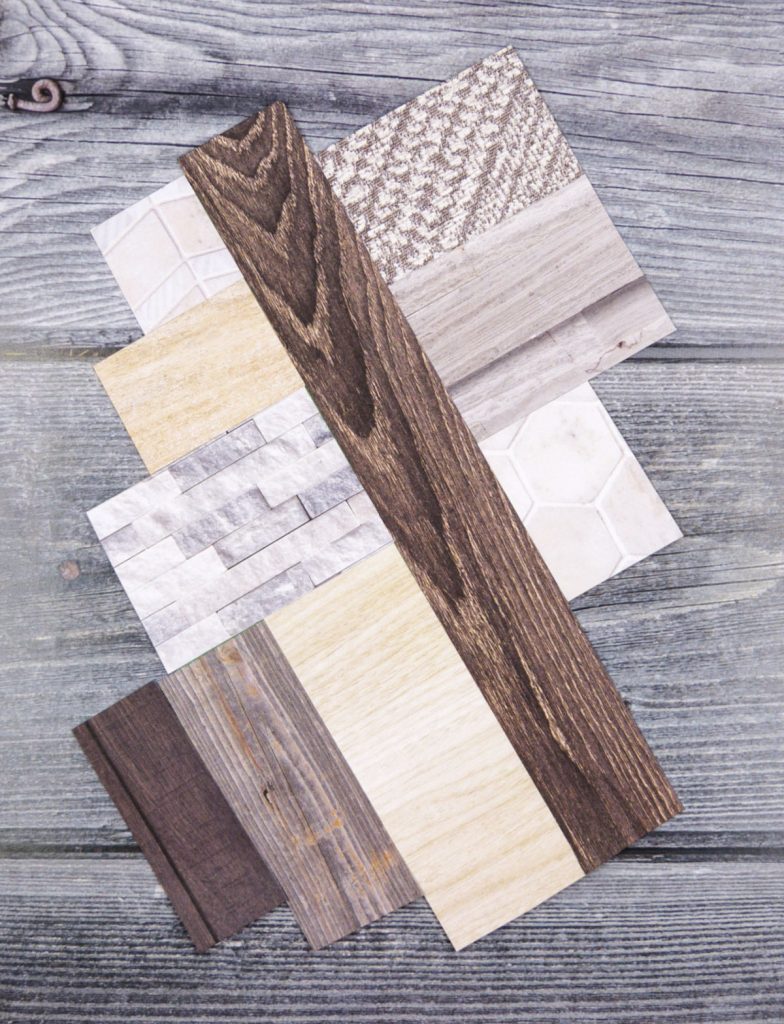
Last Friday’s Fun Fold card used the Herringbone Technique for the front panels and today I thought I’d show you how to make this. This technique is a great way to use up your scraps of Designer Series Paper (DSP). I had some off cut strips plus I cut some more. These strips can be various widths although for this card I’ve used 1″, 1 1/4″ and 1 1/2″ strips.
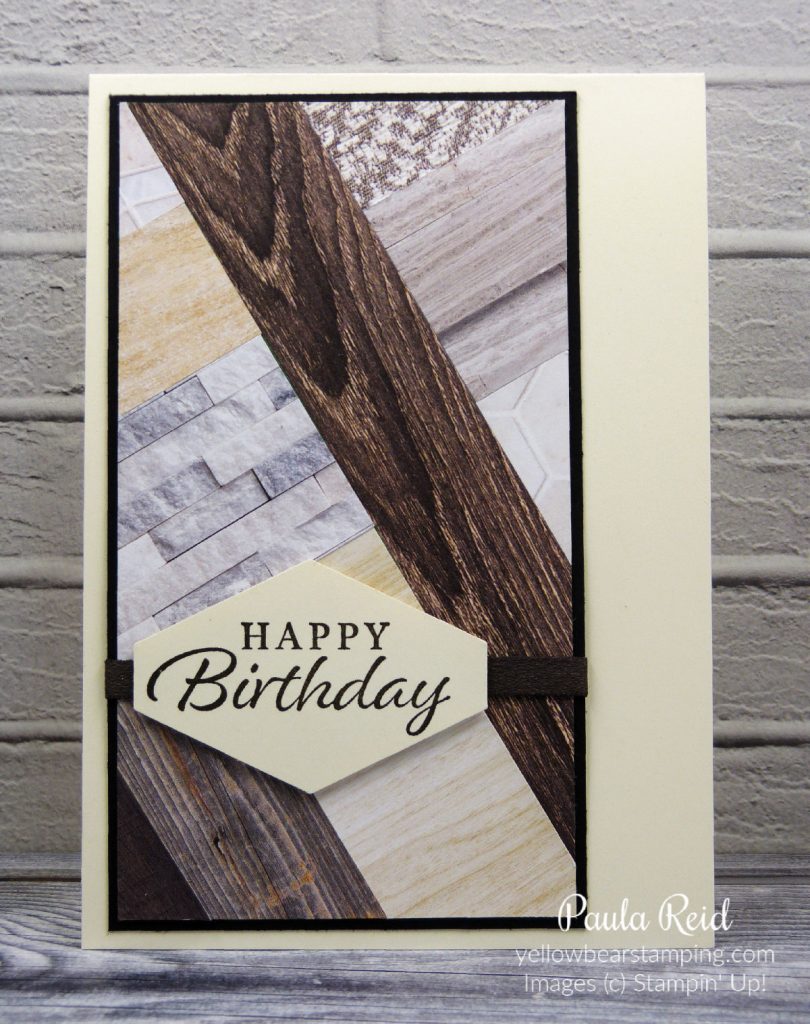
I’ve used the In Good Taste DSP and gone with a mix of textures and wood grains. The sentiment is from the Happy Thoughts set on page 28 of the January-June Mini Catalogue.
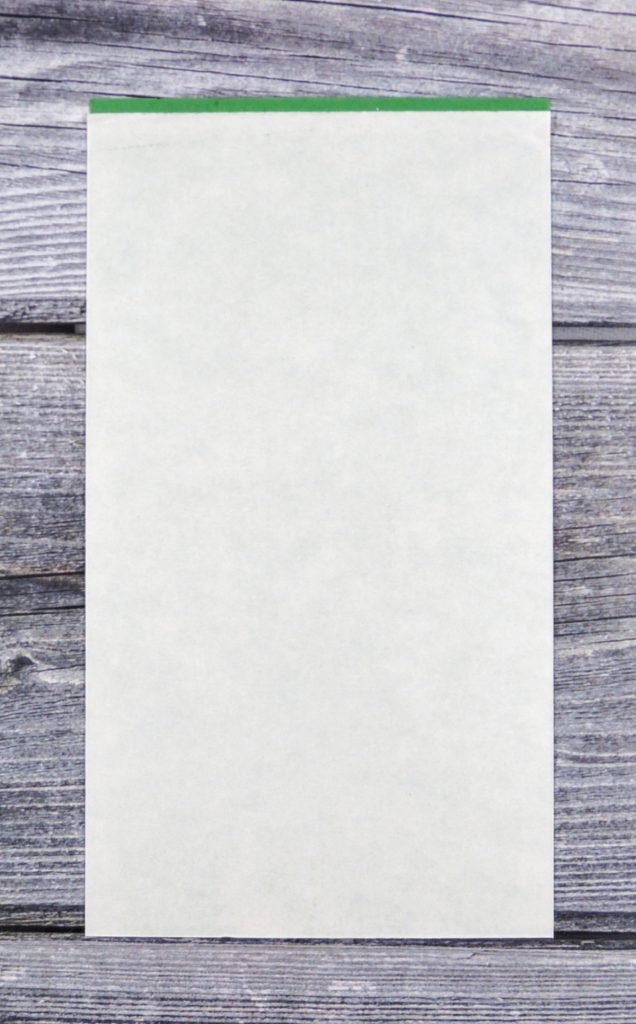
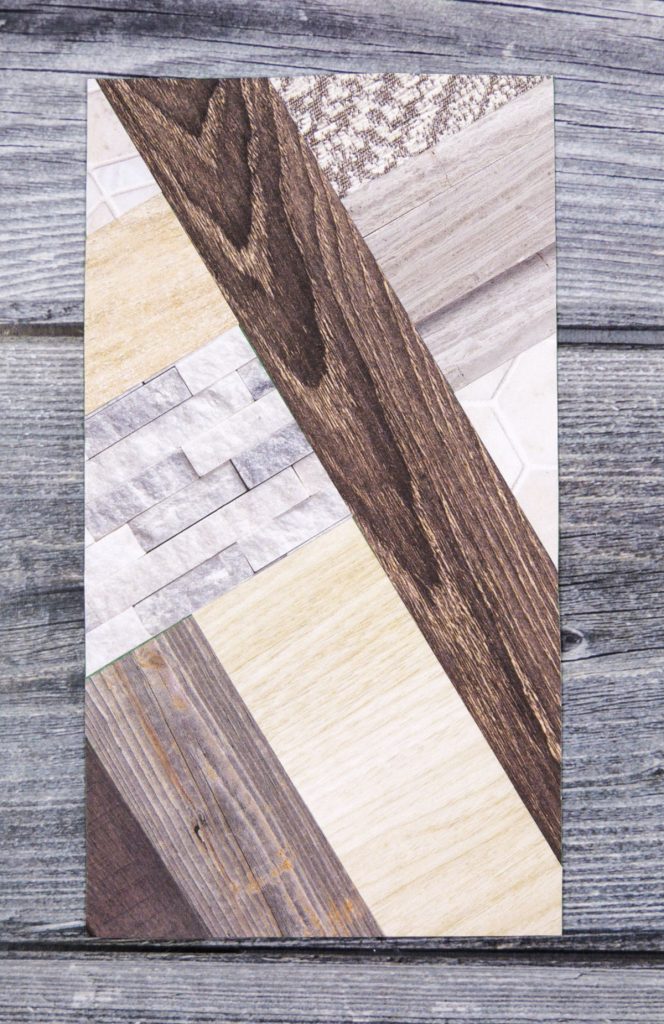
I always start with a piece of scrap cardstock bigger than I want my finished panel to allow for trimming the excess paper off – for this card it measured 8.5cm x 14.8cm. The finished panel measures 7.5cm x 13.8cm. I’ve also found using our Adhesive Sheets to adhere the DSP saves time and isn’t as messy as using liquid glue. Follow the steps below to recreate this technique.
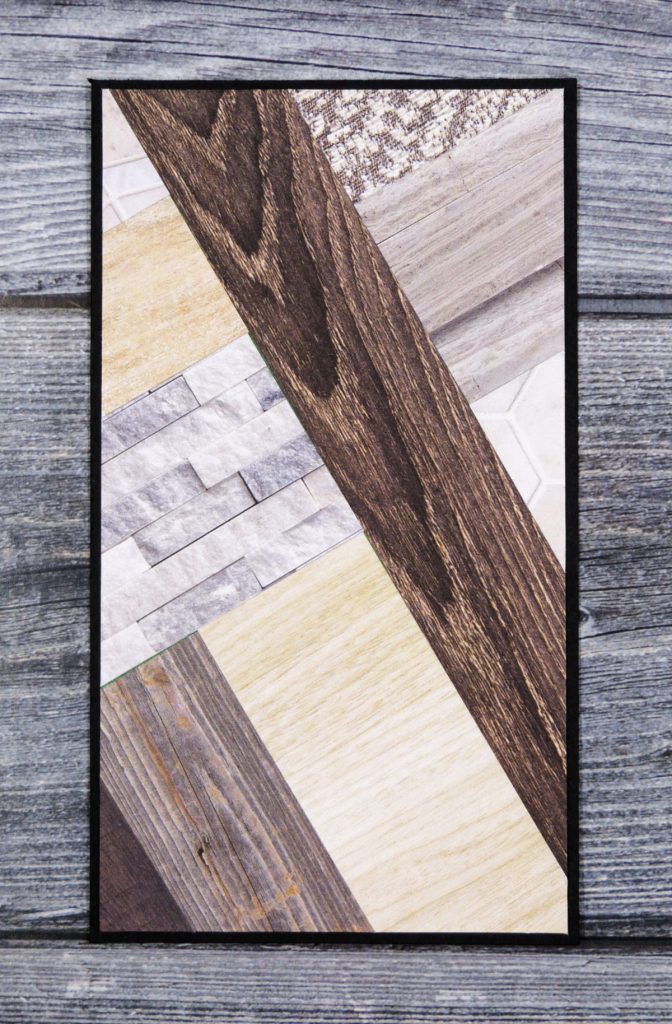
Finally add your panel to a card base, adhere some ribbon – I used the Faux Suede Trim – a sentiment and you are done.
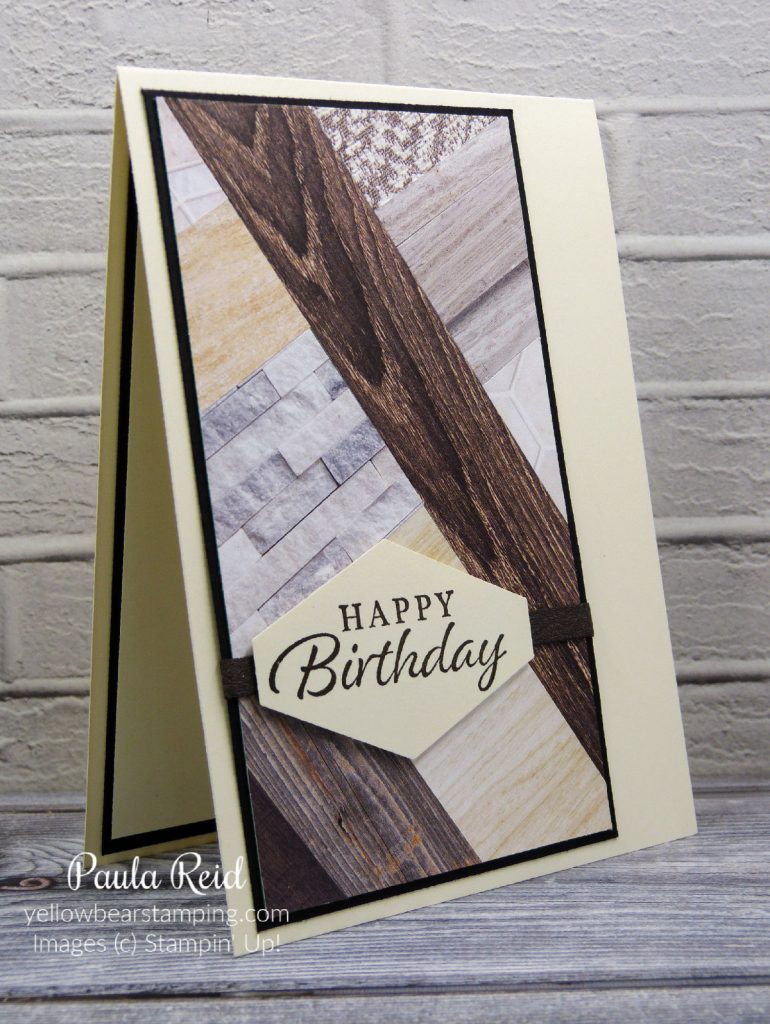
I’ve had fun creating these cards – I hope you’ll give this technique a go too.
Until next time …
