Hi there
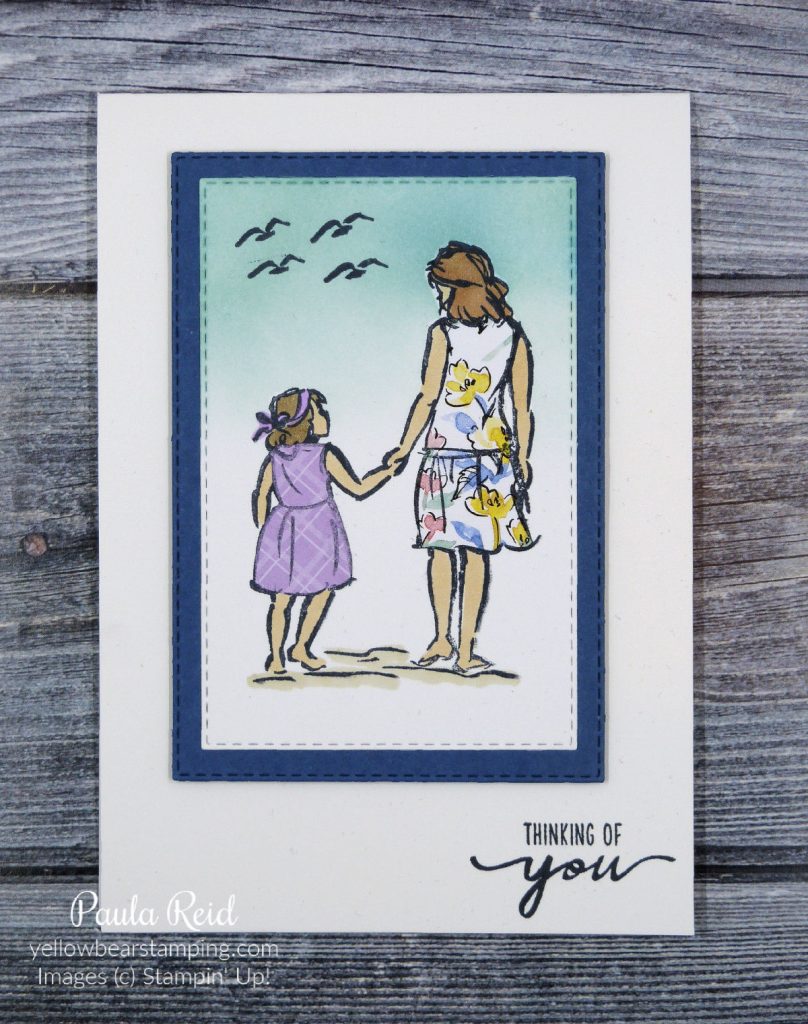
I’m enjoying bringing you a technique every Tuesday – it’s making me revisit techniques I’ve haven’t done for ages plus using new products for techniques. Today I have the Paper Piecing technique. This works with line art stamps and is another way to ‘colour’ your image. Using a Designer Series Paper (DSP) with a small print/design is the best way to go.

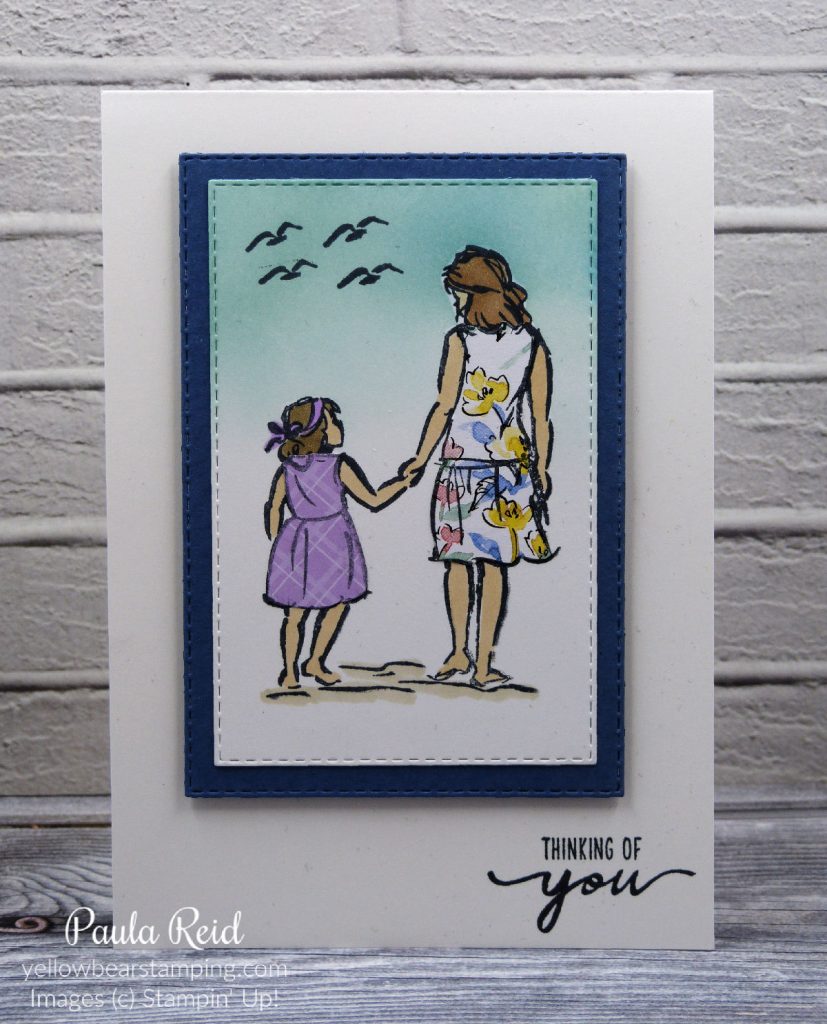
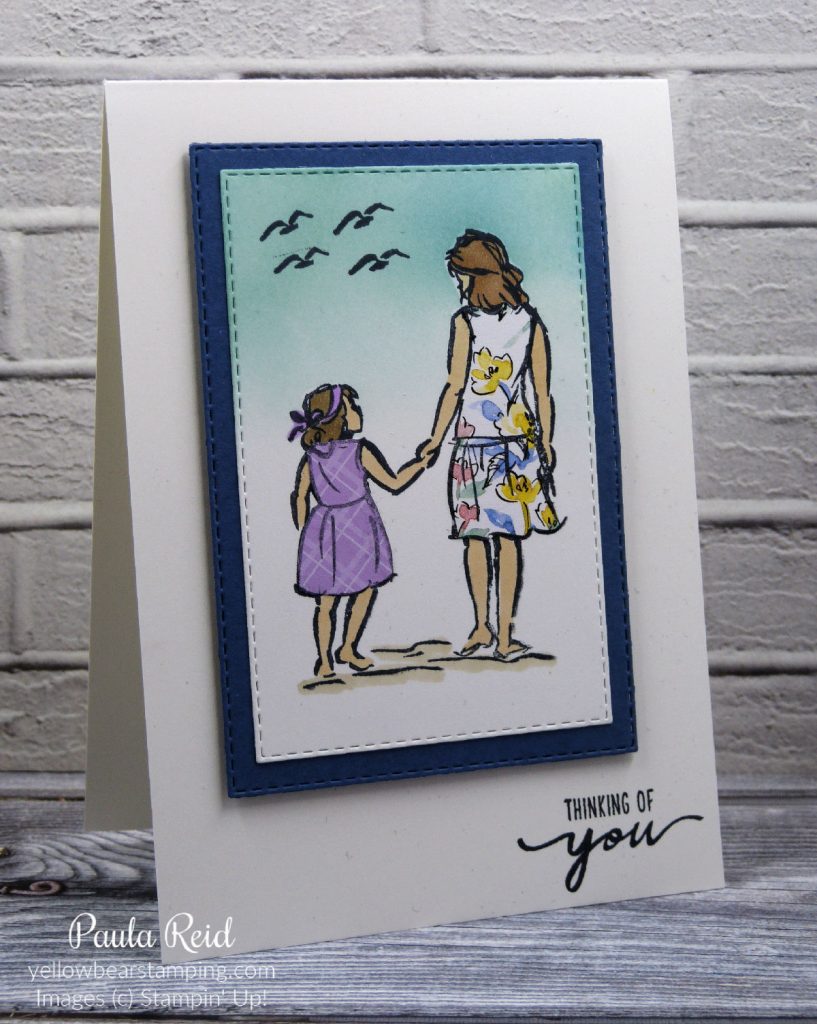
The Beautiful Moments set is perfect for this technique. I also combined a bit of masking technique for the sky.

I’ve used two new papers from the 2021-2022 Annual Catalogue that went live today. The little girl’s dress is Fresh Freesia from the 2021-2023 In Colour 6″ x 6″ papers. This pack of paper consists of 40 sheets – 4 each of 2 double sided designs in the 5 new In Colours – Evening Evergreen, Fresh Freesia, Pale Papaya, Polished Pink and Soft Succulent. The adult’s dress is from the Hand-Penned 12″ x 12″ paper – 2 each of 6 double sided designs. This pack has beautiful pastel floral tones on one side and a design on the other.

You only need a small piece of DSP for each dress. Cut your DSP to just a bit bigger than the individual image you’re wanting to use. Ink up your image and stamp onto the DSP. Grab your paper snips (I keep a pair just for paper) and fussy cut the image out. Stamp your full image on your desired cardstock and adhere the DSP to create the outfit/covering for your image. For my project I did the masking before I adhered the DSP dresses. I created a mask using a Post-It note and then applied ink for the sky with a Blending Brush. I’ve just realised I haven’t shared a masking technique yet so will do that for next week’s technique. You can check here and here for some previous cards I’ve done with masking.
Take a look through your DSP stash and see if you’ve got a design that would work well for this technique.
Until next time …

