Hi there
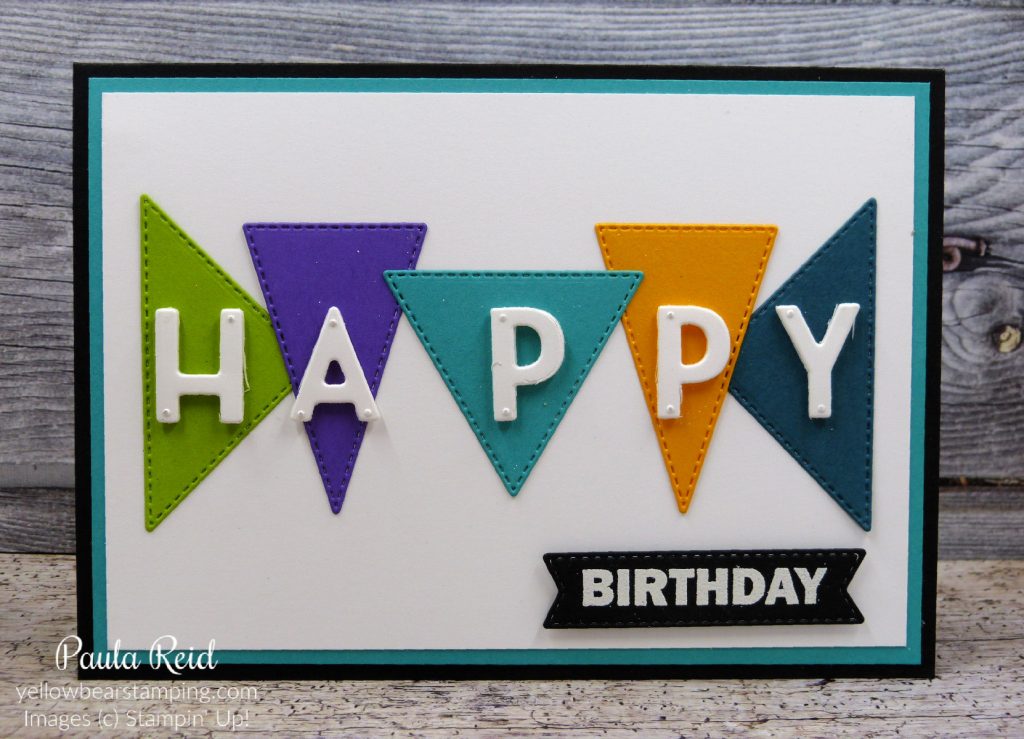
Rather than sharing a fun fold card today I thought I’d share a fun card instead. This card doesn’t require any stamping – just your dies and an embossing machine.

I placed three different shaped triangles on a piece of Whisper White measuring 9.5cm x 13.8cm and die cut them then repeated the cutting. Using the Playful Alphabet dies and Foam Adhesive Sheets I die cut the letters from Pacific Point, Daffodil Delight, Poppy Parade and Granny Apple Green.
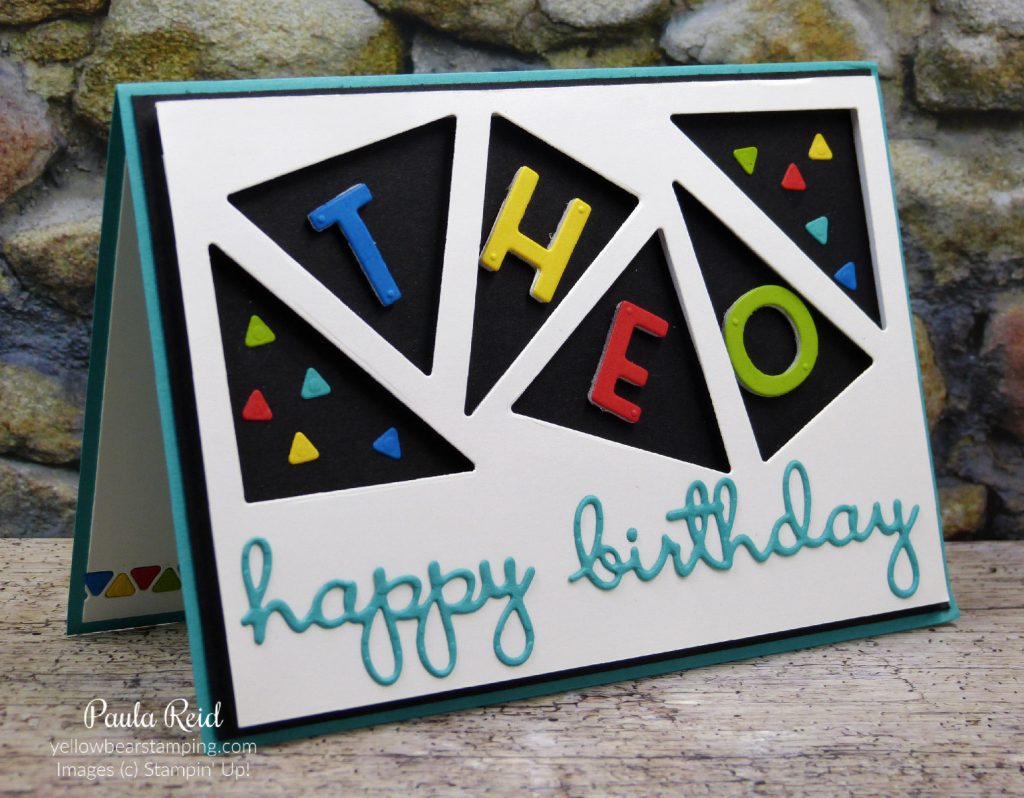
The card base is Bermuda Bay and has a Basic Black mat (10cm x 14.3cm) adhered directly to it. The Whisper White card front has been adhered to the Basic Black using the Foam Adhesive Strips (page 162 of the AC). Make sure you place strips on the thin strips between the triangles so that they don’t sag. Once the card base is together then add your letters. The coloured ‘sprinkles’ in the two end triangles are from the long edge die that is included in the Stitched Triangle dies.
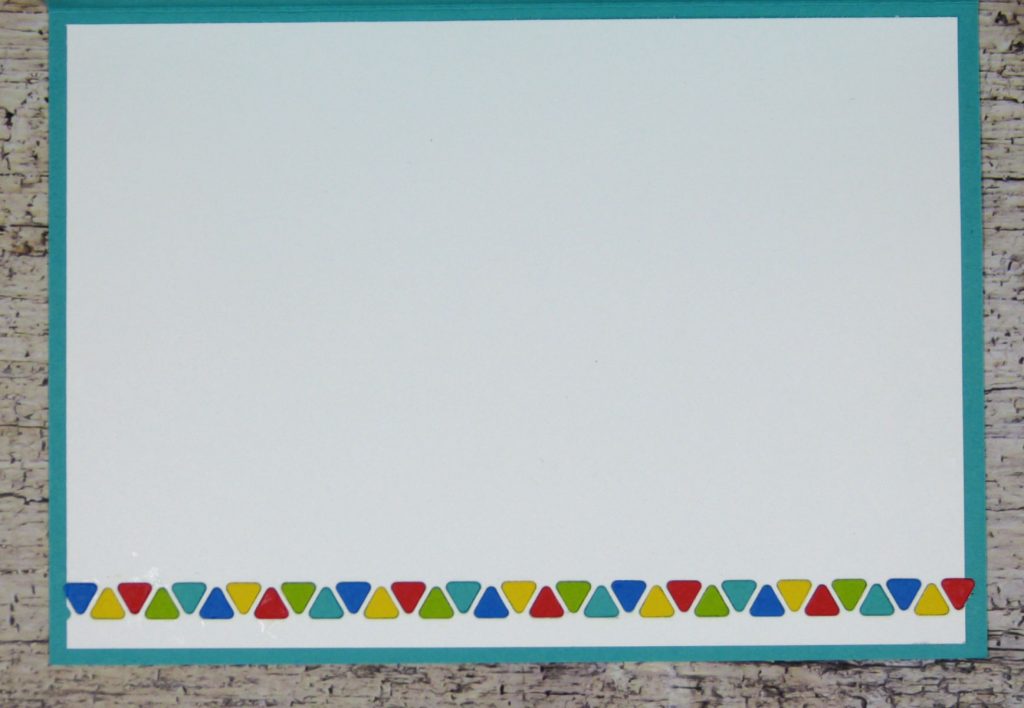
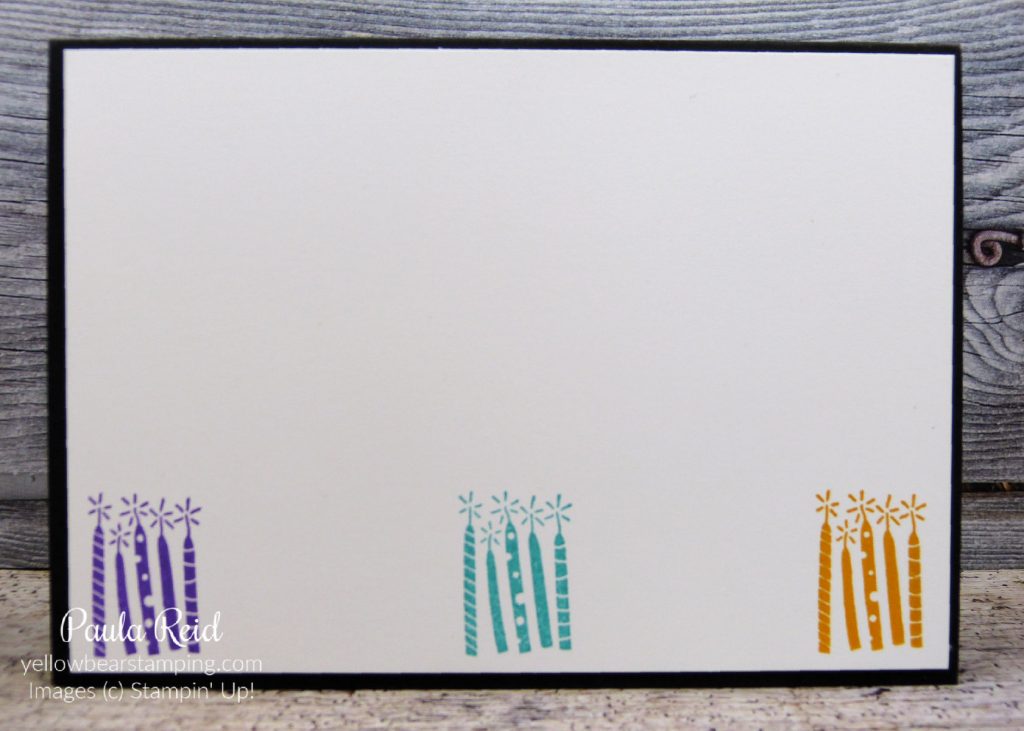
I also used the die for the inside of the card and stuck the coloured bits in the gap. It took a bit of die cutting using scraps to create this edge but looks very effective.
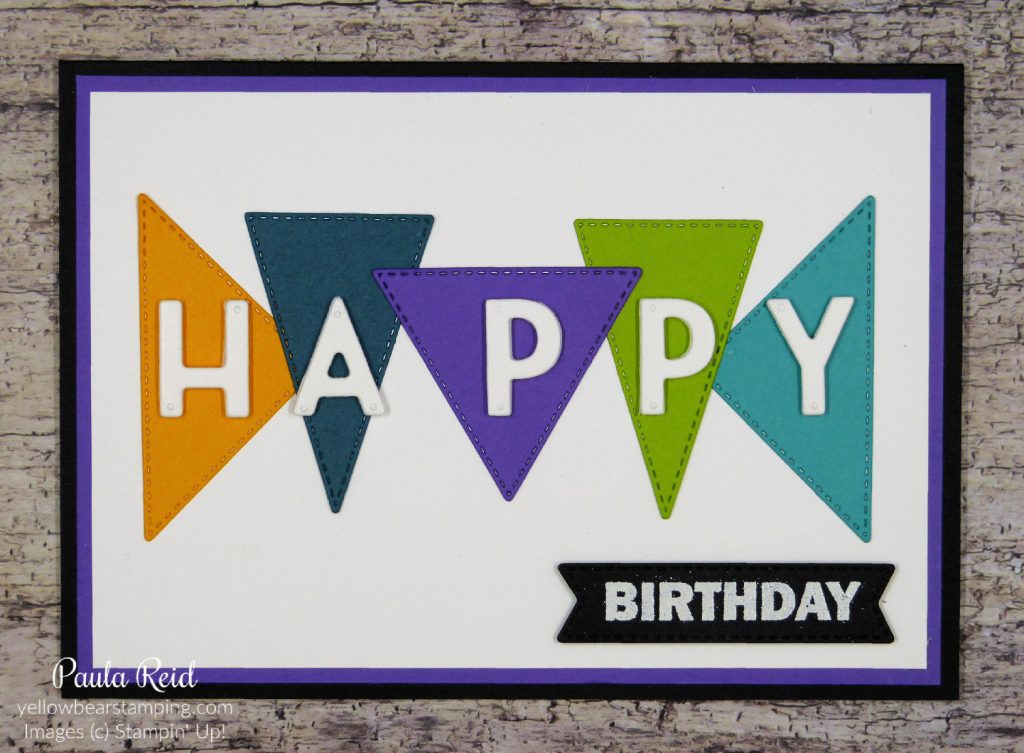
Another friends daughter had a birthday around the same time so I made this lovely feminine coloured card but changed the end triangle to make the card a ‘shaker’ card.
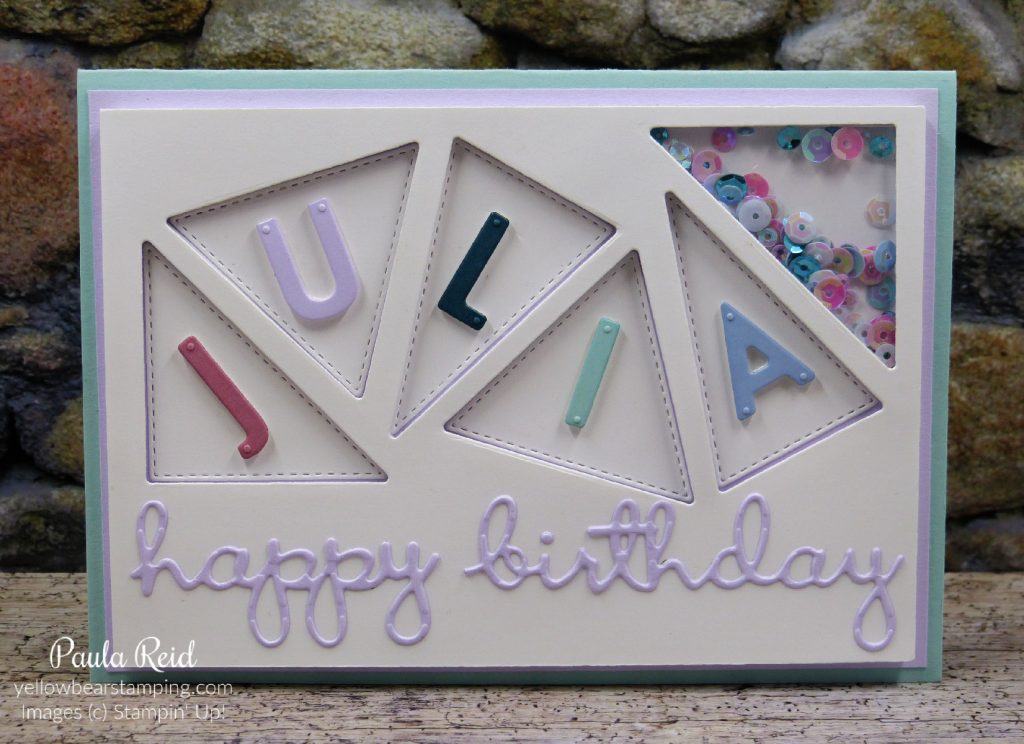
This time I put the cut outs from the Whisper White back in their space but adhered them directly to the Purple Posy mat before adding the letters which are cut out in Rococo Rose, Purple Posy, Pretty Peacock, Pool Party and Seaside Spray.
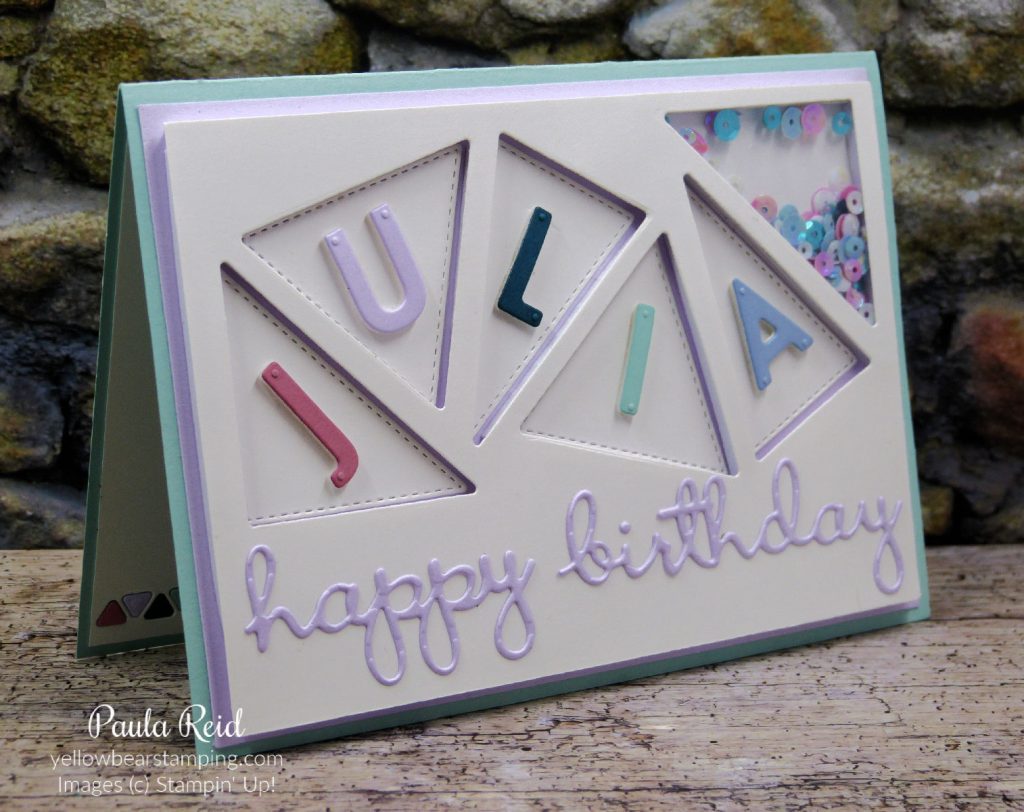
To make the last triangle a ‘shaker’ I cut a piece of Window Sheet and covered the hole then added the Foam Adhesive Strips to the edge and filled it with some Woven Threads Sequins. To keep the sequins in I then added a Whisper White backing before adhering it to the Purple Posy mat and Pool Party card base. The ‘Happy Birthday’ has been die cut from Well Written dies. Before I cut the words out I adhered the Adhesive Sheets to the back of the card stock – this makes it way easier to stick the words down once cut.
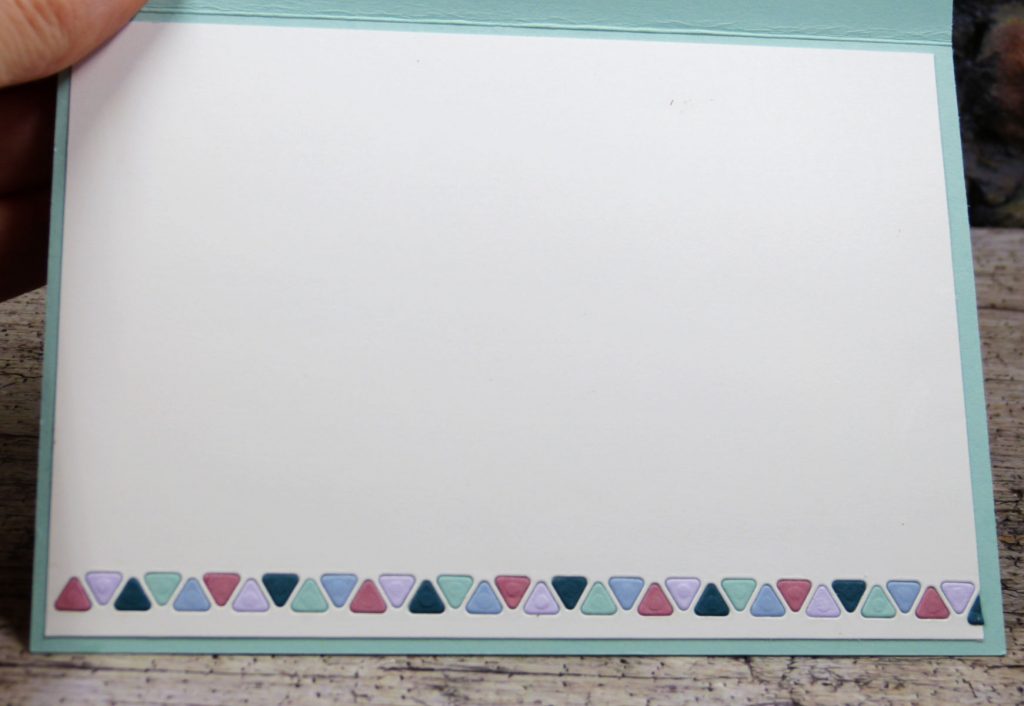
And here’s the same design for the inside – a nice way to finish off the card. I kept finding white card stock triangle on the floor for ages after die cutting these two inserts :).
These were fun cards to make and very effective. Lots of possibilities for this design – it doesn’t need to be letters that fill the gaps.
Until next time …