November Promotions – Paper Pumpkin Kit and Curvy Celebrations Sneak Peek

By | November 12, 2020

We have two promotions running during November so hop on over to my promotions page to check out what’s on offer.

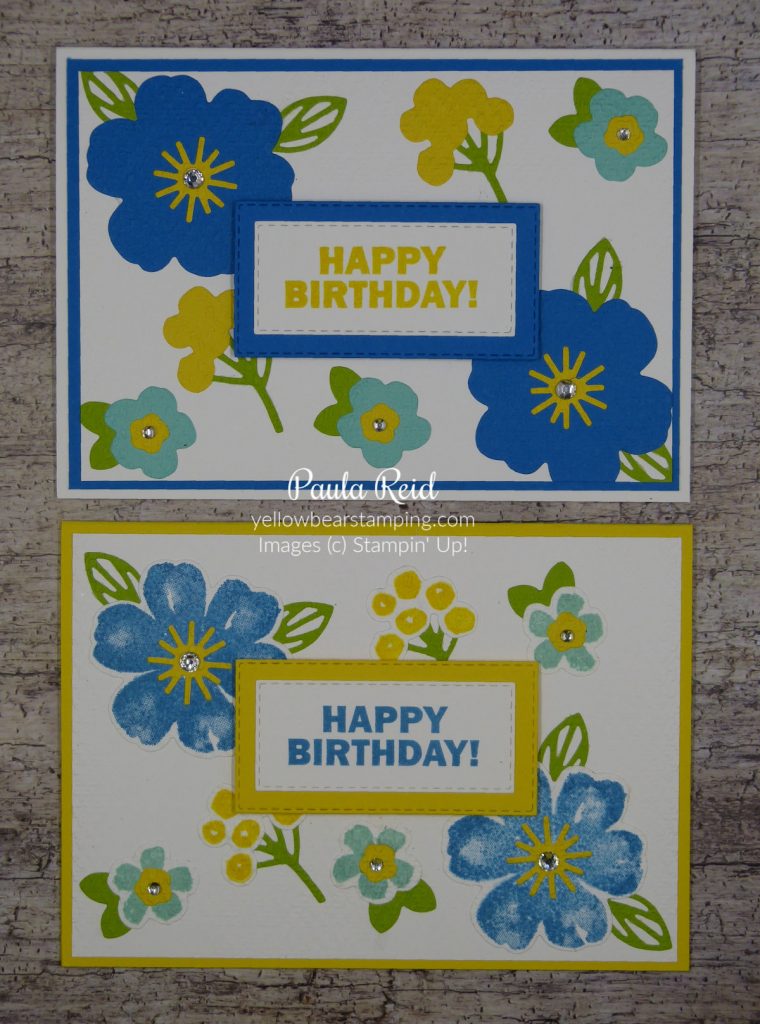
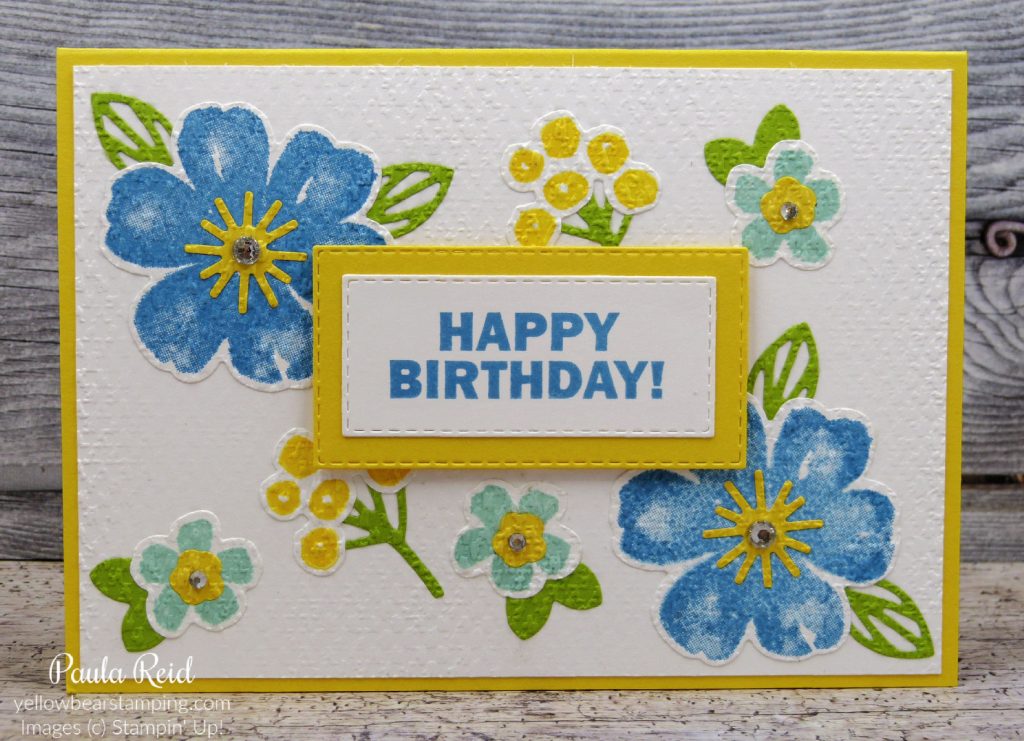
Paper Pumpkin Kit – with a specially-designed box and enough supplies to create eight elegant Christmas cards, this one-of-a-kind kit will inspire you to spread peace, joy, and love to friends, family, and neighbours. The Joy to the World Paper Pumpkin Kit is an exclusive Christmastime-themed kit.

KIT INFORMATION

Details:

  • Kit contains enough supplies to create eight cards—four each of two designs—and coordinating envelopes.
  • Card size: 5-7/8 x 4-1/8 (14.9cm x 10.47cm)
  • Envelope size: 6-3/8 x 4-7/16 (16.19cm x 11.27cm)
  • Coordinating Colours: Cherry Cobbler, Crumb Cake, Early Espresso, Just Jade, Soft Sea Foam

Other contents:

  • An exclusive stamp set you won’t find anywhere else!
  • One Classic Stampin’ Spot
  • Paper and crafting materials including card bases, die-cut pieces, embellishments, and adhesive.

The Joy to the World Kit includes die-cut sentiment pieces in English, French, and German. This will allow you to create cards you can send to family and friends around the world—in their language!

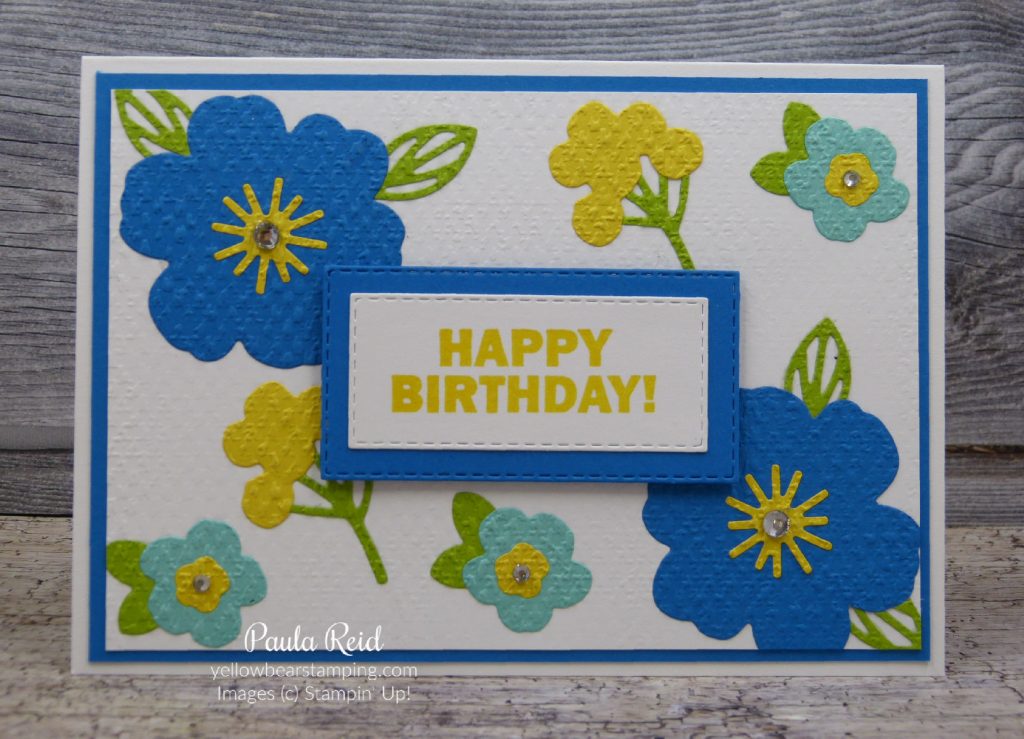
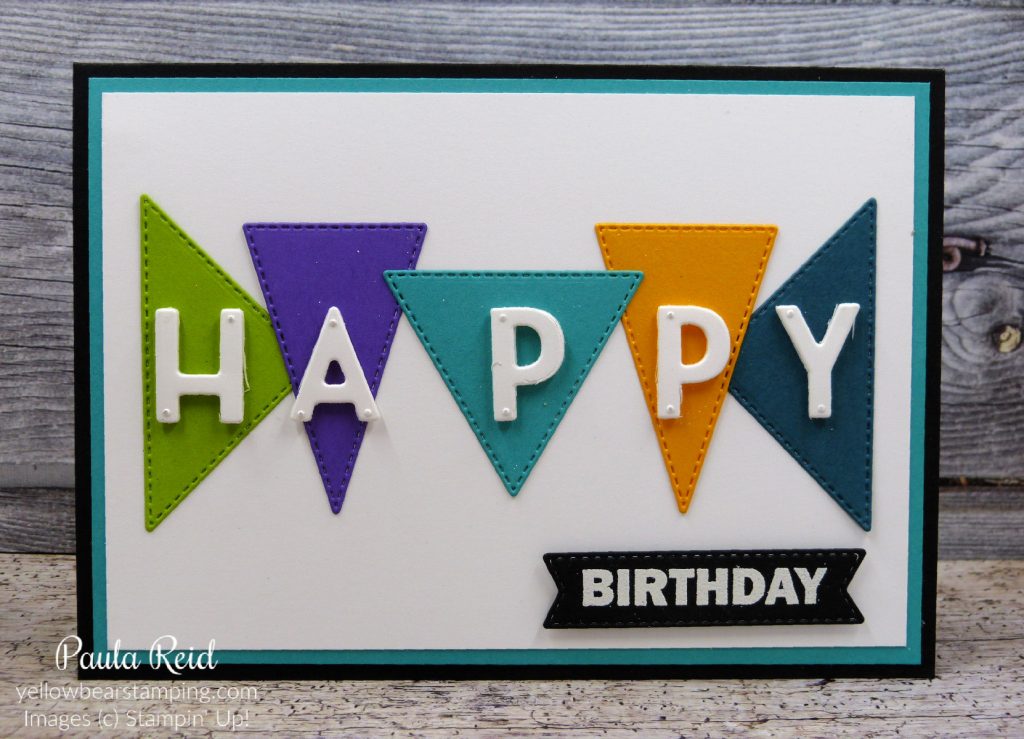
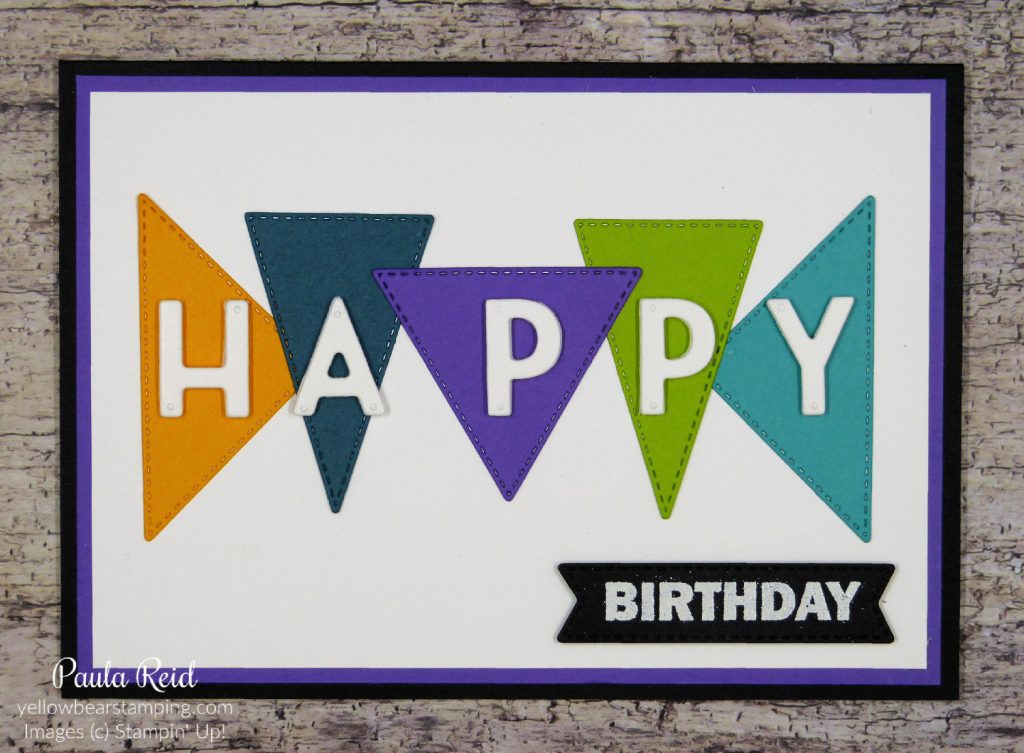
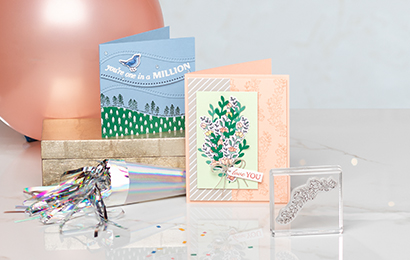
The Curvy Celebrations promotion is an ‘early release’ of the Quite Curvy Bundle that is included in the upcoming January to June 2021 Mini Catalogue plus there is an exclusive Christmas stamp set and Designer Series Paper that combined create the Quite Curvy Variety Bundle that is only on offer during this promotion (3 November 2020 to 4 January 2021).

Celebrate with curvy stamps, dies, and more! Designed for a variety of special occasions, the Quite Curvy Variety Bundle includes everything you need to create one-of-a-kind crafts. When you order the Quite Curvy Variety Bundle you save 10%. Don’t let stress steal your spirit—get ahead and order this exclusive bundle for a festive and frenzy-free season!

24 hour Stamp Sale 2020 – 23 September 2020

By | September 22, 2020

THE HOTTEST STAMP SALE OF THE YEAR!

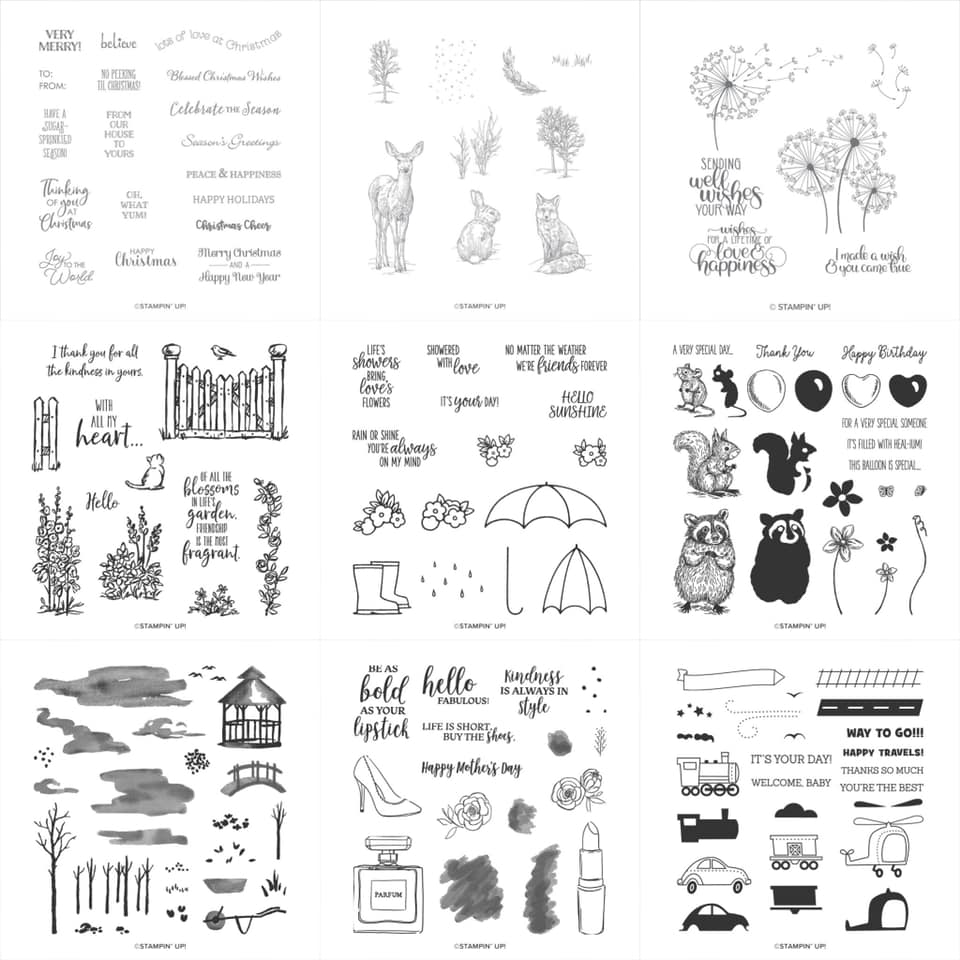
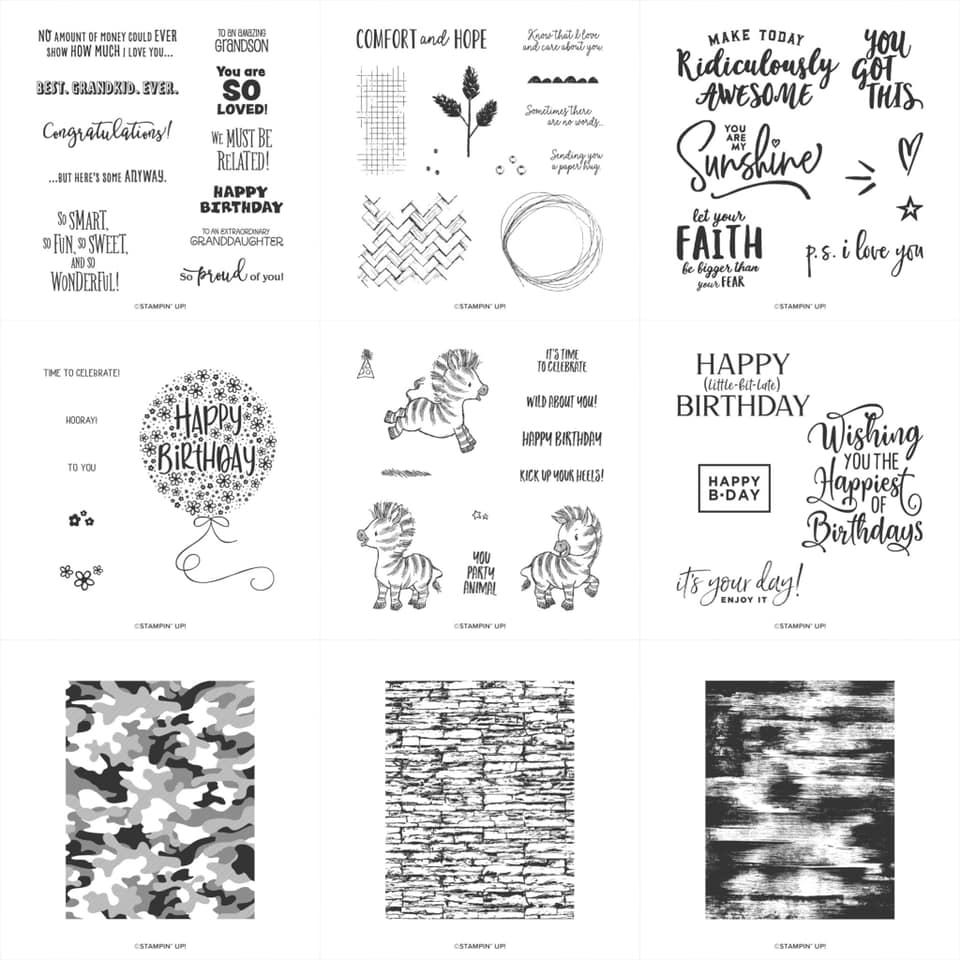
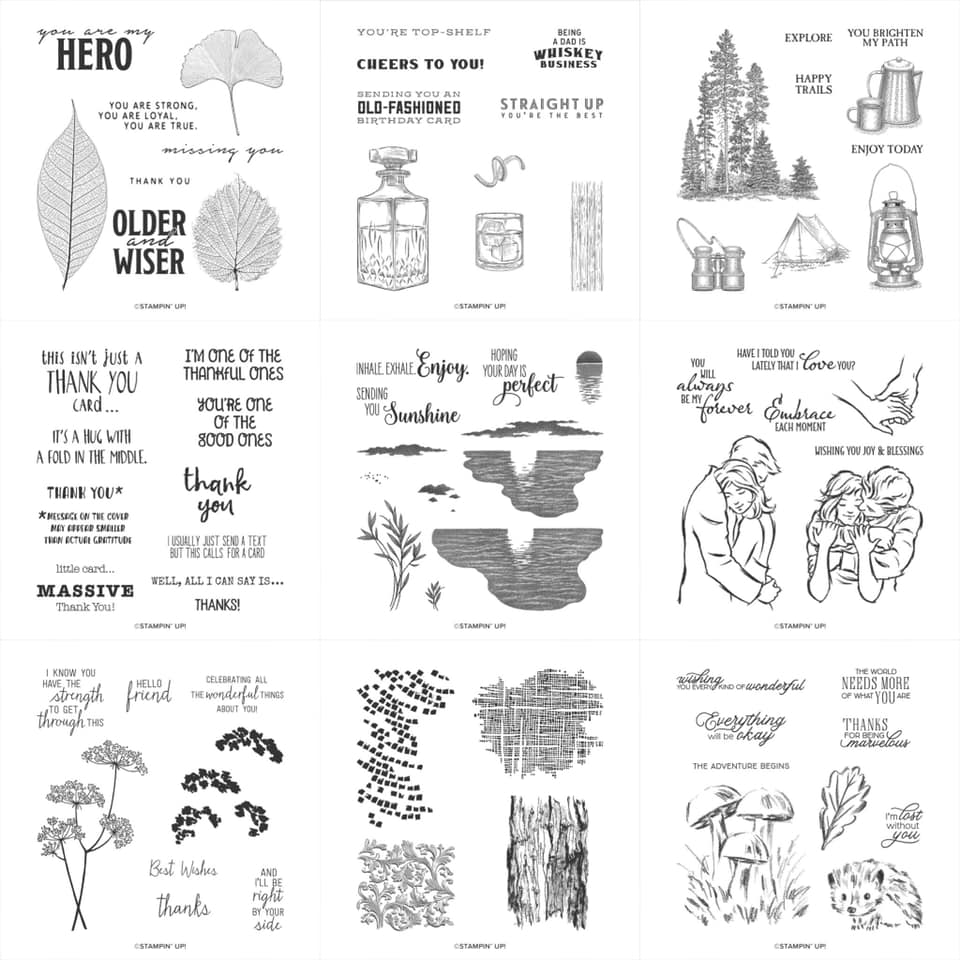
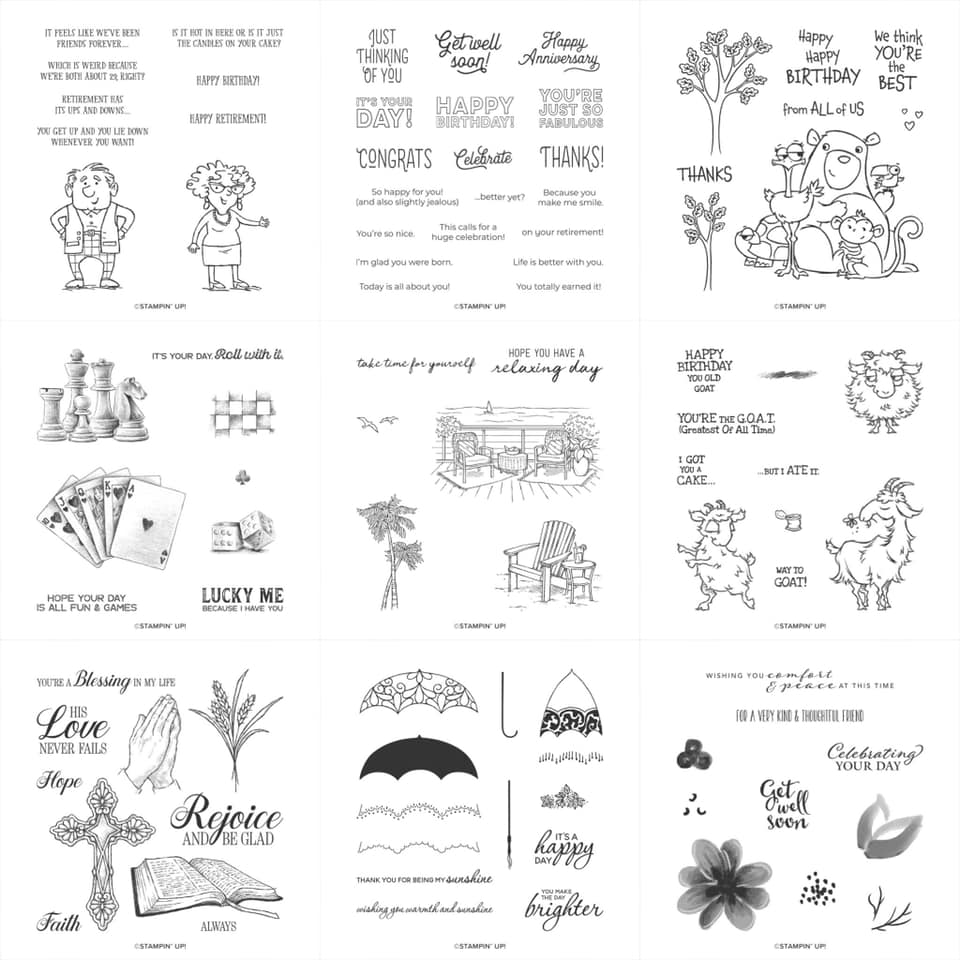
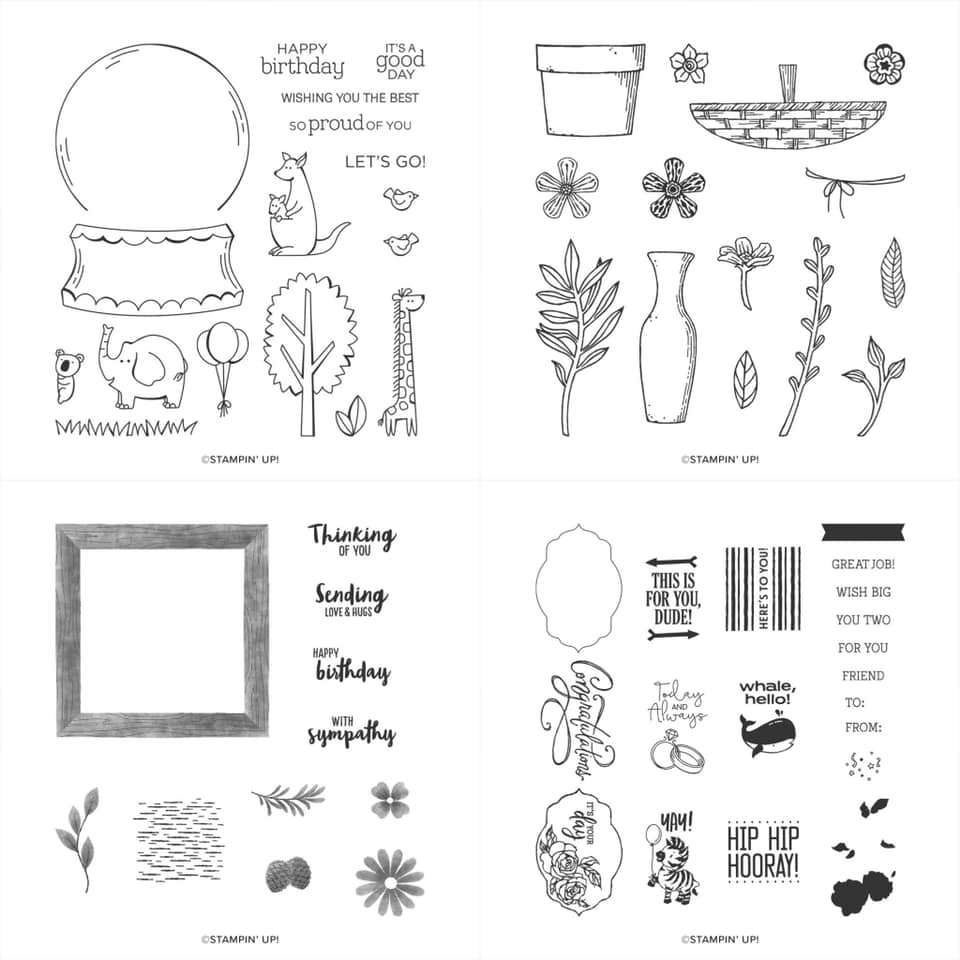
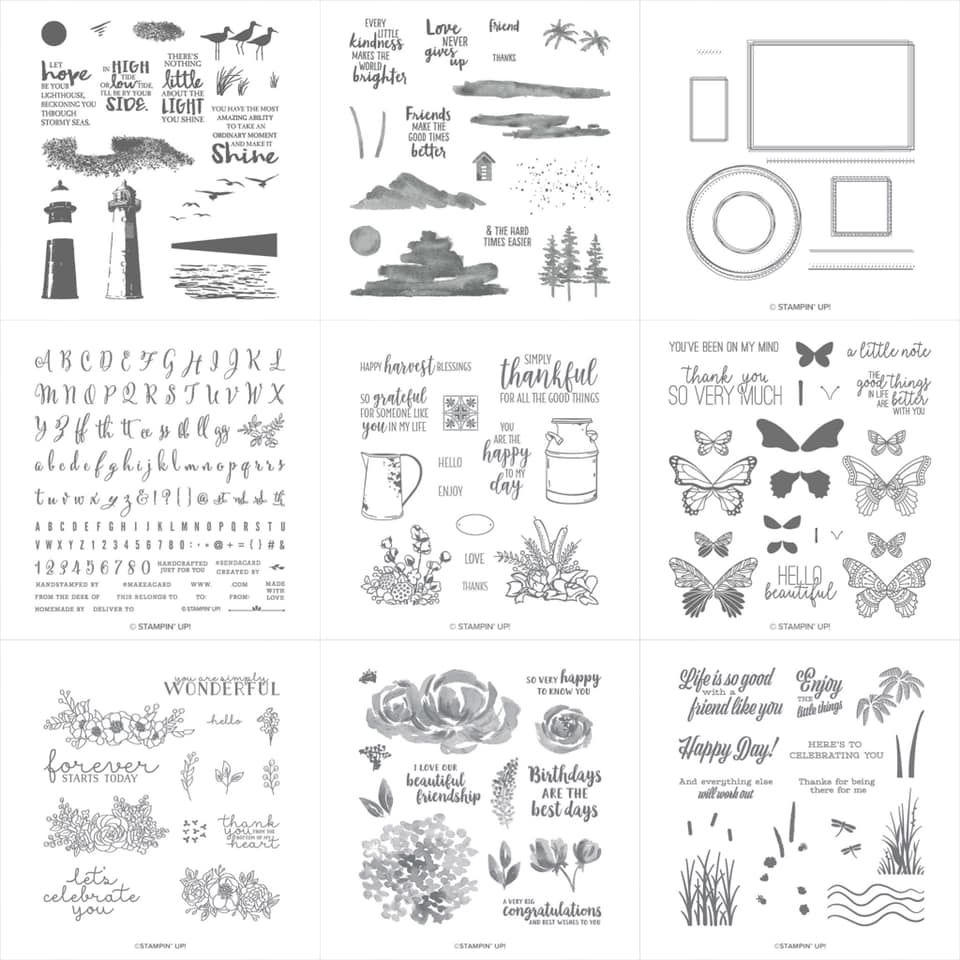
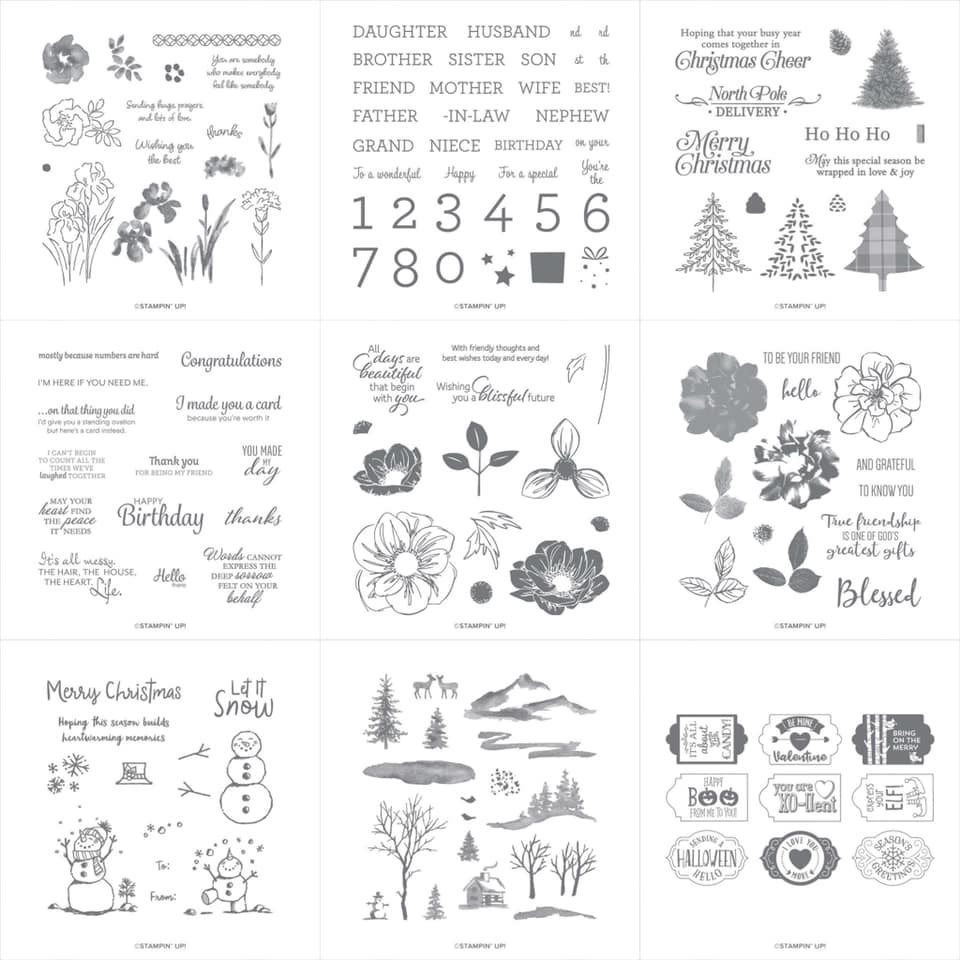
For 24 hours only – Wednesday 23 September (12:00am – 11:59pm) – you can stock up on stamp sets at a stellar price! For one day only, you can purchase selected cling and photopolymer stamp sets at a 15% discount. This short, stamp-tacular sale only happens once a year—you won’t want to miss out on these super savings! You can order online via my online store or contact me before 7:00pm on the 23rd so I can place your order.

Check out the list of stamps available by clicking here and if you’d like to see the image of the set see below:

Dressed to Impress – Shoe Shopping

By | August 10, 2020

Hi there

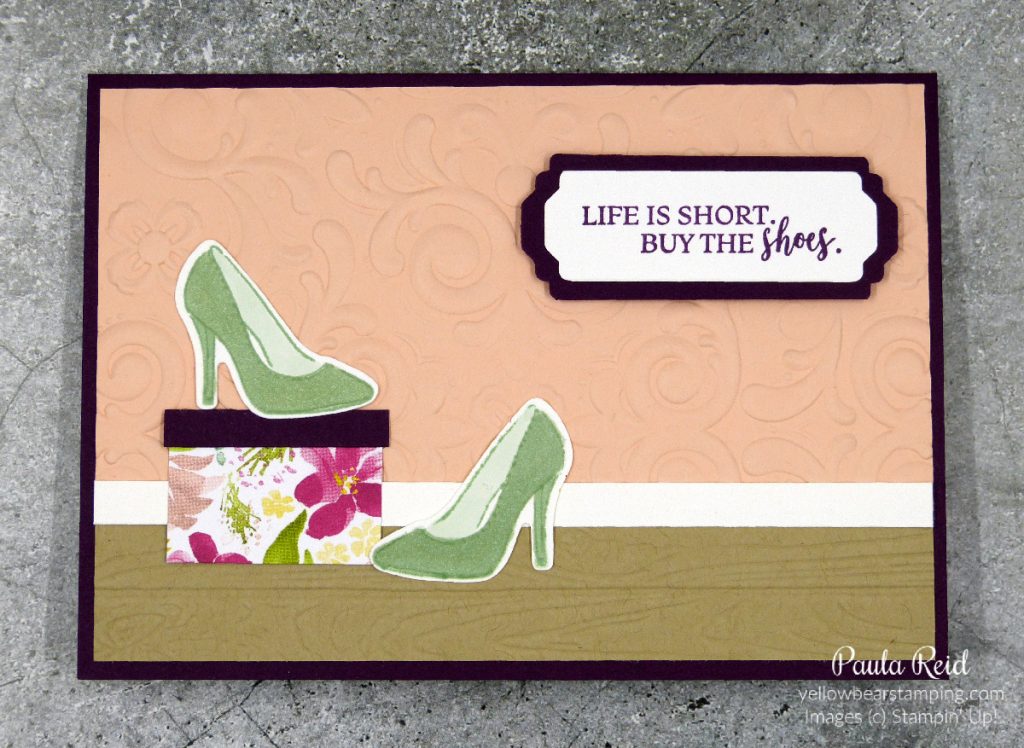
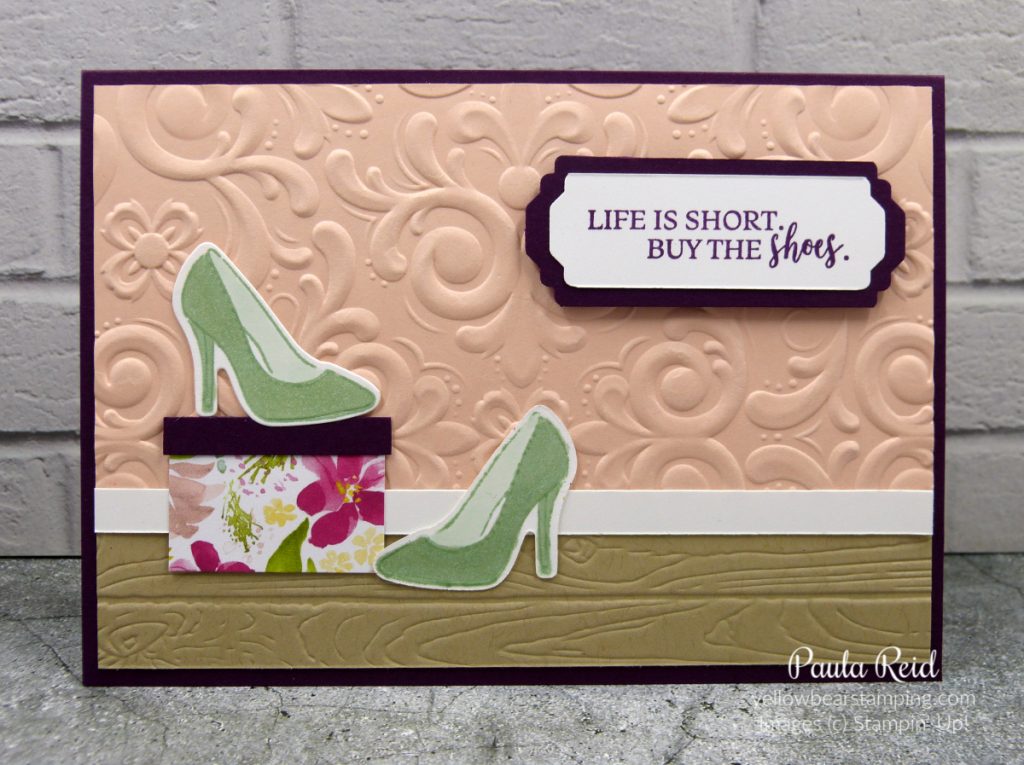
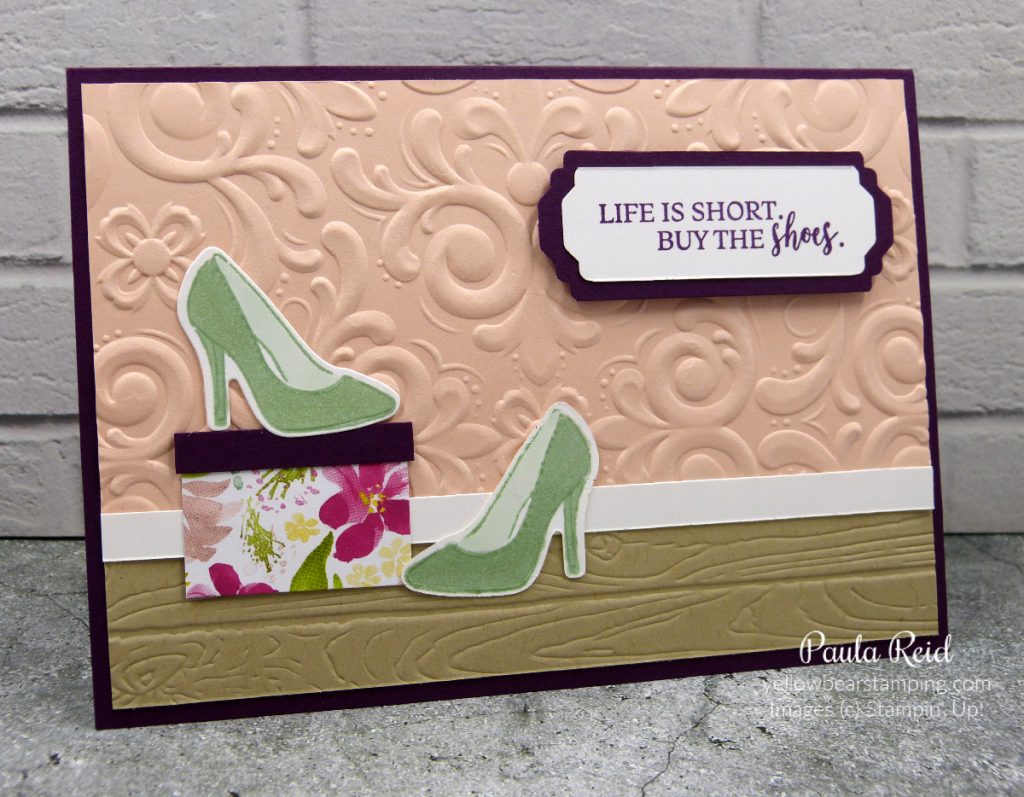
Last month one of my work colleagues had a birthday and the Dressed to Impress stamp set was perfect for her. Back in May I shared this card I made for her so shoes are her thing 🙂

I CASED the design of this card from a fellow demo Linda Heller. This card involves reverse stamping and die cutting so that you get a left and a right shoe. Linda has a great video on her blog.

I’ve used two different embossing folders – Parisian Flourish for the ‘wallpaper’ and Pinewood Planks for the ‘floor’. A white ‘skirting’ board joins the two embossed pieces together. The shoe outlines were stamped in Mint Macaron then coloured in with Stampin’ Blends.

My ‘shoe box’ uses a scrap of the retired paper that coordinated with this bundle from the 2020 Mini Catalogue with a Blackberry Bliss lid.

One of my favourite items from the 2020-2021 Annual Catalogue is the Lovely Labels Pick A Punch – it is SO versatile and coordinates with a number of sentiments already on my shelf.

Well that’s all for now – until next time …

Tasteful Touches – Cinnamon Cider

By | August 2, 2020

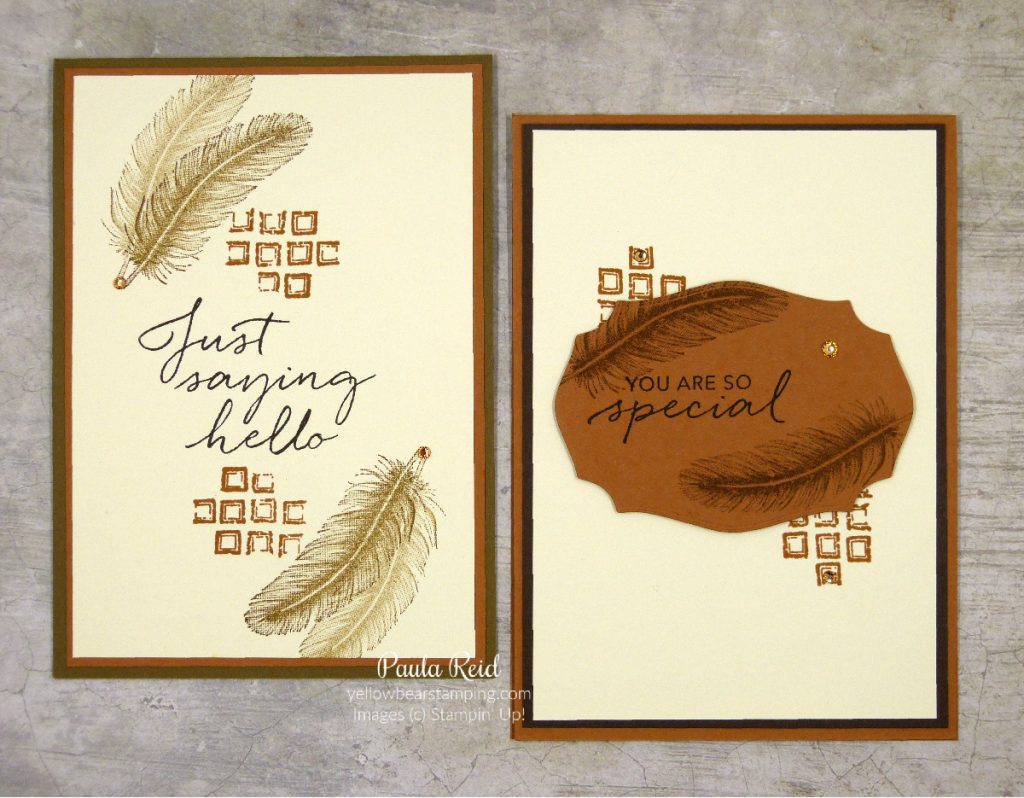
The In Good Taste Suite on pages 122-124 was the first suite I purchased from the new Annual Catalogue. Today I’m going to share two cards I’ve made using the Tasteful Touches Bundle from this suite. The first card is a ‘simple stamping’ card and the the second card is a stepped up card adding a die cut from the Tasteful Labels dies.

Tasteful Touches Bundle

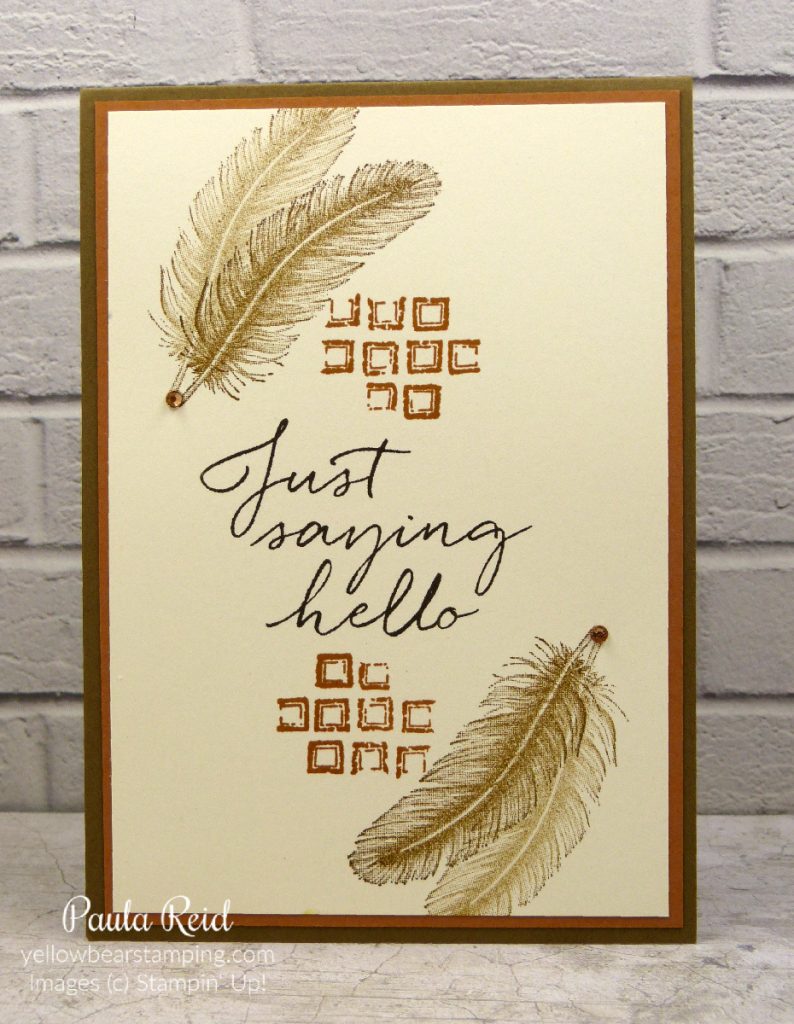
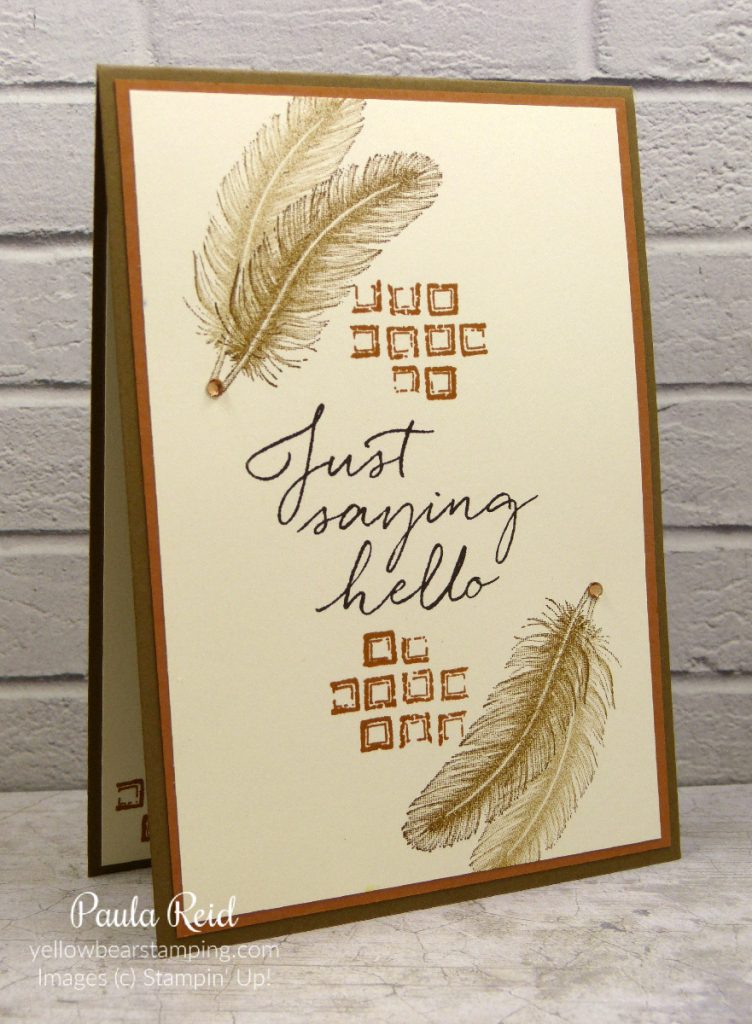
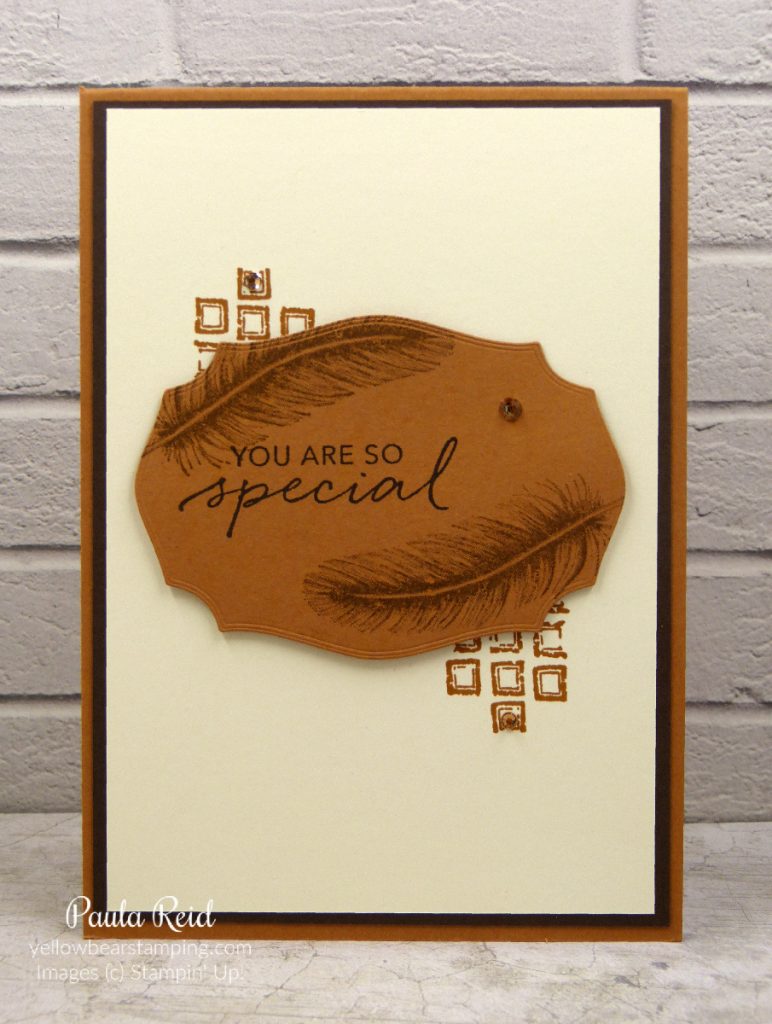
This card is a ‘simple stamping’ card as that is all that is involved in creating it. The sentiment is stamped in Early Espresso, the feathers in Soft Suede and the ‘texture’ image in the new 2020-2022 In Colour Cinnamon Cider. To create the two shades for the feathers I used the ‘stamped off’ technique. This is where you stamp the first image at full strength and then stamp the image again without reinking it. As the second feather is lighter it looks as though it is behind the original stamped feather creating some depth to the card.

The card base is Soft Suede with a mat of Cinnamon Cider and the card front is Very Vanilla. You can just see the inside of the card where I’ve stamped the ‘texture’ image in the bottom corner. You can always add some ‘bling’ to a card and the Champagne Rhinestones work perfectly to finish off this card.

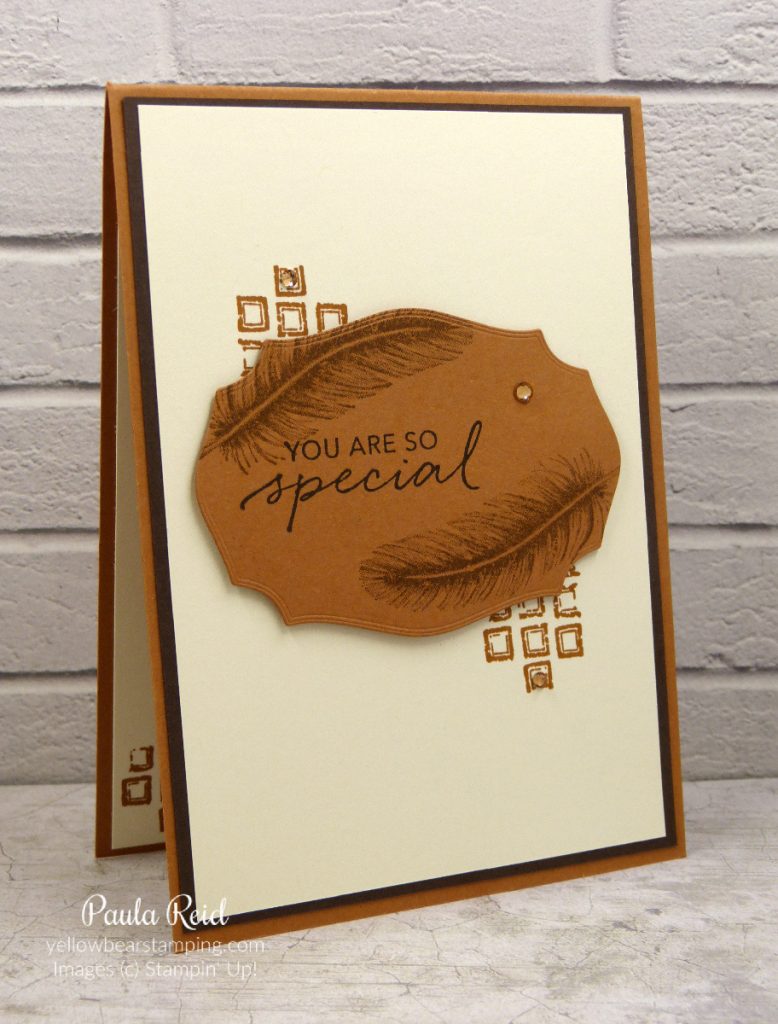
This next card is a stepped up card – no longer is it just stamping. I’ve added a die cut from the Tasteful Labels Dies on page 179. This label had been die cut from Cinnamon Cider with the sentiment stamped in Early Espresso and the feathers stamped in Soft Suede (full strength). The ‘texture’ image has again been stamped in Cinnamon Cider – I rotated the image for top and bottom. The label has then been adhered to the card with dimensionals.

The card base for this card is Cinnamon Cider, a mat of Early Espresso and the front of Very Vanilla. Again can’t go without some bling – I do love the colour of the Champagne Rhinestones – check them out on page 156.

I CASED these cards from a US demo – Jolanda Johnson – and made them for a table swap at our training back in June.

Well that’s all from me – my bed is calling me. Until next time …
Lovely Labels Pick A Punch

By | July 26, 2020

Hi there

No photo description available.

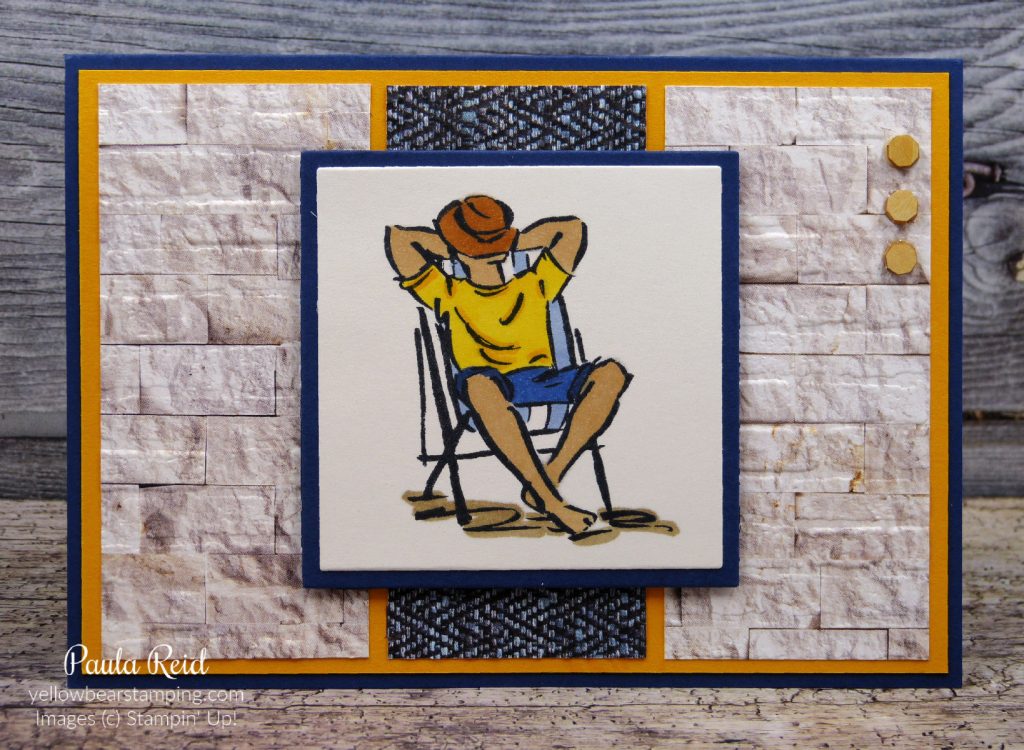
Here’s a quick video provided by Stampin’ Up showing how easy it is to create labels using the new Lovely Labels Pick A Punch.

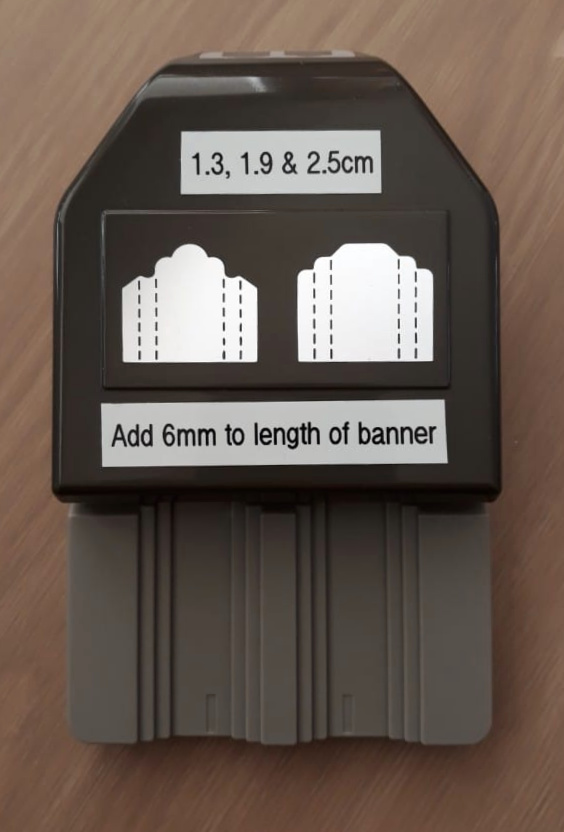
Here are a couple of tips I’ve found useful: I added the top label to my punch so I can always remember the widths to cut my cardstock. I find that using the metric measurements to cut my banners works better than the imperial measurements. The bottom one reminds me how much I need to add to the length of my banner (before punching the ends). For example in my previous post here the finished length of my Whisper White banner needed to be 12cm so I cut the cardstock at 12.6cm. After punching the two ends the finished length of the banner was 12cm. Each end cut removes 3mm of cardstock.

I hope you find these measurements helpful when you use your Lovely Labels Pick A Punch.

Until next time …
Lovely You Bundle

By | July 20, 2020

Hi there

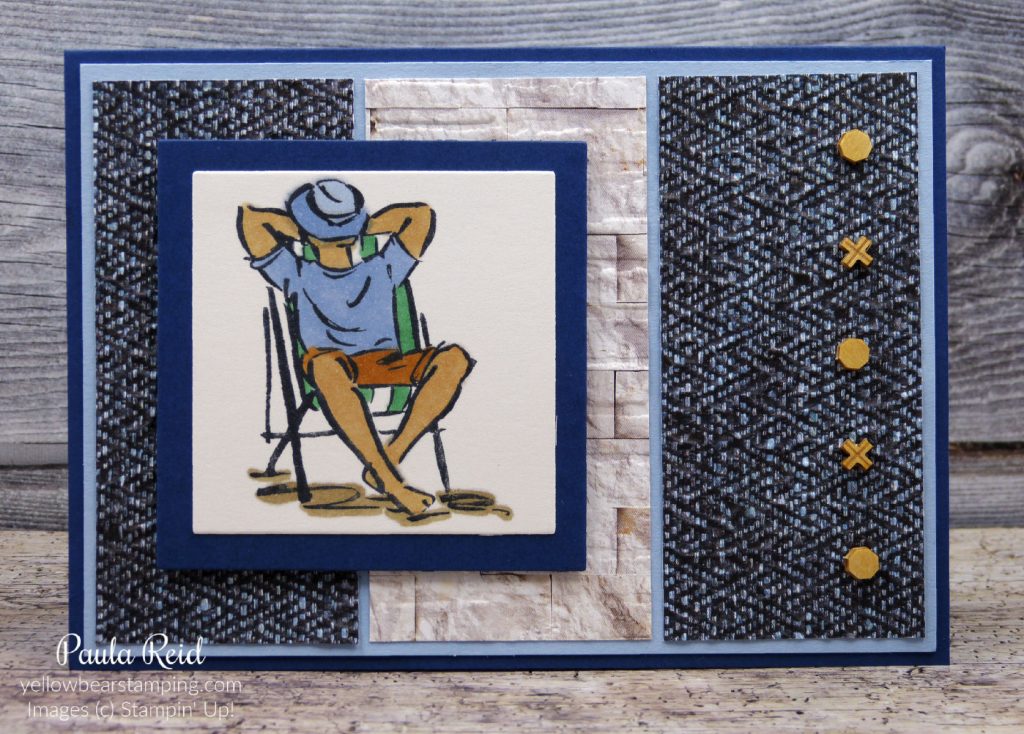
I hope you enjoyed seeing yesterday’s post – I love all the components in the Forever Greenery Suite. Today’s post features the Lovely You bundle. With a bundle you get to save 10% off the price of the two items – this bundle includes a stamp set (Lovely You) and a really cool punch (Lovely Labels Pick a Punch).

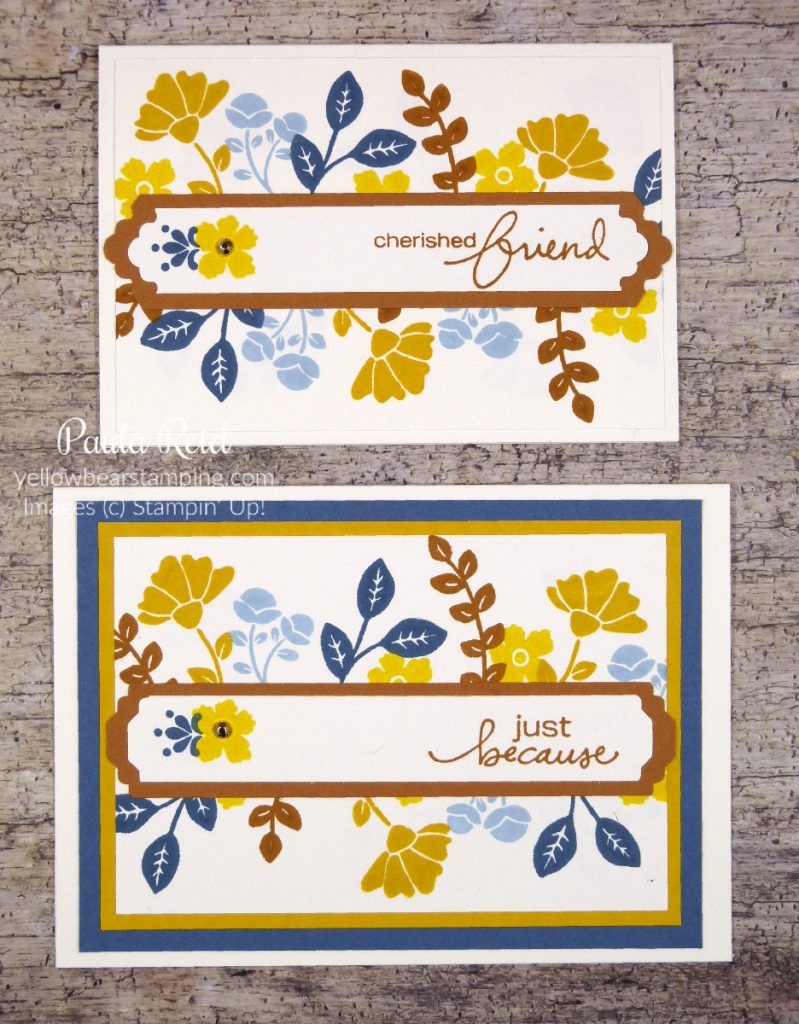
Like yesterday’s post, I taught the Notecard version at my workshop and then also made it into a full sized card by adding a few mats with the new In Colours – Misty Moonlight and Bumblebee.

The measurements (again a mix of metric and imperial) for this card are: Whisper White – 3 1/4″ x 4 3/4″, Cinnamon Cider – 2.5cm x 13cm and Whisper White 1.9cm x 12cm.

I had originally wanted to use all the new In Colours but it was just too much so I removed Just Jade and Magenta Madness from my palette. To find the best colours to complete my palette I visited a great site for some help – http://colorlab.mycreateink.com/. This site has all the Stampin’ Up! colours including the In Colours. I entered in Misty Moonlight, Bumblebee and Cinnanmon Cider. It suggested Seaside Spray and then I added Daffodil Delight. Seaside Spray is a lovely colour and I’m starting to use it more in projects.

For my full sized card I added a double mat of Bumblebee – 3 1/2″ x 5″ and Misty Moonlight – 3 7/8″ x 5 3/8″. A quick tip before you start stamping – place the Cinnamon Cider banner piece on top of your Whisper White and add a pencil mark on either side – left and right ends. Draw a light line to join the marks. This will help you know where to stamp your images so that they won’t get covered up by the banner when you adhere it.

Did you notice the different ends to the banners between the Notecard and the full sized card? The Lovely Labels Pick a Punch has six different options all in the one punch. There are three different widths you can create – 1.3cm (1/2″), 1.9cm (3/4″) and 2.5cm (1″). You then get to choose two different ‘ends’ for your banner. I have used this punch so much already and we’re only two months into the catalogue. Check out the punch and stamp set on page 22 of the catalogue.

Well that’s all for now. Until next time …
Forever Fern – Notecard and Card Design

By | July 19, 2020

Hi there

Last month I had my first ‘in person’ gathering since March and it was so lovely to reconnect in person with my lovely group of crafters. We made two cards – one using the Forever Fern Suite (pages 108 – 110) and one using the Lovely You Bundle (page 22).

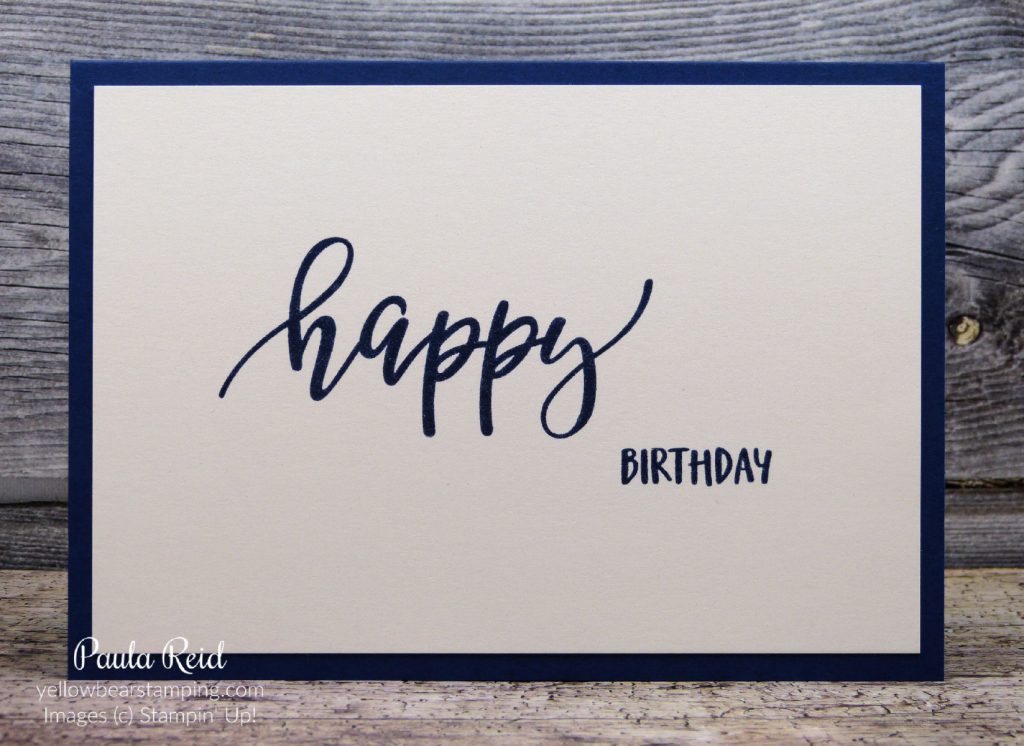
Today I’ll share the Forever Fern card. We used the Notecards and Envelopes but I also created a full sized card using the same layout.

The measurements (a mix of metric and imperial) for the Notecard are: Whisper White – 3 3/8″ x 4 7/8″ – dry embossed using the new Greenery Embossing Folder, Pretty Peacock mat – 6cm x 9.5cm, Whisper White – die cut using the 4th largest Stitched Rectangle Die, scrap of Whisper White to stamp the image and then die cut with the Forever Flourishing Die.

The new Greenery Embossing Folder is the new narrower type of embossing folder and is the perfect width for using with Notecards. You can see a strip of the Forever Greenery Designer Series Paper on the inside of the Notecard. This card uses almost all the products from the suite. The finishing touch on the front is the bow using the Gold Trim.

I also used the same design and measurements to create a full sized card with an additional mat and adhering it to a card base with dimensionals. The additional mat measures 3 5/8″ x 5 1/8″.

The Forever Fern stamp set has great images and sentiments. This set is a Distinkive stamp set which gives great definition to the images. I’ve used Pretty Peacock, Garden Green and Pear Pizzaz for my colours. There are six different ‘greens’ used in the paper pack – Garden Green, Just Jade, Pear Pizzazz, Pretty Peacock, Shaded Spruce and Soft Sea Foam.

Well that’s all for now. Check back tomorrow to see the cards we made using the Lovely You Bundle. Until then …

Ribbon Holder

By | July 17, 2020

Hi there

Here we are at the end of another week – I’m looking forward to some crafting time this weekend as I haven’t had time to do anything this past week.

I don’t know about you but my ribbons were in a bit of a mess. The container I kept them in meant I could never find the spool I wanted. After finding a cool ribbon holder project online I spent the other weekend making individual boxes to store my ribbon. Now I can find my ribbons easily and they’re kept nicely wound on the spool.

I’ve coordinated the card stock to be the same or as close as to the ribbon colour which helps know what colour it is. I found a spare plastic container that holds the first lot of ribbon beautifully. I started making boxes for the current ribbon and then some that are current colours but retired ribbon styles.

Don’t they look great? Love that I can have them colour coded. Now I won’t have ribbon ‘running’ away from me and getting tangled.

To create the box you only need two measurements – the diameter of the spool and the width/thickness. The only tools you need are your paper trimmer and a hole punch.

A quick tip to remember is punch the hole before assembling the box – here are the measurements for the new In Colours ribbon boxes:

I had fun making these boxes and I hope you give them a go too.

Until next time …
Forever Fern – Colour Challenge

By | July 12, 2020

Hi there

Last weekend we celebrated my niece’s birthday (which was at the end of June) and on Friday I took her shopping for her present. We hadn’t been able to do it earlier as she had Uni exams – including one on her birthday.

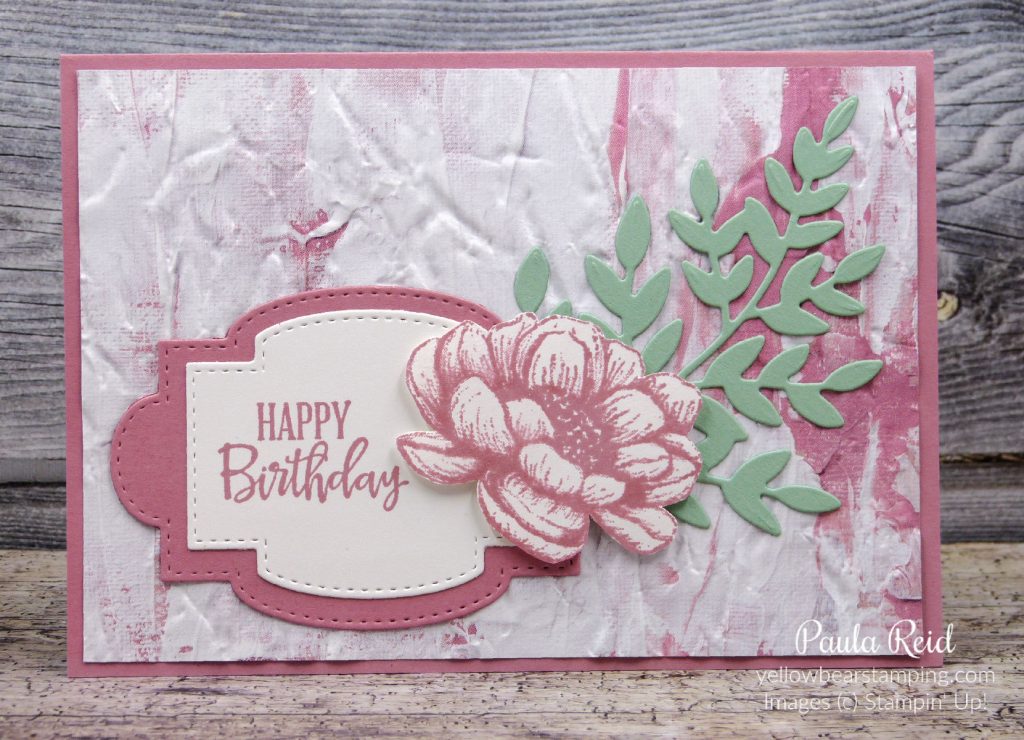
There are lots of sketch/colour challenge sites you can use to help with creating your projects. The colours – Cinnamon Cider, Crumb Cake and Real Red – used for this card come from the Colour INKspiration Challenge site which you can find on Facebook. The Forever Fern stamp set is a Distinktive stamp. Distinktive stamps lay down the ink at different opacities giving the finished image more depth.

The card base is a 5″ square with the Real Red mat measuring 4 3/4″ and the Whisper White front is 4 5/8″ square. After stamping the images around the edge, the card front has been dry embossed with the Subtles Embossing Folder. The sentiment from Peaceful Moment (page 19) has been heat embossed in White on a Crumb Cake Stitched Rectangle. I stamped my sentiment towards the right so that the lefthand end could be tucked under the ribbon. I don’t have any of the Red Rhinestones (must add them to my next order) so I used the Champagne Rhinestones.

The Forever Fern stamp set looks just as good with these colours as it does with the green tones of the paper from the Forever Greenery Suite (page 108-110). It’s often hard to step away from the colours associated with the suite but this set is really versatile and lends itself to a range of colours.

And here’s the voucher for my niece to redeem her present – painting supplies from Gordon Harris.

Well that’s all for now – until next time …
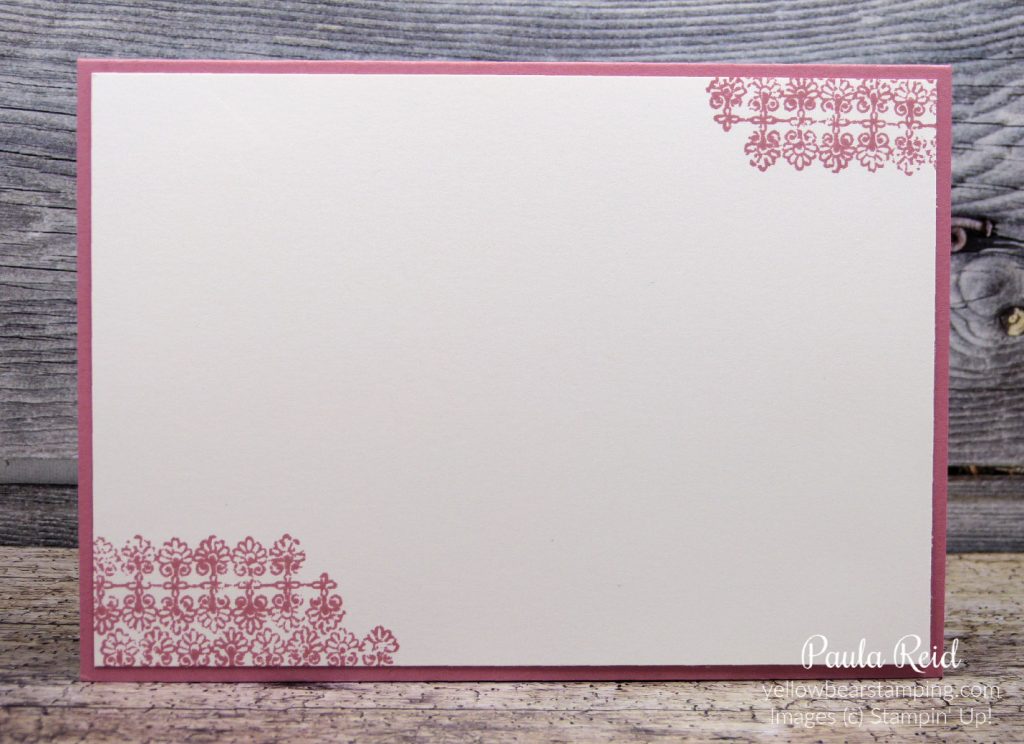
Jar of Flowers Shaker Card

By | July 8, 2020

Hi there

We’ve made it to the final project from our team training day. This card features products from the Flowers for Every Season Suite on pages 10-13. This suite consists of two bundles – Jar of Flowers and Celebrate Sunflowers.

The Designer Series Paper (DSP) coordinates with both bundles and features all five new In Colours – Cinnamon Cider, Bumblebee, Just Jade, Magenta Madness and Misty Moonlight plus Poppy Parade. You can see a couple of strips of the DSP on the card above. The card front has been embossed with the Tasteful Textile 3D Embossing Folder.

The Jar of Flowers stamp set includes four different flower arrangements to use with your jar and being line art stamps allows for a range of colouring methods. For this card we used Stampin’ Blends. The Jar of Flowers bundle includes the stamp set and a Jar punch (page 168) – you can also purchase these cool Mason Jar Shaker Domes (page 158) that coordinate with the stamp set and punch.

Here’s a cross section of the flowers so you can see all the layers – first I stamped the whole image, then stamped two of the three flowers and finally just one flower. Each layer has been ‘fussy cut’, coloured and layered with dimensionals.

The beads inside the jar are the Flowers for Every Season Gems (page 158) and are a mix of clear and Just Jade – perfect for a shaker card. There are no sentiments in this set so we used the words and punch from the Lovely You Bundle (page 22).

I hope you’ve enjoyed seeing these projects that we made and have been inspired by them. If you would like to purchase any of the products used in these projects please visit my online store or contact me directly.

Until next time …
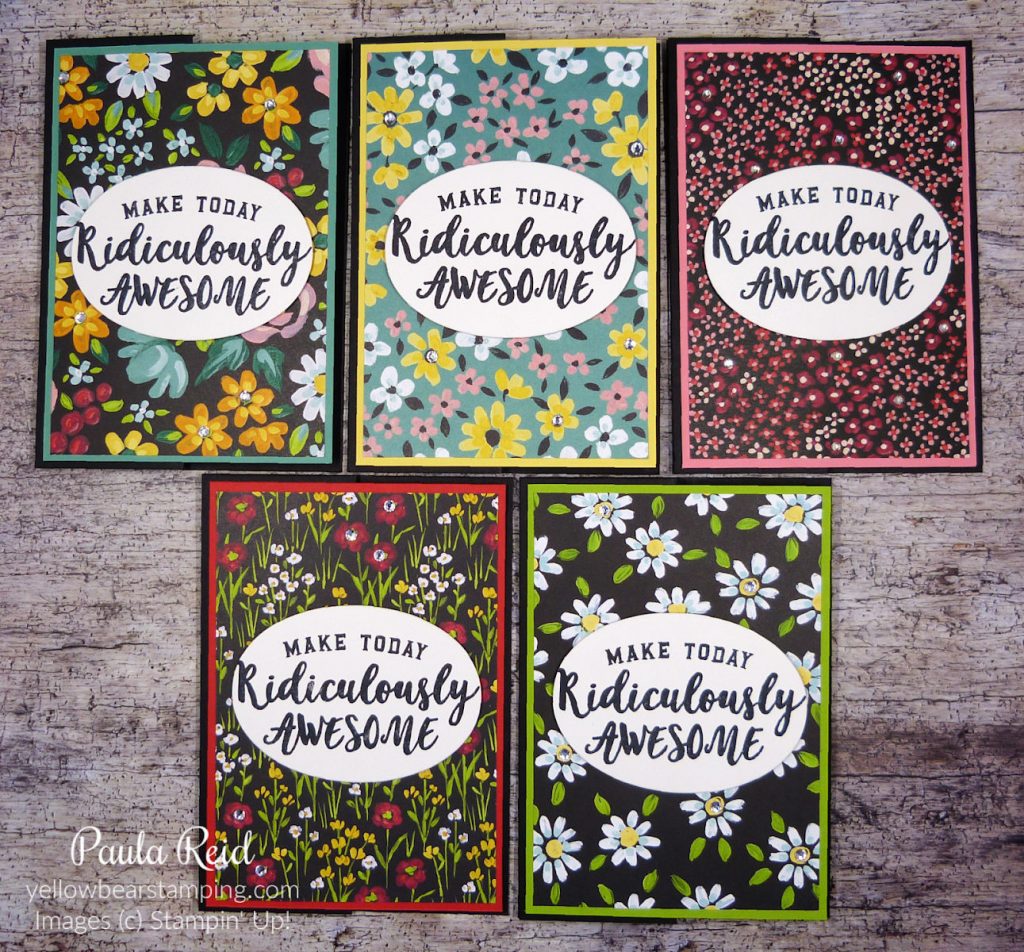
Birds & Branches Bundle

By | July 7, 2020

Hi there

Back again with the fourth project from our training day featuring the Birds & Branches bundle from page 120.

I decided to leave the sentiment off the front of this card as I’m not sure what I want to use it for at the moment.

This card has lots of dimension and textures on it. To start we stamped the nest directly onto the card front – this helped us know where to position the branches (stamped in Crumb Cake) and leaves (Old Olive) then added a die cut nest with dimensionals on top. The birds are a ‘two-step’ stamp which means there are two separate stamps that coordinate together to create a complete image. The first image was stamped in the new Bumblebee and then the second image was done with Daffodil Delight (stamped off) to give the birds a two tone look. Once all the stamping was completed we ran the cardstock through the die machine with the new Tasteful Textile 3D Embossing Folder – this photo really shows off the texture of this folder.

Have you noticed the ‘eggs’ in the nest? To get the colour of these we watercoloured a piece of Watercolour paper with a Pool Party wash then ‘flicked’ some specks onto the cardstock using the Soft Suede Stampin Blends. They came out a real ‘duck egg’ blue. The Magenta Madness flowers add a real touch of colour to this scene. The ribbon is the new Pool Party 1cm Sheer Ribbon which has a lovely sparkle in it.

Well that’s it for tonight – I’ll be back tomorrow with the final project from our training day. Until then …
Field of Flowers – Sliced Card

By | July 6, 2020

Hi there

Today’s card was a ‘self directed’ card we made halfway through our training day. Nobody actually taught us this card – we just followed the step by step instructions like a production line :).

This is another set I don’t have so it’s great to have a sample to show. There are five layers to this card – a standard card base using Thick Whisper White, Misty Moonlight (3 7/8″ x 5 5/8″), Whisper White dry embossed with the Old World Paper 3D Embossing Folder (3 3/4″ x 5 1/2″), Whisper White (3 1/8″ x 5″, Whisper White (3″ x 4 1/2″).

With the smallest piece of Whisper White we started stamping the sentiment near the top of the cardstock in Basic Grey. By doing this first you then know where to stamp the flowers. The stems are stamped in Granny Apple Green with the flower heads stamped in Daffodil Delight. The Dragonfly is stamped in Misty Moonlight. Once the stamping is done cut 1/2″ from the bottom of the image, then cut a further 3/4″ of the image. The final piece should then measure 3″ x 3″. Now to assemble the card.

Adhere the embossed layer to the coloured cardstock and then adhere this directly to the card base. Next add dimensionals to the back of all remaining pieces. Work out your placement and spacing of the three pieces on the 3 1/8″ x 5″ piece of Whisper White before removing the backings from the dimensionals. Once you are happy with your spacing remove the backings from the dimensionals and add the big section then adhere a length of ribbon. If you wanted to you could add a bow or a knot or leave it as I have. Repeat the process with the remaining two sections. If you want a second length of ribbon add it before adhering the last section. Adhere these two layers to the card base and then add a couple of Rhinestones.

This was a great project and I’ll give this design a try with some other sets I own. What sets do you own that you could use to recreate this card too?

Well that’s all for now. I’ll be back tomorrow with the fourth card. Until then …
In Good Taste – Gift Card

By | July 5, 2020

Hi there

Today’s post features the second card we made at our team training – the In Good Taste Suite on pages 122-124 – this was at the top of my shopping list. This suite is all about textures – the stamp set, papers, embossing folder and wooden elements.

In Good Taste Suite

The papers which include photographic images and visual textures work well for a variety of projects. The predominant colours are the Neutrals with a touch of Night of Navy, Petal Pink and Rococo Rose. These papers will be great for masculine or feminine projects. Rococo Rose – one of the 2019-2021 In Colours – teams beautifully with Early Espresso and here we’ve made a gift card for that special friend or family member in your life.

Don’t forget that you can stamp directly onto your Designer Series Paper (DSP) as we have done here with the leaves image. Once stamped the DSP has been adhered to the Rococo Rose mat with linen thread wrapped around and tied in a bow. I find it easier to wrap the thread and attach a bow separately with a glue dot. The main flower image has been stamped on a scrap and ‘fussy’ cut out – sorry no die for this image but it’s an easy image to cut out. I coloured mine in with the Rococo Rose Stampin’ Blends. The wooden leaf elements just finish off this card. The sentiment is also from the Tasteful Touches stamp set and we used the very versatile Lovely Labels Pick A Punch from page 22. We’ve only had this punch a month and it’s already been put through it’s paces – I love it.

This card uses a standard card base with one additional score at 4.7cm from the edge which is then folded back on itself to create a pocket for a gift card. We added a piece of Rococo Rose cardstock (4.4cm x 10cm) which was dry embossed using the new Tasteful Textile 3D Embossing Folder. The measurements for the front of the card were: Rococo Rose 9.5 x 10cm, DSP 9 x 9.cm. The attached panel measurements were: Early Espresso 7.5 x 11cm, Rococo Rose 7 x 10.5cm, DSP 6.5 x 10cm. When you attach this piece to the card front remember not to adhere the whole piece as part of it overhangs as per the photo above.

Well that’s all for now – I’ll be back tomorrow with another fun stamped project. Until then …

World of Good – Trifold Card & Envelope

By | July 4, 2020

Hi there

A couple of weekends ago we had a team training day and made five projects with new products – it was a fun, relaxed day and so good to finally be able to meet together. The first project we made uses products from the World Of Good Suite – pages 24-26. I don’t have this suite so it was great to have a play with it.

World of Good Suite – Trifold Card & Envelope

To make the envelope start with a piece of the World of Good Specialty Designer Series Paper measuring 6″ x 9″ and score at 2″ and 6″. Before you join the ends make sure you cut the half circle using the 1 1/2″ Circle punch. Make a ‘belly band’ from Cinnamon Cider cardstock which has been dry embossed with the new Old World Paper 3D Embossing Folder. We lightly ran a VersaMark pad across the cardstock and heat embossed it with Gold Embossing Powder – add some ‘torn’ stips of Early Espresso cardstock to either side, wrap around your envelope pocket and adhere ends together. Wrap some Bumblebee 1/4″ Twill Ribbon (threaded through a Antiqued Slide (page 157) and a die cut ‘globe’ from the Beautiful World dies.

And now the card – the card base is Early Espresso (8 1/4″ x 5 1/2″ – scored @ 3″ and 6 3/4″). The front panel of Early Espresso (2 7/8″ x 5 3/8′) has also been dry embossed with the Old World Paper 3D Embossing Folder and Gold Embossing Powder added. A thin strip (3/4″ x 5 1/2″) has been roughly torn then add to the card base before adhering the front panel.

The inside Very Vanilla cardstock has been stamped with sentiments from the Beautiful World stamp set and lightly sponged around the edge with Early Espresso ink. The inside panel of DSP measures 1 3/8″ x 5 3/8″. There is also another piece on the other side of the flap. In total this project uses half a sheet of 12″ x 12″ paper.

Here you can see the other side of the DSP. The ‘Globe’ has been die cut using Misty Moonlight and Mossy Meadow. Quick tip for punching the hole for the ribbon – pop the card into the envelope, make a pencil mark on the card so that the hole will be in the centre of the punched out circle. Remove the card and punch your hole then thread the ribbon through.

Well I hope you’ve enjoyed seeing this project – it’s a great way to use your DSP and be able to see both sides of it on the project. I’ll be back tomorrow with project #2.

Until then …

Birds & More – masking technique

By | July 3, 2020

Hi there

I’m back :). I had some technical issues with an auto update that locked me out of my blog – thankfully it’s sorted and we’re back on track to sharing projects with new products 🙂

First up is a card I made via our virtual team gathering last month featuring the Birds & More dies and masking. COVID-19 cannot stop us from crafting!

Birds & Branches – So Saffron and Bumblebee

The card base is Crumb Cake (5″ x 10″ scored at 5″) with a mat of Pool Party (4 3/4″ square) and then a Whisper White stamped layer (4 5/8″ square).

So Saffron

The sponged background was created with a mask using one of the die shapes from the new Tasteful Labels dies (page 179). We were given a great tip to create this mask. Cut a scrap piece of card stock the same size as your Whisper White (4 5/8″ square) then place the die in the position you want it and run it through your die cutting machine. Then place the template on top of the Whisper White and sponge away. For our sponging we started with Pool Party and then a light sponge of Crumb Cake in the lower edges. When you remove the mask template your sponging is in the correct place.

Bumblebee

The die cutting of the branches and bird use the Birds & More dies (page 174). Die cut two birds one from So Saffron and one from the new Bumblebee In Color. Carefully take the accent pieces out of the die and swap them over so that the So Saffron bird has the Bumblebee accents and vice versa. Here’s another tip – on the back of the bird add dimensionals so that when the accents are re-added they’ll stick to the dimensionals :).

The branch is die cut from Early Espresso and for my flowers I used Magenta Madness and the Friendly Silhouttes die on page 181. The flower centres are the small Seaside Spray sequins from the Woven Threads Sequin Assortment (so glad these carried over to the new catalogue). The bigger sequins of Pretty Peacock and Rococo Rose have also been used.

The sentiment is from Tasteful Touches (page 124) and stamped in Crumb Cake. Once the Whisper White and Pool Party have been adhered together a length of linen thread has been wrapped around and a bow tied and adhered.

I almost forgot to mention the birds eyes – these are our Basic Pearls that have been coloured in with the Basic Black Stampin’ Blend.

Well that’s all for now – back tomorrow with more treats to share and inspire you.

Until then …