Hi there
It’s been a beautiful day here in Auckland – cold but blue skies and the sun has been shining down on us. It’s meant to get down to 3 degrees tonight which is pretty cold for Auckland so I think I’ll be putting another layer on the bed.
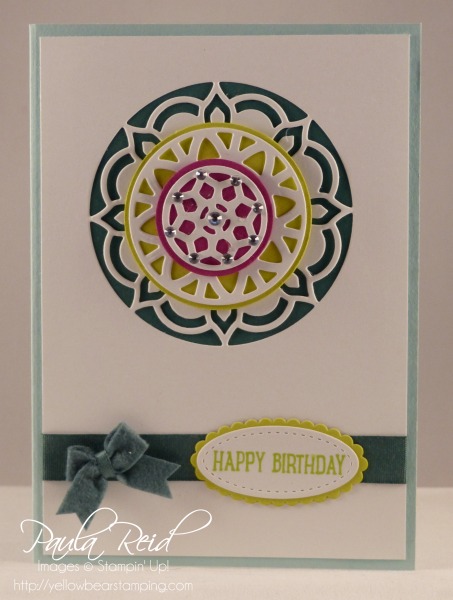
This months cards feature new products from the Annual Catalogue. First up we have a card featuring the Color Theory Suite (pg 146-147 AC). There’s not a lot of stamping on this card but lots of dies were used.
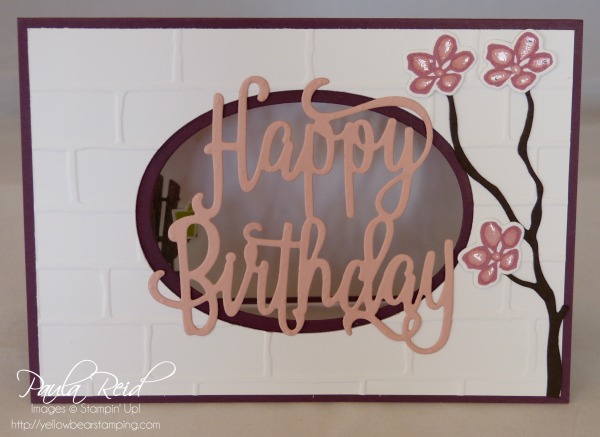
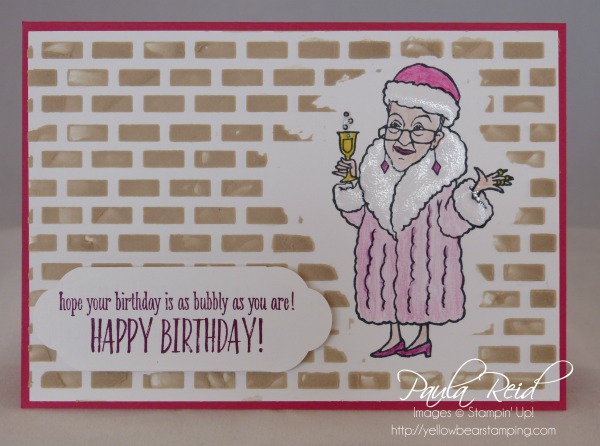
First up we cut the oval from the Fresh Fig card base then placed the Whisper White mat over the top and drew around the oval. Then placing the biggest oval on the Whisper White cut out the second window. Before adhering the two together we dry embossed the Whisper White with the Brick Wall Embossing Folder. On the back of this we adhered a piece of Window Sheet (I found it was best to use the Tear and Tape to adhere this) then adhered both layers to the card base. The ‘Happy Birthday’ is cut out of Blushing Bride with the Happy Birthday Thinlits die. Before cutting this we adhered a piece of Multipurpose Adhesive Sheet to the back of the Blushing Bride card stock. You may need t run this through the Big Shot a couple of times to get a good cut. The Early Espresso tree branch (from the the Seasonal Layers Thinlits) was also cut out with Multipurpose Adhesive on the back – so much easier to stick down. The flowers were stamped in Sweet Sugarplum and then we put some of the Fine-Tip Glue on to give a shine and some height. I’ve found that it also changes the colour of the ink beneath so the flower looks two tone.
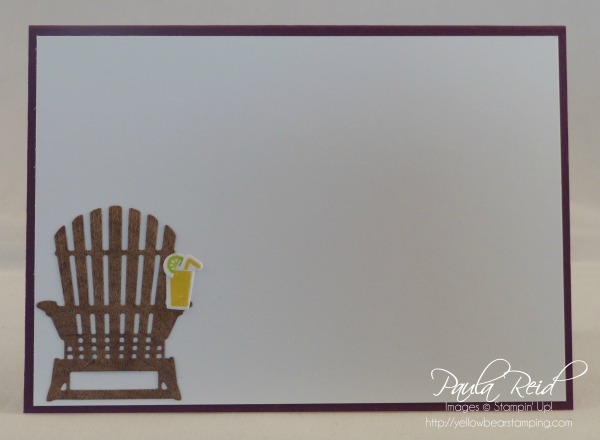
On the inside we have the chair (I’d call this a Cape Cod chair but I think it’s also known as an Adirondack Chair) which is cut out of the Wood Textures DSP – love this paper – and yes again I used the multipurpose adhesive sheets. They make adhering those intricate pieces so easy. On the arm of the chair we have a nice summer drink – lemonade with a slice of lime.
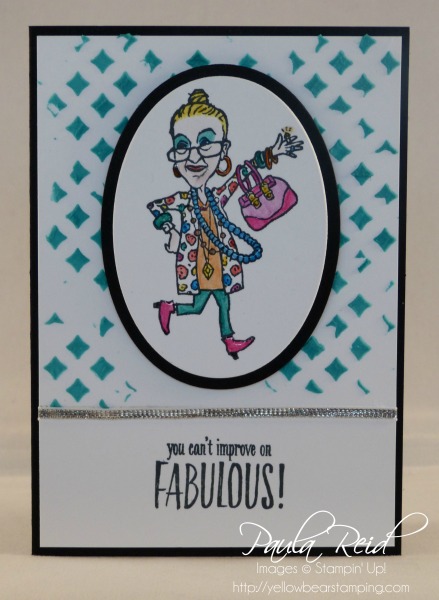
Next up we used the Embossing Paste and You’ve Got Style. I’d made two samples using the two different images.
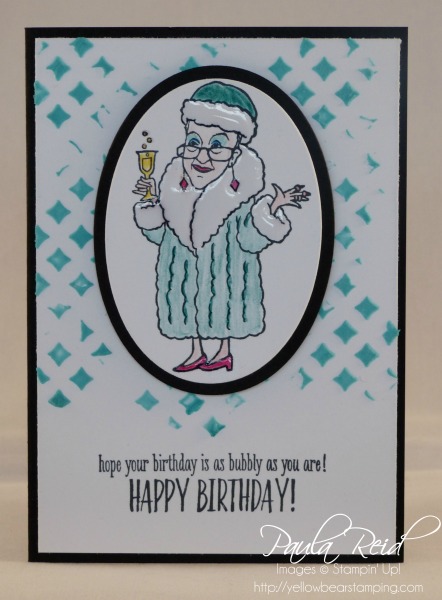
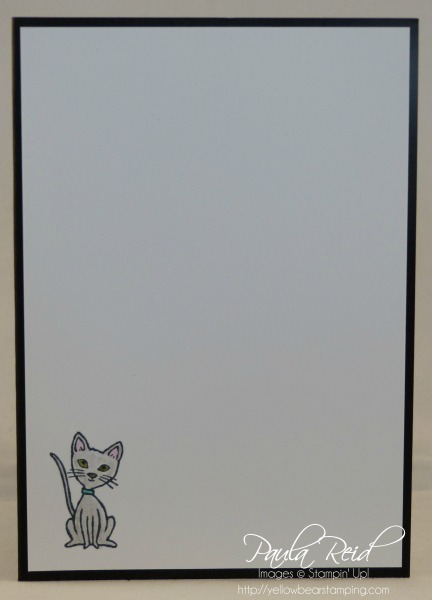
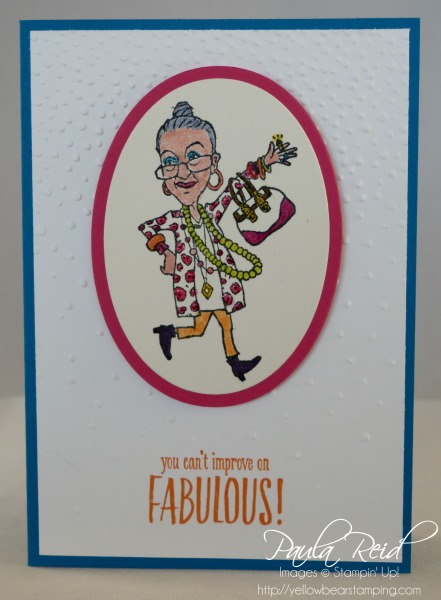
I’m in love with the new embossing paste – you don’t need to use much as a little goes a long way. For this project we added a drop of Bermuda Bay Re-inker to the paste and mixed it in. Using the Pattern Party Decorative Masks we applied the paste to the top 2/3rds of the card. We didn’t cover the full area – just applied it in random areas.
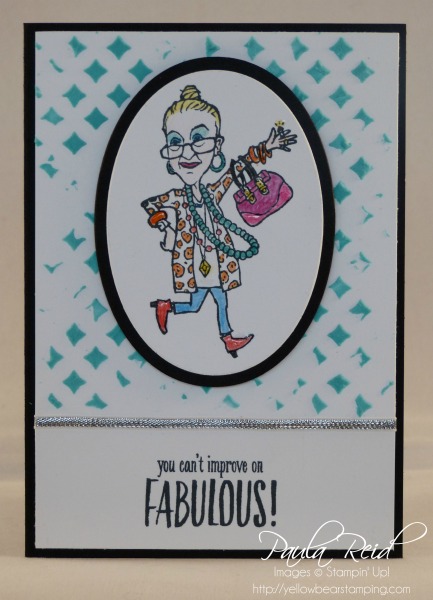
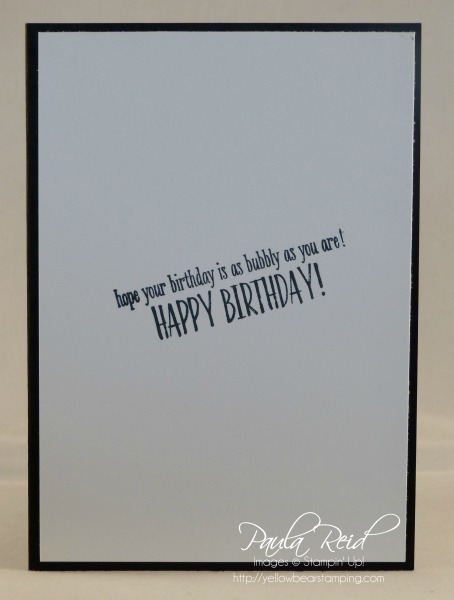
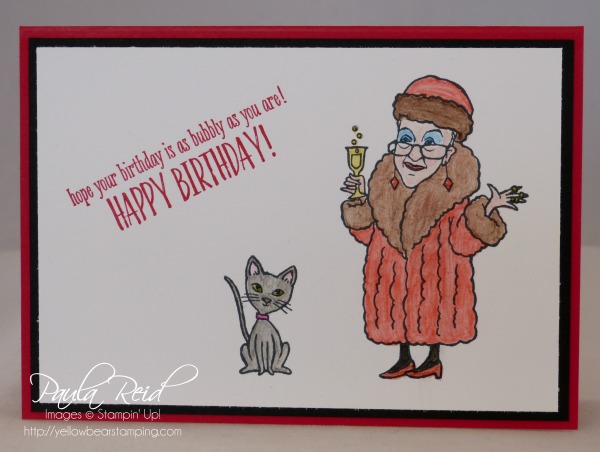
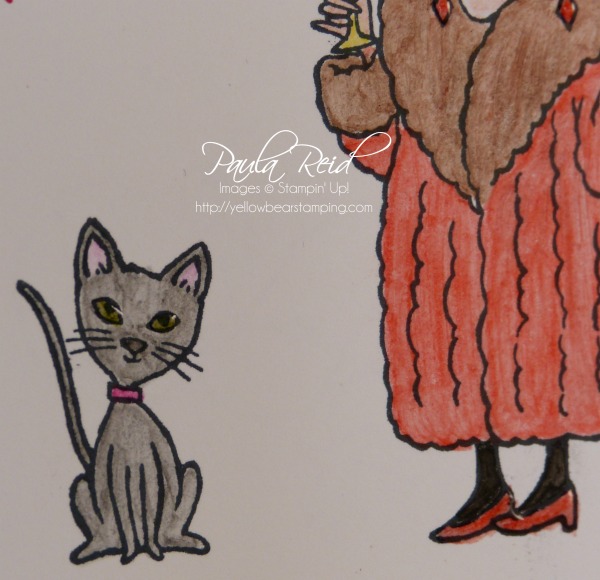
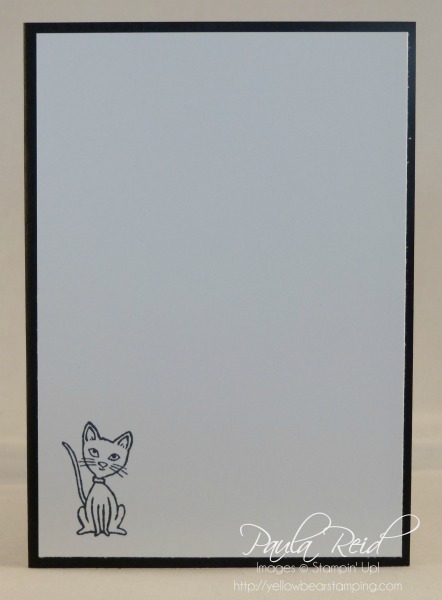
The images were stamped in Memento Black ink on the oval cutout from the first project :). Using the Watercolour Pencils we coloured in our images and applied – you guessed it – Fine-Tip Glue to various parts of the images. The images are matted with Basic Black and the base is Basic Black. This goes really well with the Bermuda Bay colour of the paste.
I also taught this card as the Make n Take for my team training;
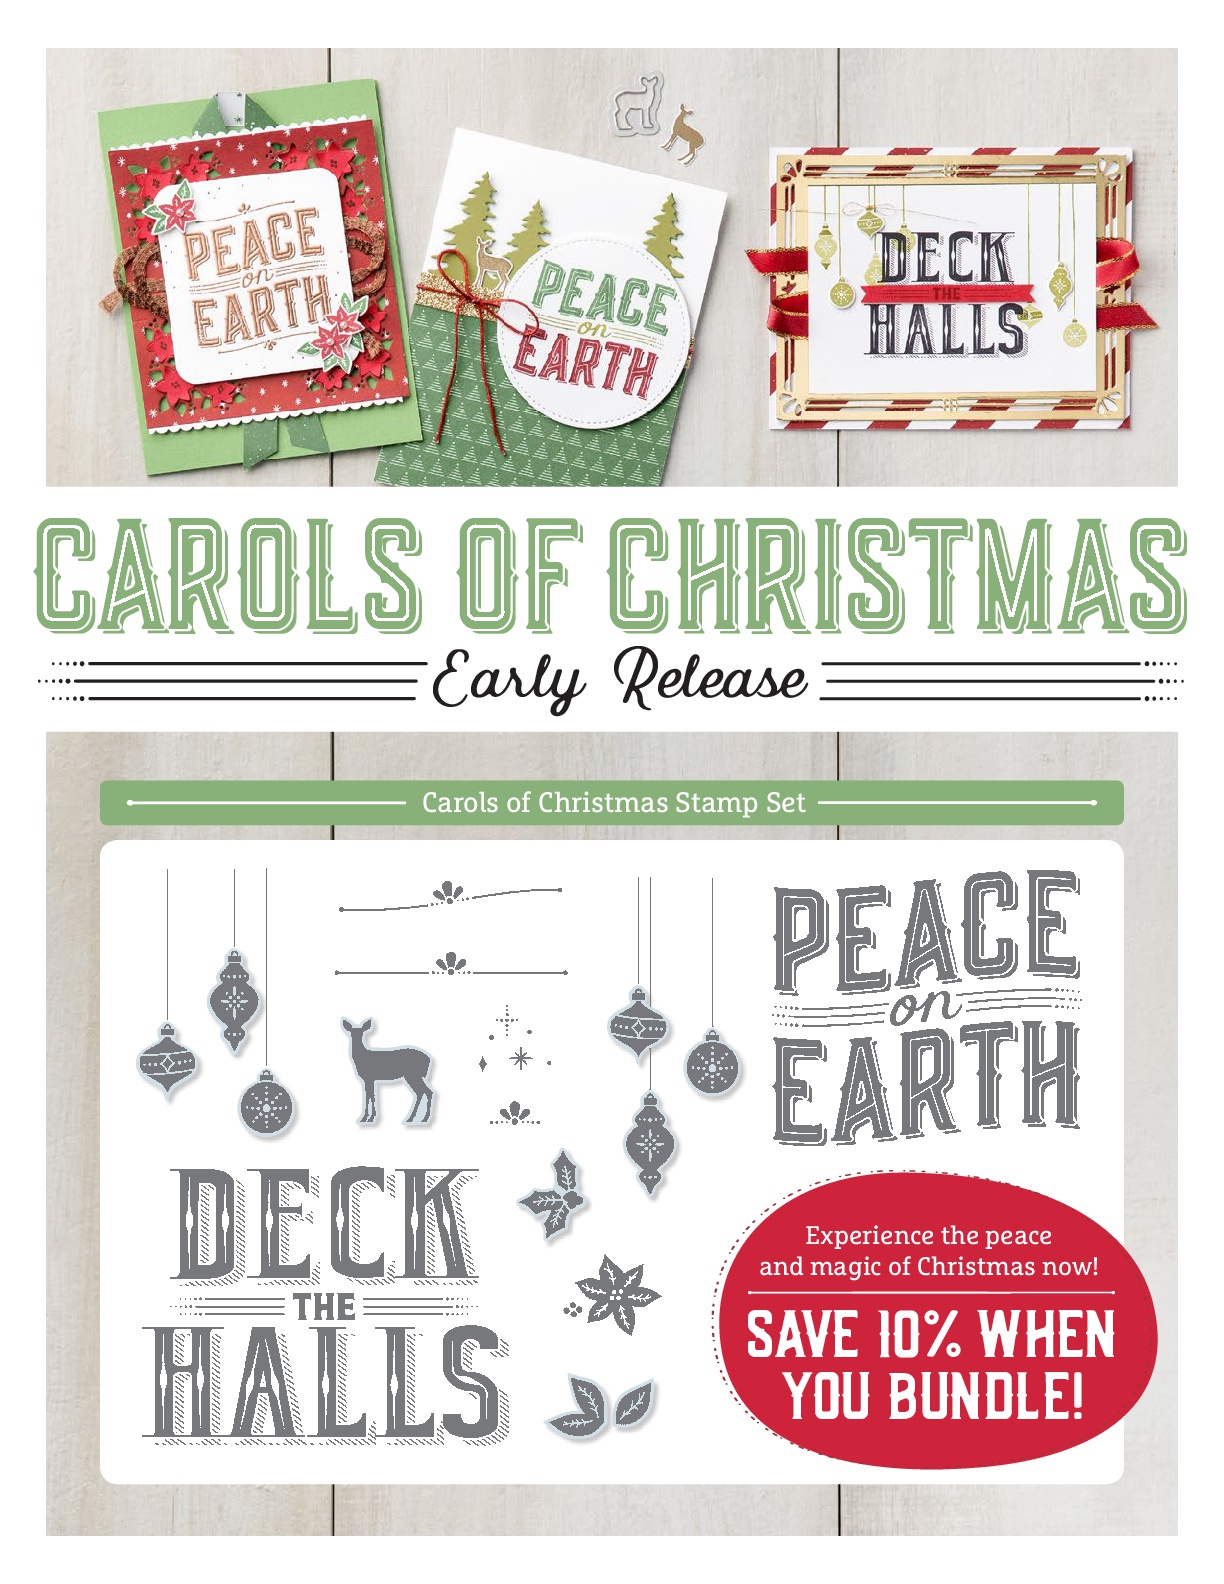
July is the perfect month to join Stampin’ Up! – Our Christmas in July promotion (1 -31 July) makes it easier than ever to sign up to be a demonstrator. Your Start Kit will cost you $189NZD and for that you will receive $285NZD worth of product. You will also receive a FREE Essentials Gift Pack including Paper Snips, SNAIL Adhesive, Grid Paper, two D Blocks and a Bone Folder. That’s an added value of $103 NZD! Stampin’ Up! will also include the Carols of Christmas Stamp Set from the holiday catalogue for FREE ($42 NZD value)!
I would love to have you join my team so if you are interested in joining then give me a call.

