Hi there
Did you know we now stock an assortment of Chalk Pastels? They can be found on page 126 of the Annual Catalogue. I bought mine back in July and final got them out of the wrapper – how bad is that? There are 8 colours – Night of Navy, Granny Apple Green, Coastal Cabana, Mossy Meadow, Gorgeous Grape, Poppy Parade, Mango Melody and Daffodil Delight.
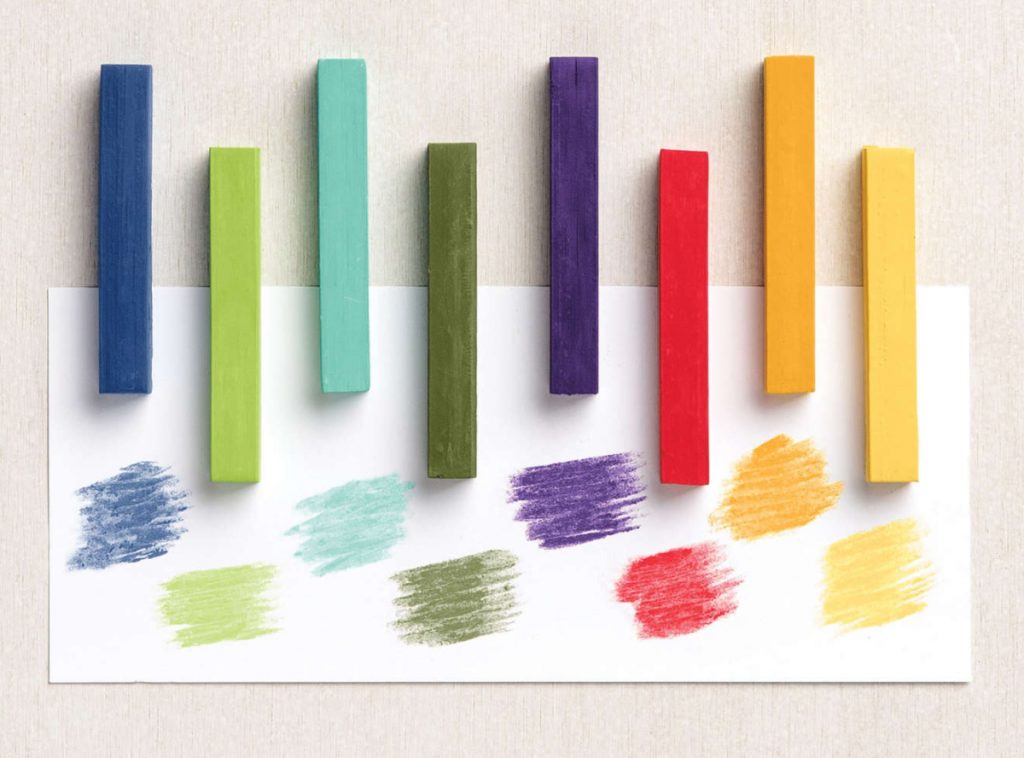
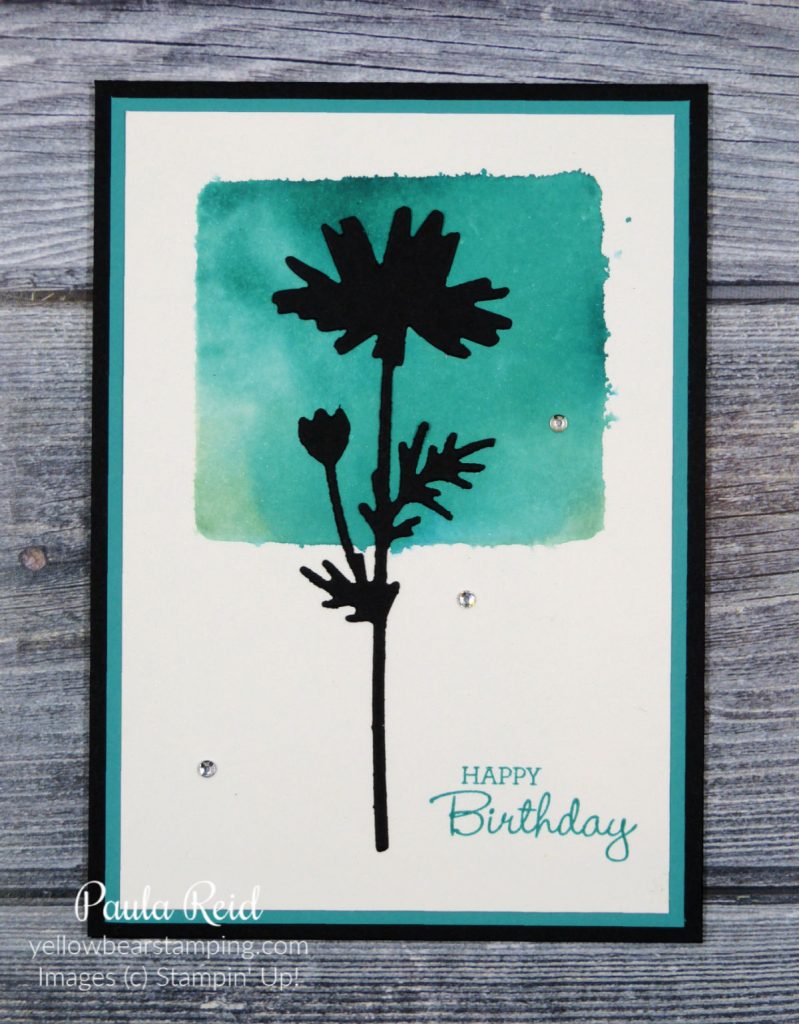
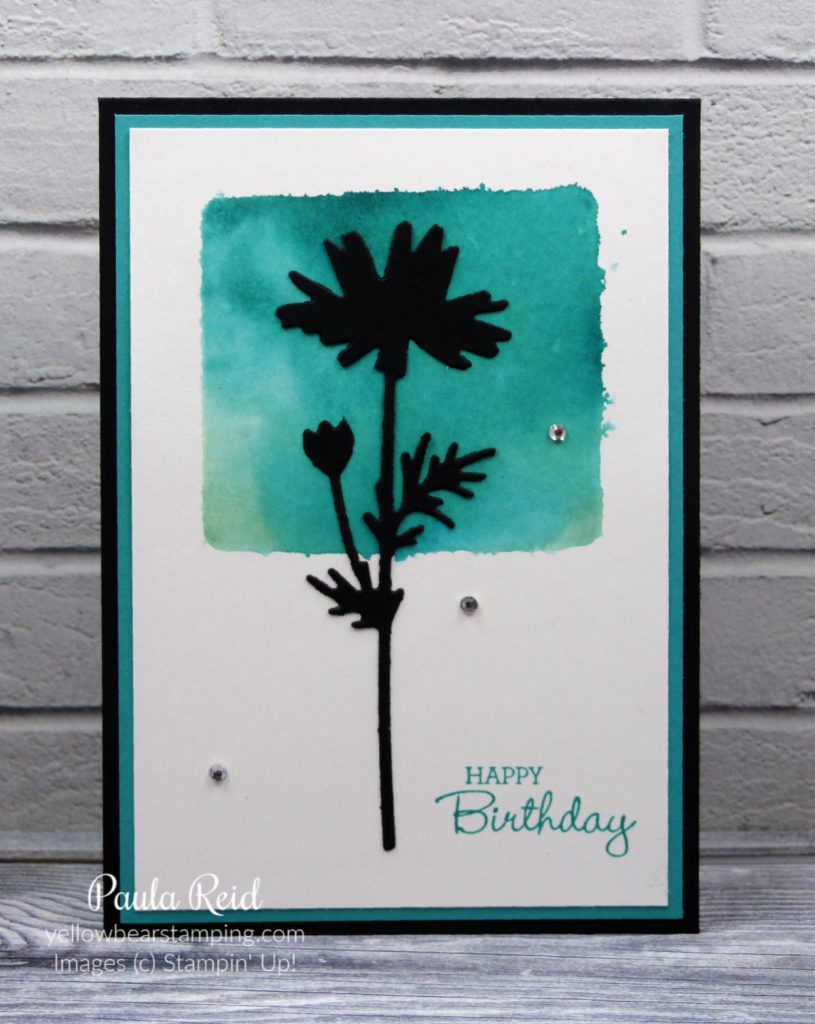
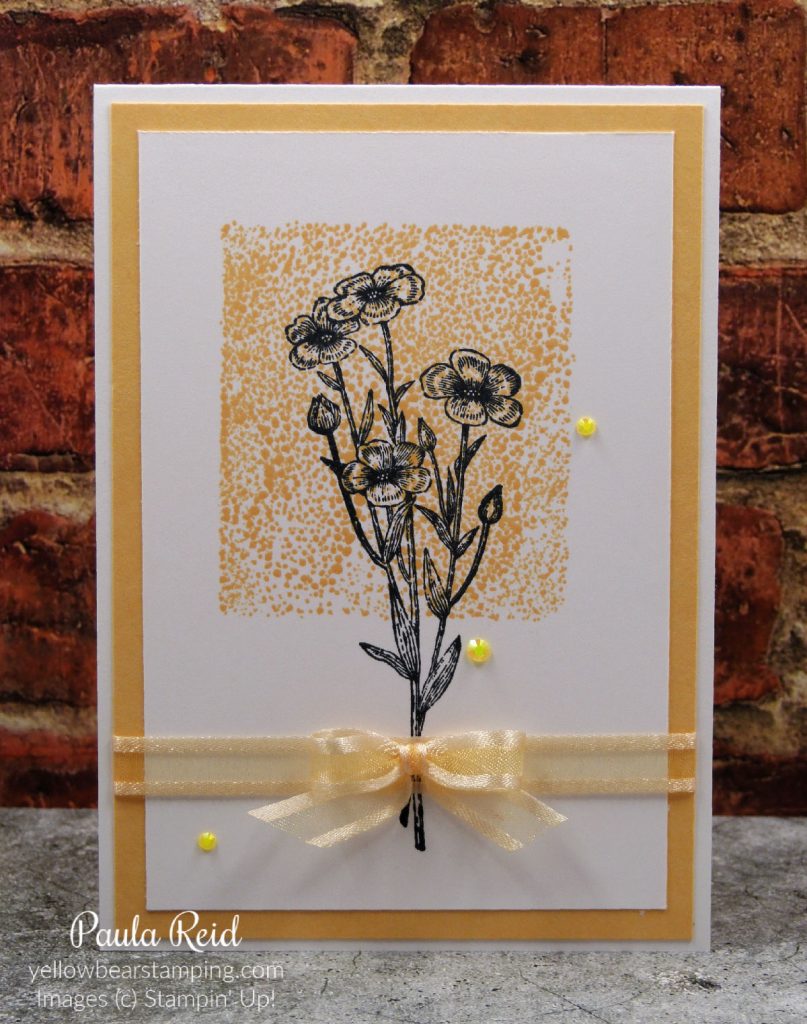
There are a number of ways you can use them – with a Blender Pen or Water Painter, a Sponge Dauber, Embossing Paste or direct to cardstock as I’ve done in my project today.
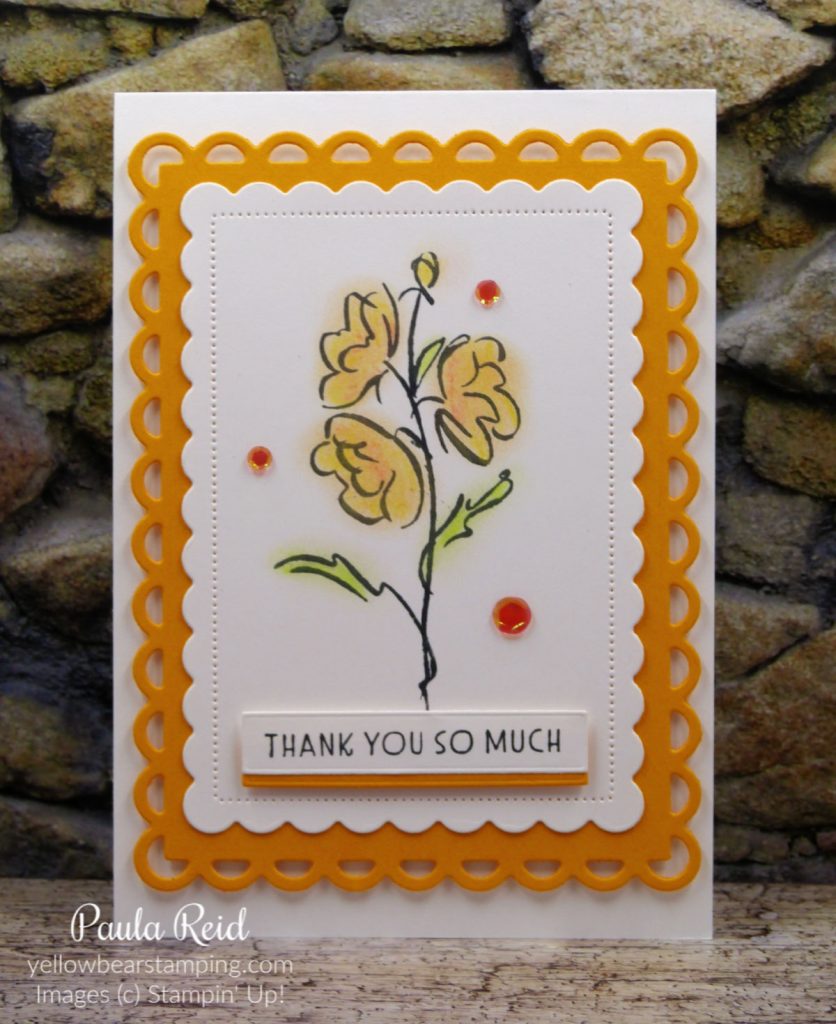
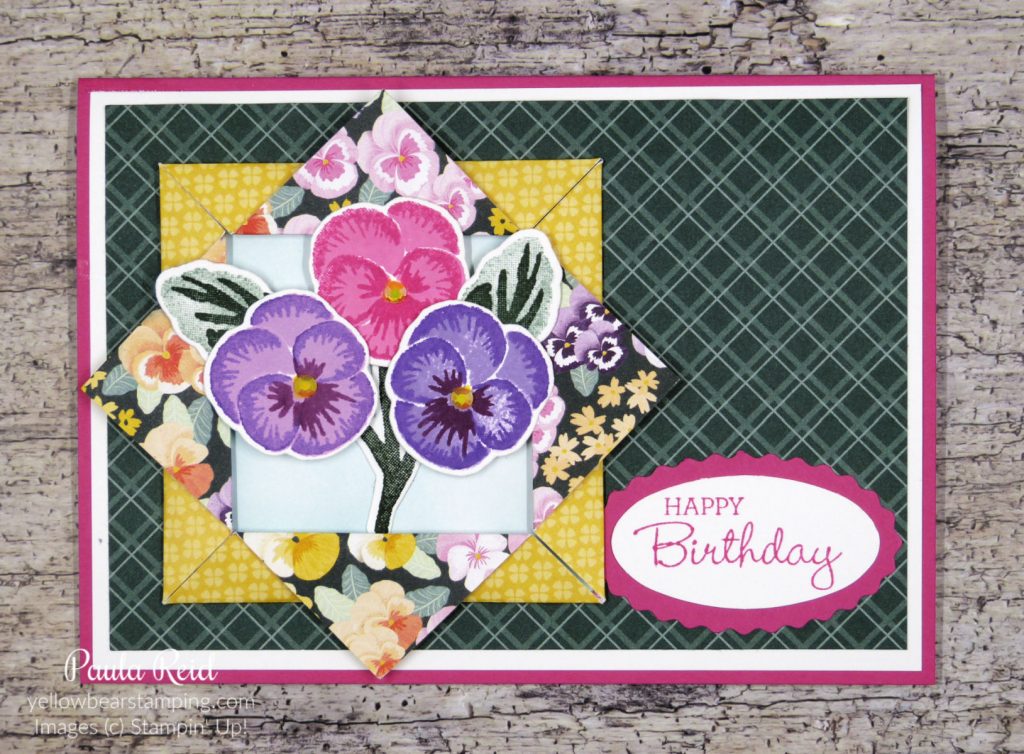
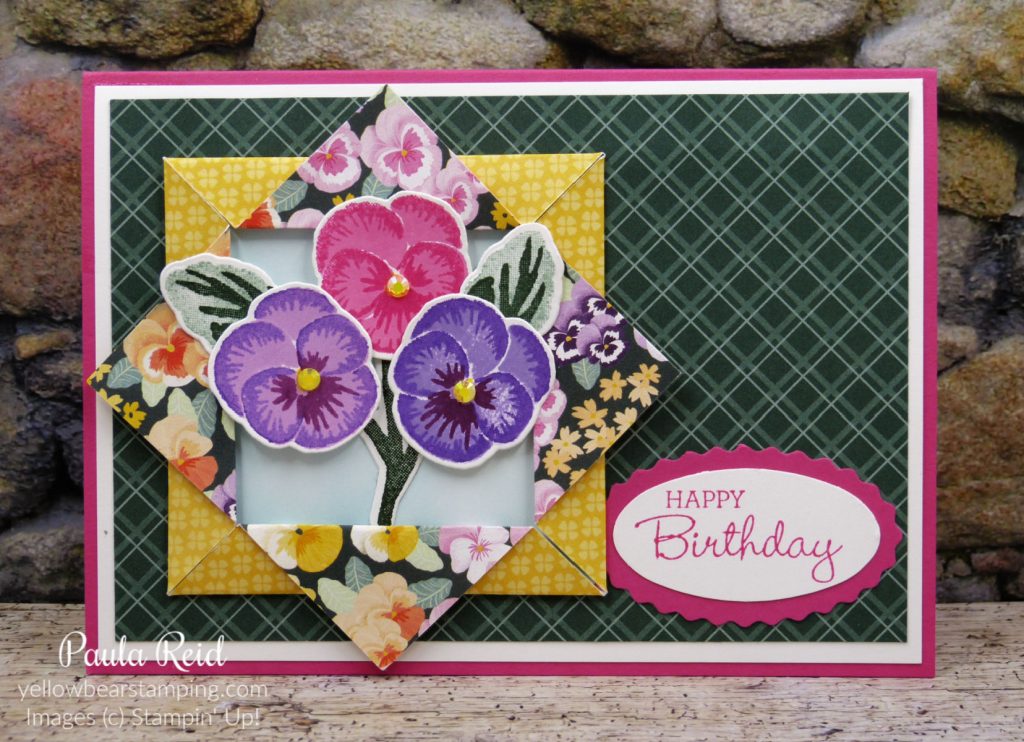
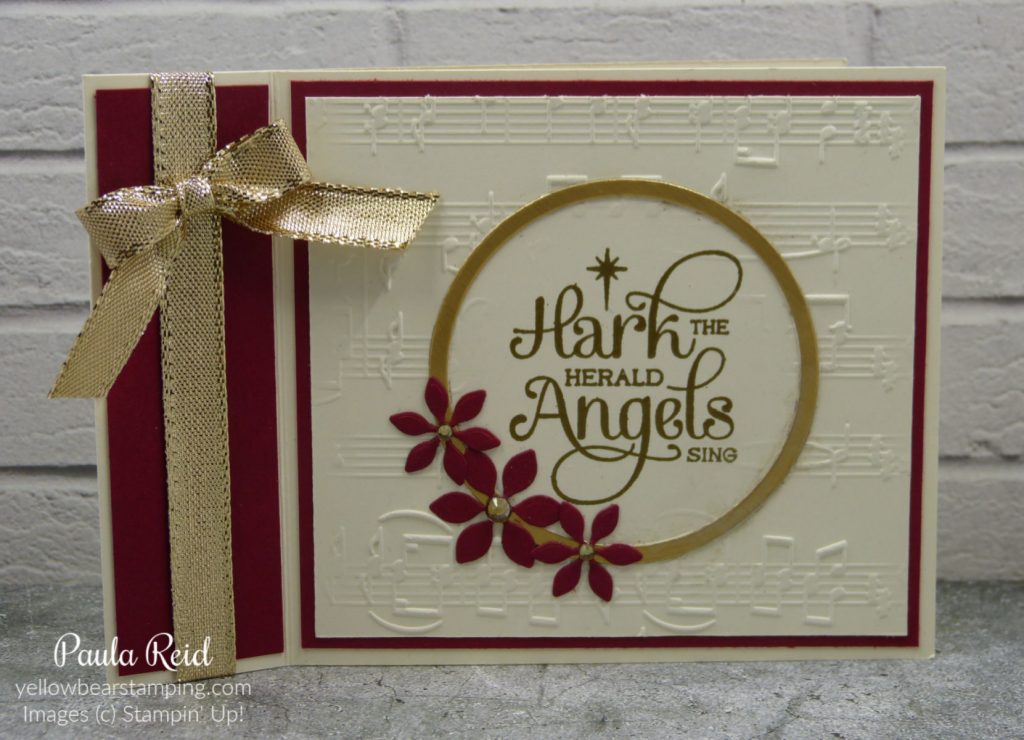
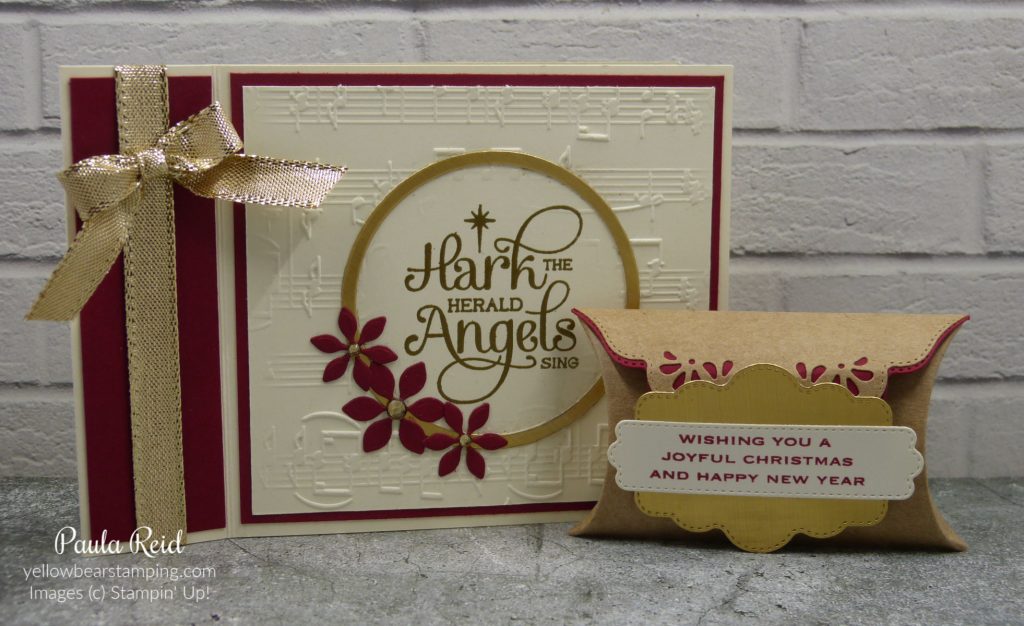
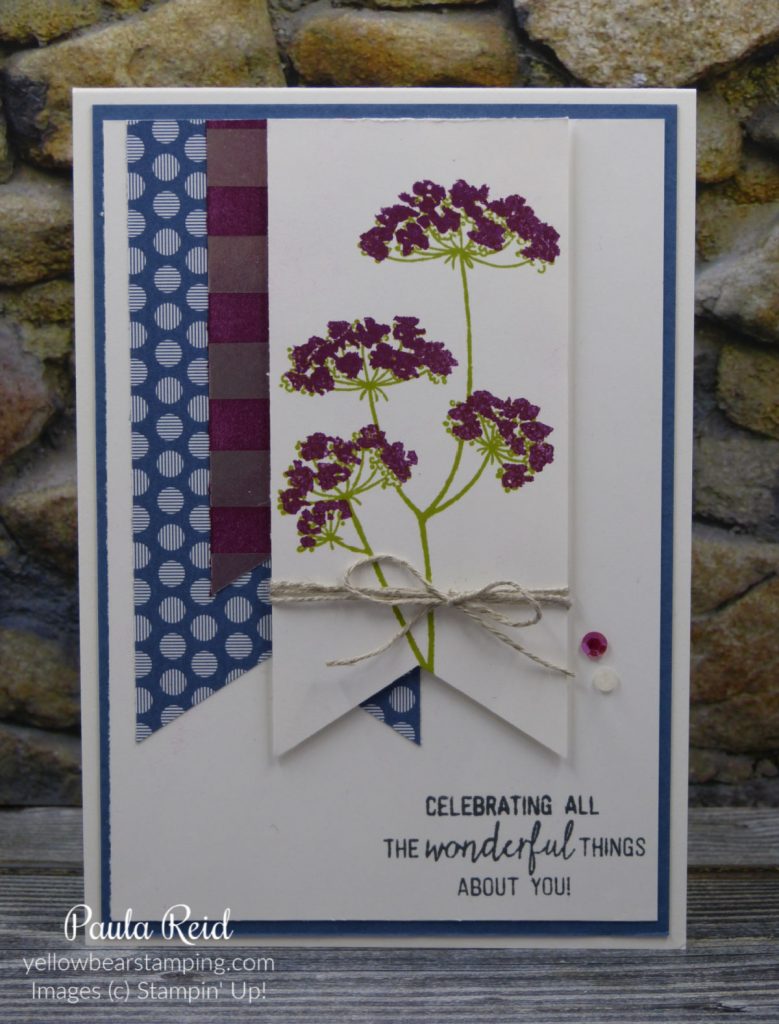
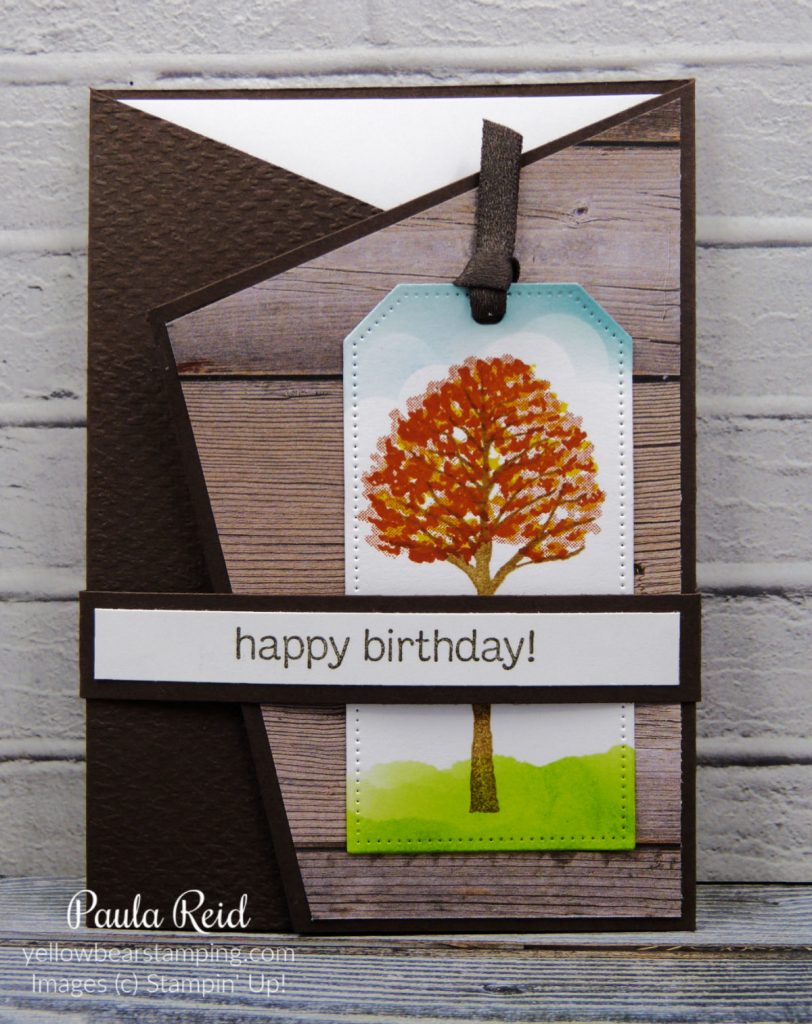
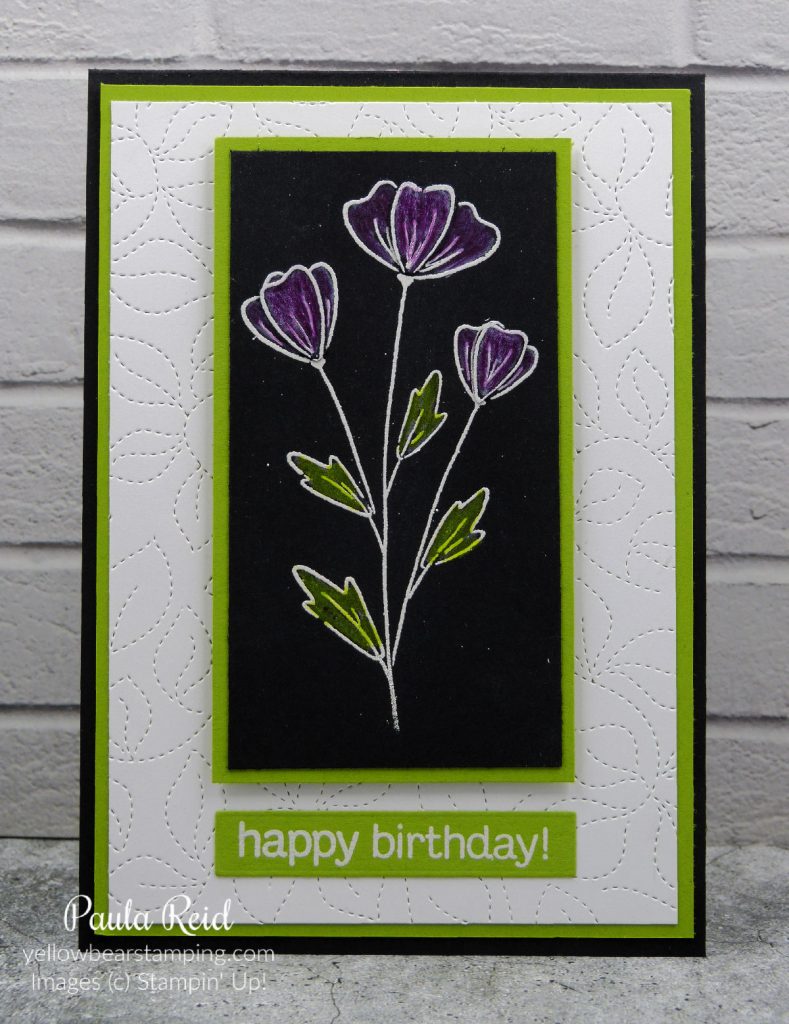
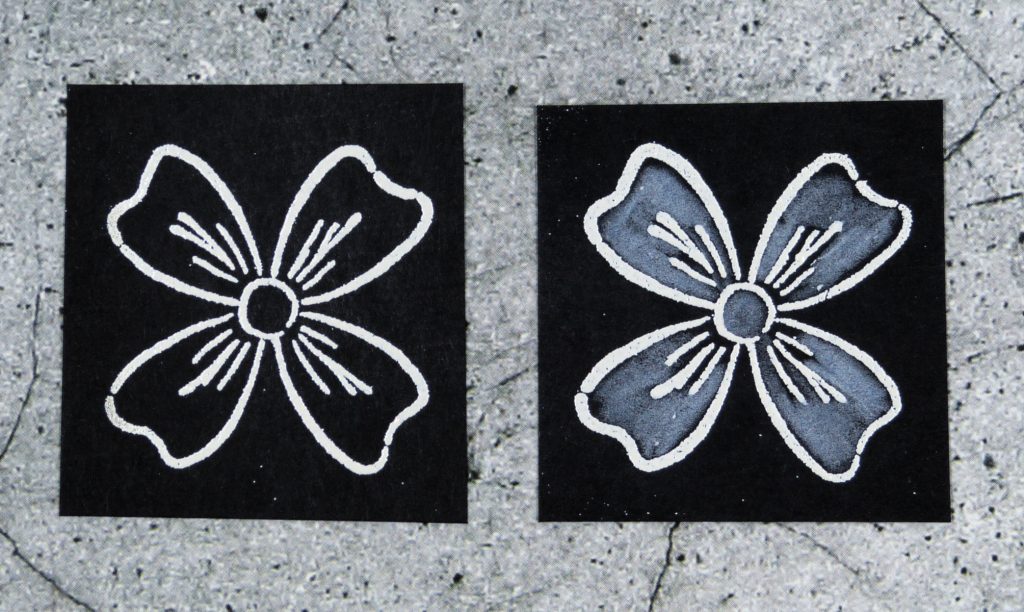
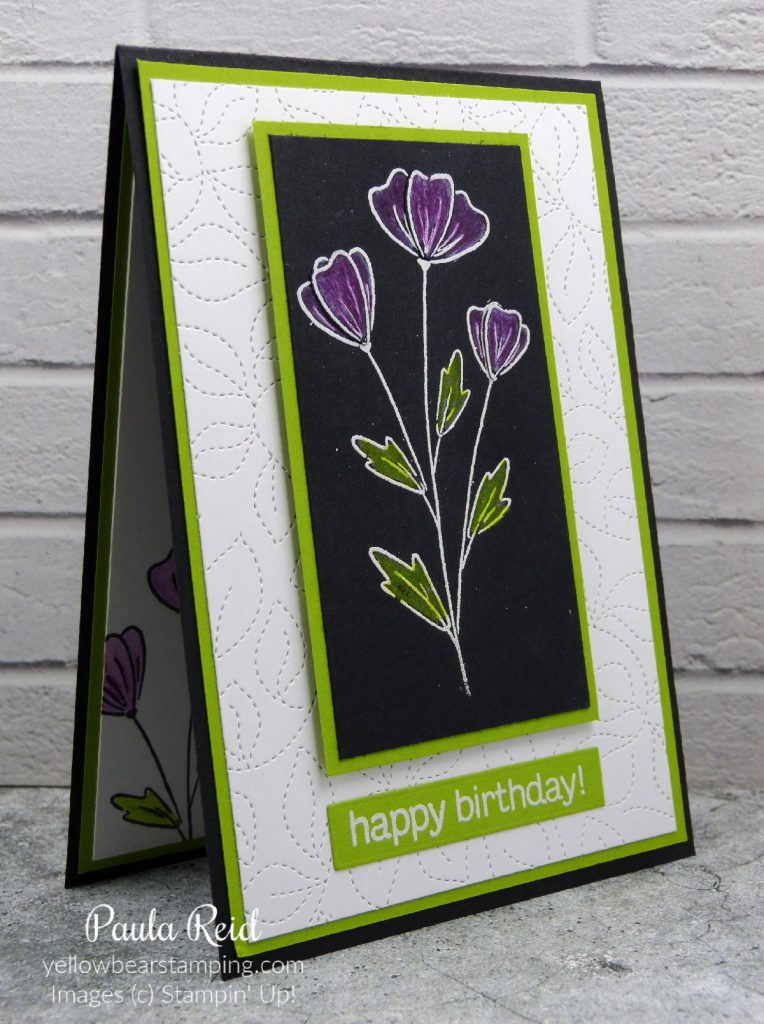
I’ve used the Color & Contour bundle along with the Daffodil Delight, Mango Melody, Poppy Parade, Granny Apple Green and Mossy Meadow Chalk Pastels. I wanted a nice dark black stamped image so used Jet Black StazOn ink. NB: remember to clean your stamp with StazOn cleaner when using StazOn ink. The flowers have been coloured in with a mix of Daffodil Delight and Mango Melody with a small amount of Poppy Parade and then blended together. You can either use you finger or a Cotton Bud. For the leaves I used Granny Apple Green and a touch of Mossy Meadow – again blended together. I deliberately went over the lines when I was blending the colours to give the overall image a softer look.
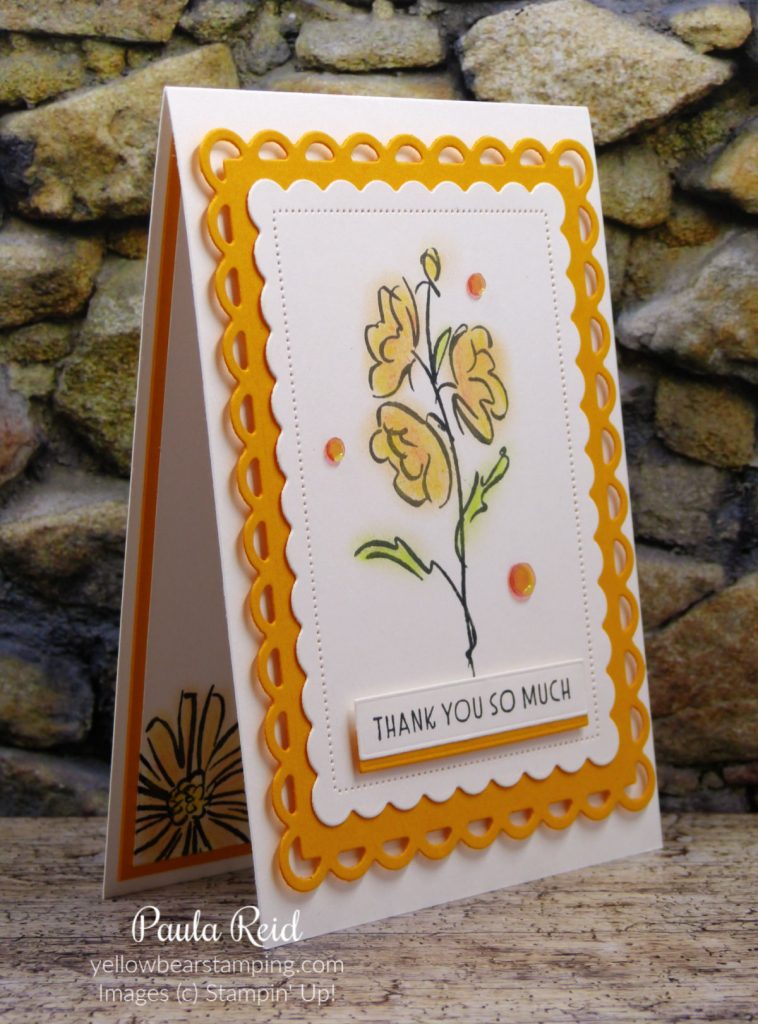
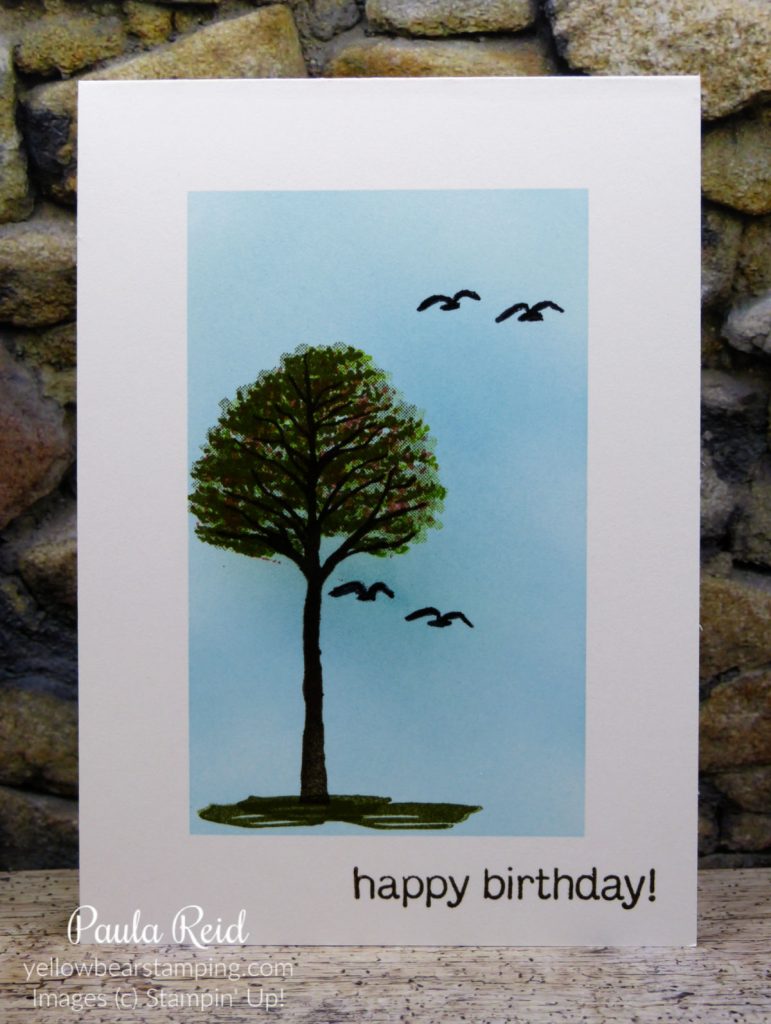
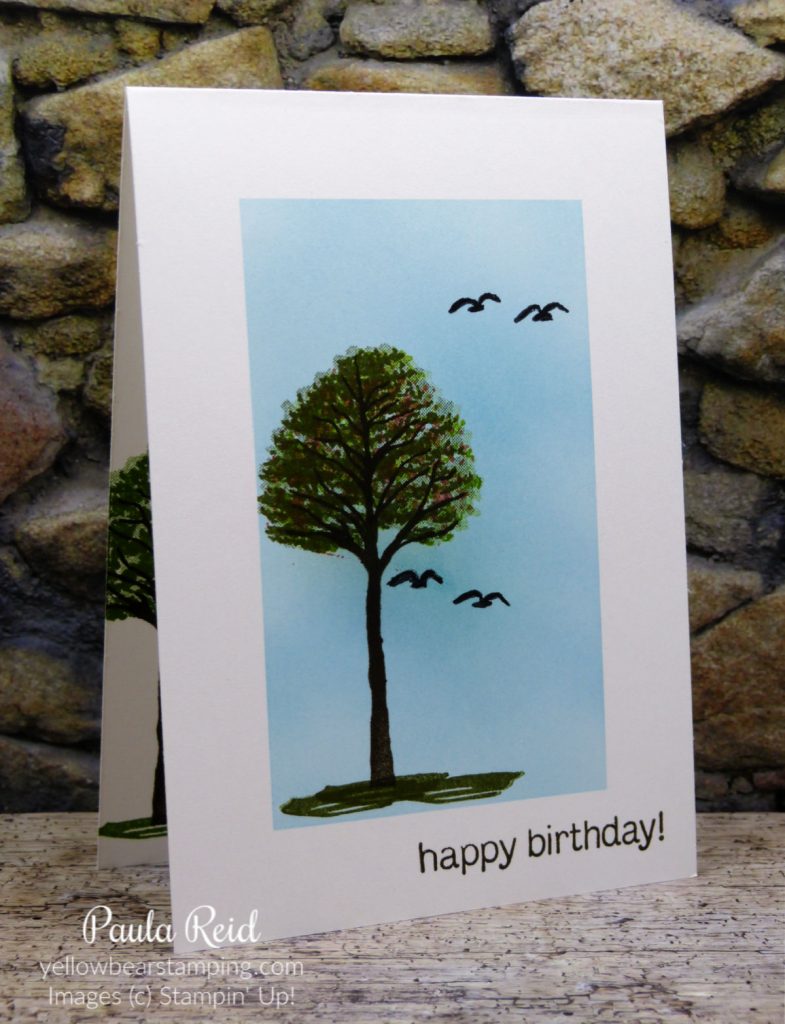
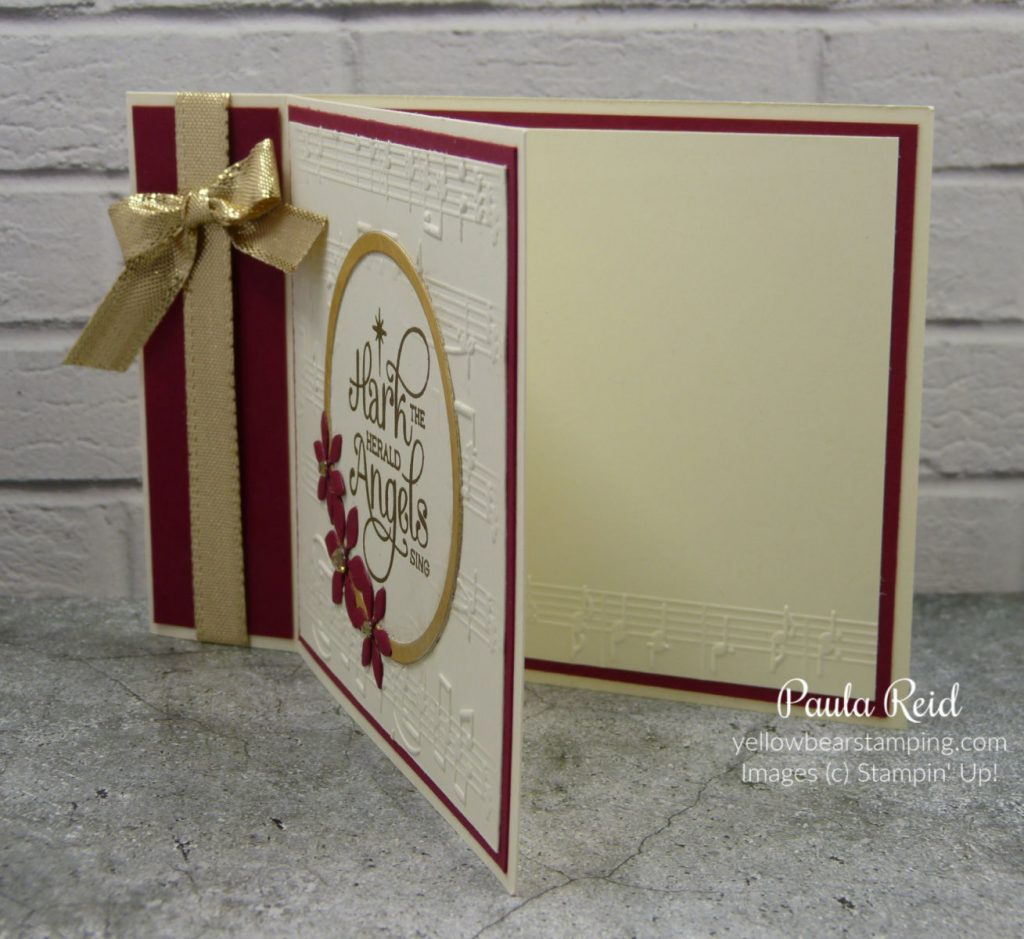
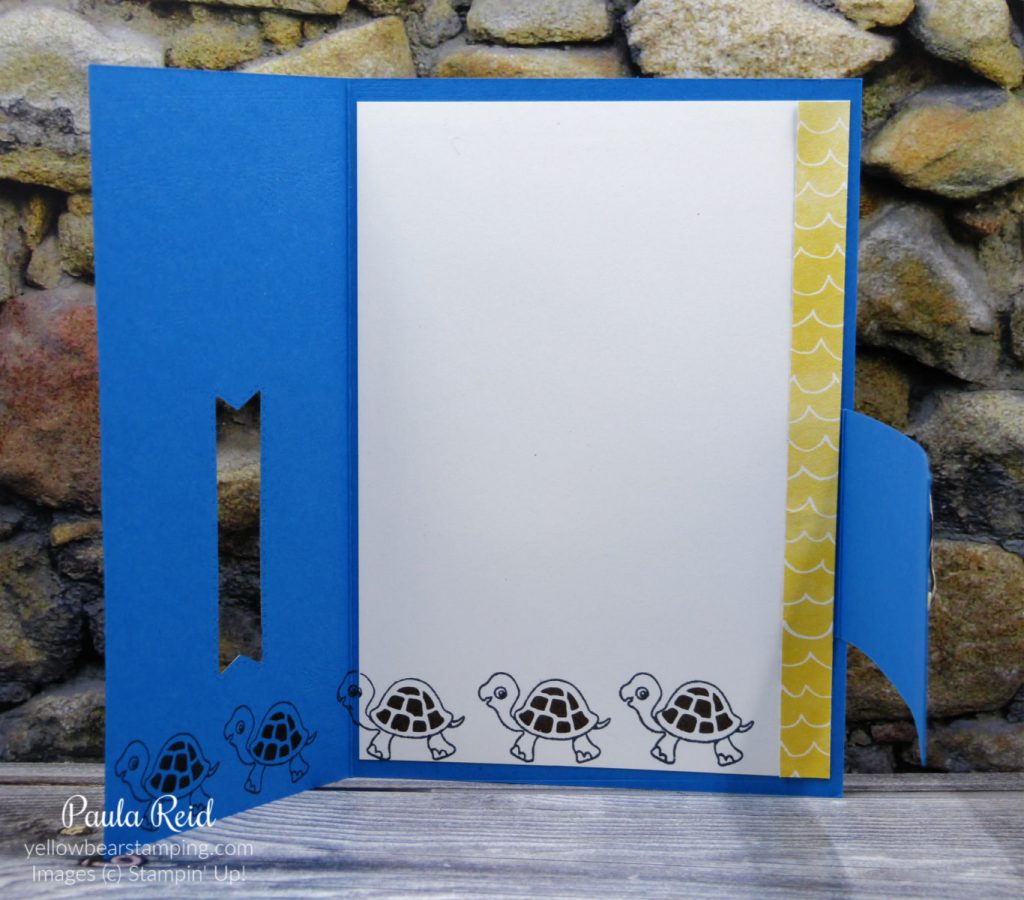
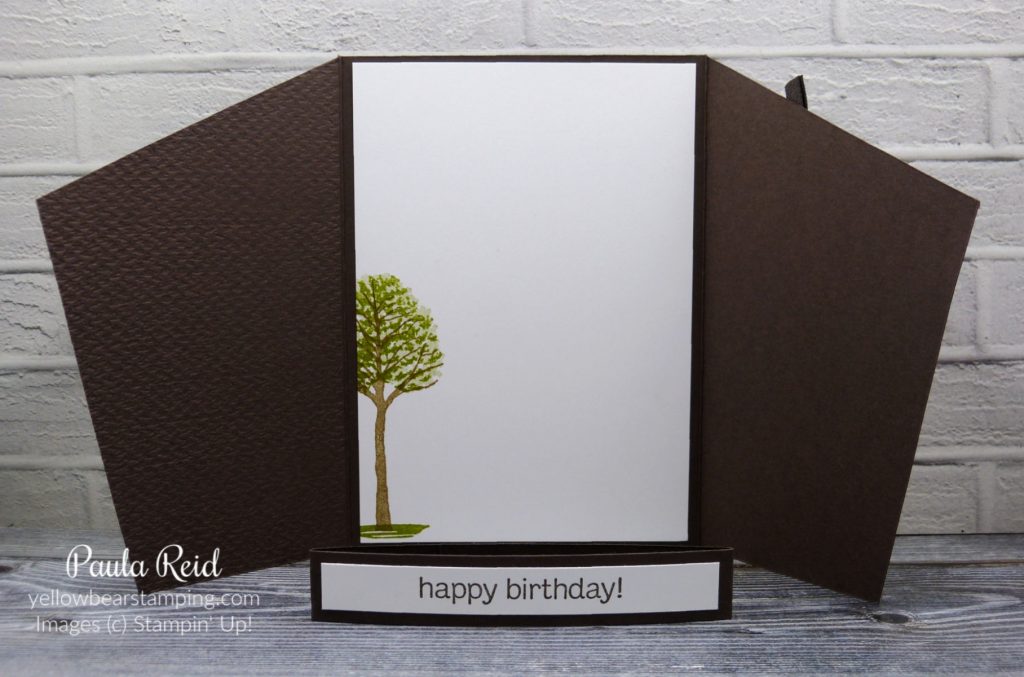
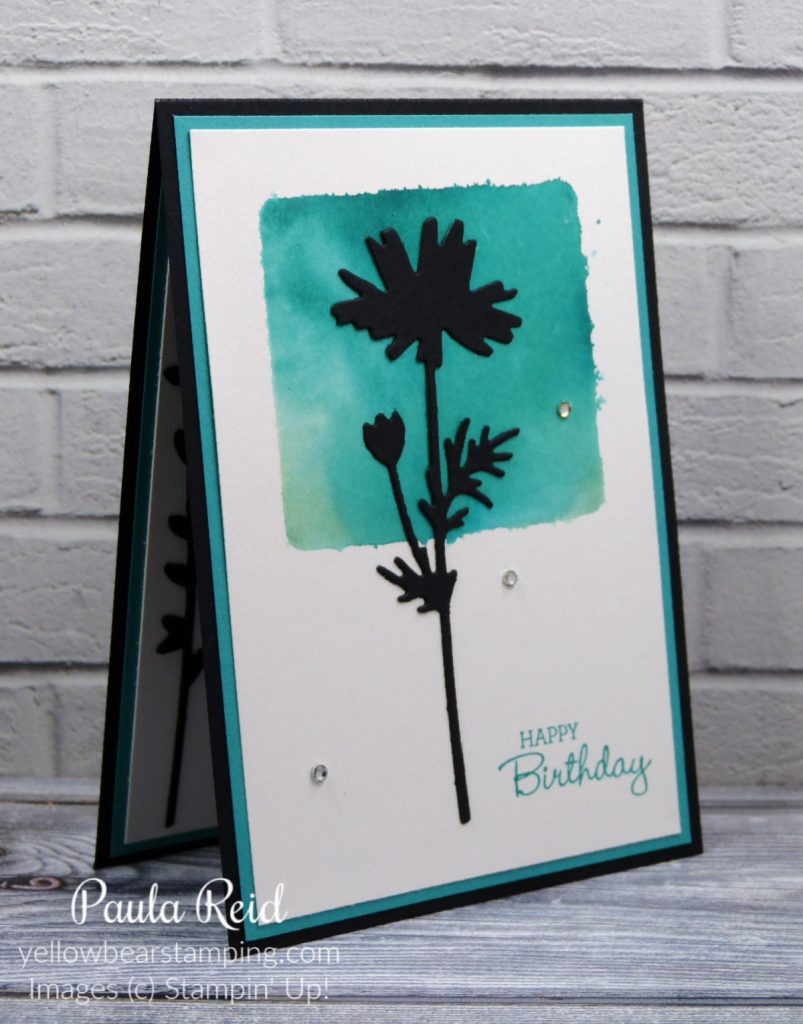
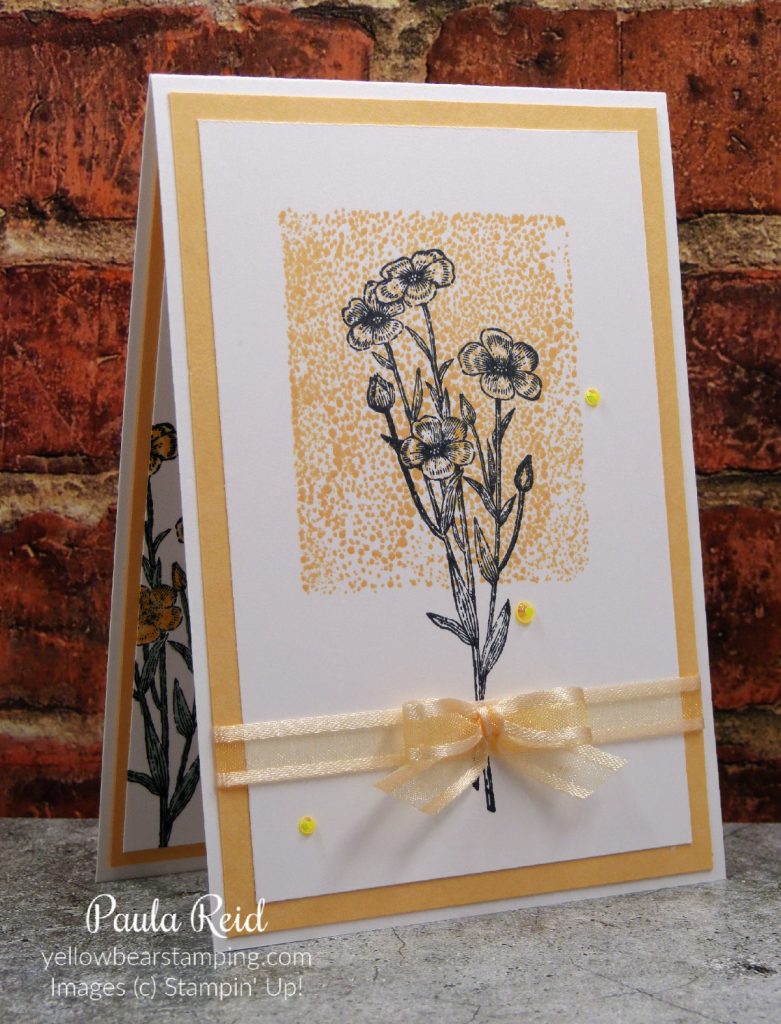
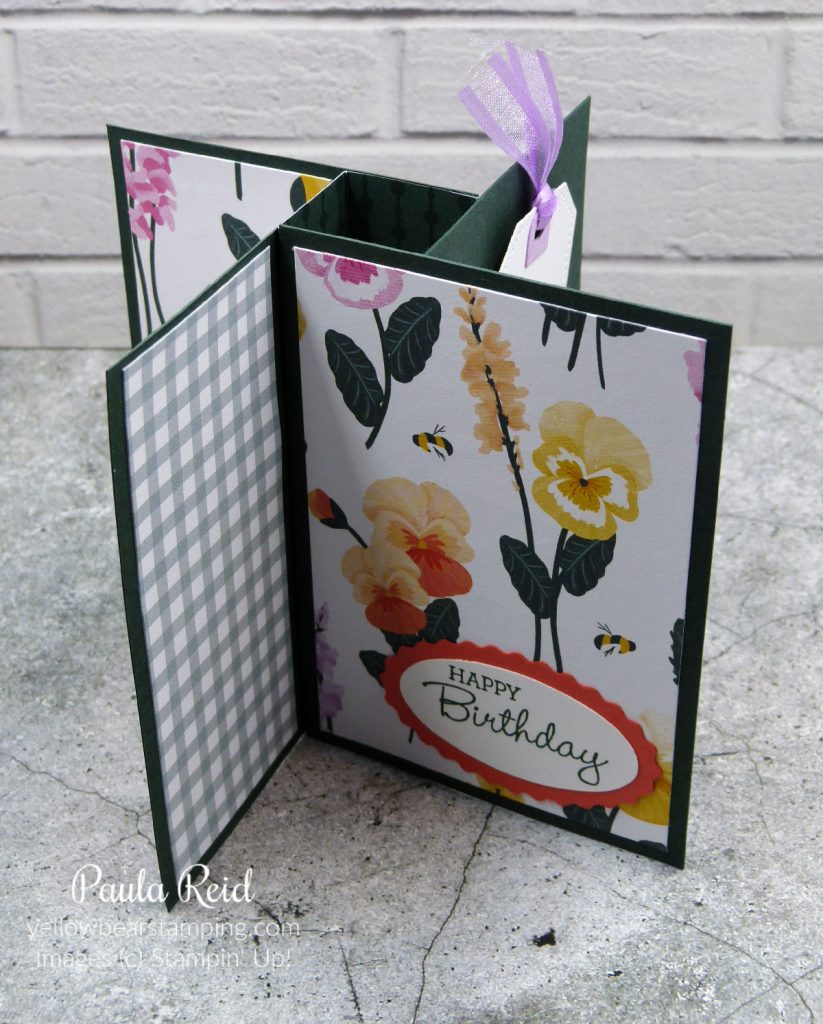
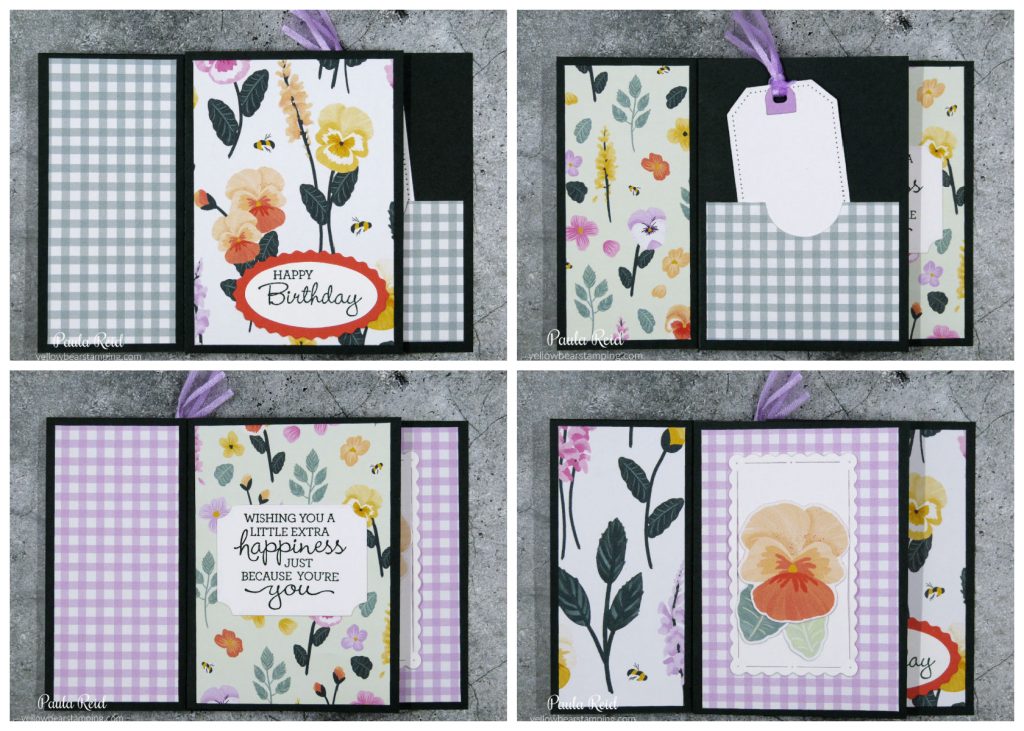
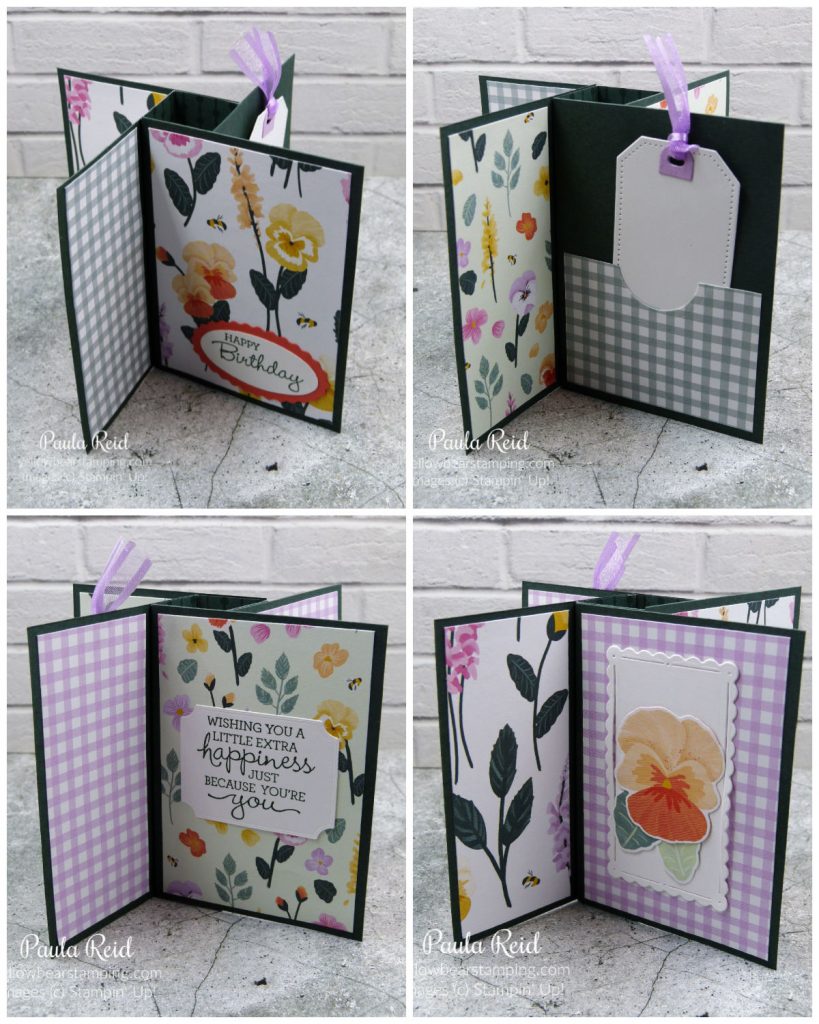
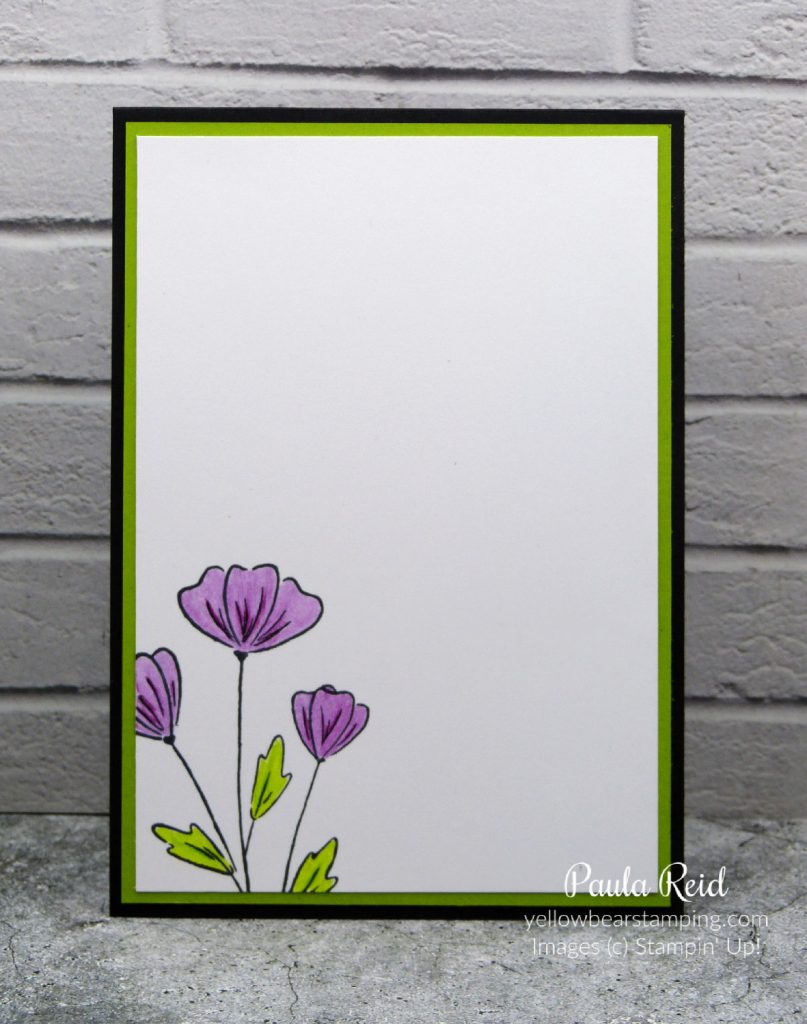
For the inside I stamped one of the other images from the set partly off the cardstock and coloured it the same way. The Artistry Blooms Adhesive-Backed Sequins were the perfect finishing touch for my project – they come in four colours – Calypso Coral, Coastal Cabana, Rich Razzleberry and Mango Melody.
I hope to have another play with the pastels and try the other methods I mentioned above – so keep an eye out for more projects with this product. Don’t forget to check them out on page 126.
Until next time …