Hi there
After taking a break from blogging, social media and sending out regular newsletters I’m ready to get back into my paper crafting journey. I hope you’ll join me as I share my creations with you.
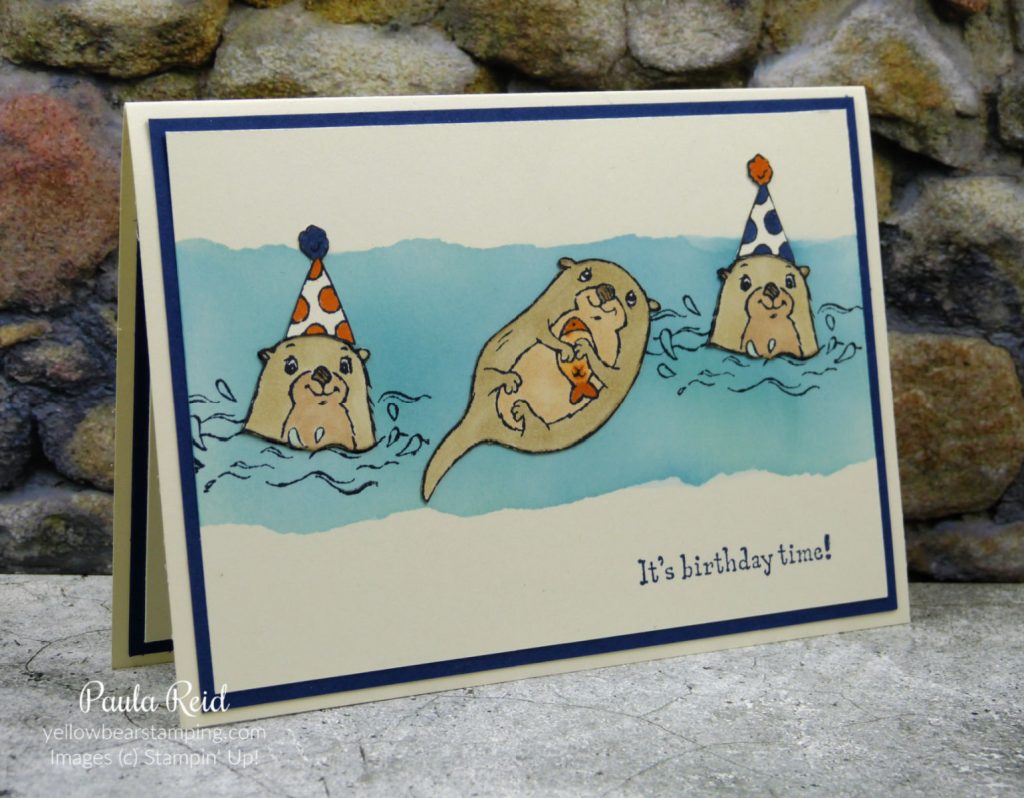
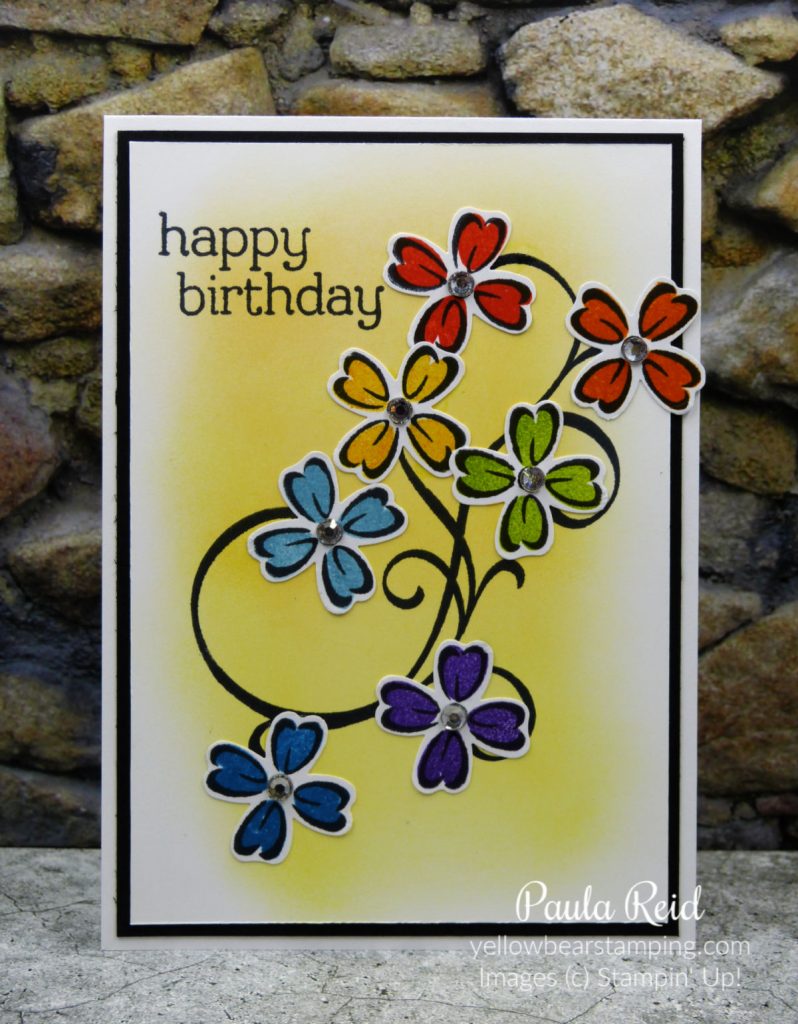
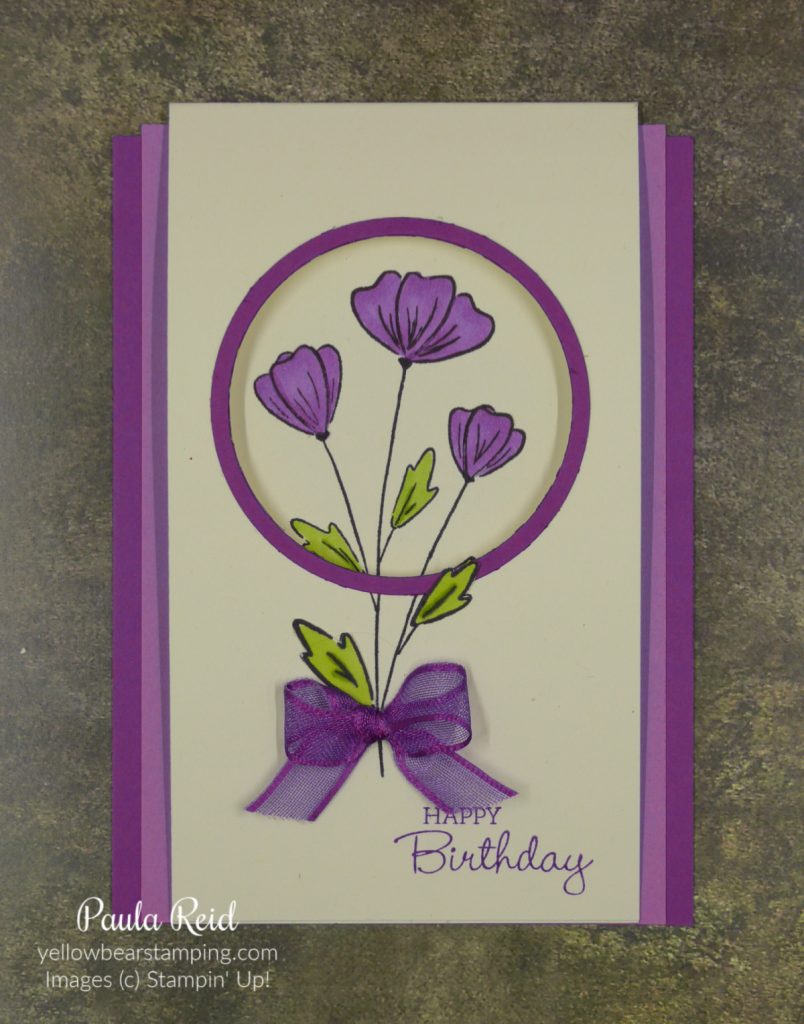
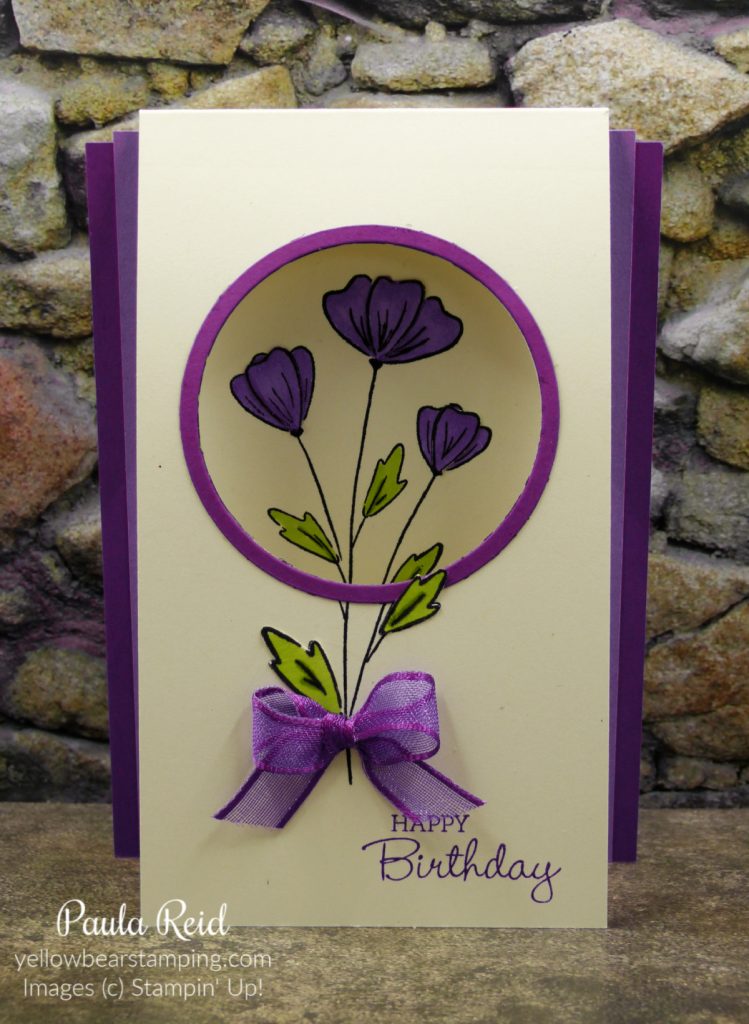
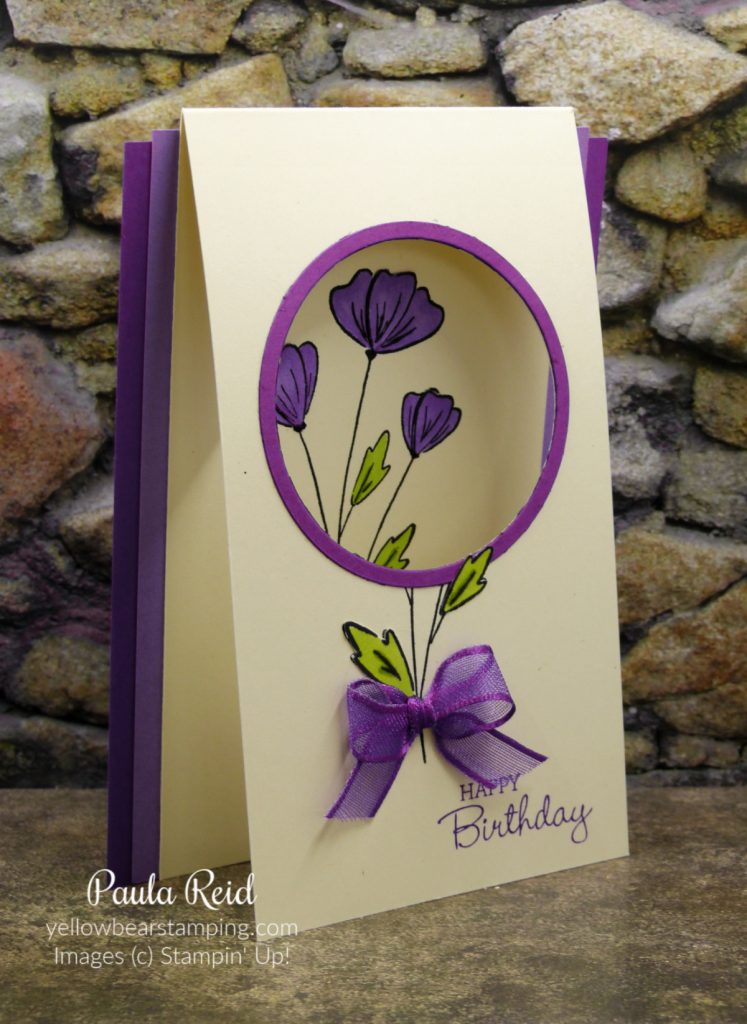
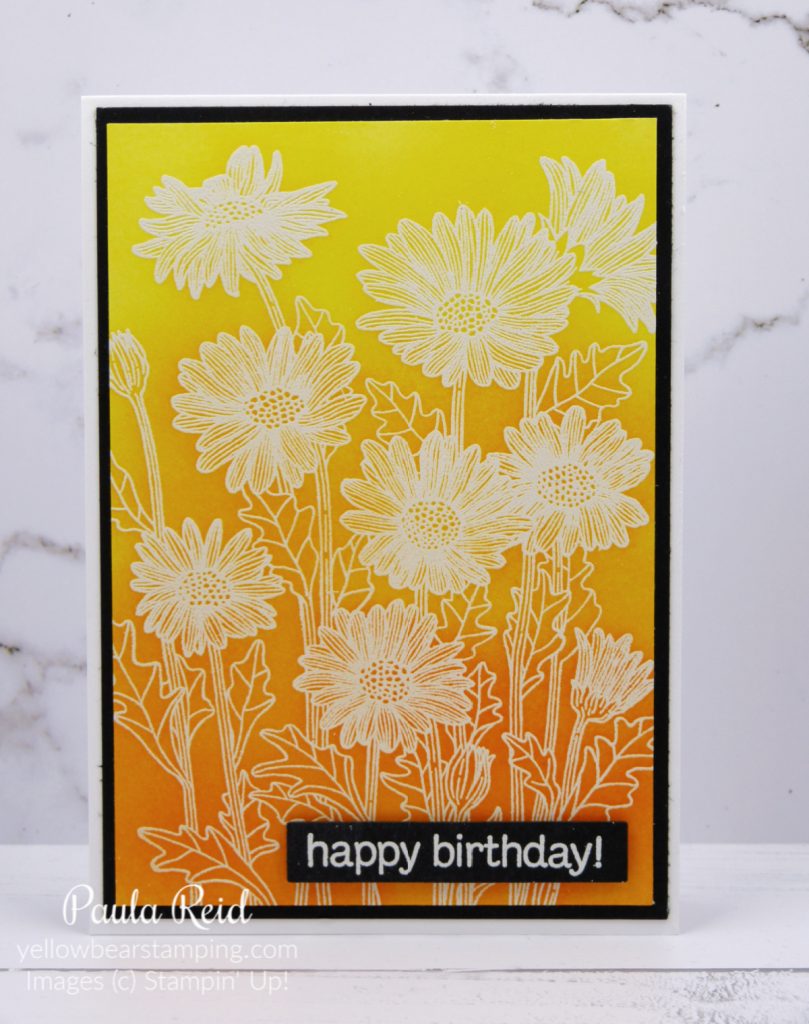
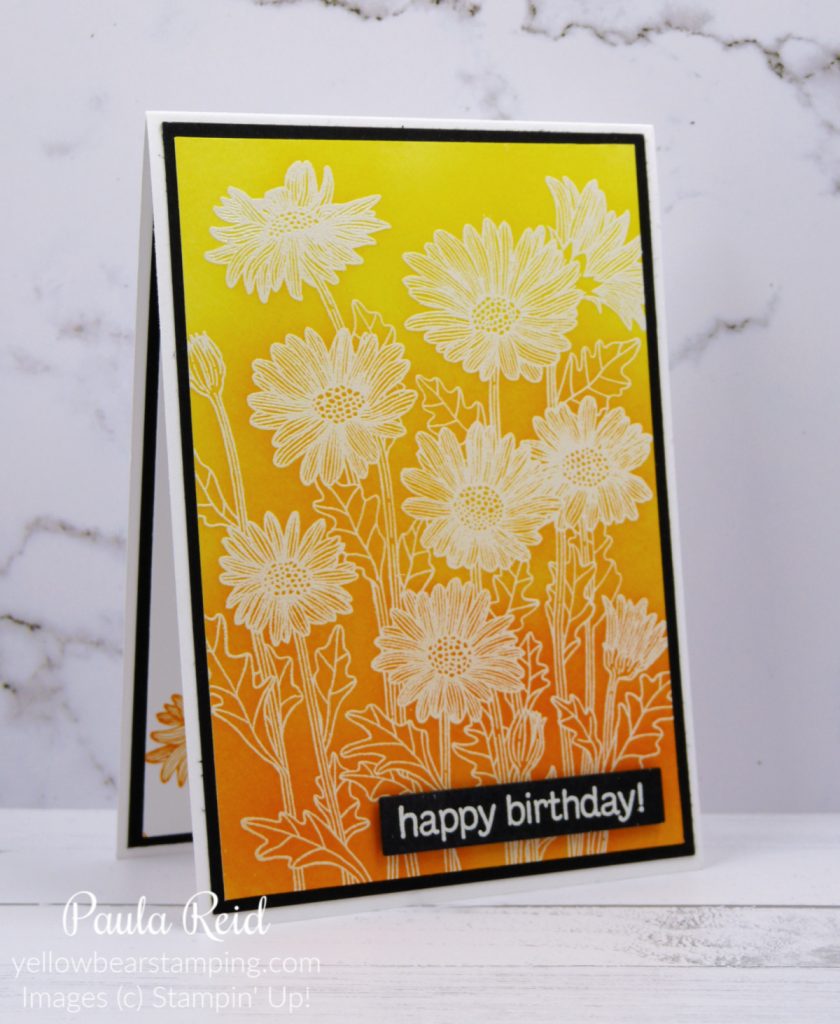
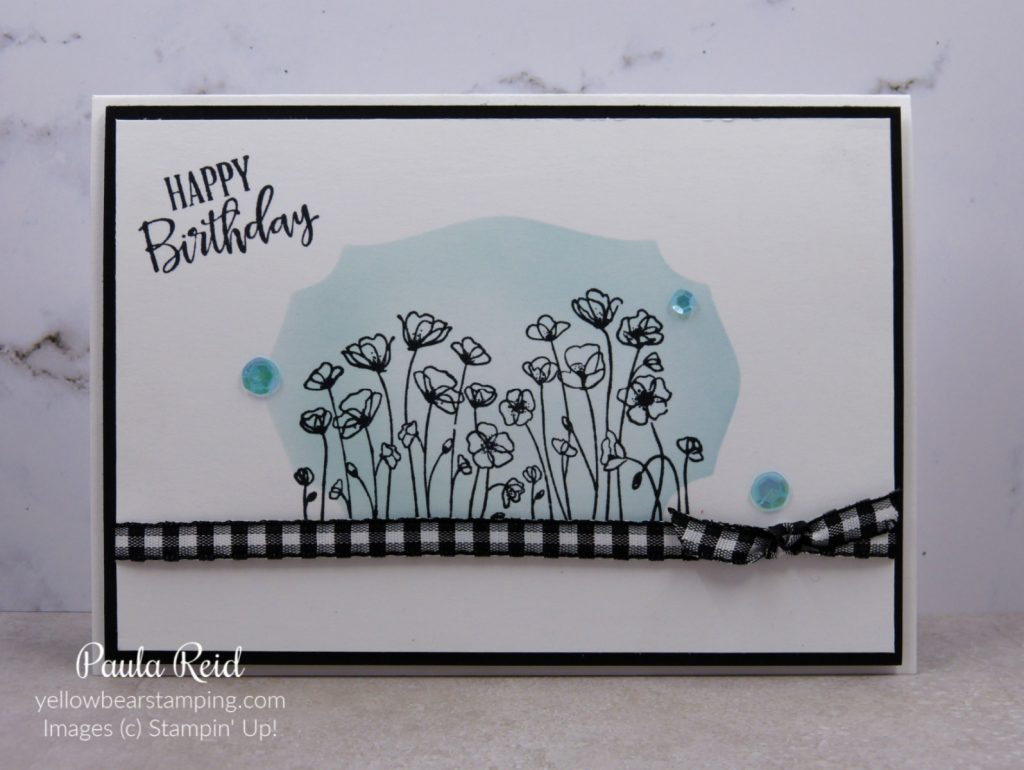
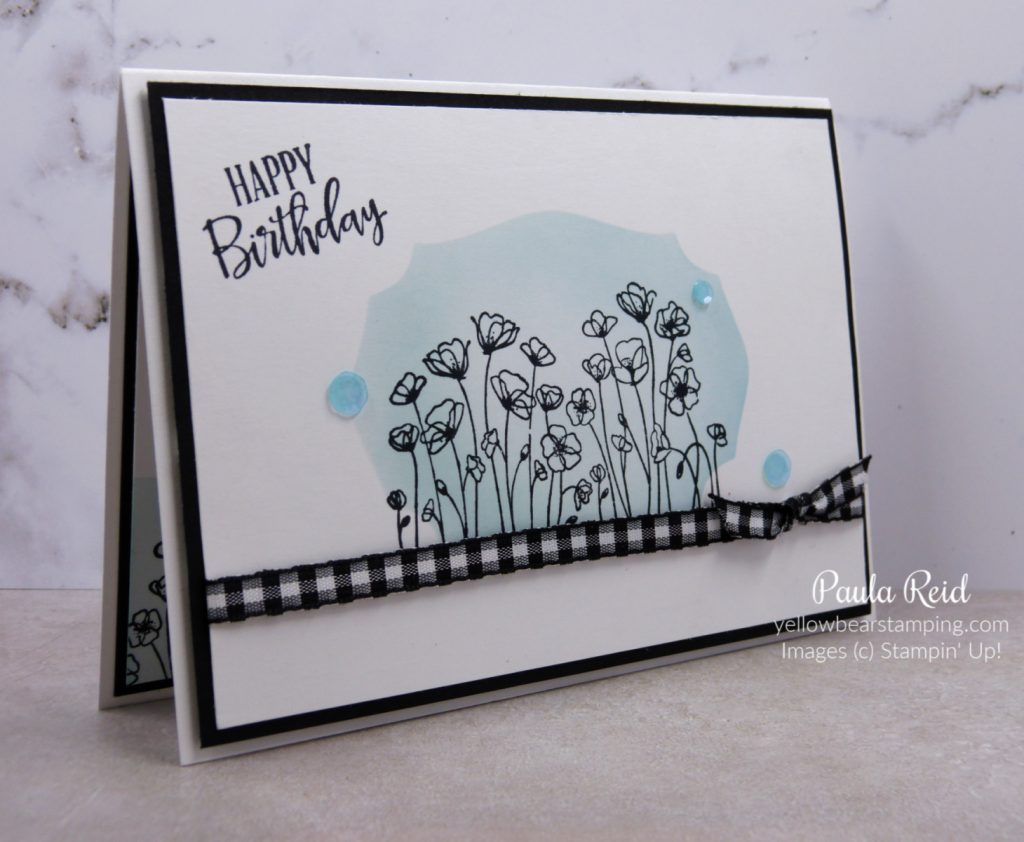
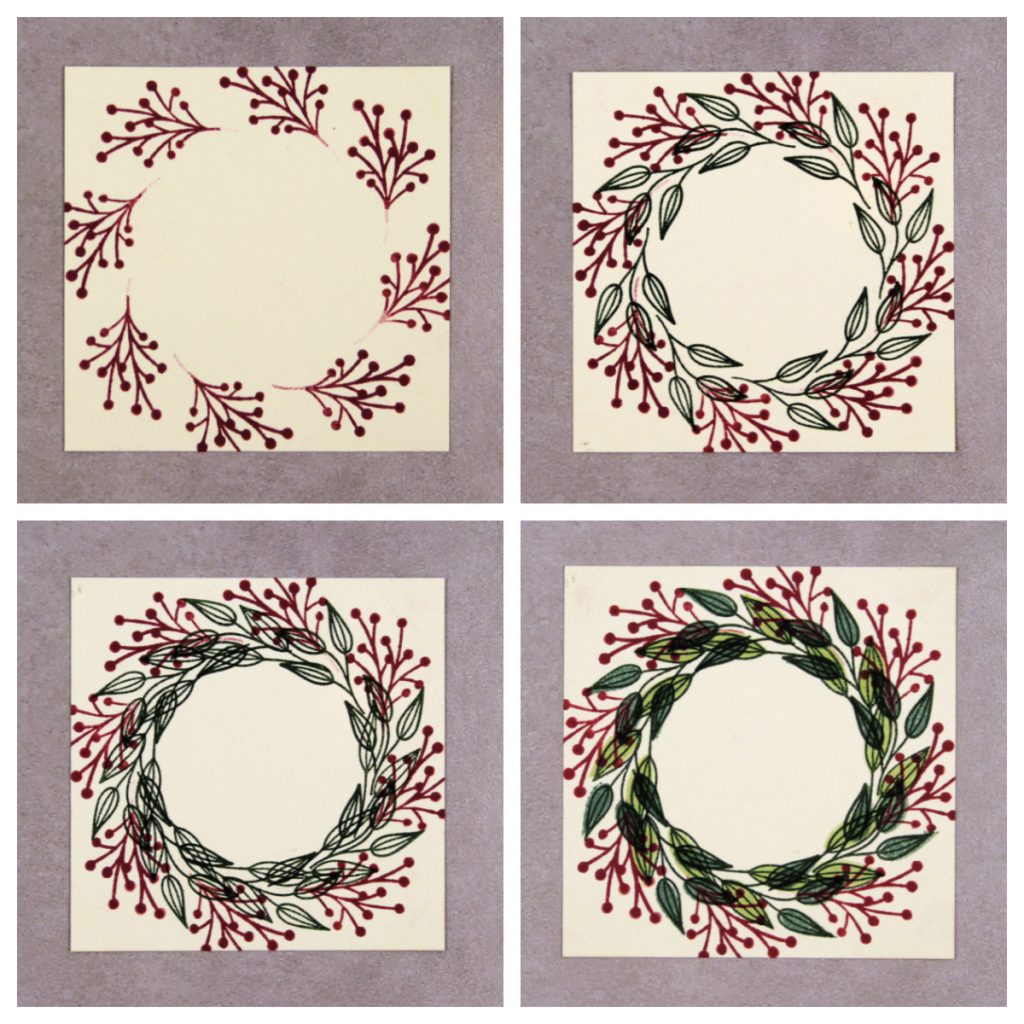
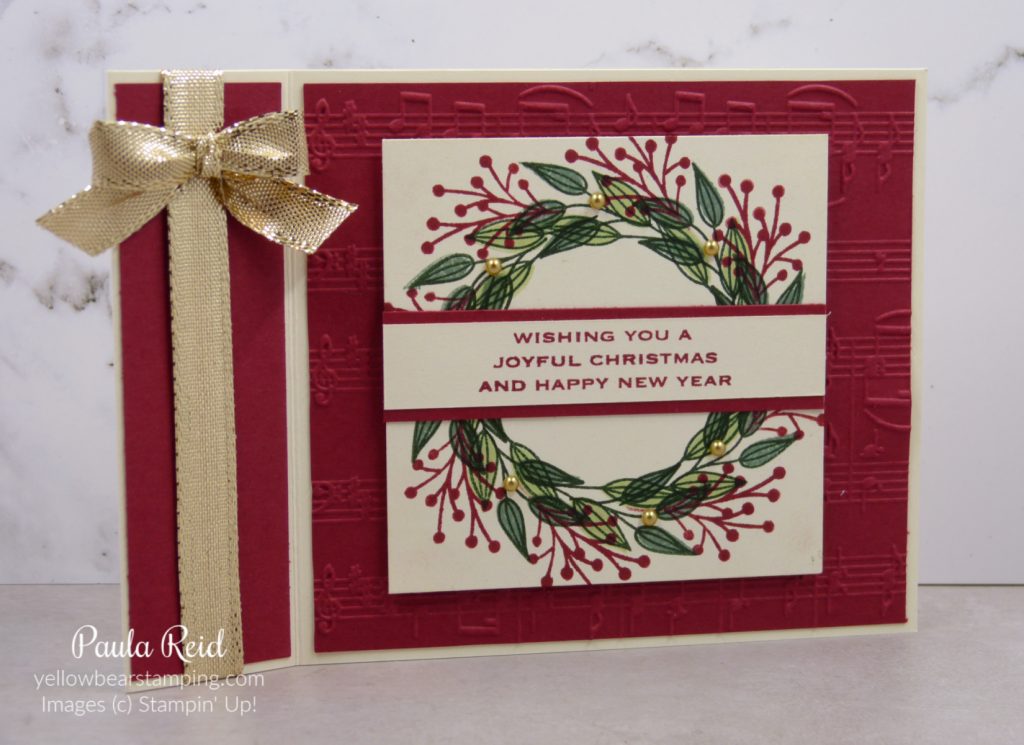
Last month I held a workshop with a lovely group of ladies and taught two cards. The first card features one of my favourite bundles from the January-April Mini Catalogue – the Dainty Delight Bundle (Page 55). This bundle consists of a stamp set and coordinating dies. When you purchase one of our bundles (stamp and dies or stamp and punch) you save 10% on the total cost.
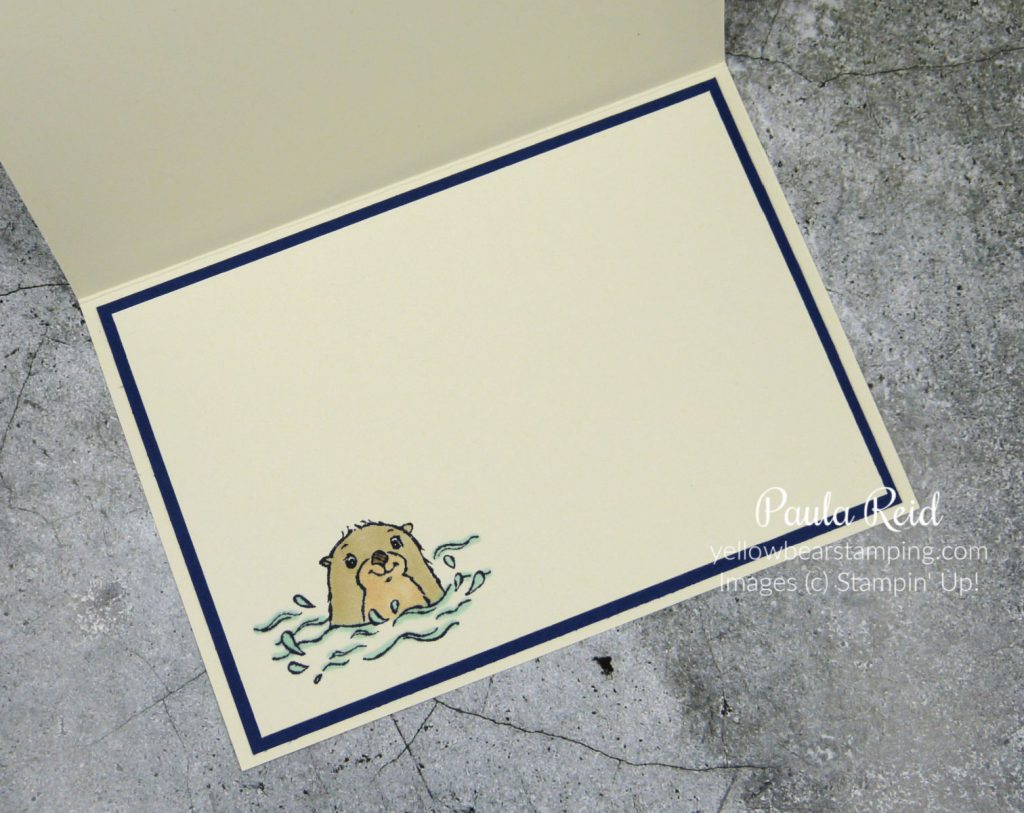
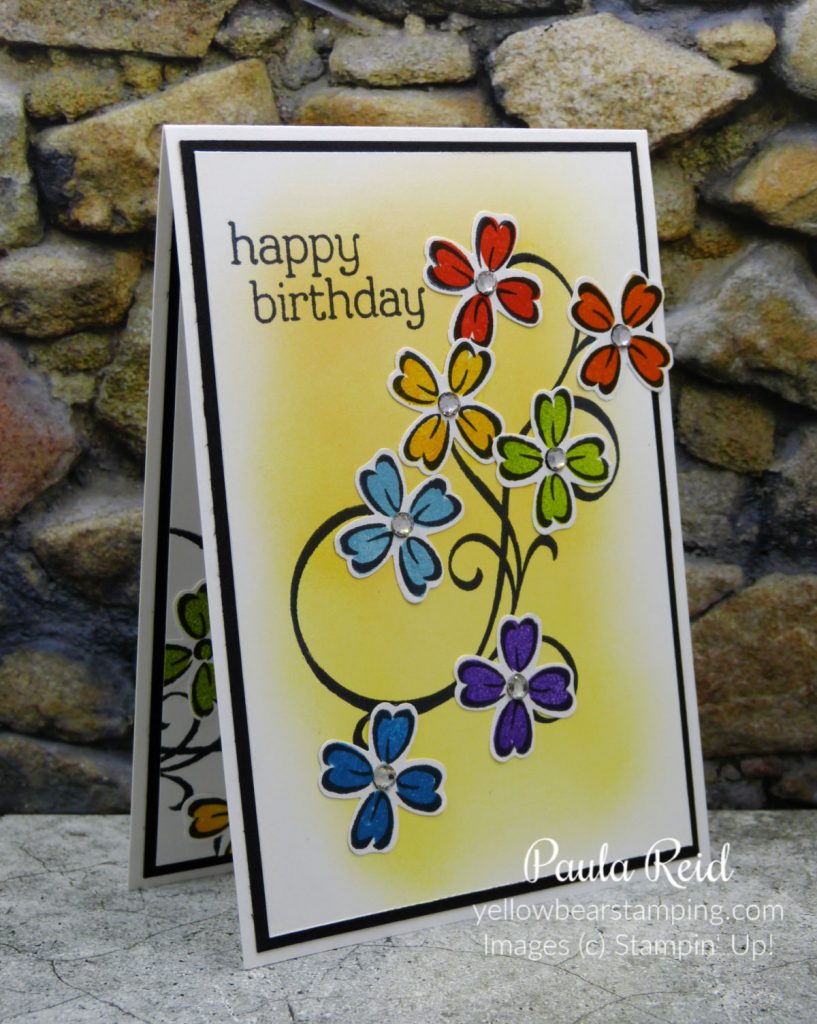
The Dainty Delight stamp set has five line art images and four sentiments. I love line art images as they allow a range of colouring techniques to be used. The image was stamped with Basic Gray and then coloured in with our Watercolour Pencils before being die cut with the coordinating die. Using the pencils allowed everyone to colour their flowers as they liked.
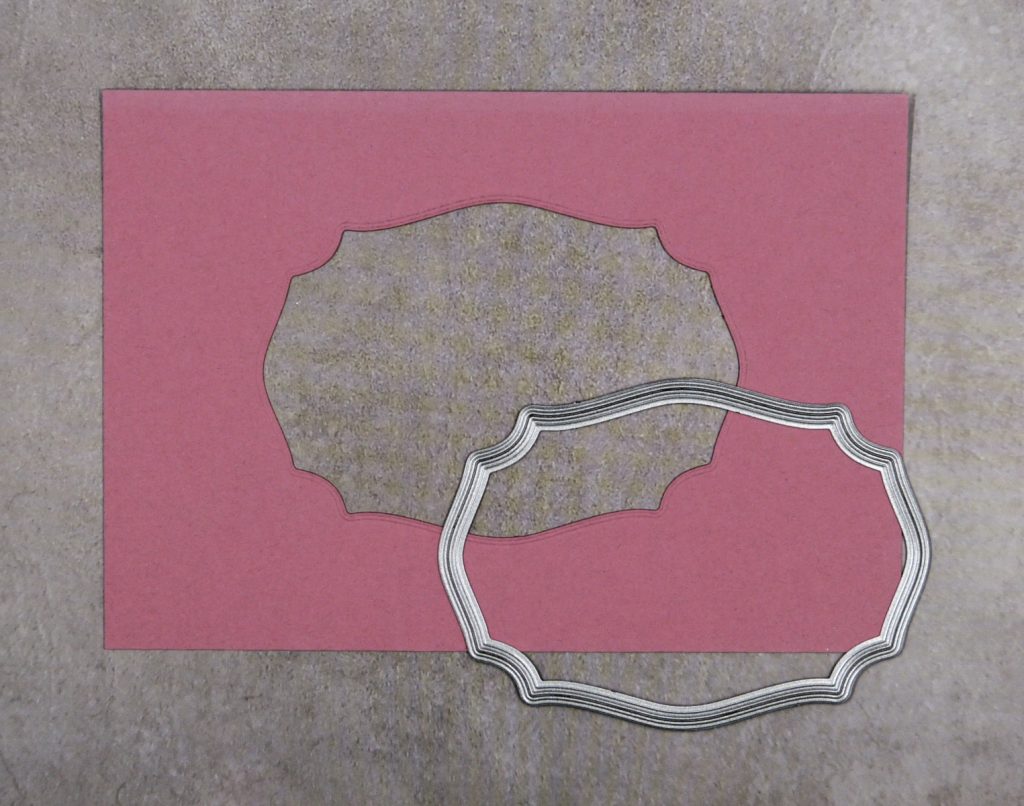
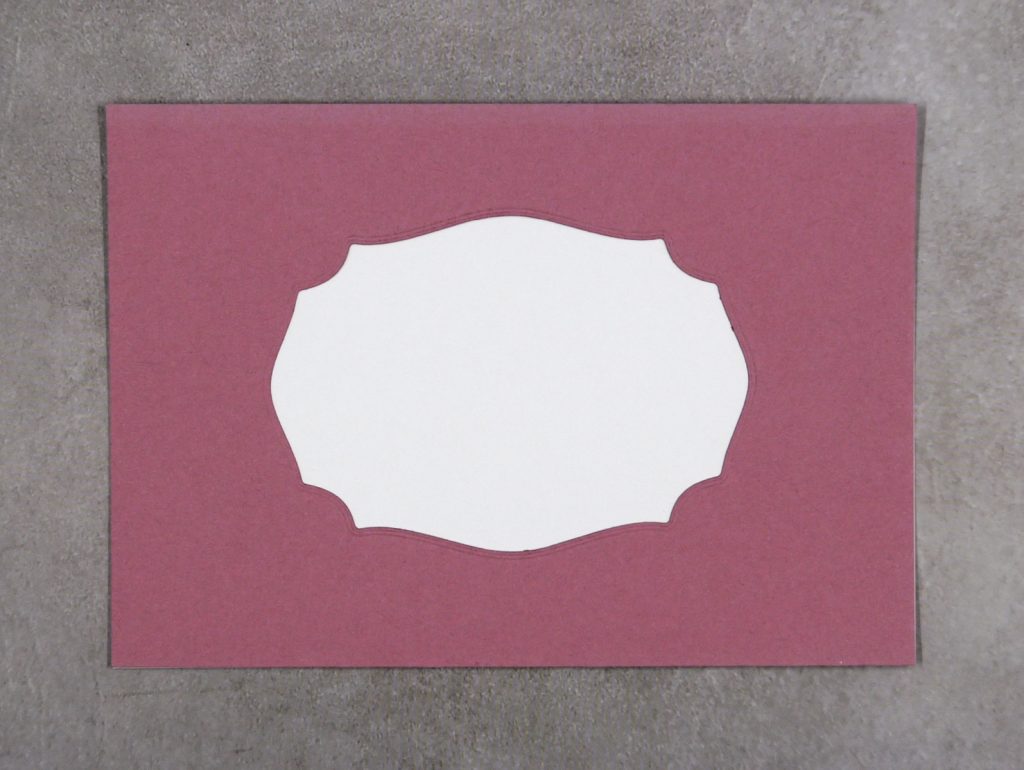
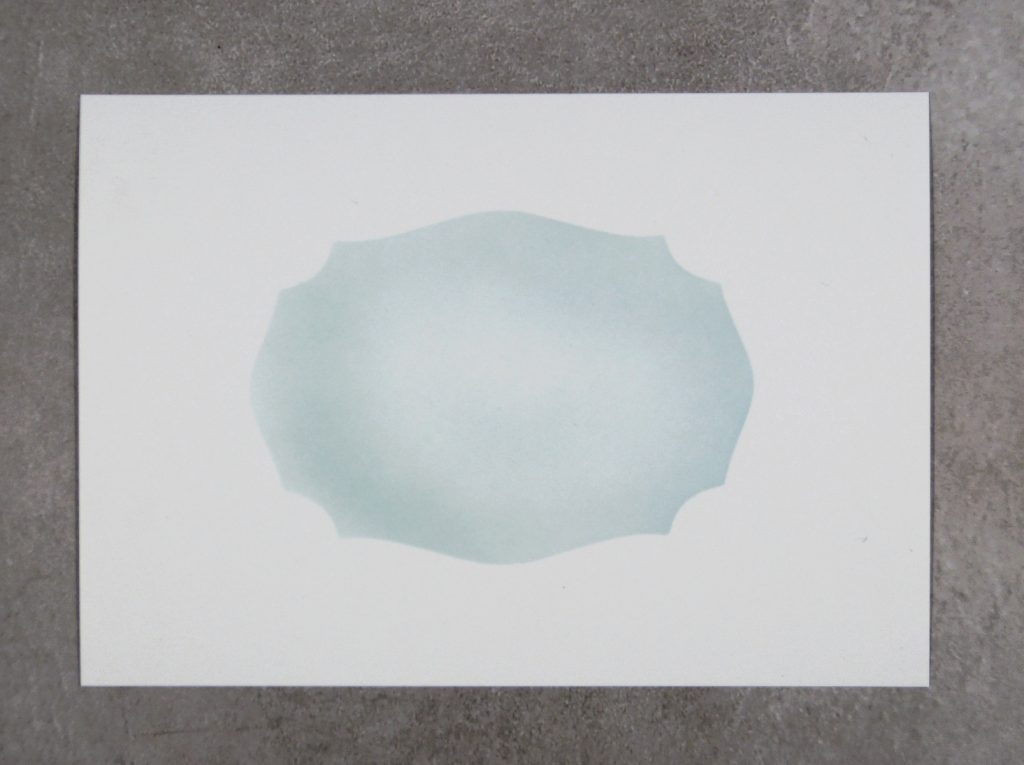
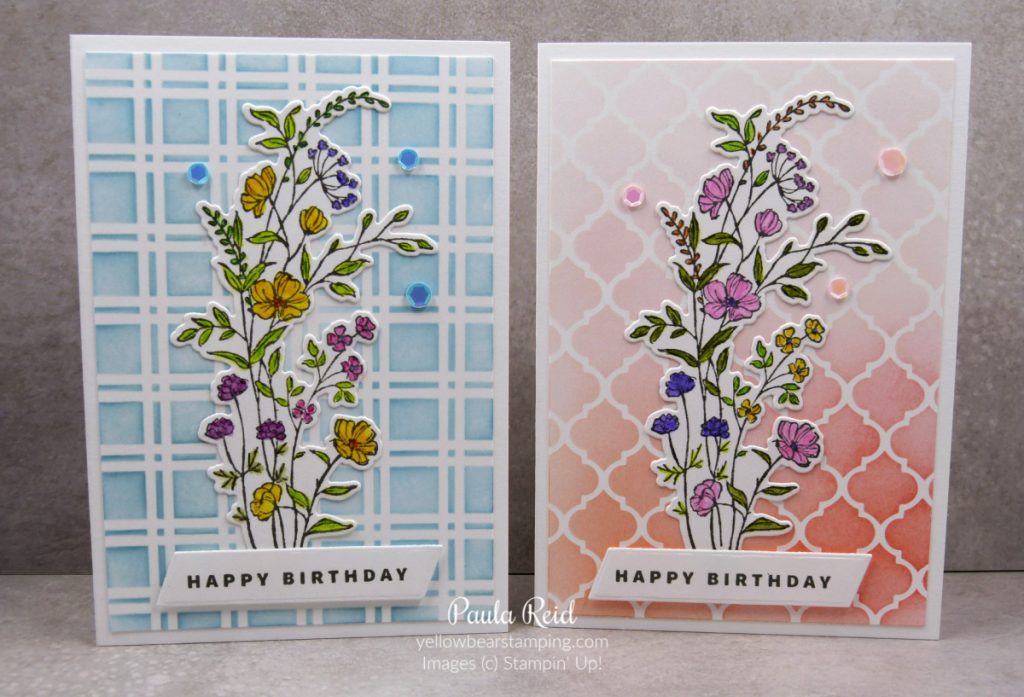
To add some colour and depth to the background we used the Artistic Mix Decorative Masks and Blending Brushes from the Annual Catalogue. I gave two options of design and colour – Pacific Point on the left or Flirty Flamingo on the right.
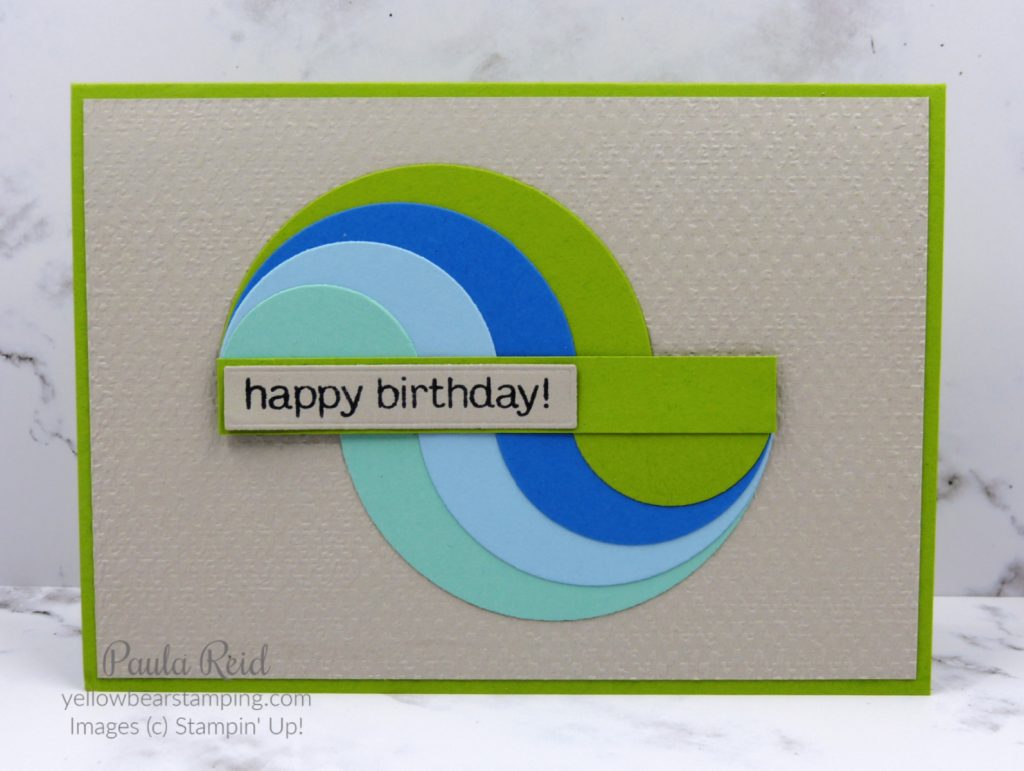
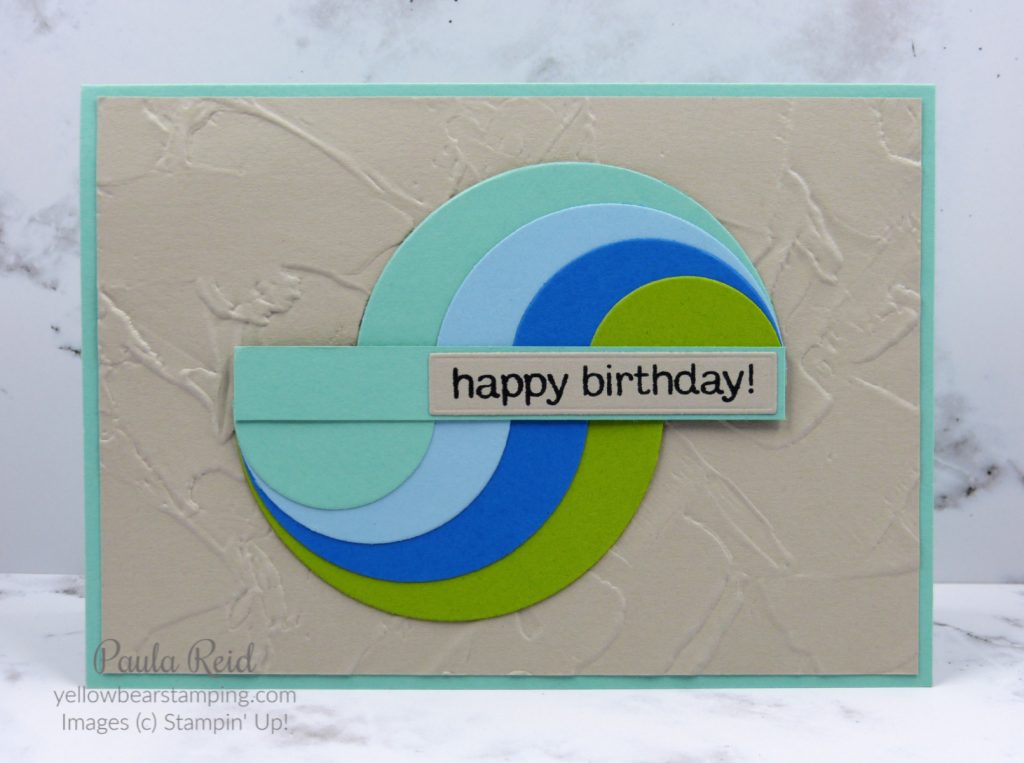
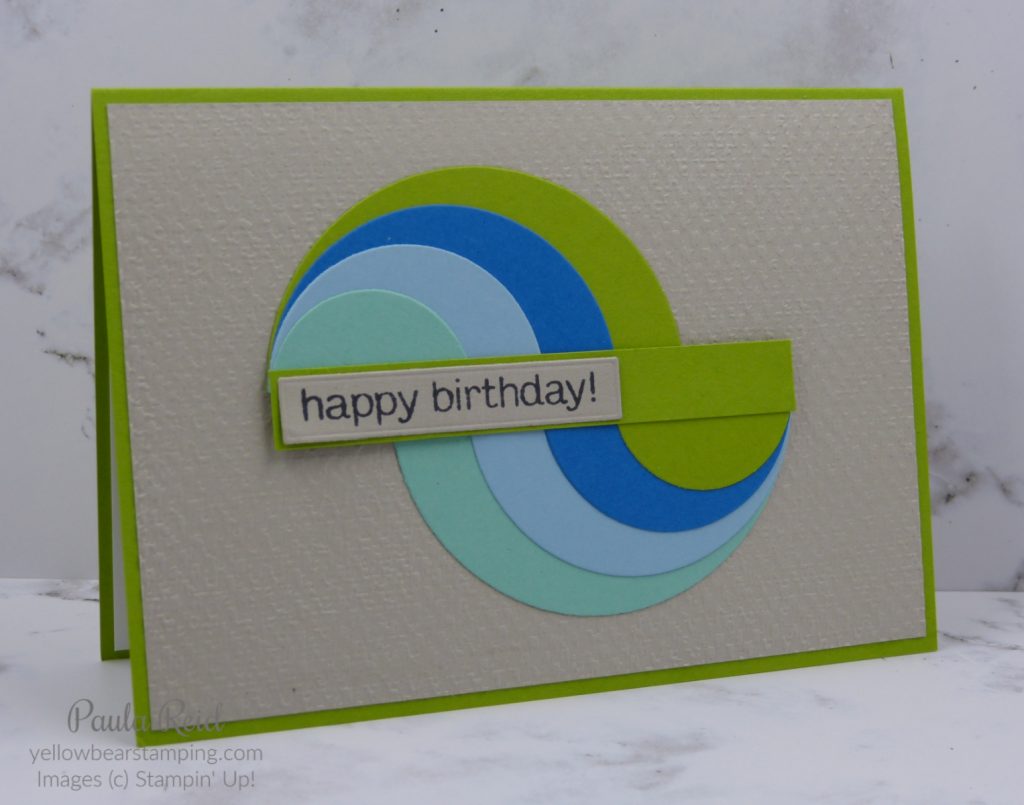
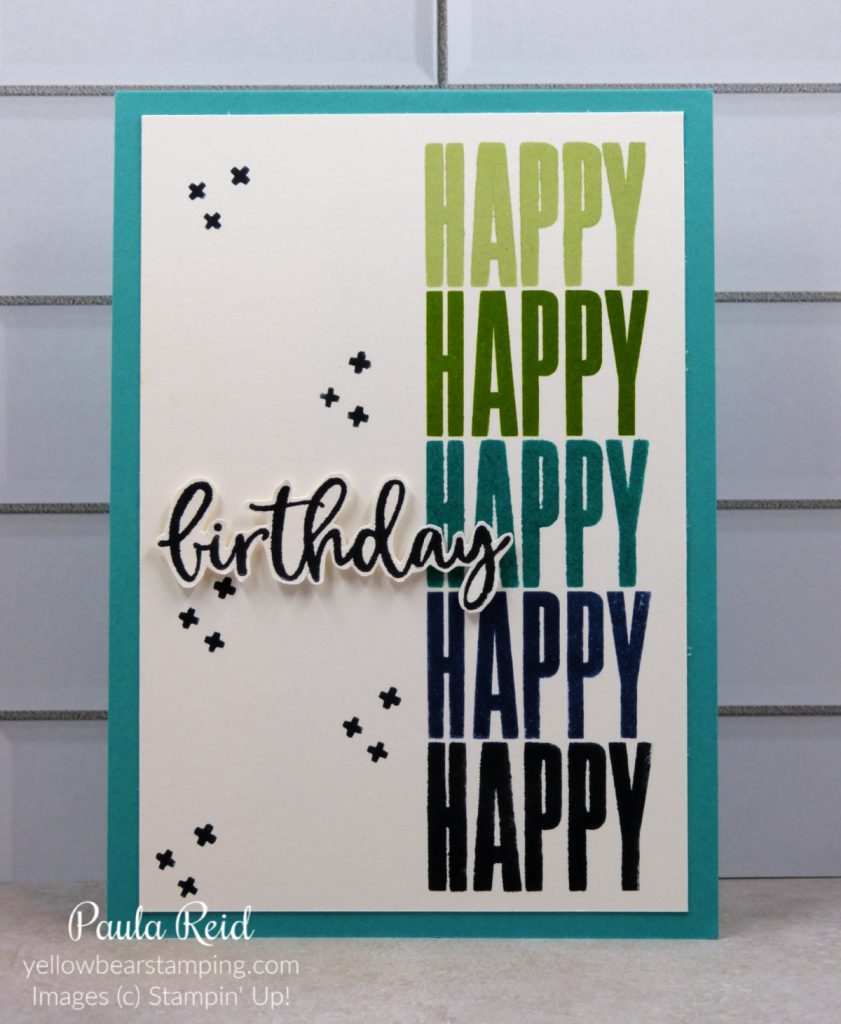
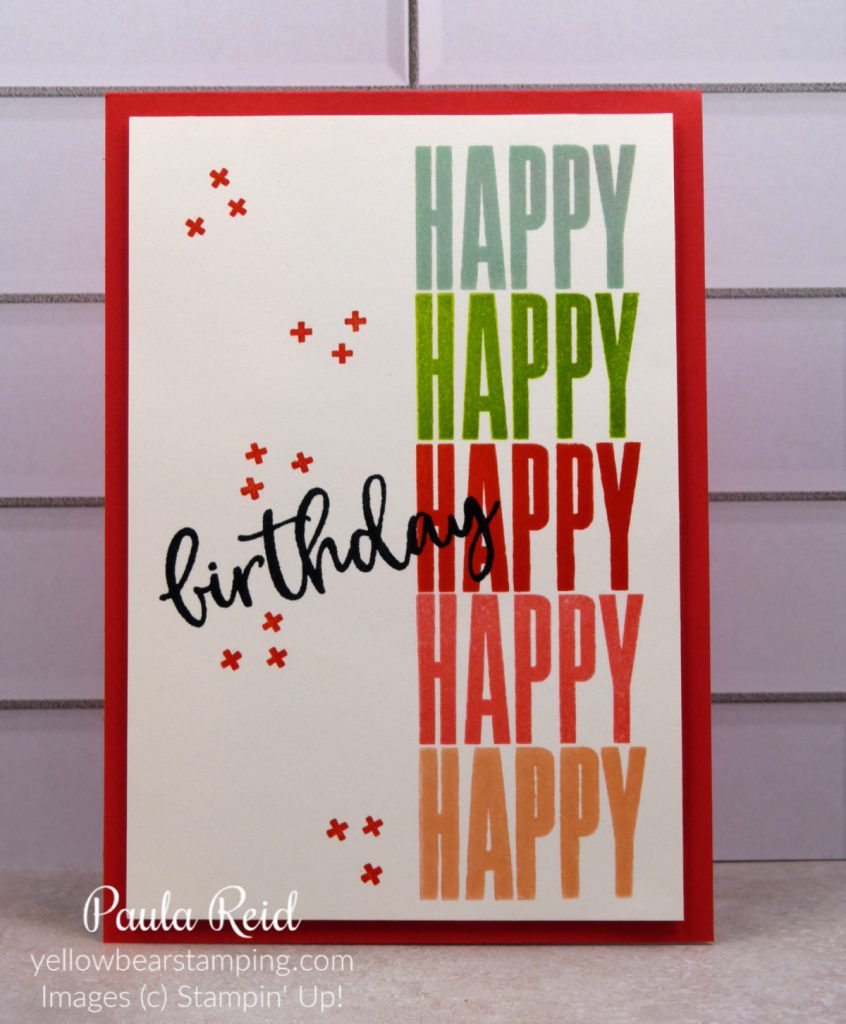
The sentiment is from the Something Fancy Bundle (Page 17). I have used this ‘Happy Birthday’ stamp so much and love the coordinating die that cuts it out perfectly.
No card is complete without some form of embellishment and here we used the Pastel Adhesive -Backed Sequins from the Country Floral Lane Suite (Page 9).
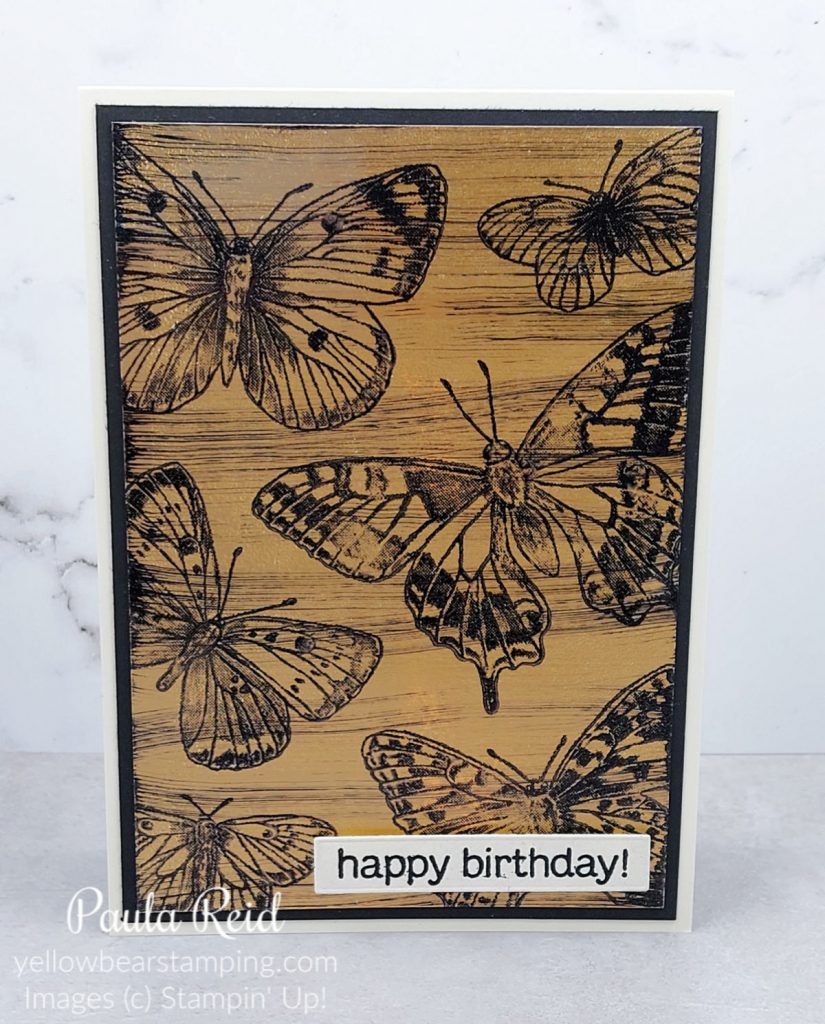
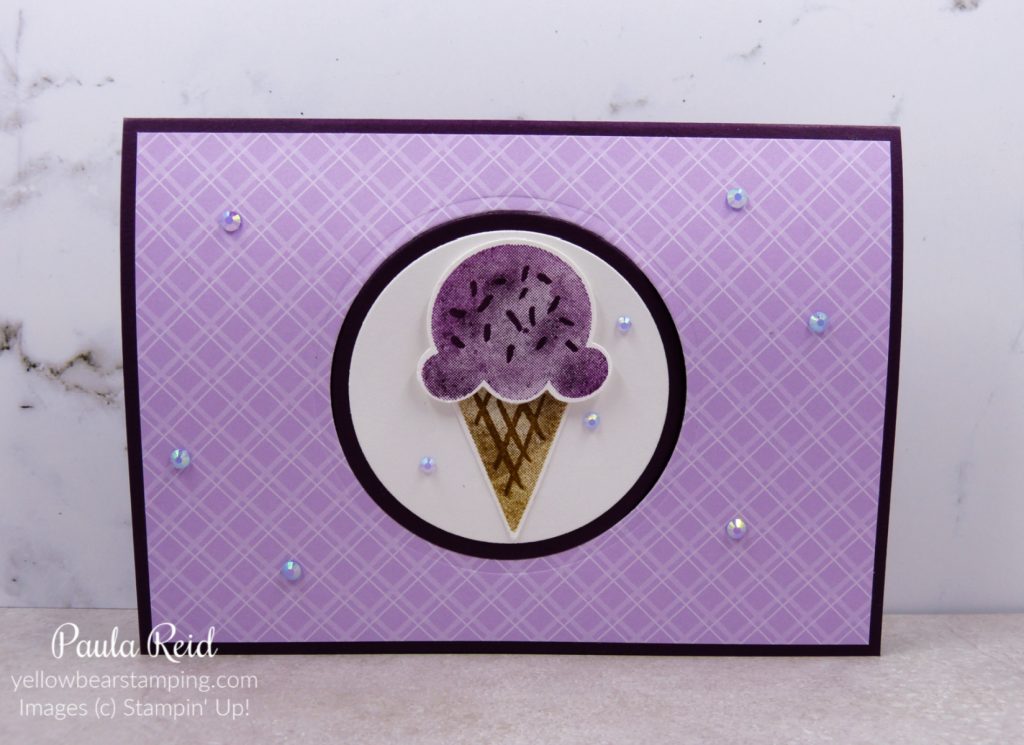
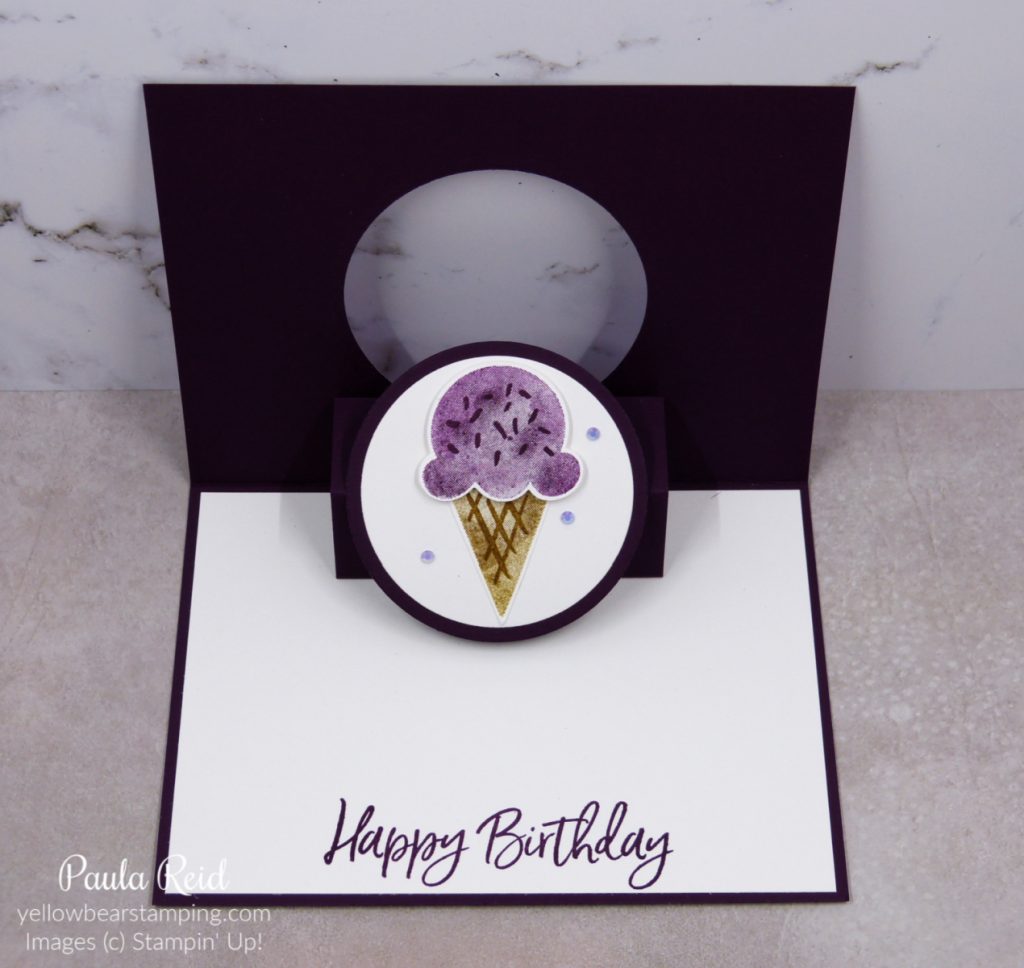
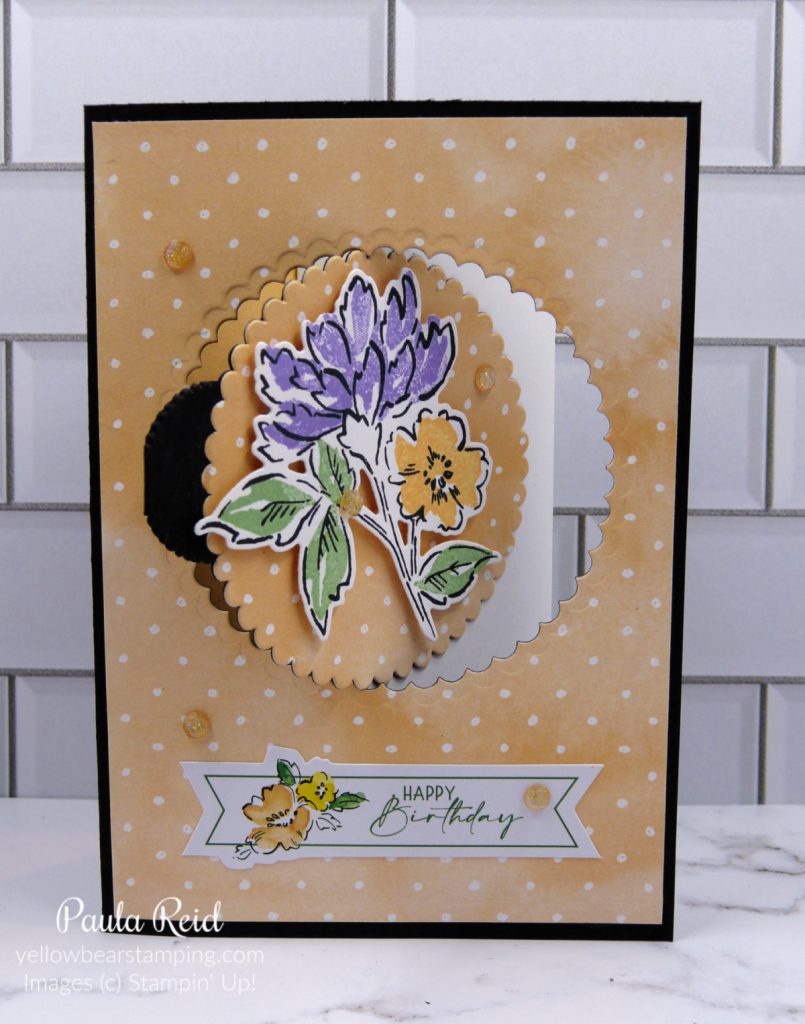
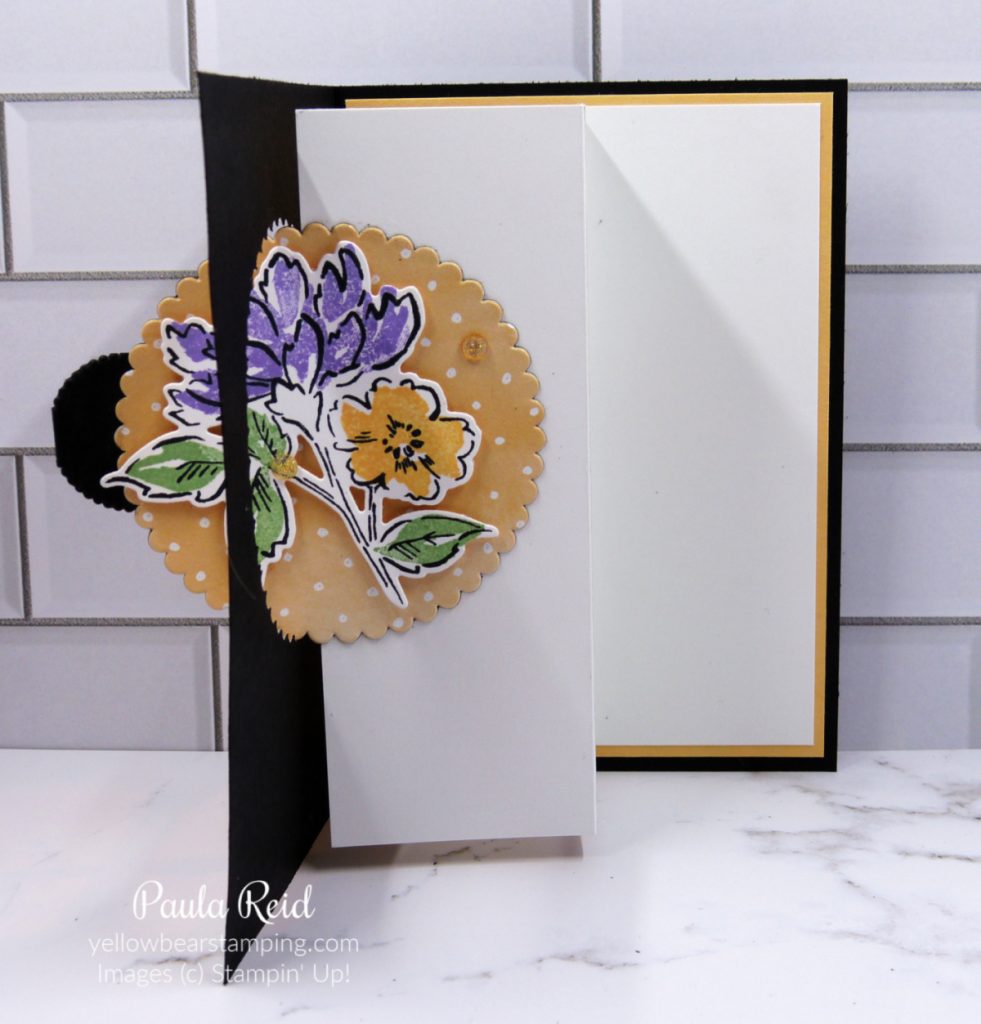
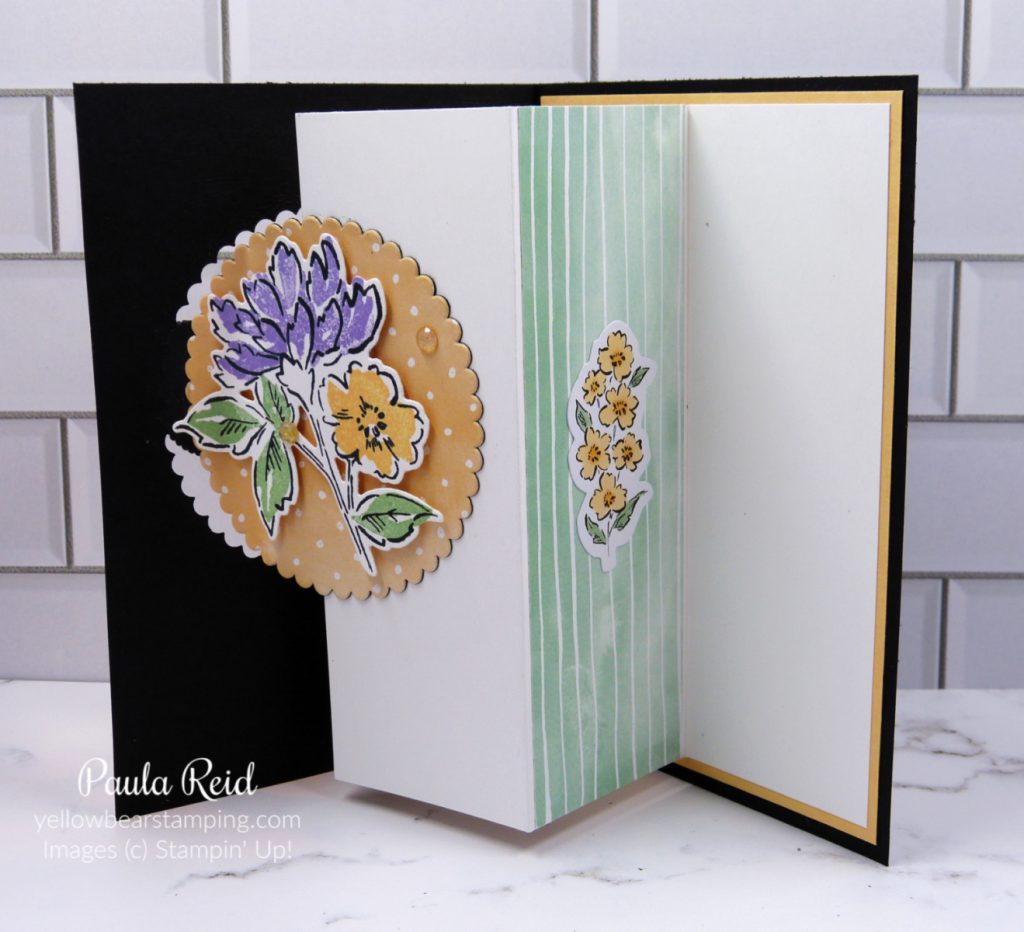
I hope you’ll check back tomorrow when I’ll share the second card we made.
Until next time