Hi there
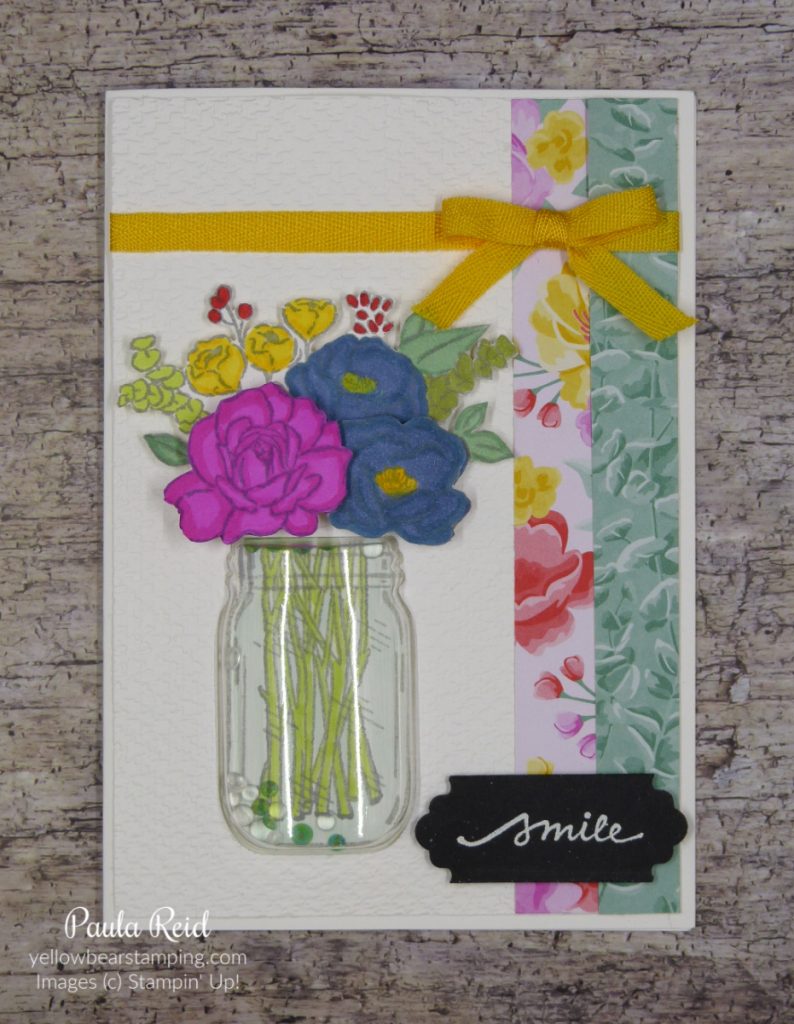
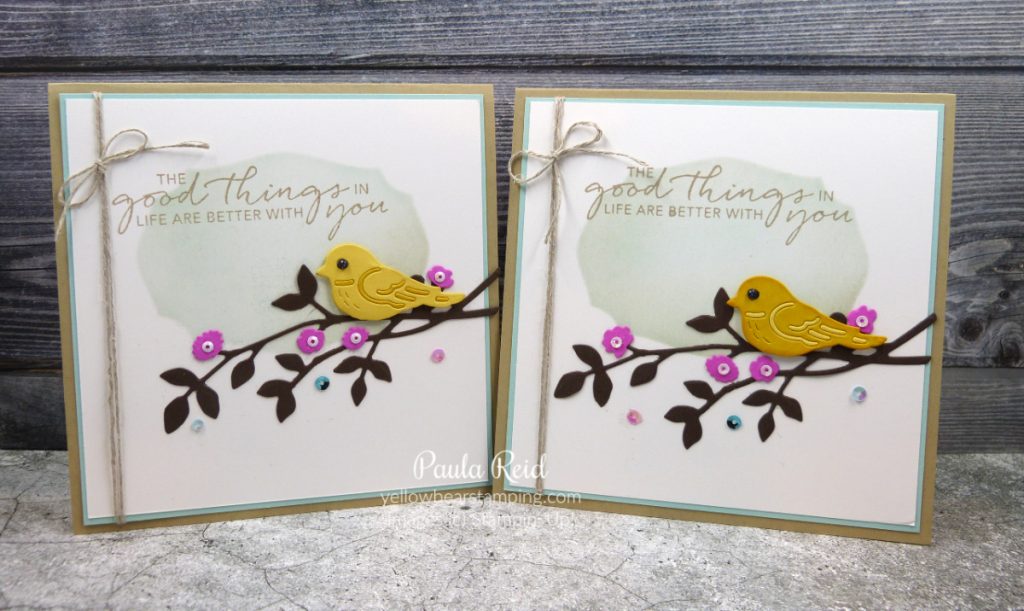
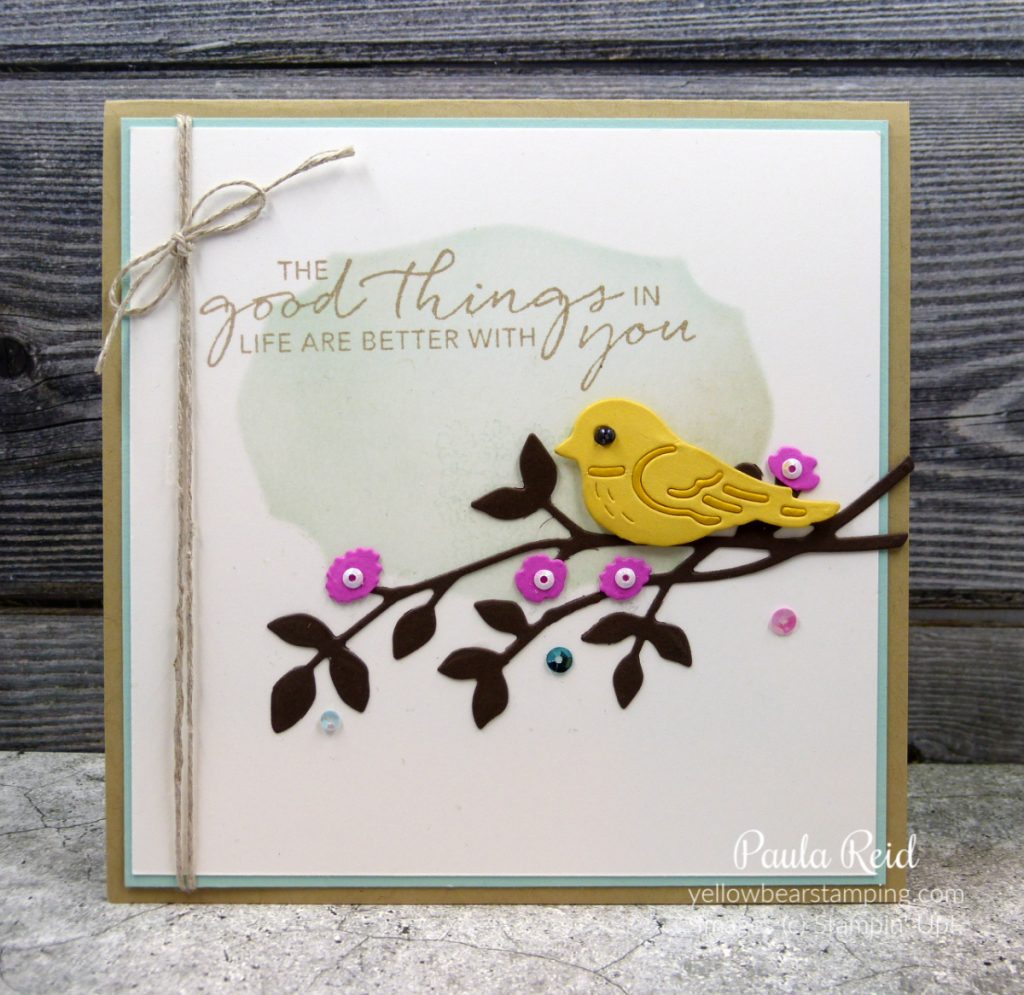
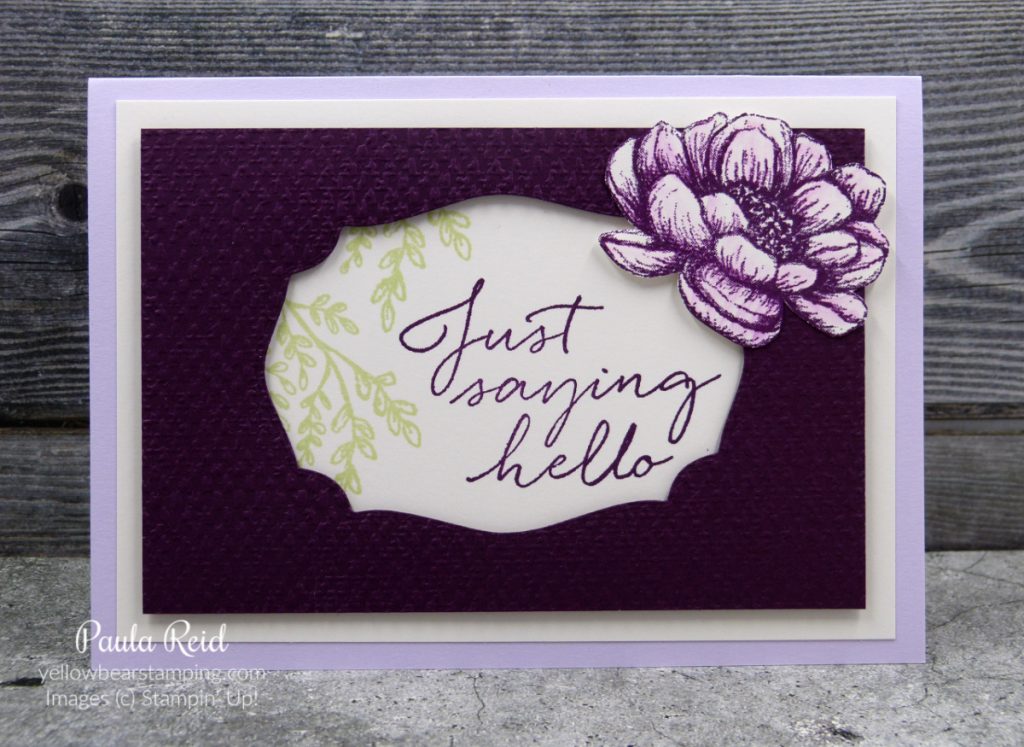
Last month I had my first ‘in person’ gathering since March and it was so lovely to reconnect in person with my lovely group of crafters. We made two cards – one using the Forever Fern Suite (pages 108 – 110) and one using the Lovely You Bundle (page 22).
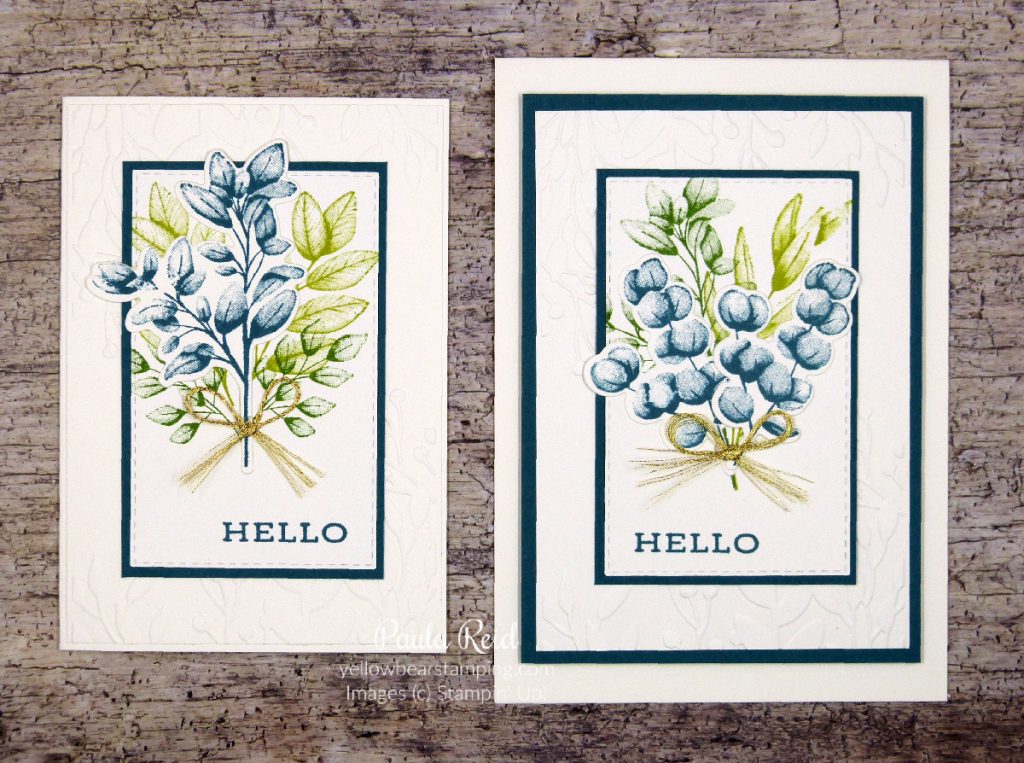
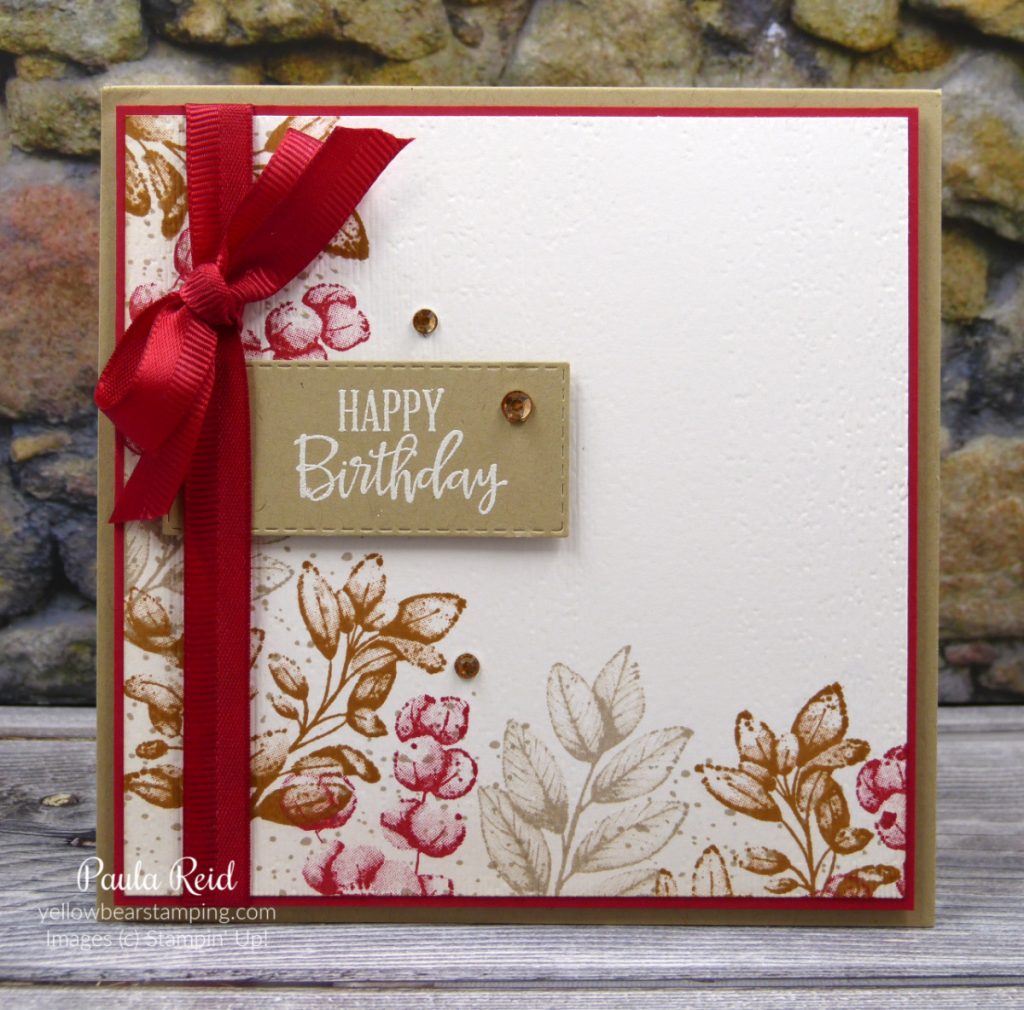
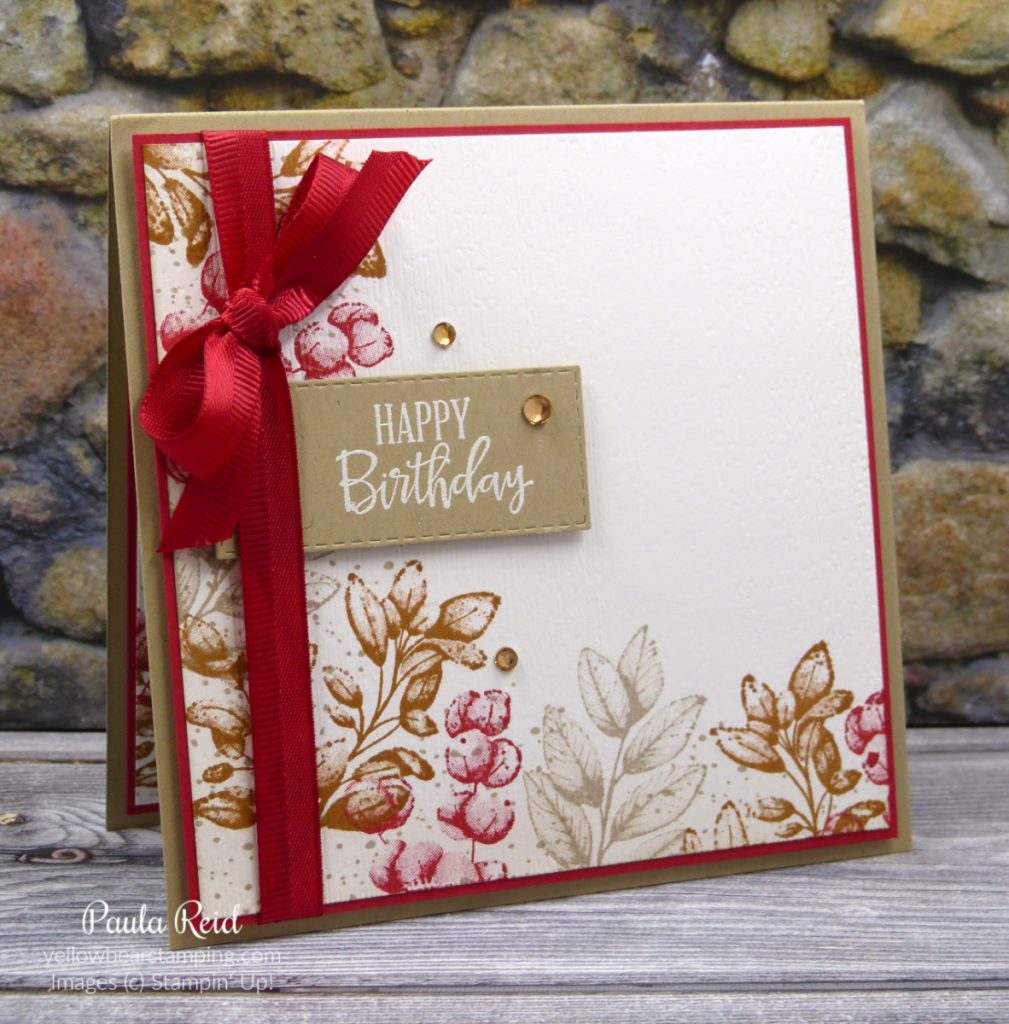
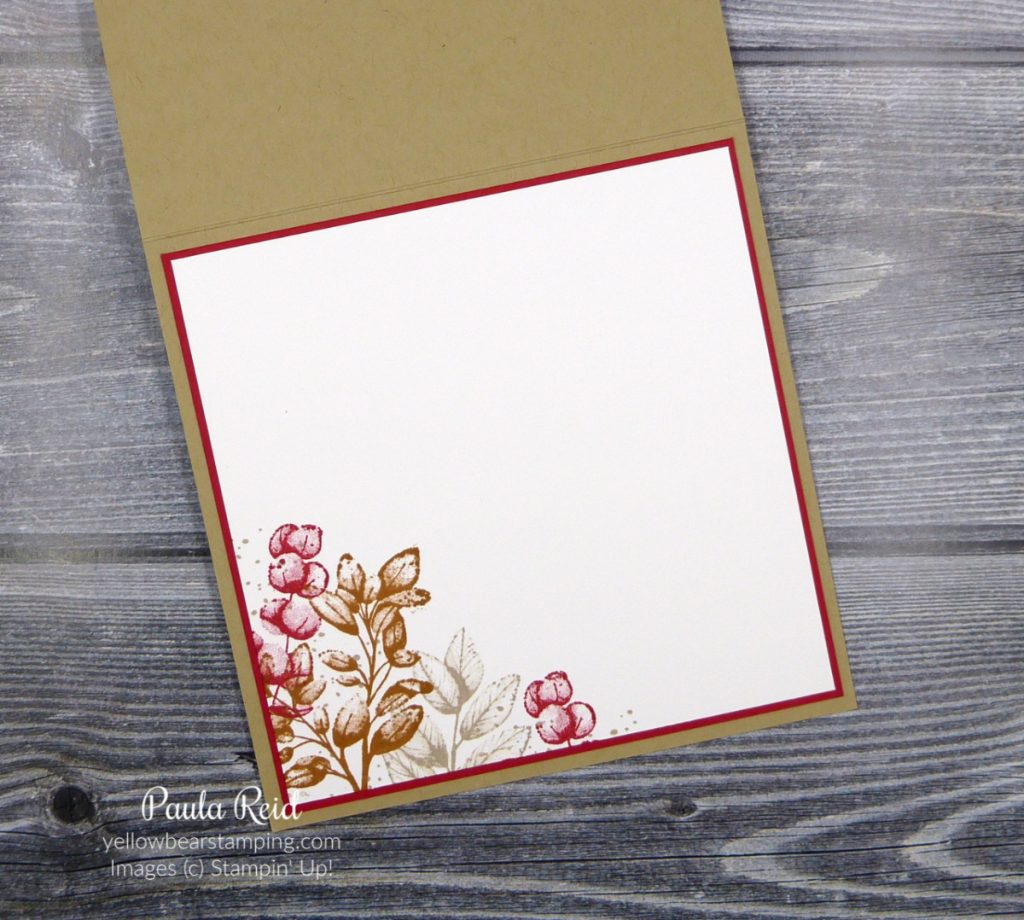
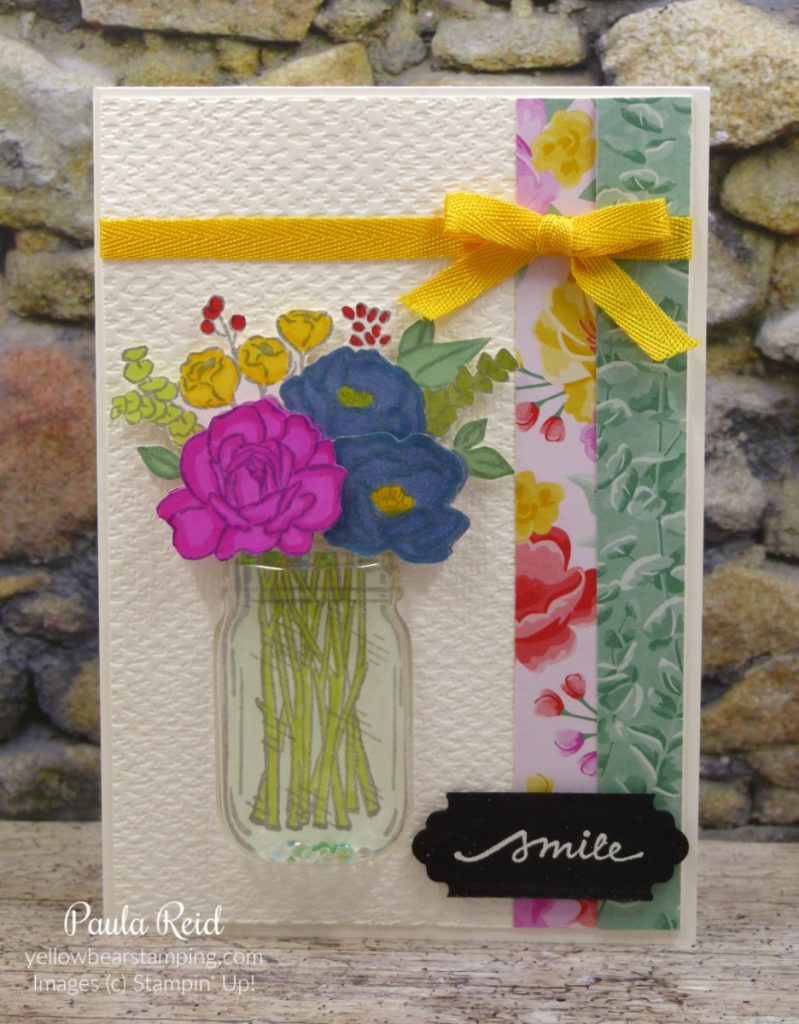
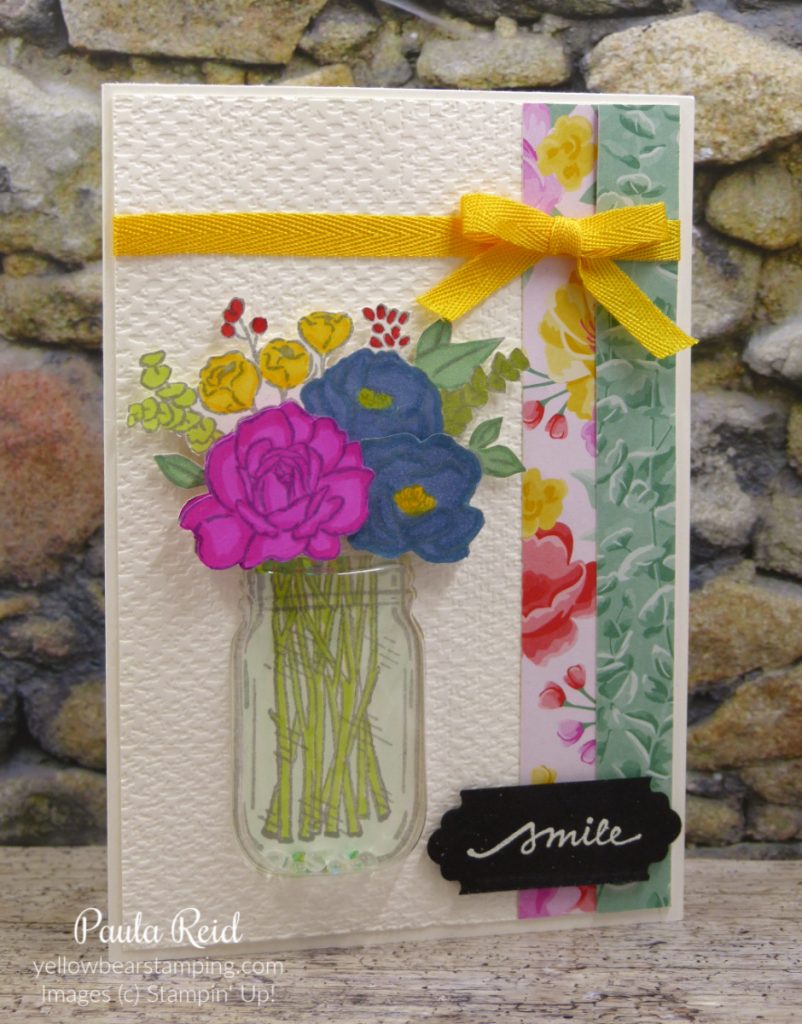
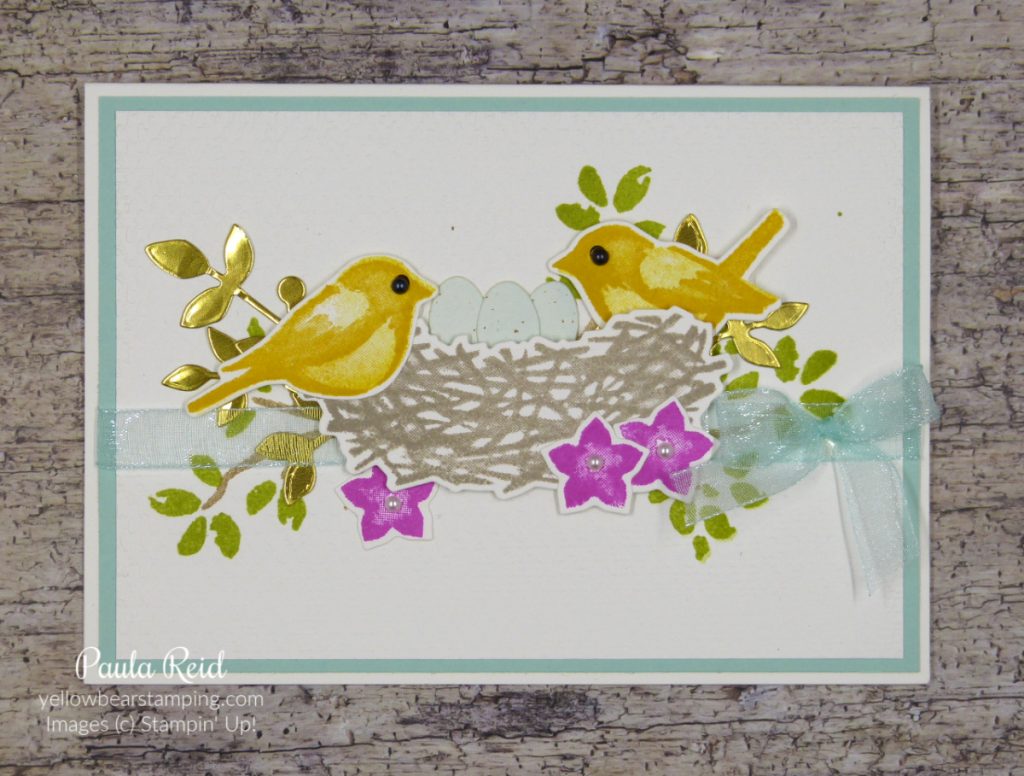
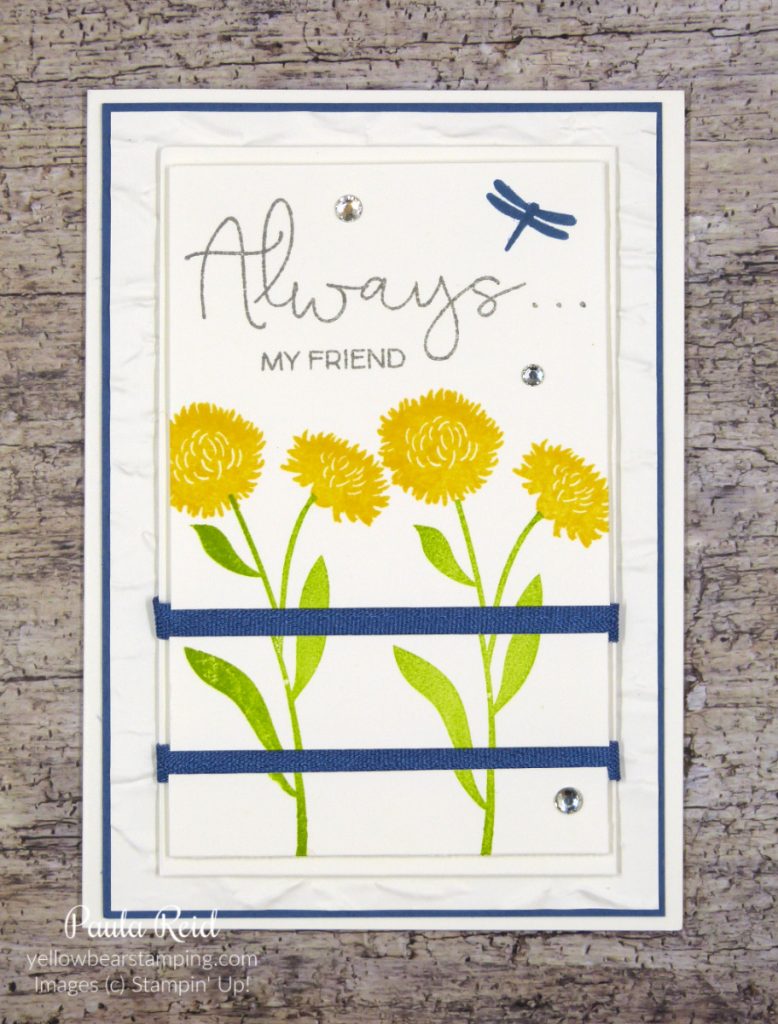
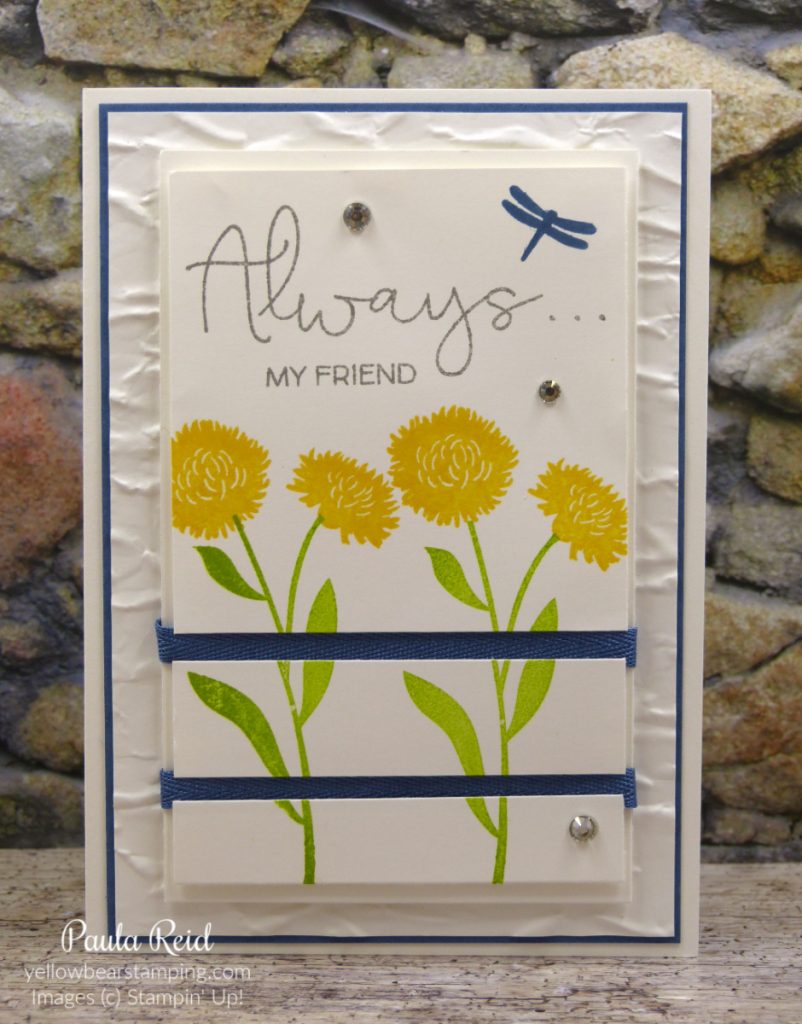
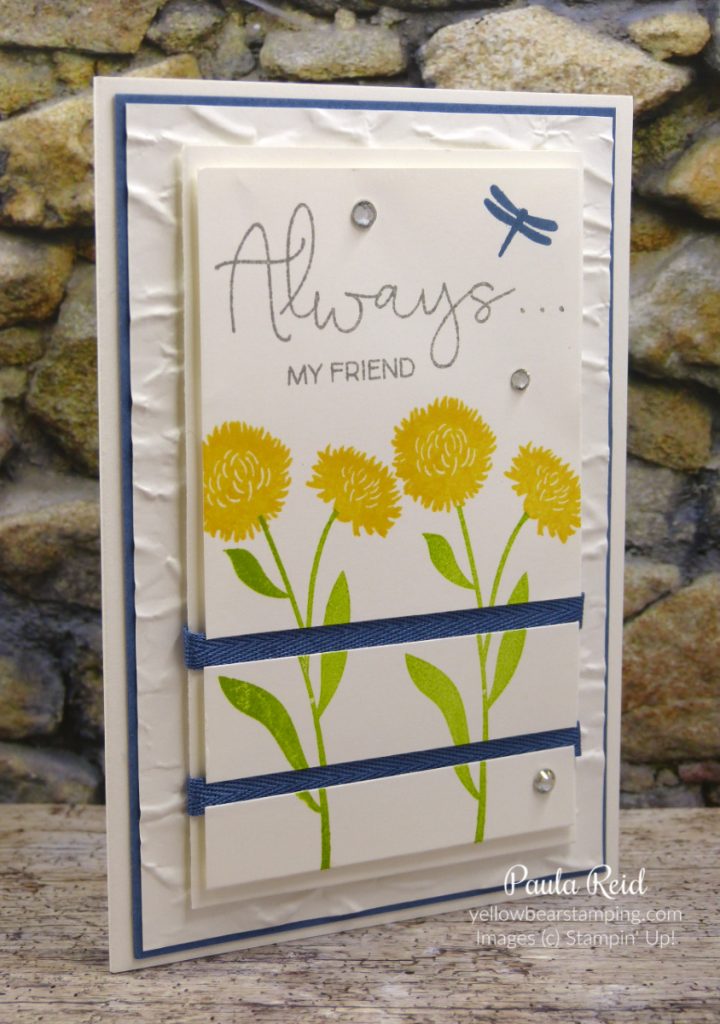
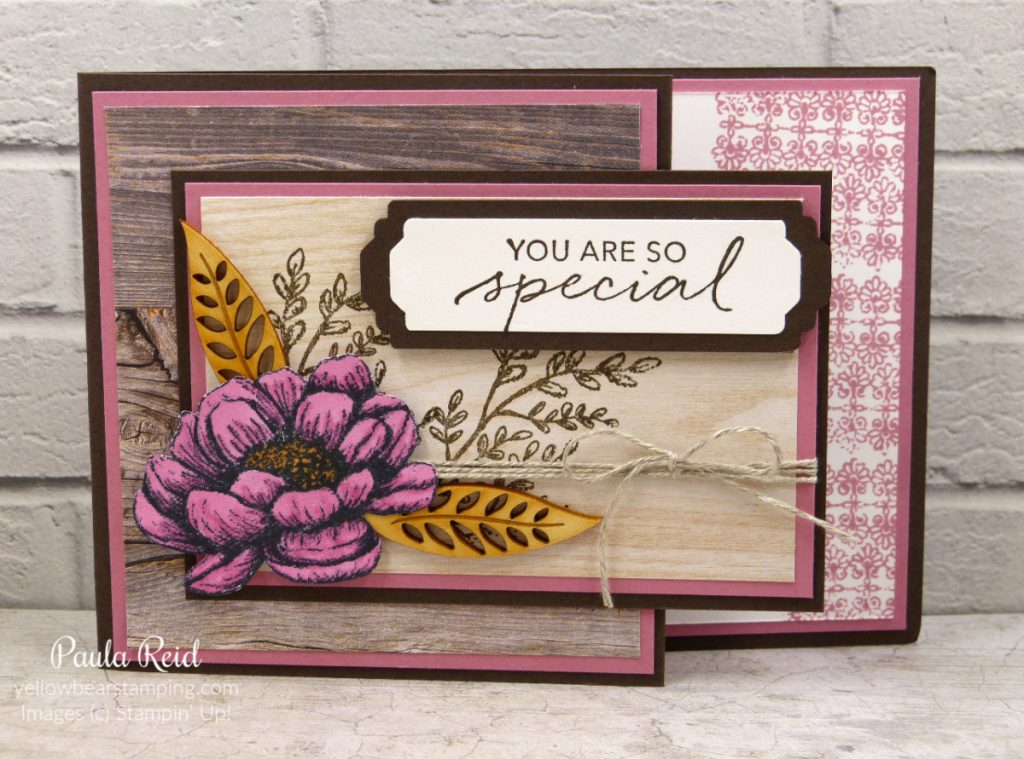
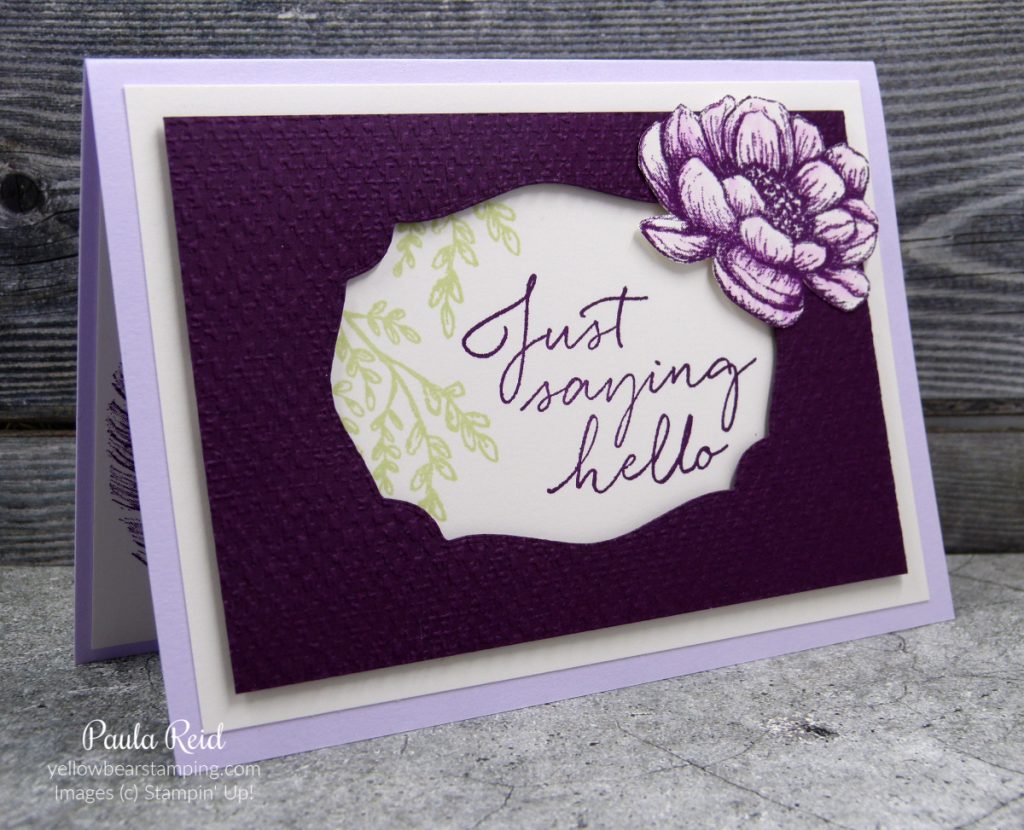
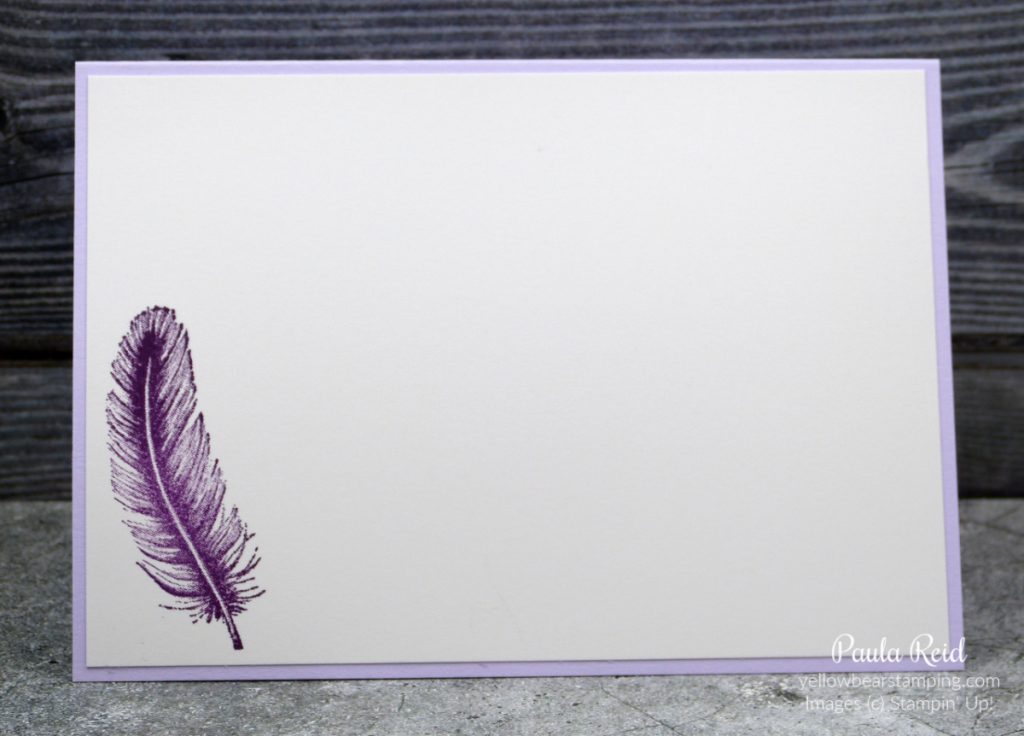
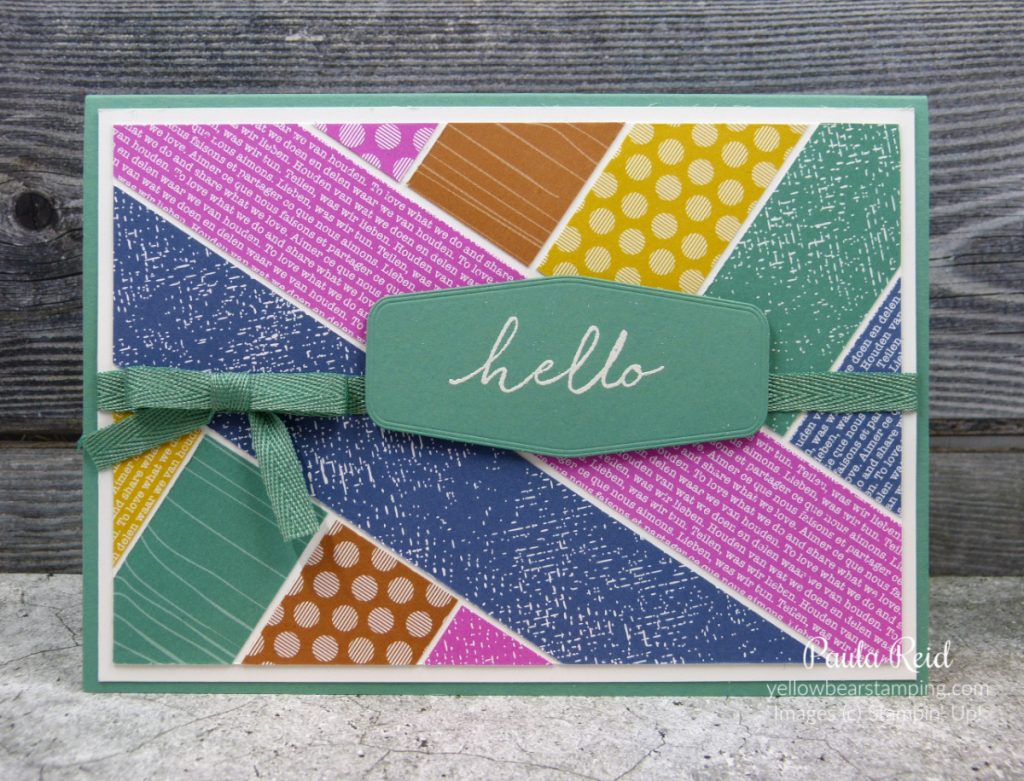
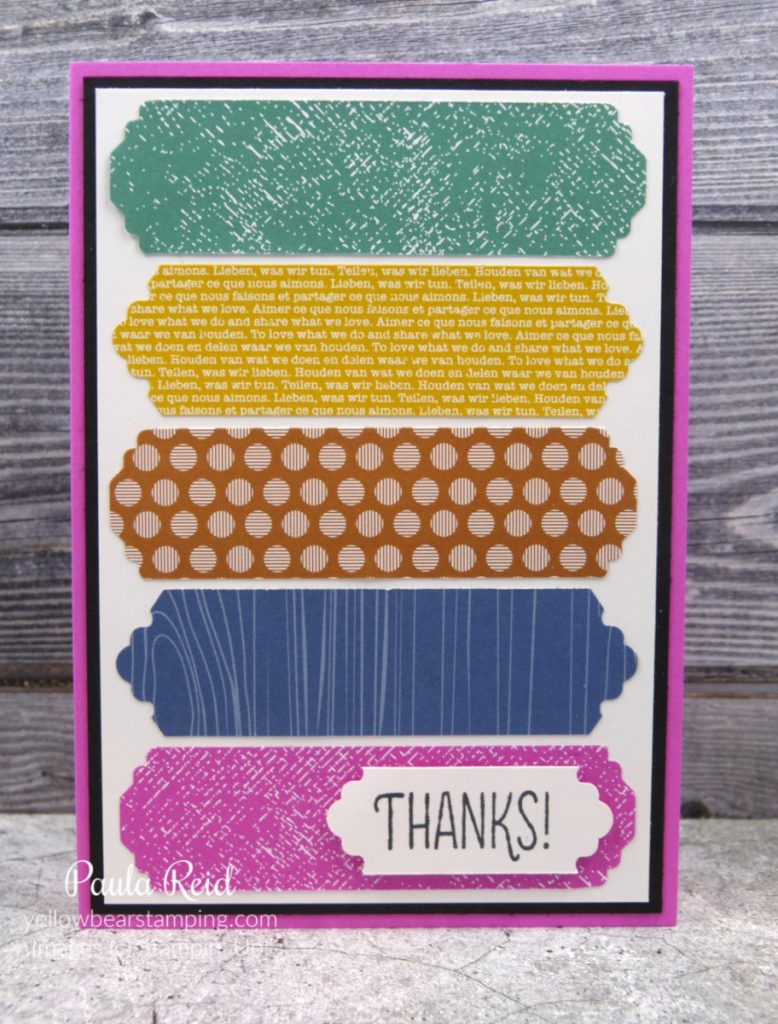
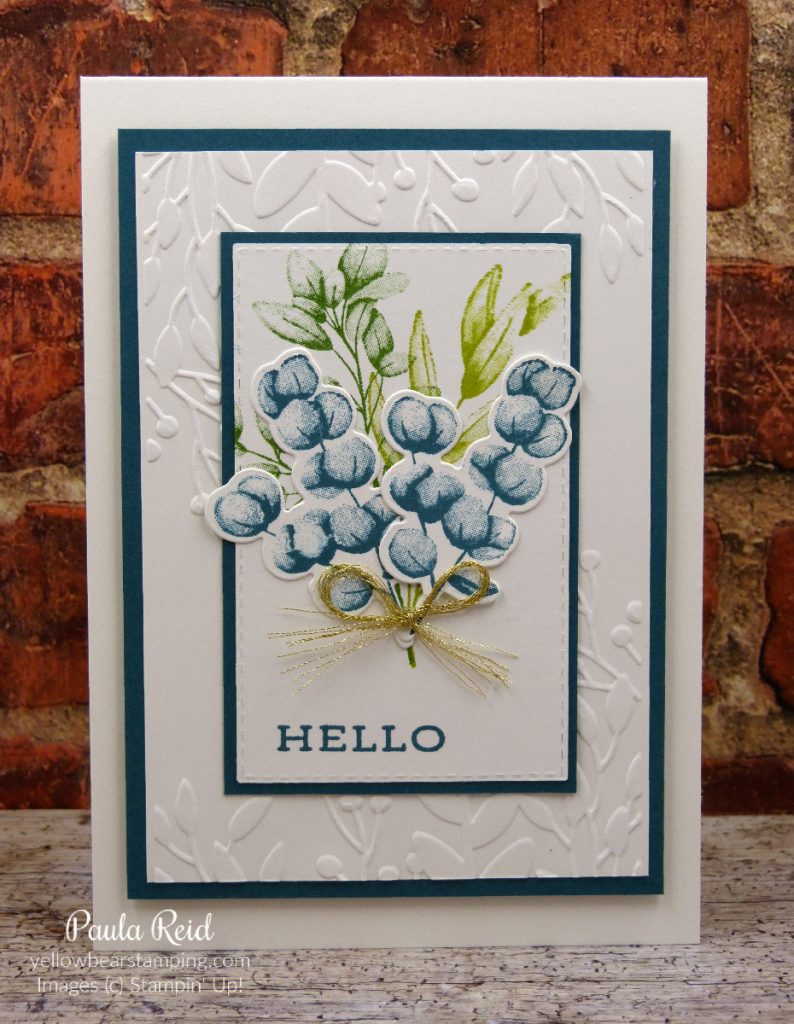
Today I’ll share the Forever Fern card. We used the Notecards and Envelopes but I also created a full sized card using the same layout.
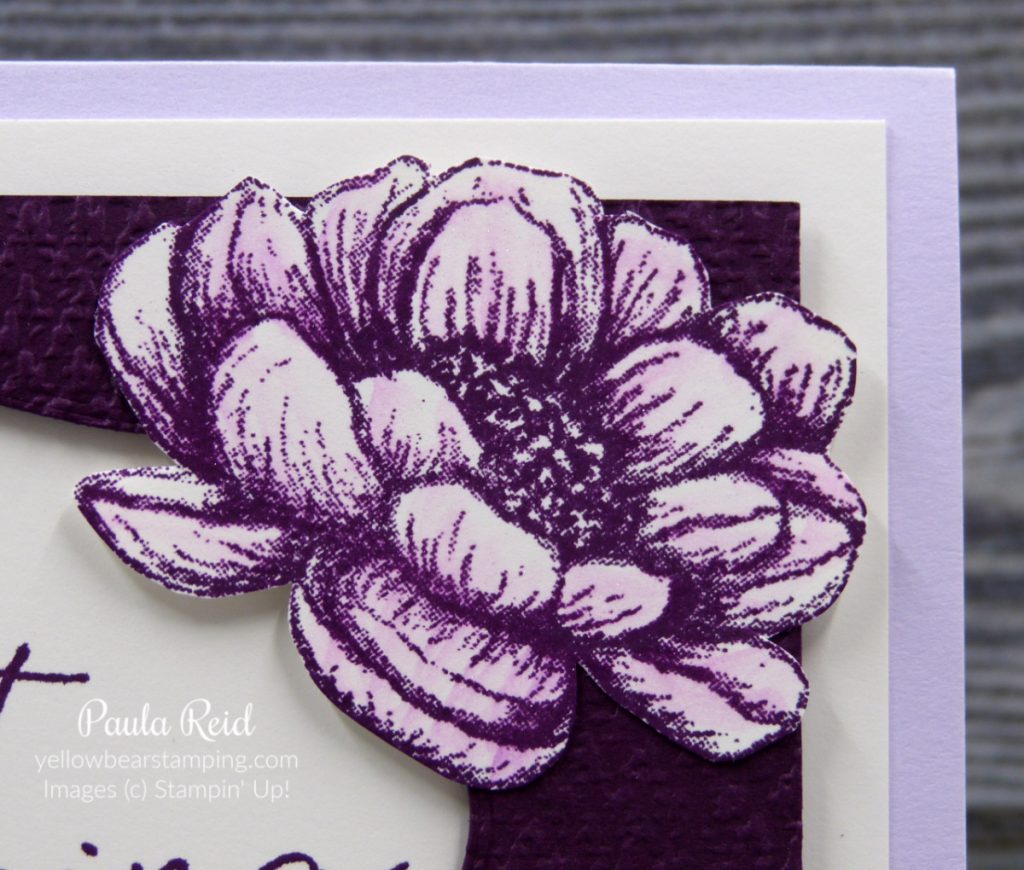
The measurements (a mix of metric and imperial) for the Notecard are: Whisper White – 3 3/8″ x 4 7/8″ – dry embossed using the new Greenery Embossing Folder, Pretty Peacock mat – 6cm x 9.5cm, Whisper White – die cut using the 4th largest Stitched Rectangle Die, scrap of Whisper White to stamp the image and then die cut with the Forever Flourishing Die.
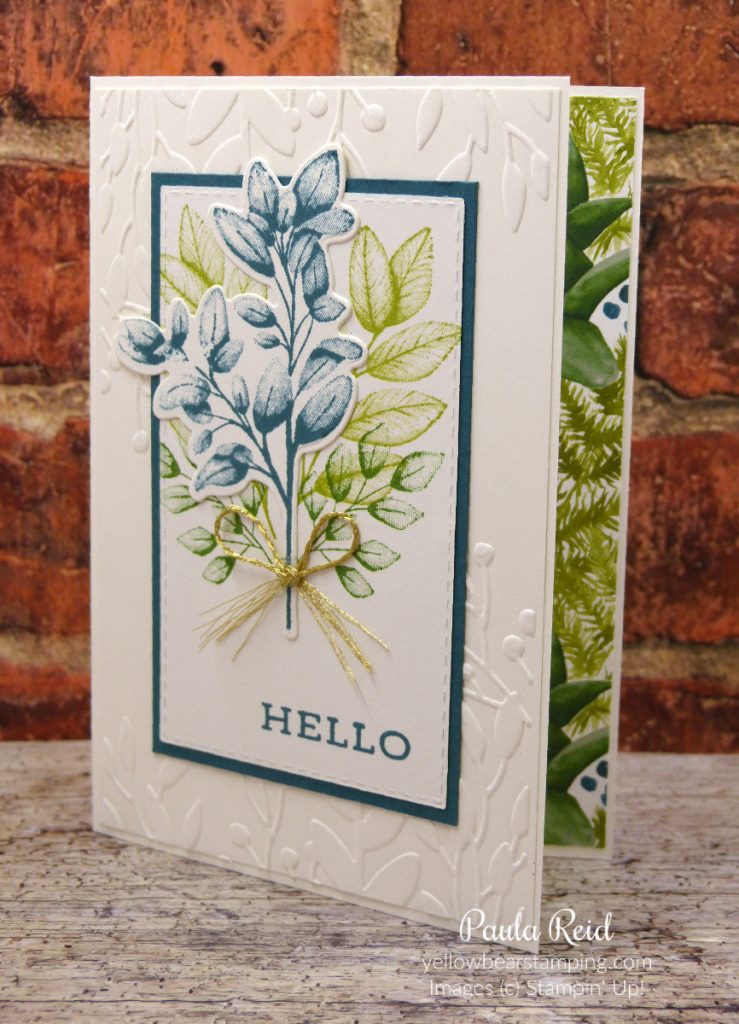
The new Greenery Embossing Folder is the new narrower type of embossing folder and is the perfect width for using with Notecards. You can see a strip of the Forever Greenery Designer Series Paper on the inside of the Notecard. This card uses almost all the products from the suite. The finishing touch on the front is the bow using the Gold Trim.
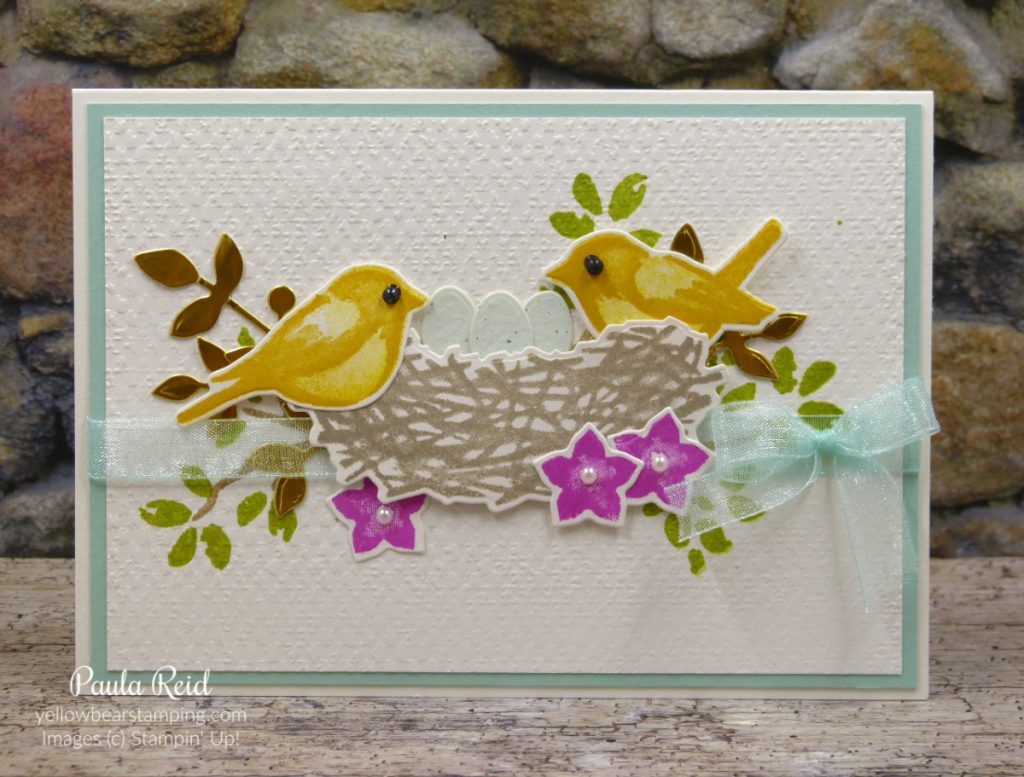
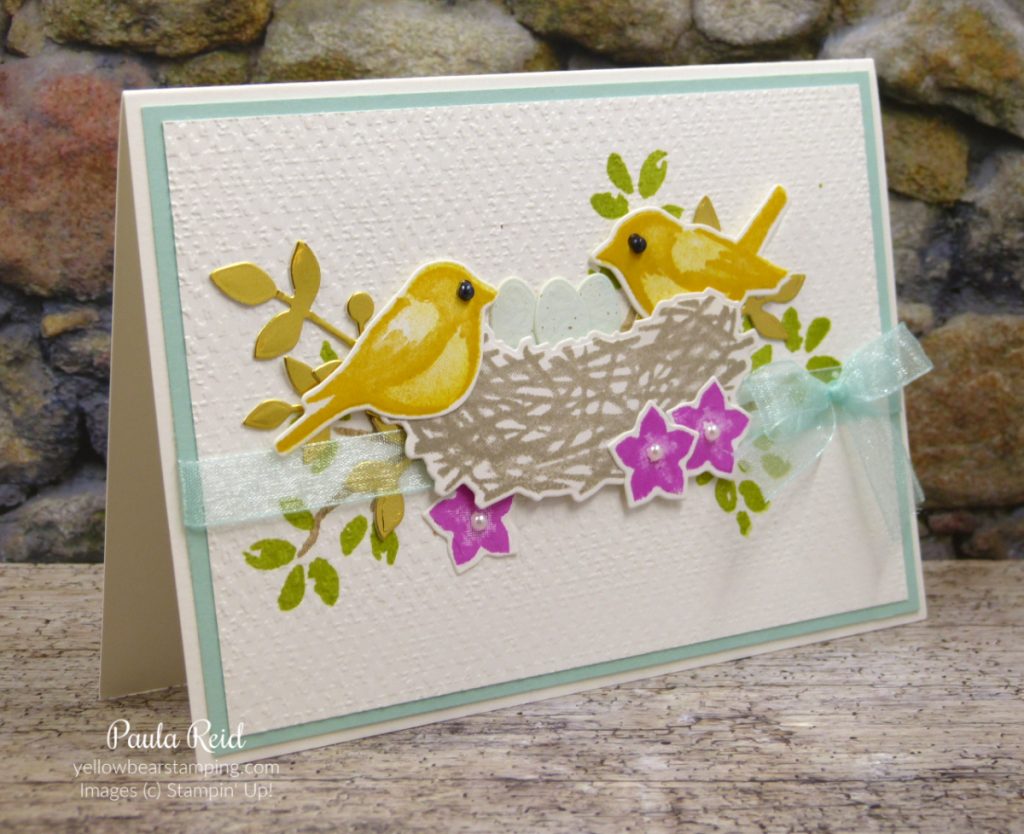
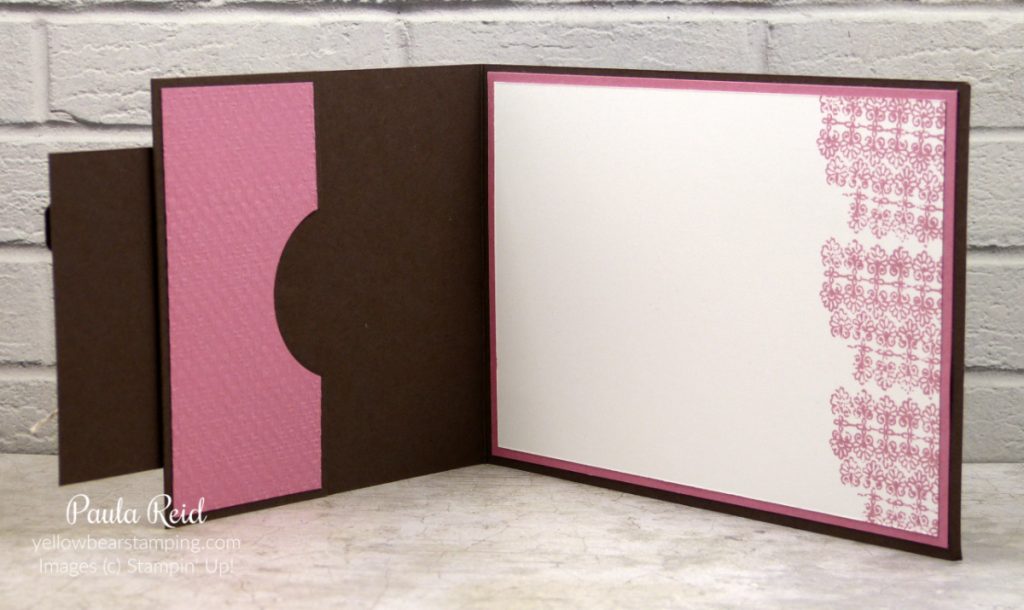
I also used the same design and measurements to create a full sized card with an additional mat and adhering it to a card base with dimensionals. The additional mat measures 3 5/8″ x 5 1/8″.
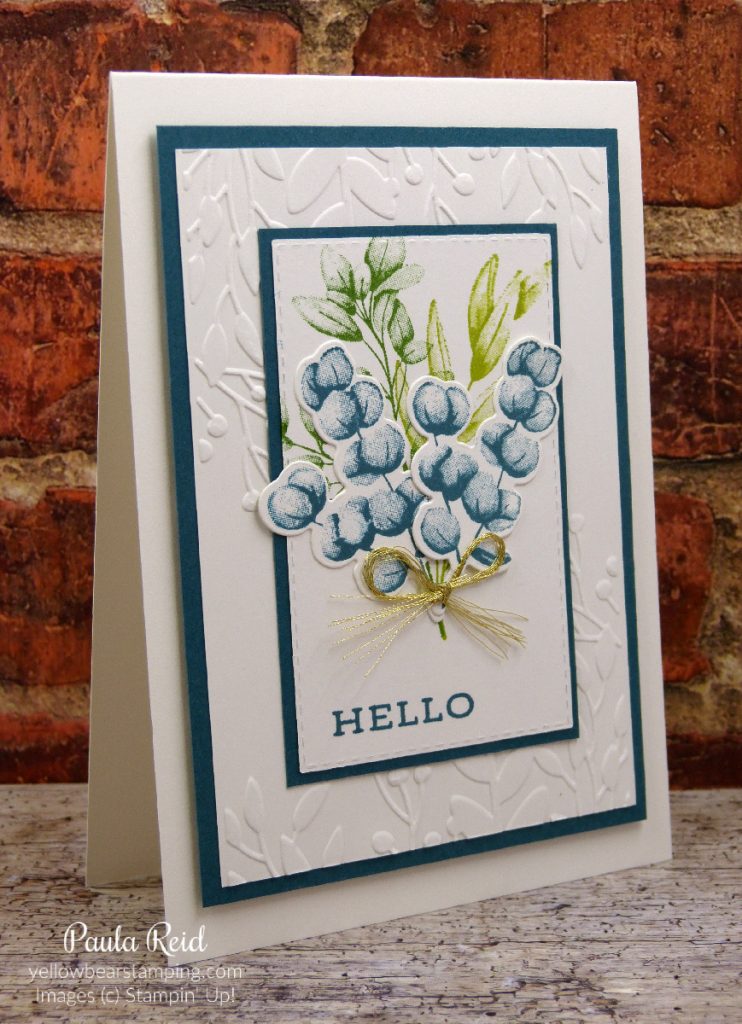
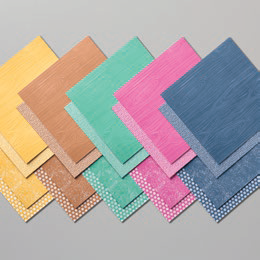
The Forever Fern stamp set has great images and sentiments. This set is a Distinkive stamp set which gives great definition to the images. I’ve used Pretty Peacock, Garden Green and Pear Pizzaz for my colours. There are six different ‘greens’ used in the paper pack – Garden Green, Just Jade, Pear Pizzazz, Pretty Peacock, Shaded Spruce and Soft Sea Foam.
Well that’s all for now. Check back tomorrow to see the cards we made using the Lovely You Bundle. Until then …