Birds & More – masking technique

By | July 3, 2020

Hi there

I’m back :). I had some technical issues with an auto update that locked me out of my blog – thankfully it’s sorted and we’re back on track to sharing projects with new products ๐Ÿ™‚

First up is a card I made via our virtual team gathering last month featuring the Birds & More dies and masking. COVID-19 cannot stop us from crafting!

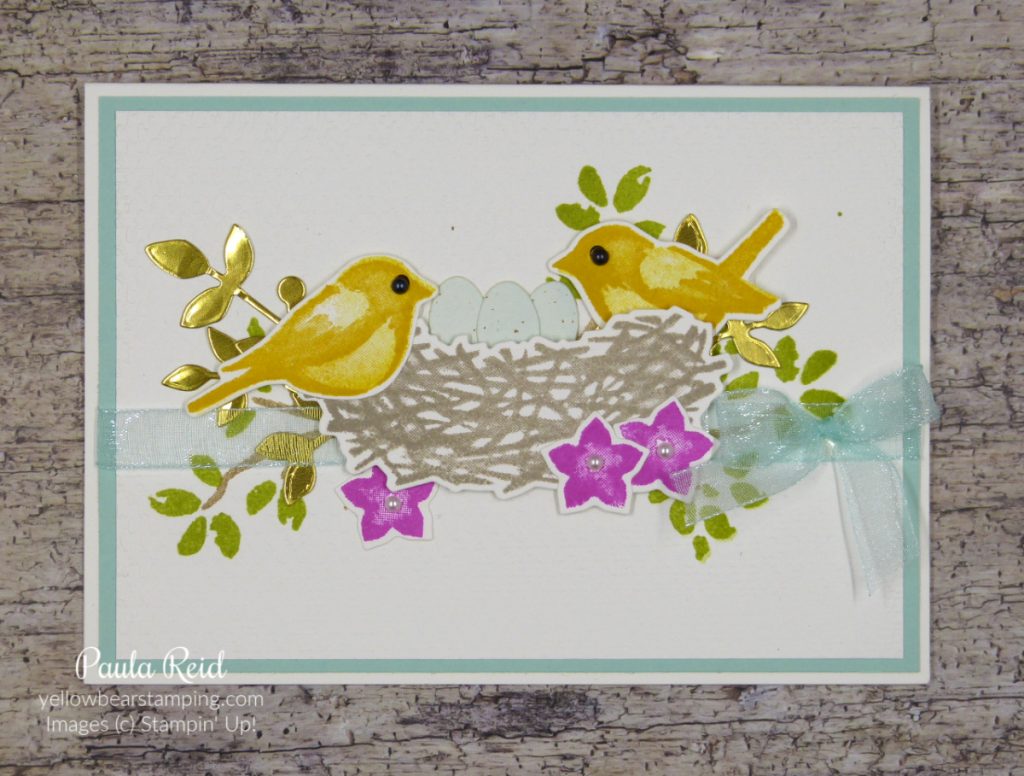
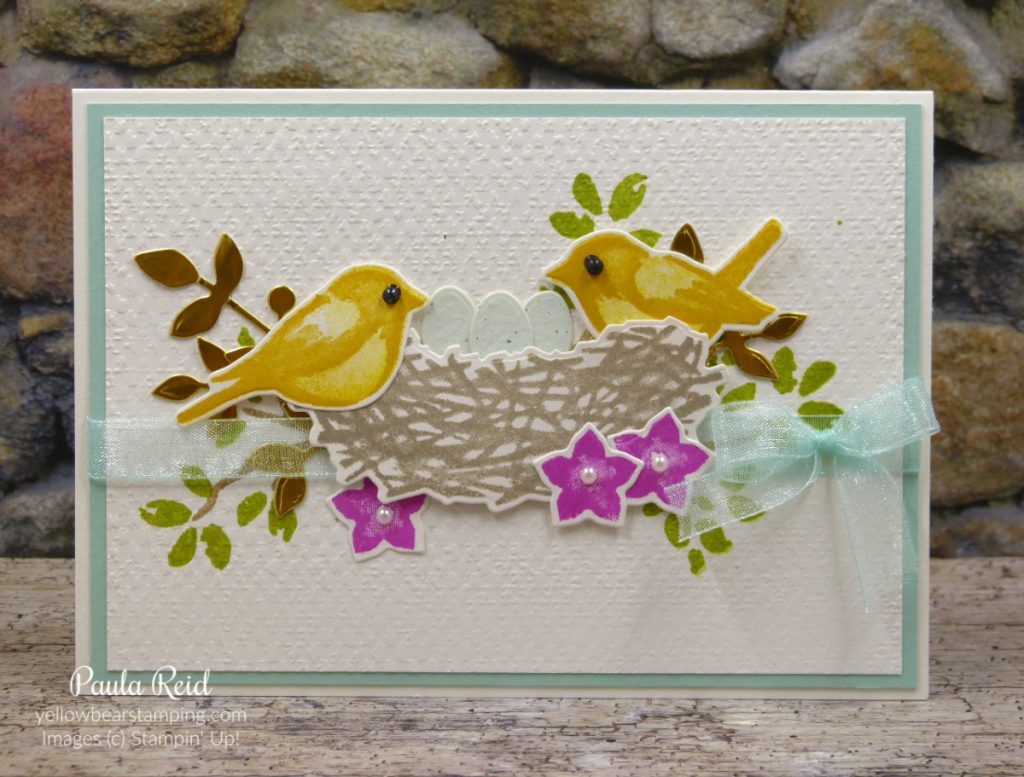
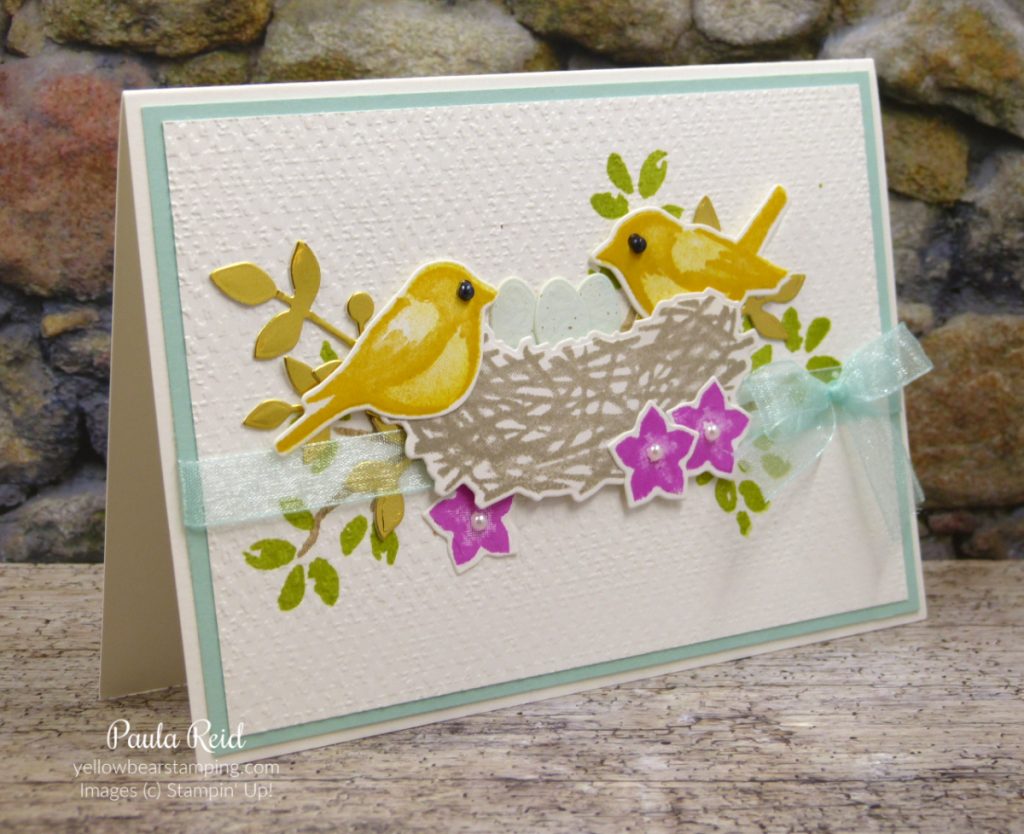
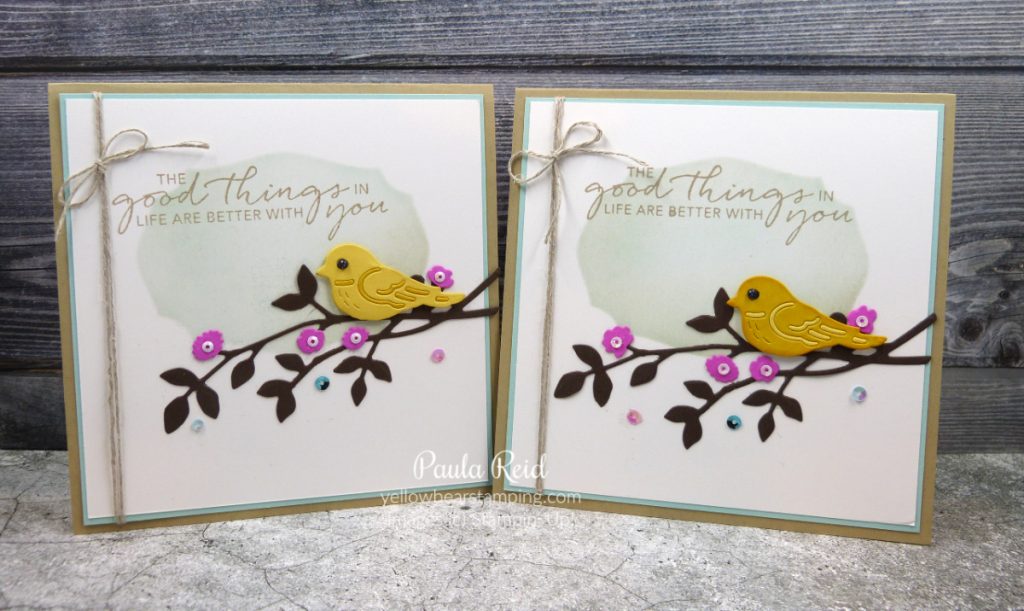
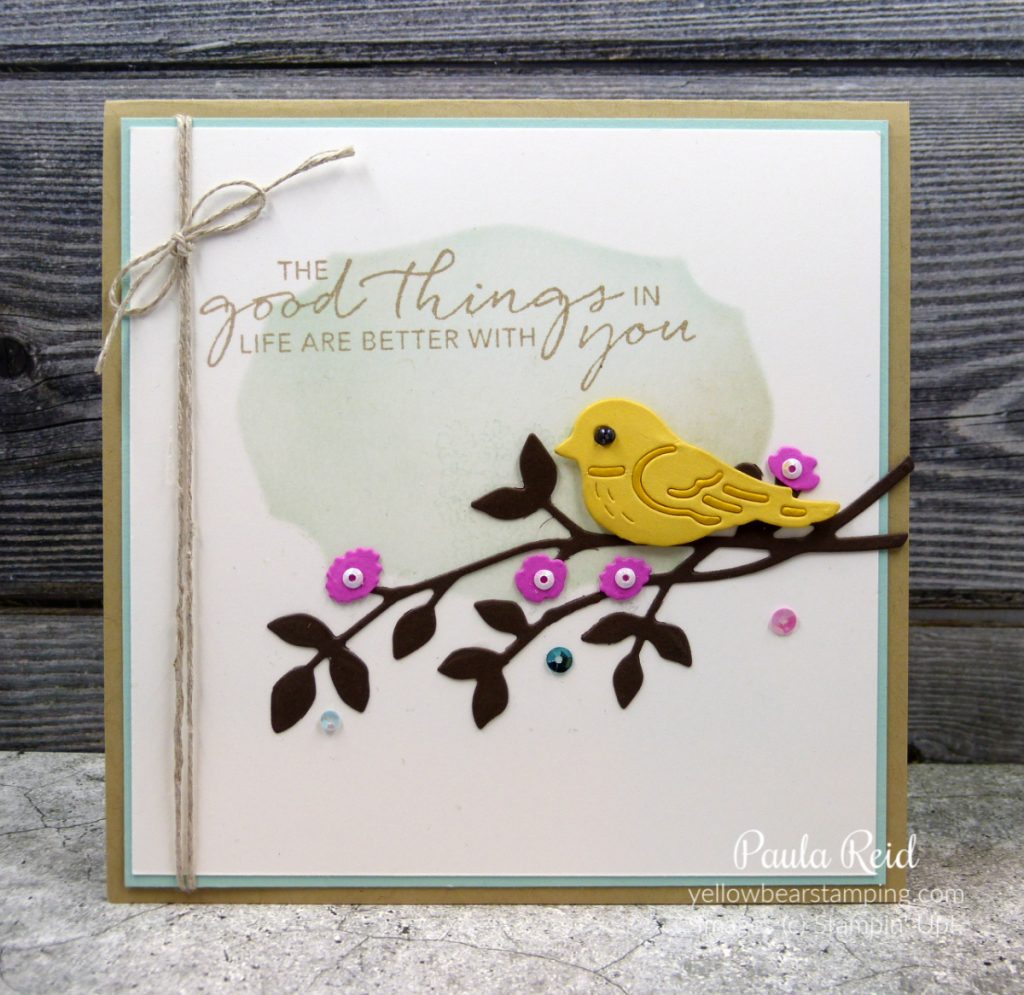
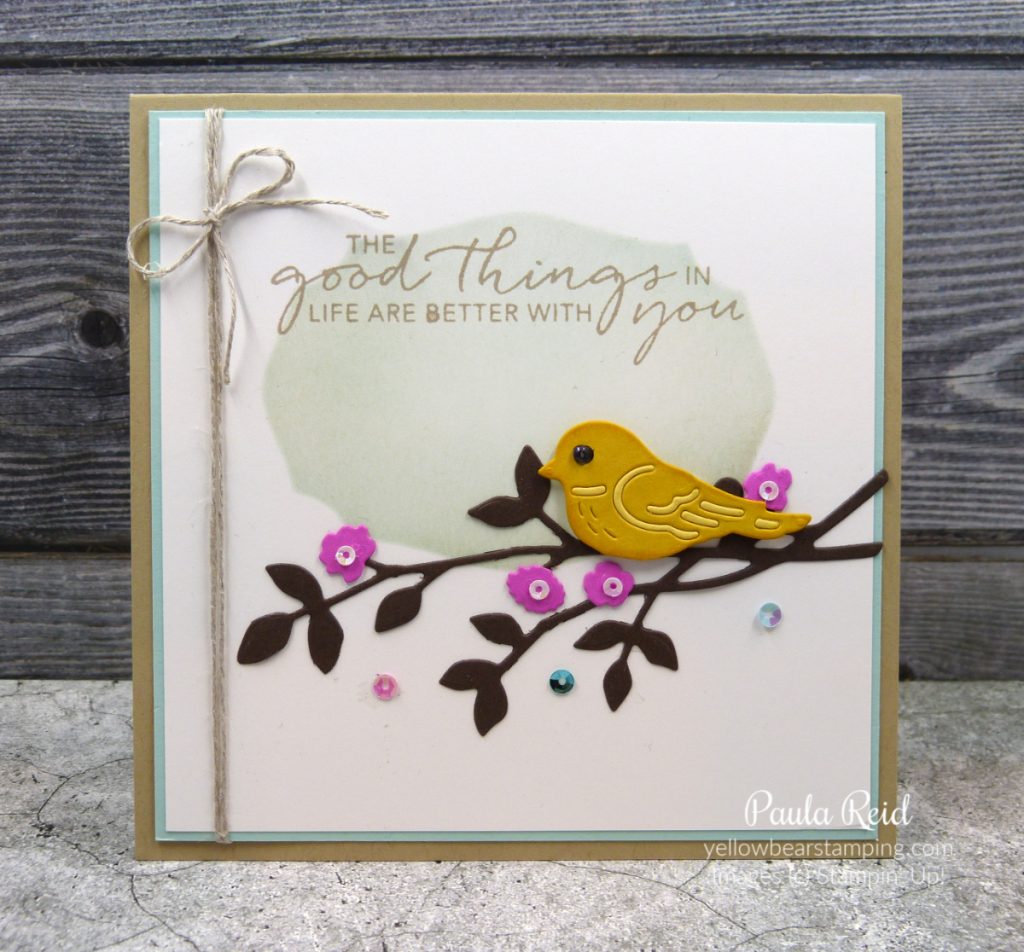
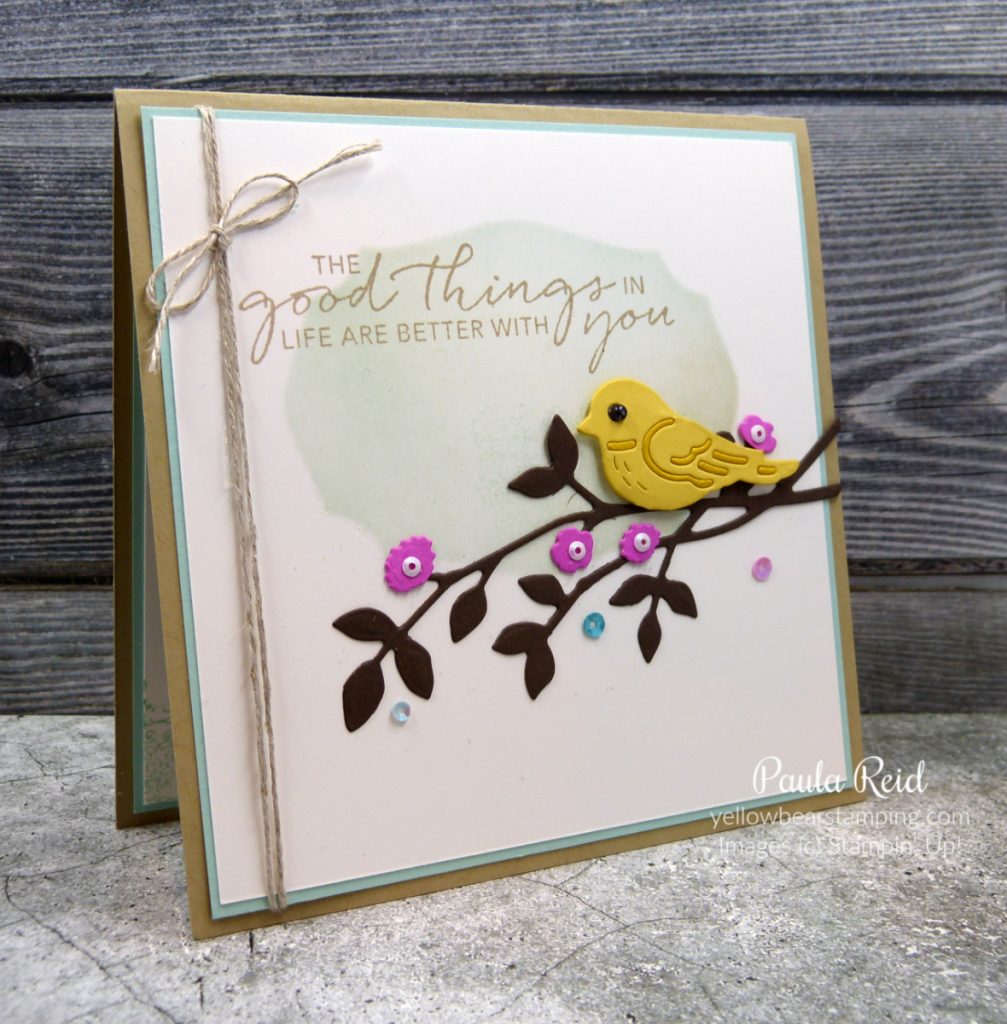
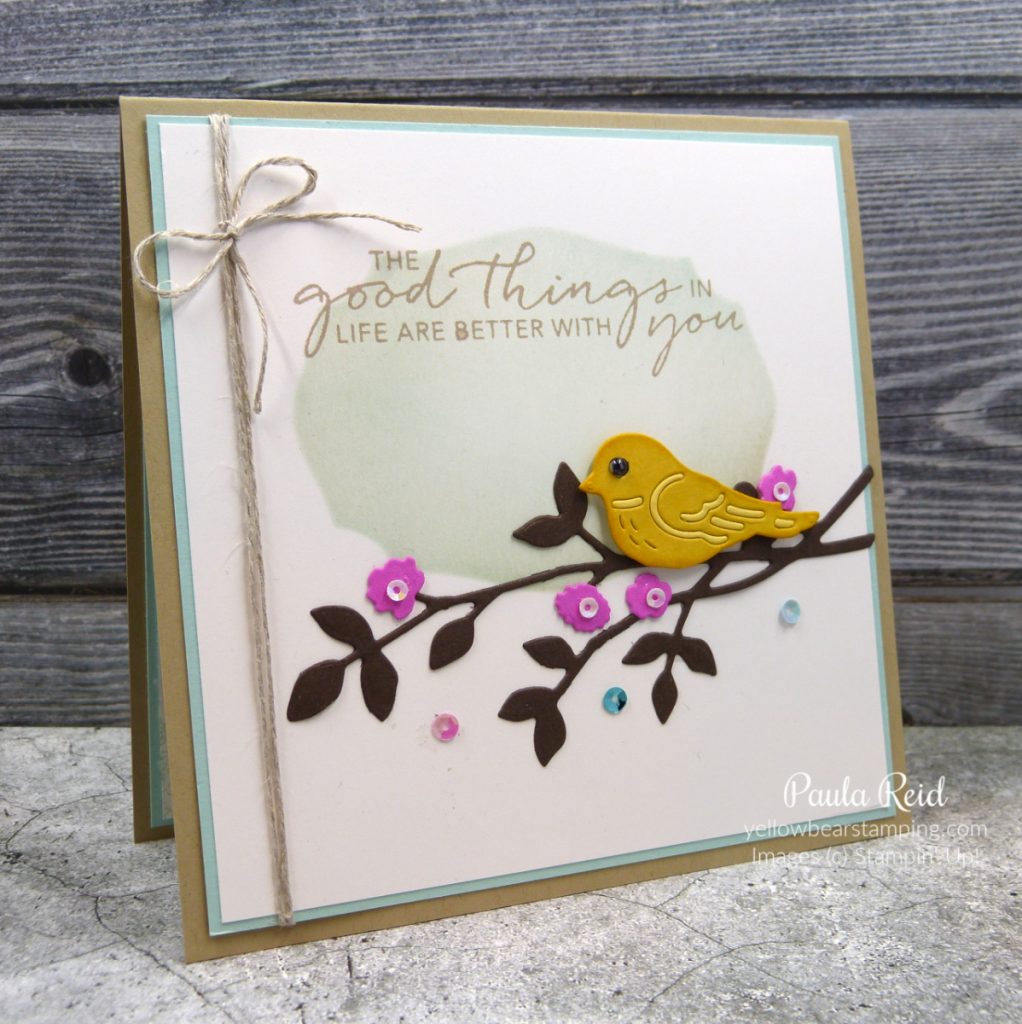
Birds & Branches – So Saffron and Bumblebee

The card base is Crumb Cake (5″ x 10″ scored at 5″) with a mat of Pool Party (4 3/4″ square) and then a Whisper White stamped layer (4 5/8″ square).

So Saffron

The sponged background was created with a mask using one of the die shapes from the new Tasteful Labels dies (page 179). We were given a great tip to create this mask. Cut a scrap piece of card stock the same size as your Whisper White (4 5/8″ square) then place the die in the position you want it and run it through your die cutting machine. Then place the template on top of the Whisper White and sponge away. For our sponging we started with Pool Party and then a light sponge of Crumb Cake in the lower edges. When you remove the mask template your sponging is in the correct place.

Bumblebee

The die cutting of the branches and bird use the Birds & More dies (page 174). Die cut two birds one from So Saffron and one from the new Bumblebee In Color. Carefully take the accent pieces out of the die and swap them over so that the So Saffron bird has the Bumblebee accents and vice versa. Here’s another tip – on the back of the bird add dimensionals so that when the accents are re-added they’ll stick to the dimensionals :).

The branch is die cut from Early Espresso and for my flowers I used Magenta Madness and the Friendly Silhouttes die on page 181. The flower centres are the small Seaside Spray sequins from the Woven Threads Sequin Assortment (so glad these carried over to the new catalogue). The bigger sequins of Pretty Peacock and Rococo Rose have also been used.

The sentiment is from Tasteful Touches (page 124) and stamped in Crumb Cake. Once the Whisper White and Pool Party have been adhered together a length of linen thread has been wrapped around and a bow tied and adhered.

I almost forgot to mention the birds eyes – these are our Basic Pearls that have been coloured in with the Basic Black Stampin’ Blend.

Well that’s all for now – back tomorrow with more treats to share and inspire you.

Until then …

Tasteful Touches Swap Card

By | June 18, 2020

Hi there

I have recently participated in two different card swaps featuring products from the new 2020-2021 Annual Catalogue and now that everyone has their cards I can share my creation with you ๐Ÿ™‚

Tasteful Touches

As a demonstrator I get to place a ‘pre-order’ a month before a catalogue goes live. Fortunately one of the Suites available in the pre-order was the ‘In Good Taste’ suite on page 122 – 124. This suite is full of wonderful textures from the stamps, paper, embossing folder and embellishments. Combined or on their own they look great. The papers in this suite are all neutral colours which are great for masculine cards and with a pop of colour can make a great feminine project.

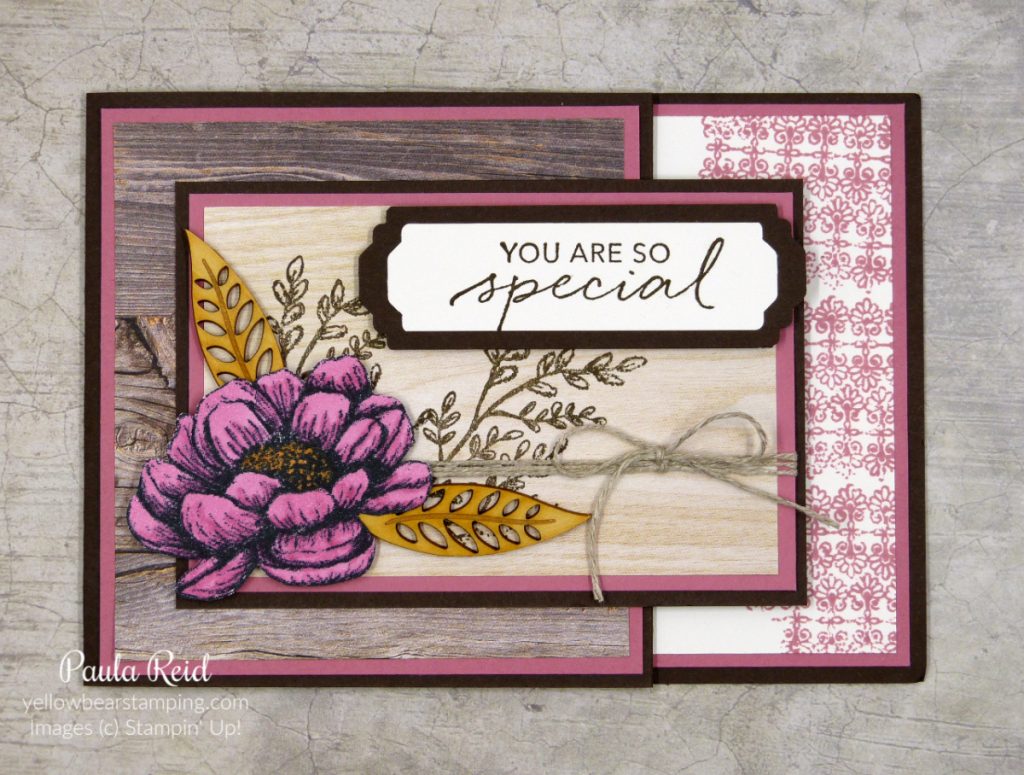
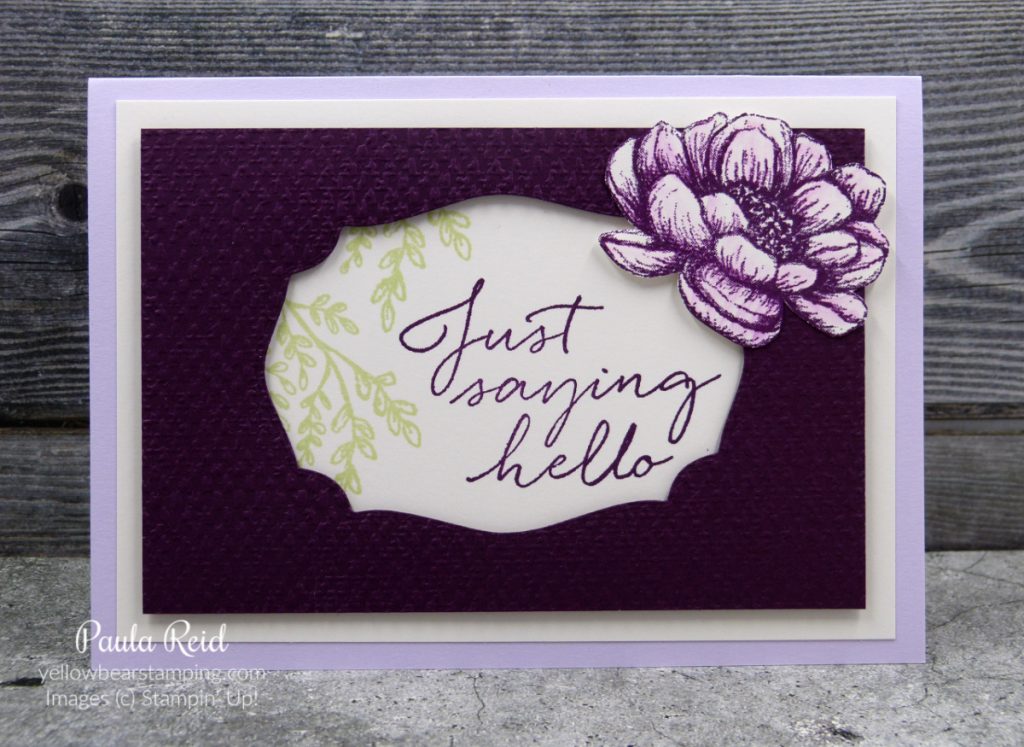
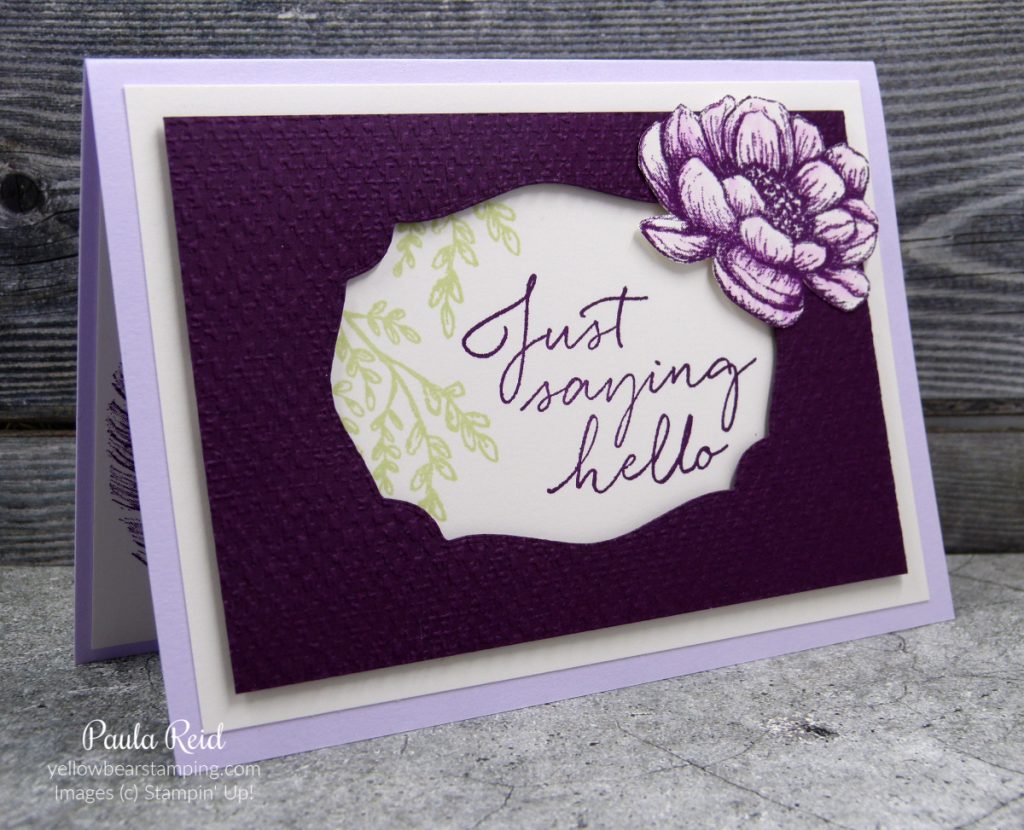
For my card I’ve used the stamp and dies (which come as a bundle so you can save 10%) and the embossing folder. As I wasn’t using the papers I decided to go with feminine colours – Purple Posy, Blackberry Bliss and Soft Sea Foam. The Blackberry Bliss card stock has been dry embossed with the Tasteful Textile 3D Embossing Folder.

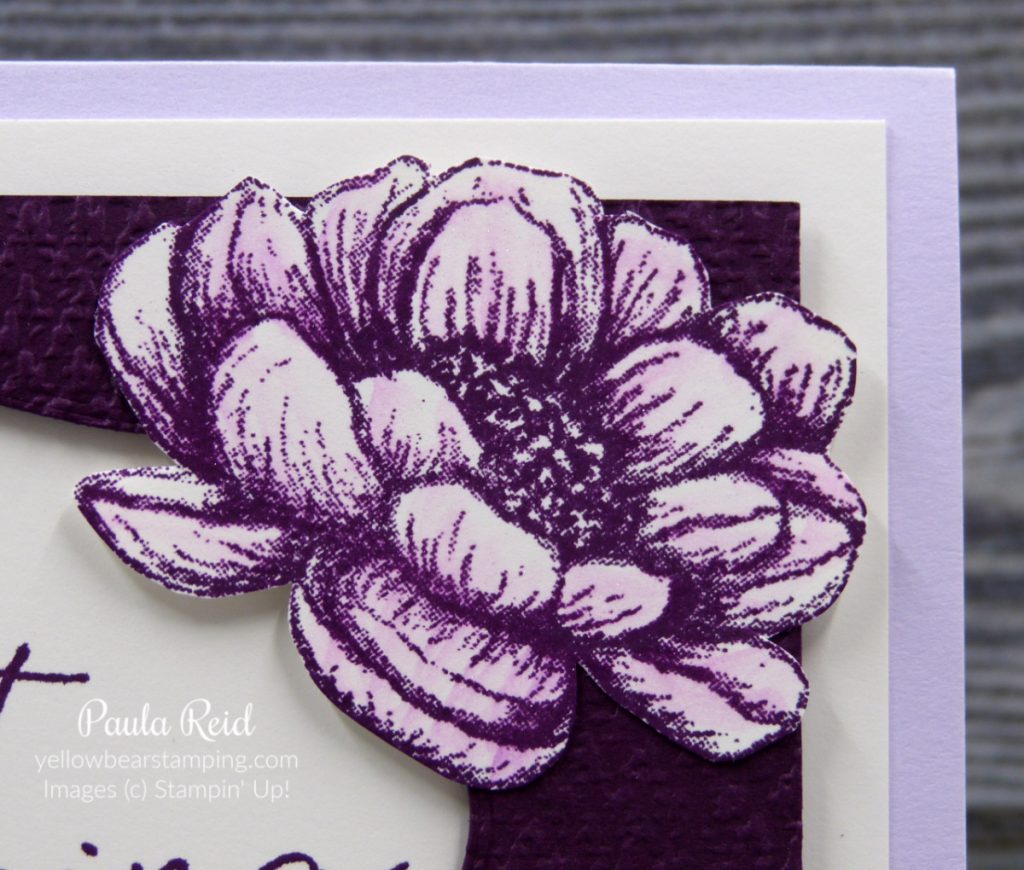
I stamped the flower in Blackberry Bliss and then ‘fussy’ cut it out. Before I adhered it I thought I’d add a bit of sparkle with the Wink of Stella. Well – as I was adding the Wink of Stella it pulled some of the colour from the stamp onto the petals giving the ‘pink’ hue so each flower is unique ๐Ÿ™‚

I remembered to take a photo of the inside – I kept it simple as I ended up making 35 of these cards ๐Ÿ™‚ I think this suite will be getting a lot of use.

Well that’s all from me for now. Until next time …

Sketch Challenge – Sliced Rainbow Card

By | June 14, 2020

Hi there

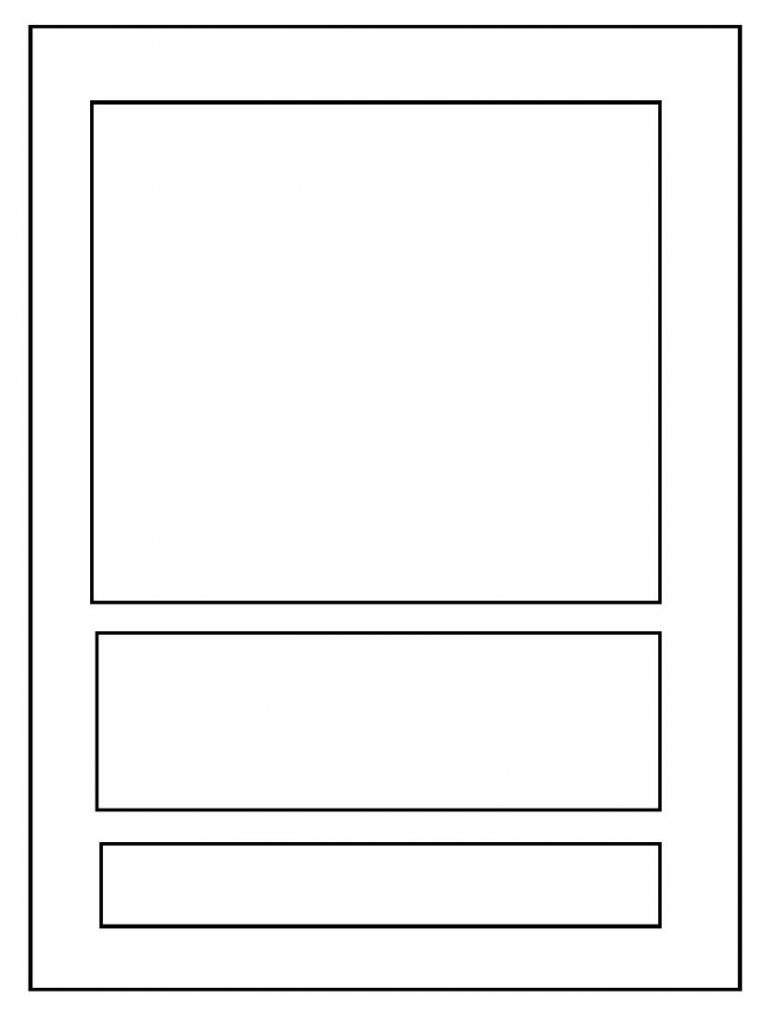
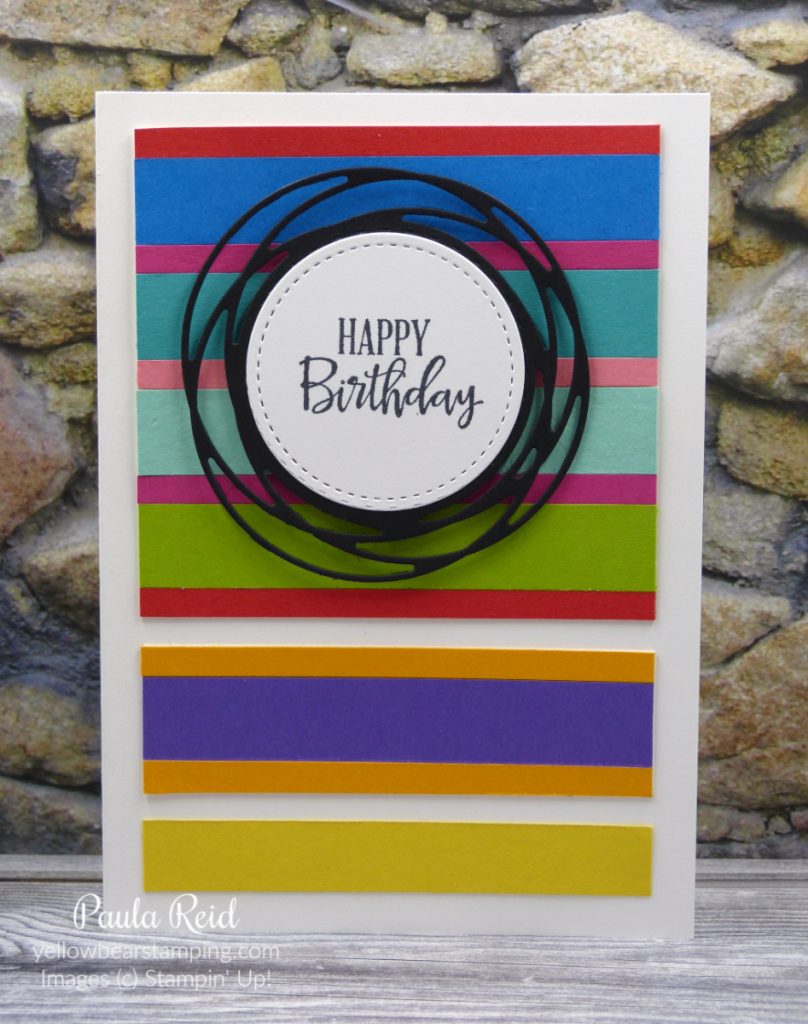
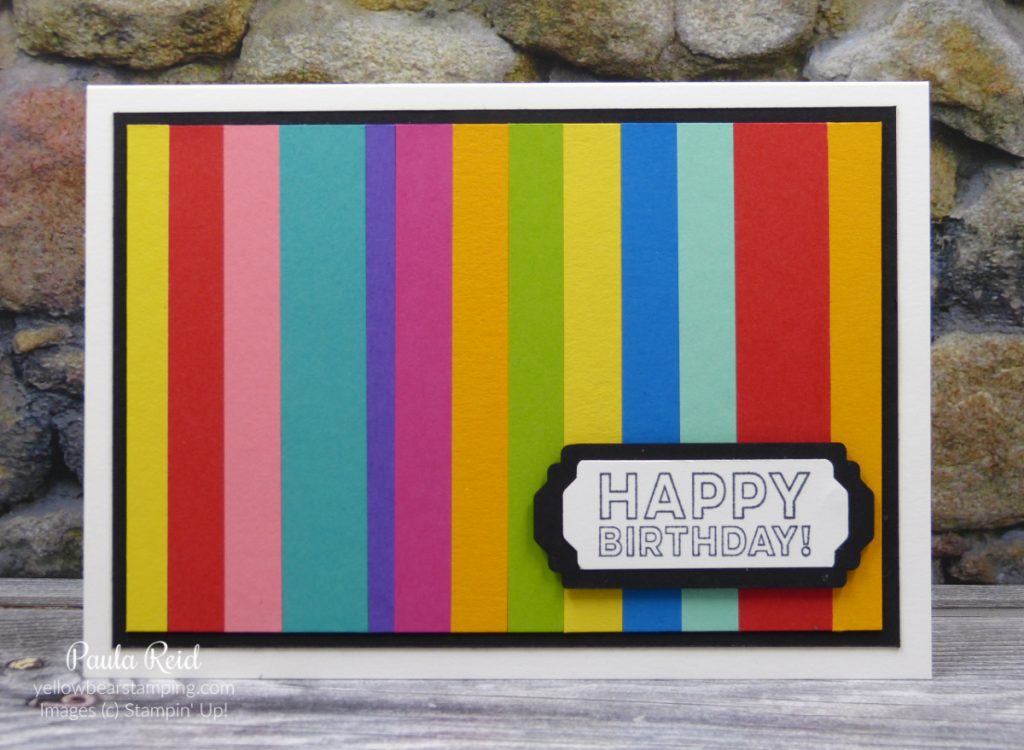
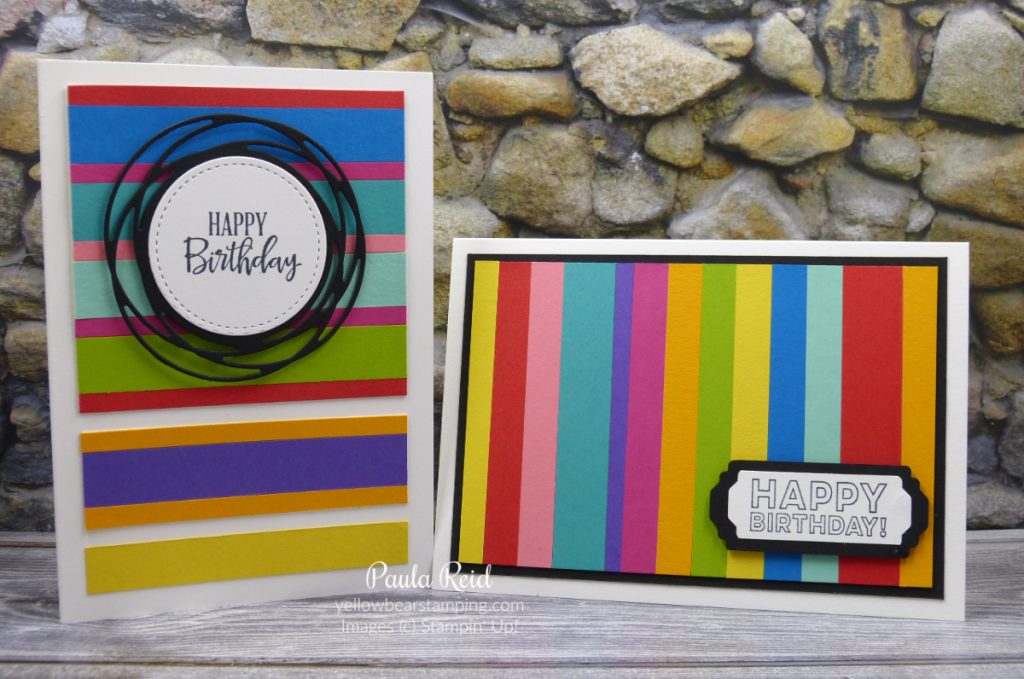
Today’s card has been created using the below layout. It’s my brother’s birthday today so thought this sketch would be good to use for his card. The only stamping I’ve done is the sentiment – so check out below to see how I used this sketch.

For this design you could stamp your image as a whole on one piece of cardstock then slice it up into the three sections or as I did cut three different sizes of scrap cardstock and then layer various widths of different coloured cardstock.

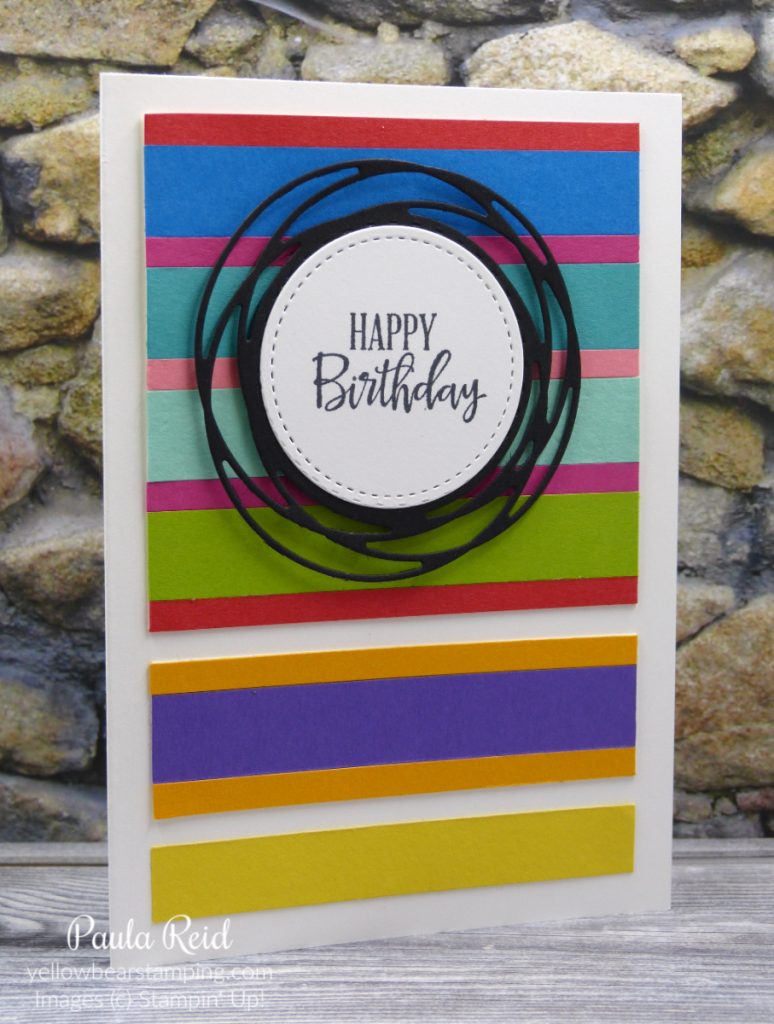
I love the Brights colours so went with this colour family. I ended up using all 10 colours on my card. At the top we have a thin strip measuring 5mm then a wider strip at 1 1/2cm. The thin strips are Poppy Parade, Melon Mambo and Flirty Flamingo, the wider strips are Pacific Point, Bermuda Bay, Coastal Cabana and Granny Apple Green. The measurements are repeated for the Mango Melody and Gorgeous Grape cardstock. The bottom Daffodil Delight strip is 1 cm wide.

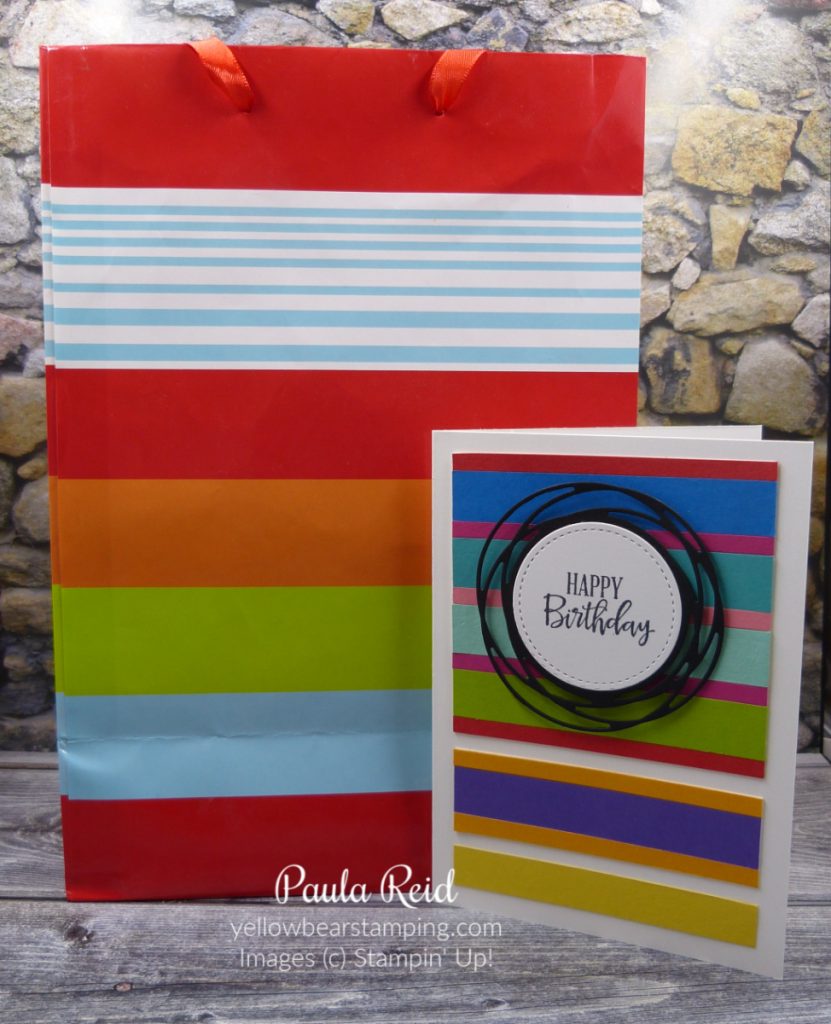
I had originally thought I’d stamp the sentiment on the Daffodil Delight strip but once it was all together it needed something else so I die cut the ‘swirl’ from the Painted Labels die and then stamped the sentiment on a Stitched Circle. After completing the card I went looking for a bag to put the gift in and look what I found in my stash ๐Ÿ™‚

After completing the card I still had some spare strips of cardstock left over so created another card with them.

Rainbow Card

The sentiment is from the Many Mates set and has been punched and matted using the new Lovely Labels Pick a Punch – love this punch.

Well that’s all for today – I hope you’ve enjoyed these bright cards. I hope you’ll give the sketch a go for one of your creations.

Until next time …

2020-2022 In Color DSP – Herringbone Card

By | June 13, 2020

Hi there

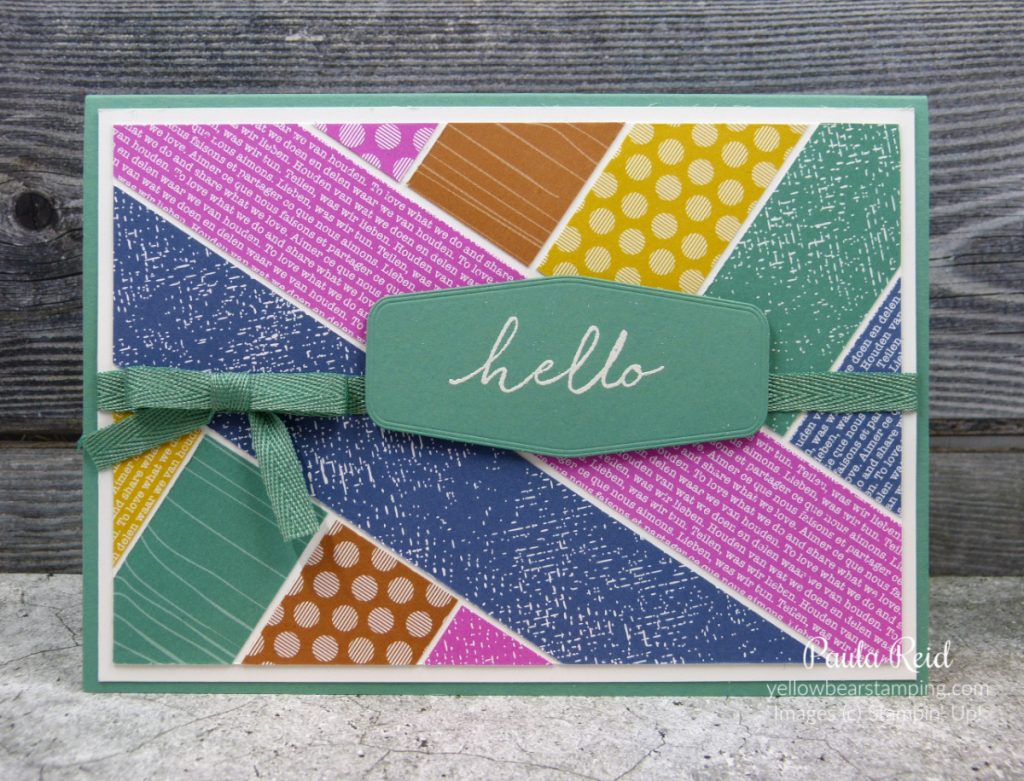
I’m loving the new In Colors and the 6″ x 6″ Designer Series Paper. The designs in this pack are really great. I’ve CASED today’s card design from a US demo. She had only used three colours from the paper she used – I’ decided to use all five of the In Colors to show how well they all go together. There are four new products from the 2020-2021 Annual Catalogue for this card – can you pick them?

The strips of DSP are 1″ wide DSP and I’ve used all the designs from the paper pack. The length for the longest diagonal strip needs to be about 6 1/2″ but with the In Color paper only 6″ I needed to do a join – this is covered up by the sentiment :). I cut a piece of Whisper White cardstock 9.5cm x 13.8cm and then adhered my strips of DSP trimming once I’d adhered everything. This was then adhered to a Whisper White card front (10cm x 14.3cm). I wrapped a piece of the new Just Jade Twill Ribbon and adhered the bow separately. The sentiment comes from the Tasteful Touches set and has been die cut with the coordinating dies – Tasteful Labels. The actual stamp says ‘Just saying hello’ but I only wanted the ‘hello’ so I very carefully placed Post-It notes to cover the words I didn’t want. The sentiment is heat embossed in White and adhered with dimensionals.

Tomorrow’s post is a card birthday card for my brother using a sketch challenge so until then …

Introducing the new 2020-2022 In Colors

By | June 10, 2020

Hi there

With a new Annual Catalogue comes five new In Colors that will be with us for the next two years. The new colors are: Bumblebee, Cinnamon Cider, Just Jade, Magenta Madness and Misty Moonlight.

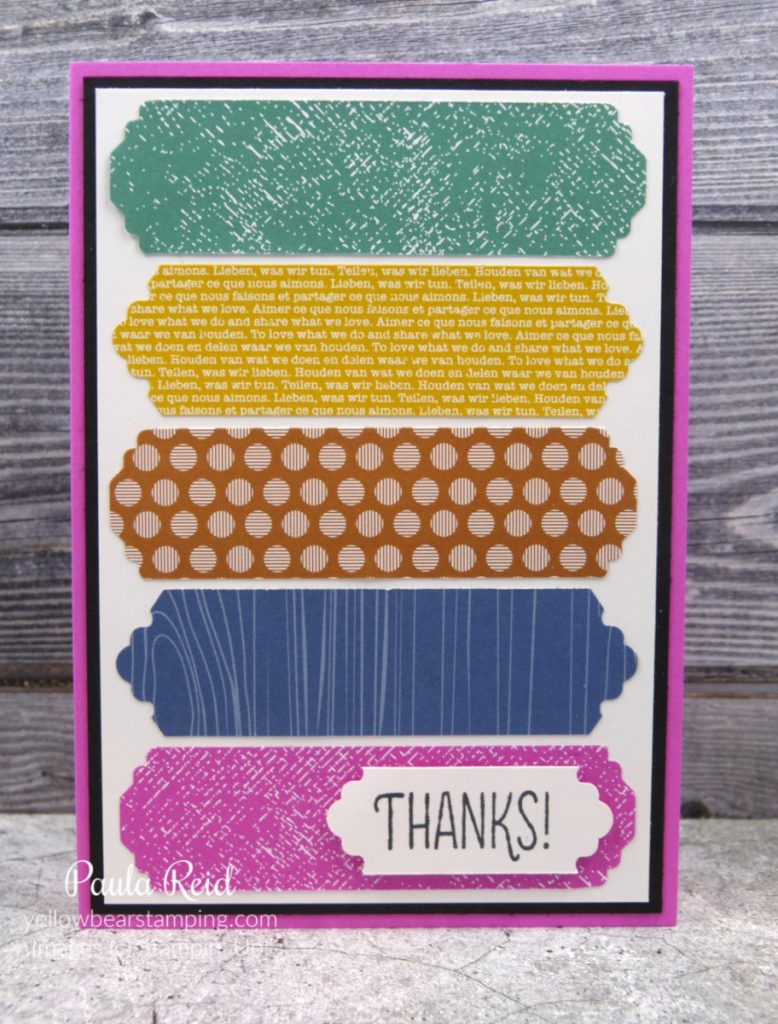
For my first project I’ve used the 2020-2022 In Color 6″ x 6″ Designer Series Paper (page 150) plus the new Lovely Labels Pick a Punch (page169) – I’m sure you will want to add this punch to your shopping list.

The new Lovely Labels Pick a Punch is six punches in one. There are two designs and three widths (1.3cm, 1.9cm and 2.5cm) and you can make this banner any length you want.

For my card above I’ve used the widest banner and a mix of patterns from the paper. There are 40 sheets in the 6″ x 6″ pack – 4 each of 2 double-sided designs in the 5 colours. The sentiment is from a new set called ‘Many Mates’ (page 43) and has been stamped on the 1.9cm wide banner.

I alternated the different punch designs so you get to see the two looks. Do you have a favourite end – I think I prefer the ‘flat’ end. Now to decide which is your favourite colour :). These colours go well together and as mix and match. I’m sure you will see them pop up on projects in the coming months.

Well that’s all for today. Tomorrow I’m heading into the office for the day – my first day back since 17 March.

Until next time …

CASEing the 2020-2021 Catalogue

By | June 7, 2020

Hi there

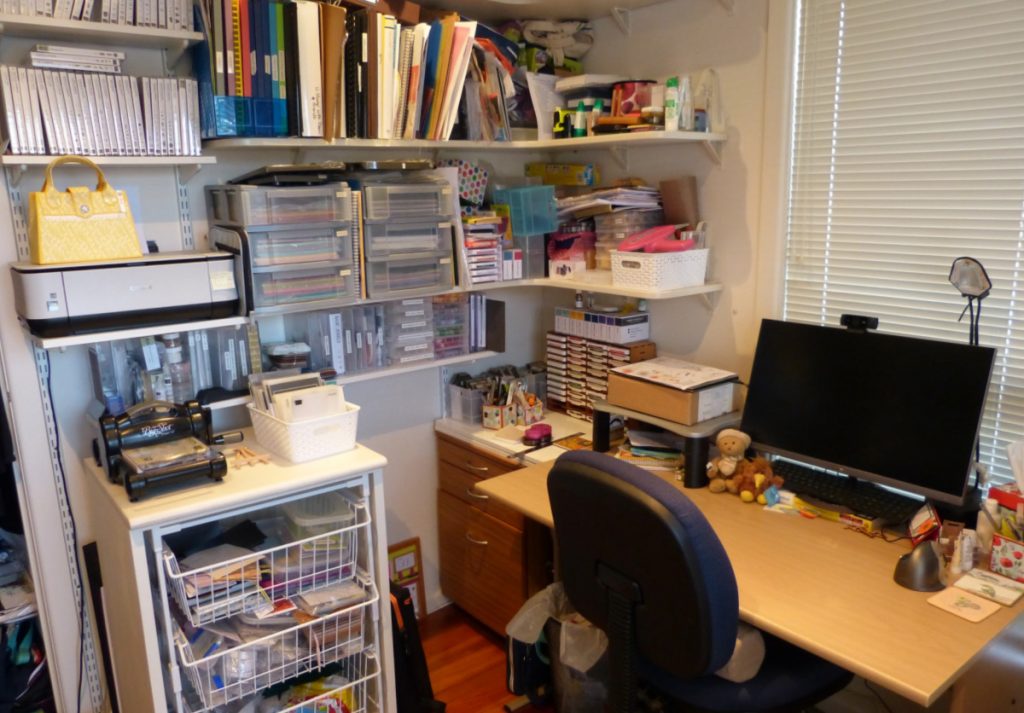
It’s been a great weekend here – very productive. Yesterday morning I attending our ‘Virtual’ Team Training with others from around the country. In the afternoon I rearranged my craft/office space and had a good ‘tidy up’ – it felt so good :). I think my new layout will work better especially as I am still working from home and need to share the space with ‘work’ and ‘crafting’ :).

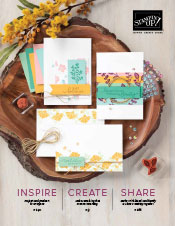
For today’s card I’ve CASE’d one of the cards from the cover of the catalogue – the one on the right. I used my grid paper to make sure I had my lines straight

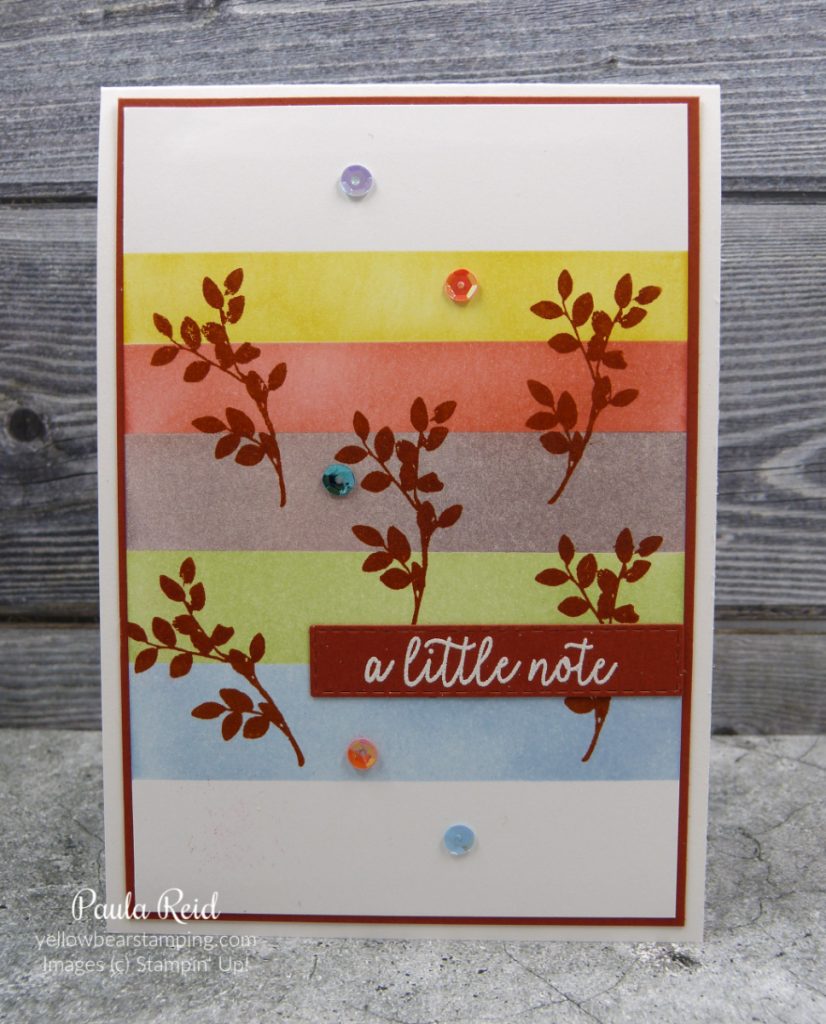
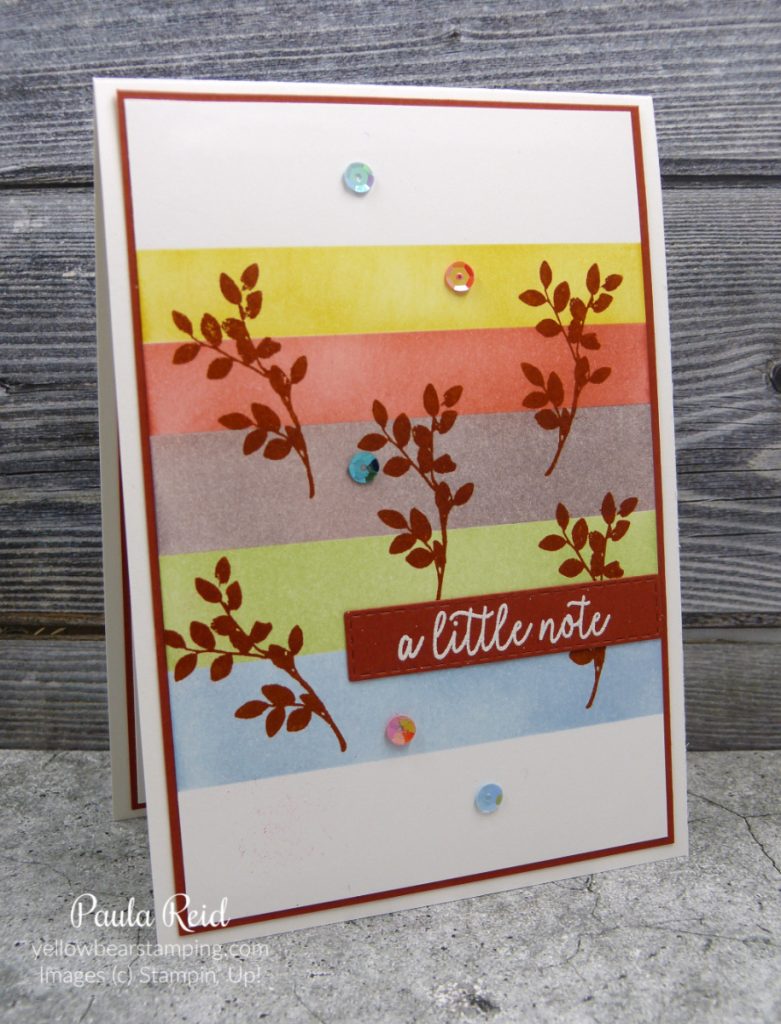
For my colour palette I started with Soft Sea Foam – which I haven’t used much – then added So Saffron, Terracotta Tile, Smoky Slate and Seaside Spray.

My ‘strips’ of colour have been sponged whereas the original card used strips of cardstock. To create my coloured strips I used Post-It Notes to create a mask – using my grid paper to make sure I had my lines straight. I reused my Post-It Note multiple times but I think next time I’ll either let the ink dry a bit or use new Post-It Notes for each colour as my Terracotta Tile blended in a bit with the Smoky Slate – oh well I just created a new colour :).

The card base is Thick Whisper White with a Cajun Craze mat measuring 3 7/8″ x 5 5/8″ and then the Whisper White front is 3 3/4″ x 5 1/2″. The leaf image is from Rooted in Nature and stamped in Cajun Craze. When I was deciding on the stamp set to use I found I have a lot of ‘line art’ sets so will be adding a few more solid stamp sets to my stash. The sentiment is from Butterfly Gala and is one of my most used sentiments. This has been heat embossed in White on Cajun Craze which has been die cut from the Stitched Rectangle dies.

The final touch for this card are the Woven Threads Sequins Assortment – so glad these have carried over.

Well that’s all for now – have a great week.

Until next time …

2020-2021 Annual Catalogue is here

By | June 4, 2020

Hi there

The brand new 2020โ€“2021 Annual Catalogue is now live, and weโ€™re having a celebration! Anyone who holds a party or shops during the month of June will receive extra Stampinโ€™ Rewards with a qualifying purchase. So donโ€™t wait! Start planning now to hold an event in June. If you’re interested in holding an event contact me now for more information and to book a time. 

Itโ€™s a bundle bash! If you have been thinking about becoming a Stampinโ€™ Up! demonstrator, nowโ€™s the perfect time to join. Not only will you get a Starter Kitโ€”already a great value at $189 NZD for $285 NZD worth of productsโ€”but for a limited time, you can select any stamp/tool bundle from the new 2020โ€“2021 Annual Catalogue for FREE. There could not be a better time to join me and my team. If you would like to know more about joining please contact me.

Check out my Promotions page for more details.

Here’s a quick video showing the new 2020-2021 Annual Catalogue

If you don’t yet have a 2020-2021 Annual Catalogue and would like one please let me know and I’ll get one sent to you. In the meantime check out my Catalogue page to download a pdf version.

Happy shopping – until next time …

Magnolia Lane – Tri Panel Card

By | June 1, 2020

Hi there

Welcome to Winter – at least we’re now starting to get the rain we so desperately need. One positive of winter is that we have to stay indoors more which means more crafting time – and with a new catalogue just days away – bring it on.

Today’s post is created from a sketch challenge. Sketch challenges along with colour challenges are a fun way to create cards. A sketch challenge gives you a layout design to follow and allows you to use any stamp set and colour combo you want. A colour challenge sets out a number of colours for you to use in your project and the design/layout/stamp set are up to you.

Here’s the sketch I based my card on.

And here’s my take on the sketch. I’ve used the Magnolia Lane DSP for the top horizontal panel and then used Petal Pink cardstock embossed with the Parisian Flourish 3D Embossing Folder for the vertical panels. I tried a couple of colour combinations for the mat before settling on Basic Black. Some Petal Pink 1/4″ Metallic Edge Ribbon wrapped around the card covers the join of the DSP and card stock. I then tied a separate bow and adhered it with a glue dot. The final touch was the sentiment – stamped in Mossy Meadow this stamp is from the Magnolia Blooms stamp set and has been die cut using the Stitched Shapes dies.

I hope this layout inspires you to give sketch challenges a go. I’d love to see your creations.

Until next time …

Stamp Camp 2020 Projects – Forever Blossoms, Poppy Moments & Best Dressed

By | May 31, 2020

Hi there

Back again with the remaining projects from Stamp Camp using products from the Mini Catalogue – Forever Blossoms from the Parisian Blossoms Suite (page 14-17), Poppy Moments from the Peaceful Poppies Suite (page 24-27) and the Best Dressed Suite (page 54-56).

First up a fancy fold card – Triangular Tri-fold – using the Forever Blossoms Bundle.

The Parisian Blossoms Suite has two bundles within the suite and we used the Forever Blossoms bundle. The papers – Parisian Blossoms – coordinate with both bundles and are a mix of Petal Pink and Pool Party tones. The main image is stamped in Memento then coloured in with Petal Pink, Granny Apple Green and Soft Suede Stampin Blends – a few of the gorgeous Champagne Rhinestones have been added for a bit of ‘bling’. We dry embossed the Cherry Cobbler cardstock with the Parisian Flourish 3D Embossing Folder then lightly applied some Whisper White ink using a Sponge Dauber – it really shows of the embossed effect of the folder.

Once you untie the bow the the card opens up to a landscape orientation to show the inside sentiment and a partially stamped flower image.

This card uses a whole sheet of A4 – cut in half lengthwise and adhered together on the central portion. You do have to concentrate in getting your score lines the right way but after that it’s an easy card to construct. I love fun fold cards so will be giving this one a go with some new products out of the 2020-2021 Annual Catalogue.

Next up is a fun project featuring the Poppy dies.

How cute is this little project – and not a stamp in sight :). When you pull the ‘poppies’ up take a look at what you will find.

Poppy seeds ready to plant :). The dies used were the Poppy Moments Dies and the Small Bloom Punch. The Poppy holder has been dry embossed with the Coastal Weave 3D Embossing Folder.

The last project features the Best Dressed Suite and has a special holder inside for a gift card

We’ve used the Best Dressed 6″ x 6″ DSP for the background and then die cut one of the ‘bag’ cutouts in Lovely Lipstick to create a flat bag for the front of the card. The buckles are cut from Gold Foil and I added a Gold Facted Gem as the clasp for my bag. When you open the card you’ll find a holder for your gift card to sit in.

It’s a bag within a bag – how cool is that. It’s the perfect size for a gift card to fit in. You could put a shop bought voucher inside or you could create your own one. I have yet to add a sentiment to the inside.

Well that’s all for today – I hope you’ve enjoyed seeing these projects. Don’t forget you have until Tuesday 2 June to place orders for retiring products from the Mini Catalogue and the 2019-2020 Annual Catalogue. From Wednesday 3 June we will be able to order products from the new 2020-2021 Annual Catalogue – what’s first on your ‘shopping list’?

Until next time …

Stamp Camp 2020 Projects – Bonanza Buddies & Botanical Prints

By | May 31, 2020

Hi there

I’ve finally got round to sorting photos of the projects we made at Stamp Camp earlier this year – better late than never. I’m going to spread them out over two posts – one now and one later this afternoon so be sure to check back later for part two.

First up we have a cute project featuring the Birthday Bonanza Suite from page 32-34 of the Mini Catalgoue.

I love the bright colours of this paper – Terracotta Tile, Grapefruit Grove, Mango Melody, Daffodil Delight, Coastal Cabana & Bermuda Bay. For this image we stamped the Toucan in Memento Black and coloured his bill with Daffodil Delight, Calypso Coral and Cajun Craze. The party hat was stamped with Coastal Cabana then die cut (I trimmed off the excess white) and a white Pompom was the finishing touch.

The inside has a cute pocket for a gift tag or a gift voucher and there is plenty of room to write a message on the left hand side.

The tag is one of the dies included in the Bonanza Dies. The parcels and both sentiments are from the Bonanza Buddies stamp set. The parcels are a two step stamp. This was a fun project to make.

Next up we have a project from the Botancial Prints Product Medley on page 61.

The card base is our Thick Whisper White cardstock. If you haven’t found this yet check out page 169 of the Annual Catalogue – it gives a nice firm base for your cards. The front piece is normal Whisper White and the images have been stamped randomly in Gray Granite – I love this warm tone of gray. Before matting this to a piece of Gray Granite we embossed it using the Subtle Embossing Folder – this gives a ‘linen’ look to the cardstock. The bottom ‘lace’ portion was added after and had been die cut using the Delicate Lace Die.

The flower image has been stamped on a scrap of Whisper White and die cut with the coordinating die from the product medley. I used Purple Posy and Old Olive Stampin’ Blends to colour in. The Old Olive 1/4″ Twill Ribbon has been wrapped around the top then I tied a separate bow and adhered it with a glue dot. The birthday sentiment is from Peaceful Moments and has been heat embossed in white on a Gray Granite label die cut from the Stitched Nested Dies. The three Rhinestones have been coloured in with the Purple Posy Stampin’ Blend. You can just see a portion of the inside of the card which has one of the images stamped across the bottom.

Well that’s all for this morning – check back later today for the final three projects featuring the Forever Blossoms Suite, Poppy Moments and Best Dressed Suite.

Until then …
Double Wonder Cards using Country Club DSP

By | May 30, 2020

Hi there

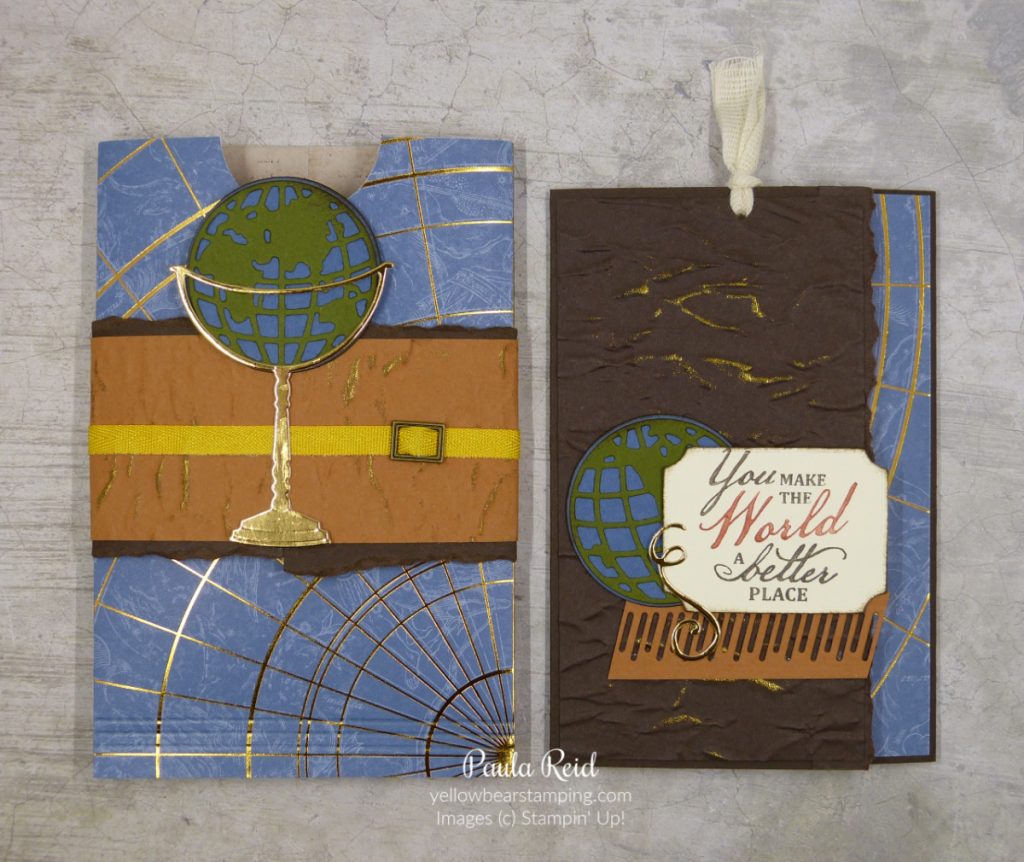
Technology has been great in keeping us in touch with each other during the Lockdown period. We were meant to have had a Stampin’ Up! event at the beginning of May but due to COVID-19 that got cancelled – so Stampin’ Up! created a Facebook group for all NZ based demos so that we could still connect with each other. We’ve had ‘live’ sessions with special guest appearances from some of the staff at the Home Office in Utah – it’s been great. In one of the ‘live’ sessions we were taught a One Sheet Wonder with a twist. Instead of using one sheet of 12″ x 12″ Designer Series Paper we used two sheets of 6″ x 12″. This gives a few more options of paper designs. Here are the 11 cards I made using the Country Club DSP.

I paired the paper with the coordinating cardstock colours of Night of Navy, Poppy Parade, Garden Green, Crushed Curry and added in Basic Grey for one of the cards. I also used some retired ribbon that went with all the papers – Night of Navy Corduroy Ribbon.

With the paper being double sided it gave me four design options to mix and match.

To keep it simple I used the same ‘Happy Birthday’ sentiment on all cards and punched them out using the Tailored Tag and Timeless Label punches. The sentiment is from the Peaceful Moments set and has been stamped in Night of Navy.

Even though the designs are the same they look quite different with the different papers and placement of the sentiment.

These cards got used up pretty quickly for the staff birthdays and have been well received – my job for tomorrow is to make some more ready for the next round of birthdays. This technique is a great way to use and show off our wonderful DSP but also a quick and easy way to make 11 cards.

Well that’s all for now – I’ll be back tomorrow with some more projects to share from our Creative Inkers Stamp Camp earlier this year.

Until then …
A Good Man – that’s my man

By | May 26, 2020

Hi there

Happy Birthday to Phil (and me). We’ve had a lovely day – a mix of work and a lunch out to celebrate.

I left making his card to the last minute as my preorder of new product from the upcoming annual catalogue got held up with eveyone elses purchases :).

So here’s a sneak peak of a couple of new products – can you spot them?

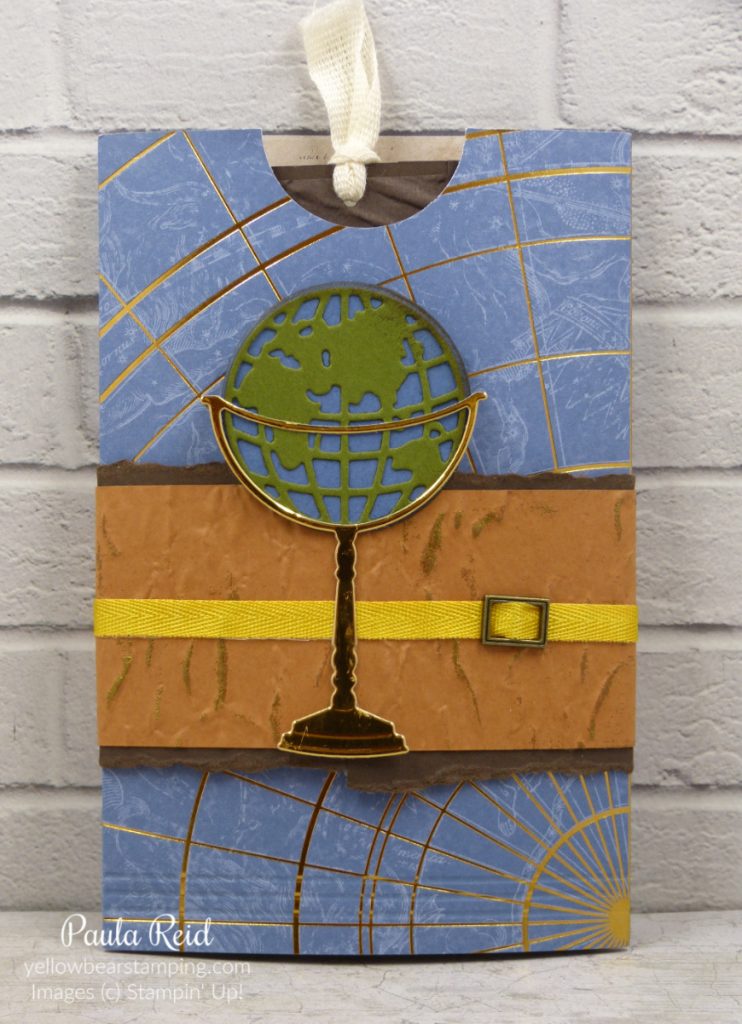
I CASE’d the design of this card from the new catalogue. ‘A Good Man’ is my ‘go to’ masculine set – I love the line art images as it allows your to colour in with your favourite method and colours. The new In Good Taste Designer Series Paper has 12 different designs and you get two of each design. This design has a real 3D look to it.

The reeds die was a birthday present to myself and thankfully arrived over the weekend so I was able to use them on this card. If you’re quick (before 2nd June) you can purchase them as a bundle along with the stamp set ‘Friend Like You’ and save 10%. They are carrying over to the new catalogue but just not as a bundle.

The sentiment is from the A Good Man stamp set and has been punched with the new Lovely Labels Pick A Punch – this is one punch you will want to add to your shopping list. From the one punch you get to choose three widths and two different end cuts – perfect for layering as I’ve done here.

Well that’s all for now so until next time …

The Gang’s All Meer – Waterfall Card

By | May 25, 2020

Hi there

Not long to go now before the 2020-2021 Annual Catalogue is live – if you haven’t received your personal copy of the catalogue and would like one please leave me a comment and I’ll get one sent to you.

I recently needed cards for three boys aged four, nine and ten. I don’t have many stamps suitable for these ages as my nieces and nephews are all older but I still have The Gang’s All Meer. To make this set suitable for all ages I decided to make an interactive card – I love making these – and went with a Waterfall Card. It’s ages since I’ve made one of these.

The card base is Call Me Clover which is retiring at the end of the current catalogue (2 June) and for the mats I’ve used Cajun Craze. The DSP is retired (Animal Expedition) but went well with my cardstock colours.

To get this card ‘working’ you simply pull on the ribbon to see the next ‘scene’.

And there you have it – the final ‘scene’.

And on the inside – ‘the gang’s’ all here.

It’s a big day tomorrow in our house – two birthday’s – so check back tomorrow to see the card I made for Phil.

Until then …
Dressed To Impress – Shoes, Lipstick – Ready to Go

By | May 21, 2020

Hi there

Back in November when we had our OnStage event the Best Dressed Suite was showcased but it didn’t appeal to me so I skipped past this suite. Fast forward to February and our Creative Inkers Stamp Camp. This suite was used for one of our projects and by then end of the weekend I’d placed an order :).

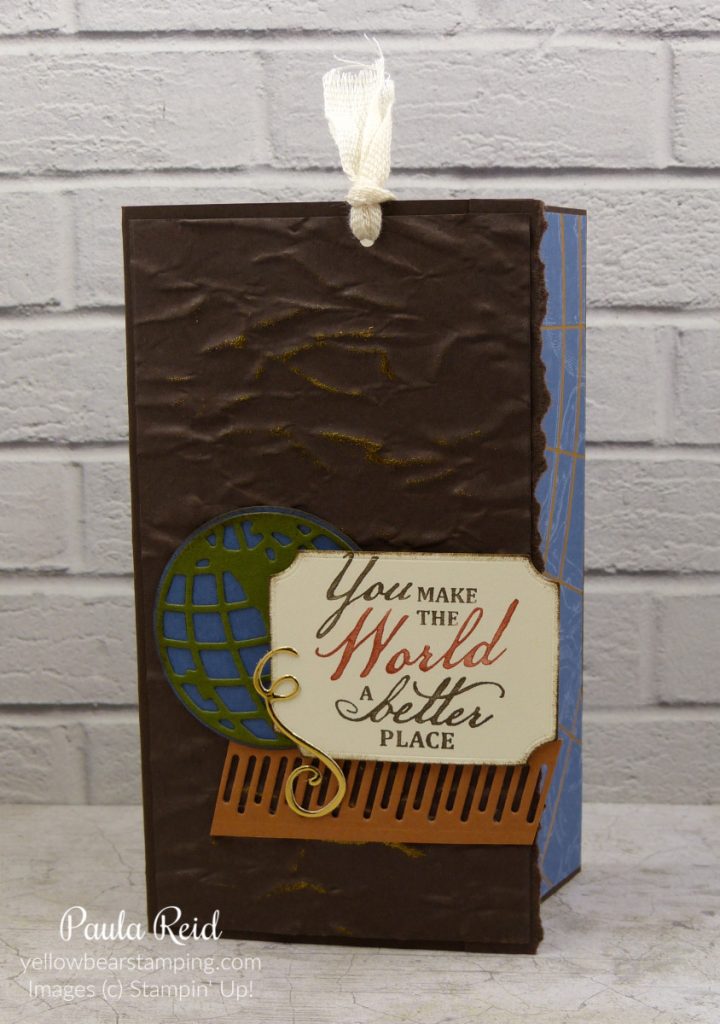
Here are two cards I’ve created for two work colleagues. The first uses the shoes.

This card was inspired after the recipient went on an overseas work trip and when she got ready for the event found she had accidentally packed two left black shoes – oops. So off she went to buy a new pair of shoes to wear for the event. If only she’d taken coloured shoes with her :).

The second card uses the lipstick.

The downside of working from home is missing the morning coffee chats with fellow colleagues – in particular my lovely friend who can wear bold lipsticks. I’m sure these words and images were created just for her ๐Ÿ™‚

I had fun making these personalised cards and I know the recipients enjoyed receiving them. Sending cards is a great way to brighten peoples days – how many cards have you sent during the lockdown period?

Well that’s all for now – until next time …
Poppy Moments – Sympathy Card

By | May 18, 2020

Hi there

A while ago I needed a sympathy card so I used the Mini Catalogue for my inspiration – check out page 27 to spot the original card.

Did you notice that one of the dies in the Poppy Moments Die set doesn’t fully cut out the image? The partial die allows the underneath card stock or DSP to show through adding extra dimension to your project.

My colour combo for this card is Blackberry Bliss, Blushing Bride and Garden Green. The sentiment is from Peaceful Moments and has been stamped on Whisper White then punched out using the Timeless Label punch. I created a mat of Garden Green using the same punch. Cut two in your mat colour and cut each one in half – one vertically and the other horizontally then adhere the end bits first and finally the top and bottom.

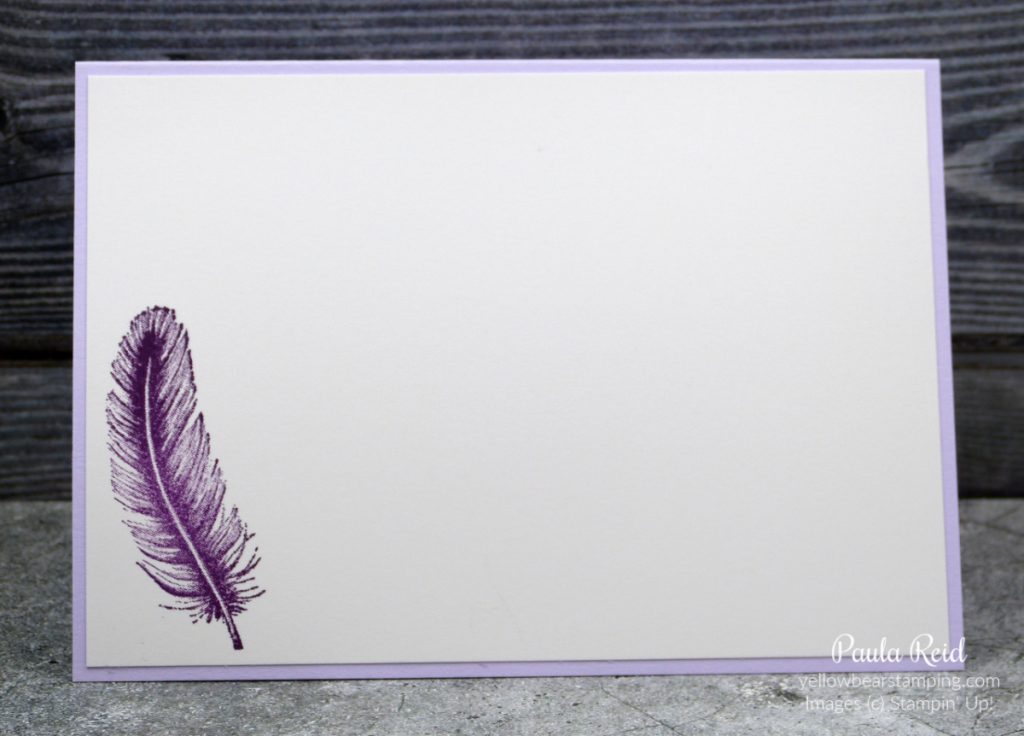
On the inside of the card I stamped the single poppy image from the Painted Poppies set.

Don’t forget to use the images in the catalogues that have been created by the Design Team for inspiration or just copy them as is.

Until next time …