Hi there
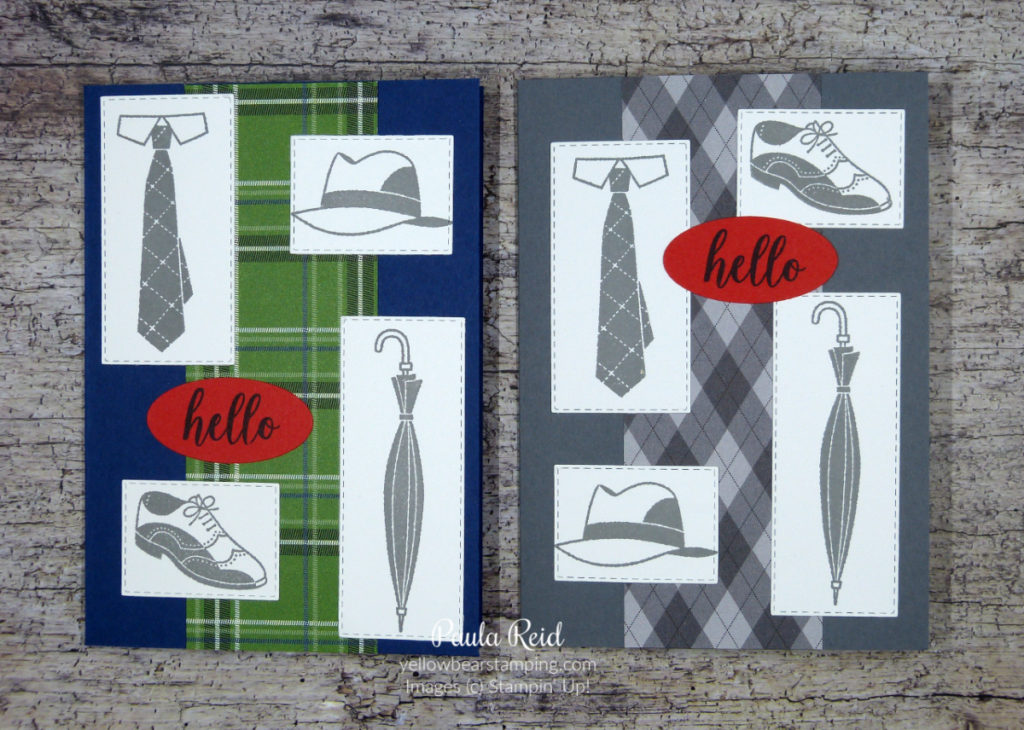
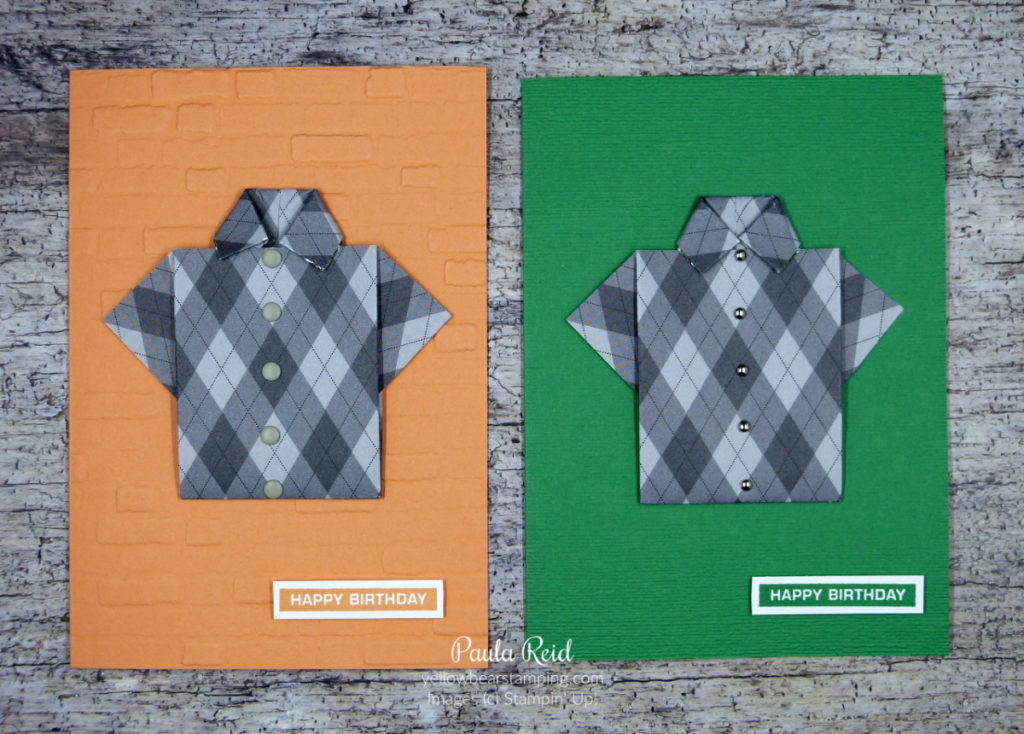
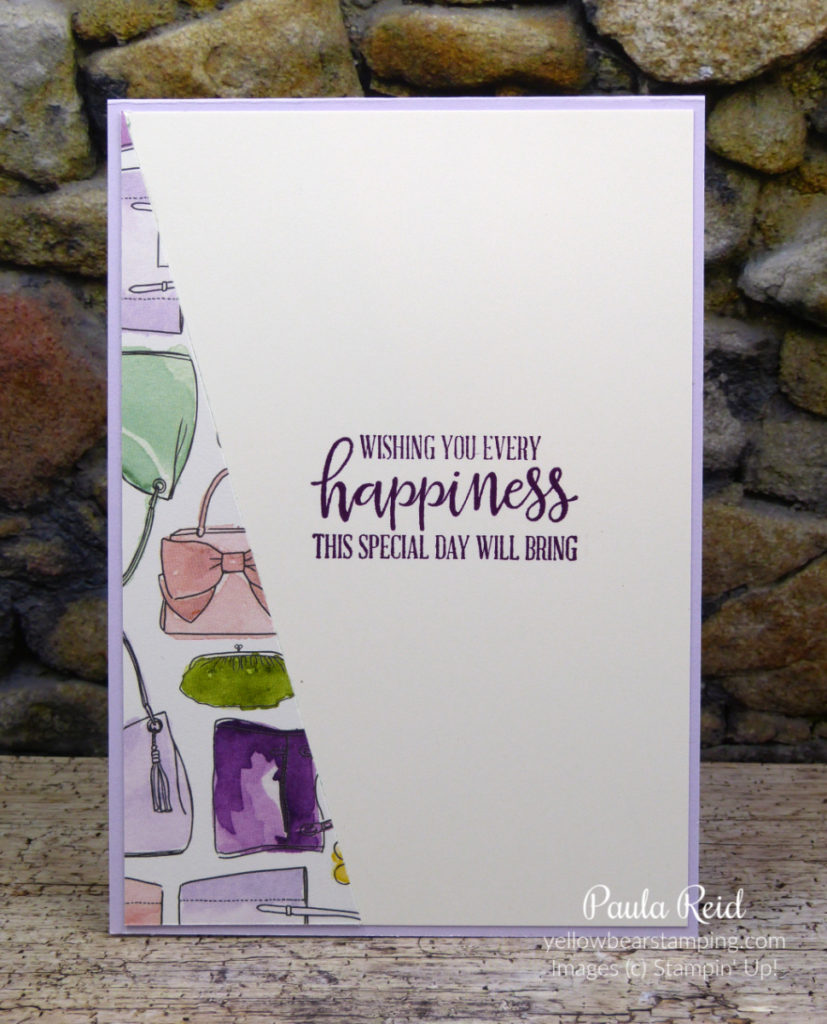
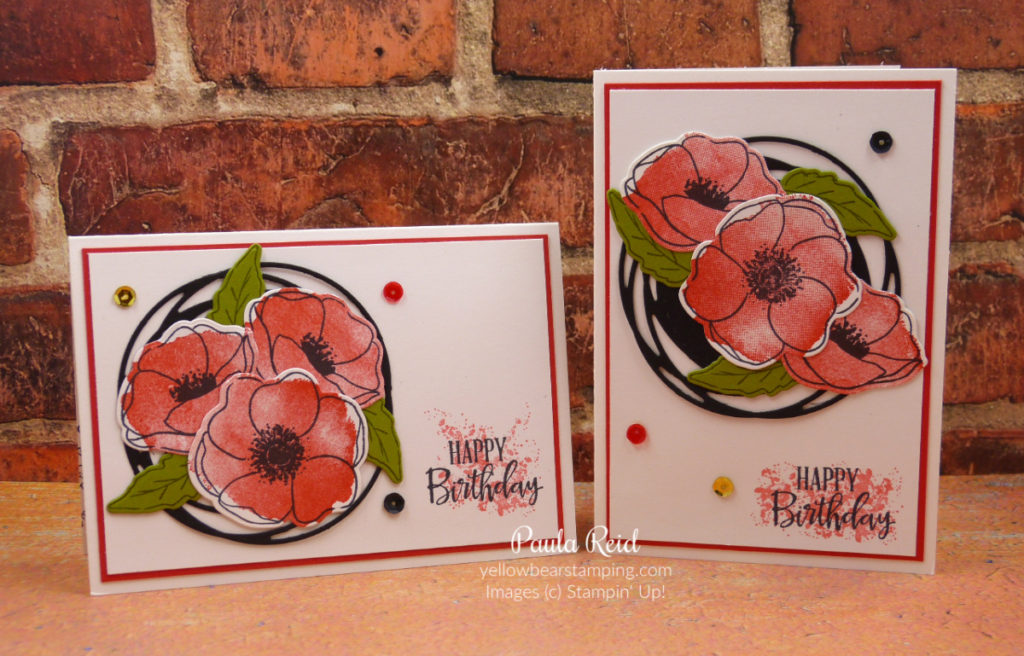
I’m sure you’ve all heard the term CASEing a card – Copy And Share Everything. Well today’s projects are a CASE based on the card below from a US demo – Julie Davison.
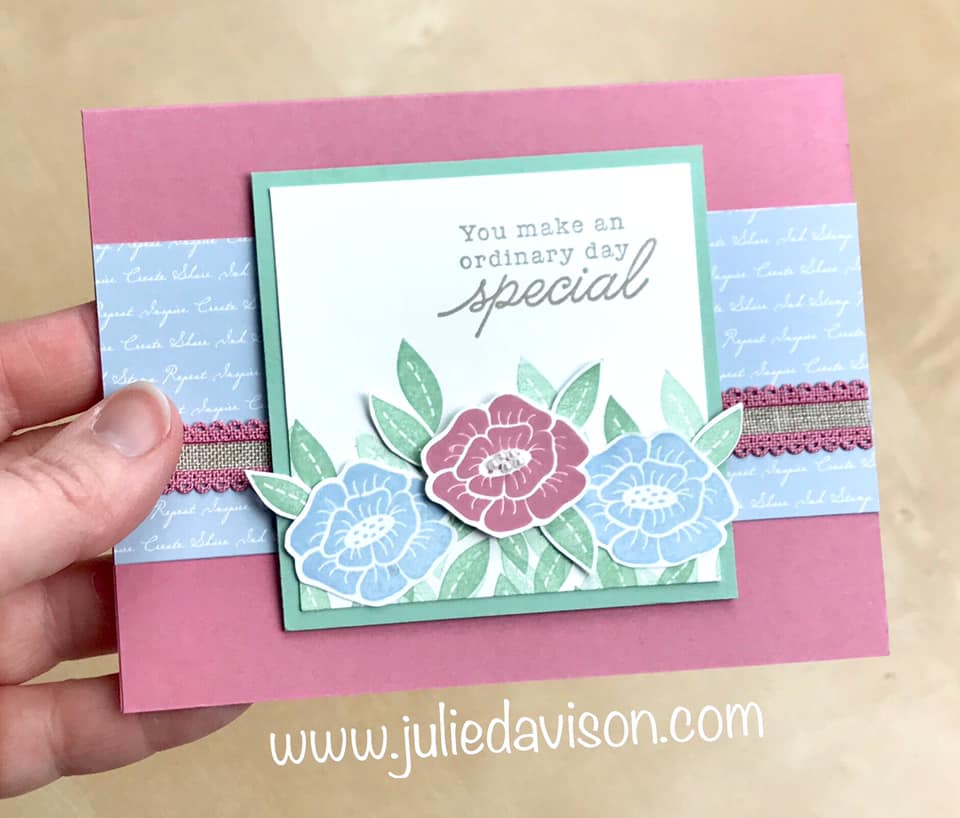
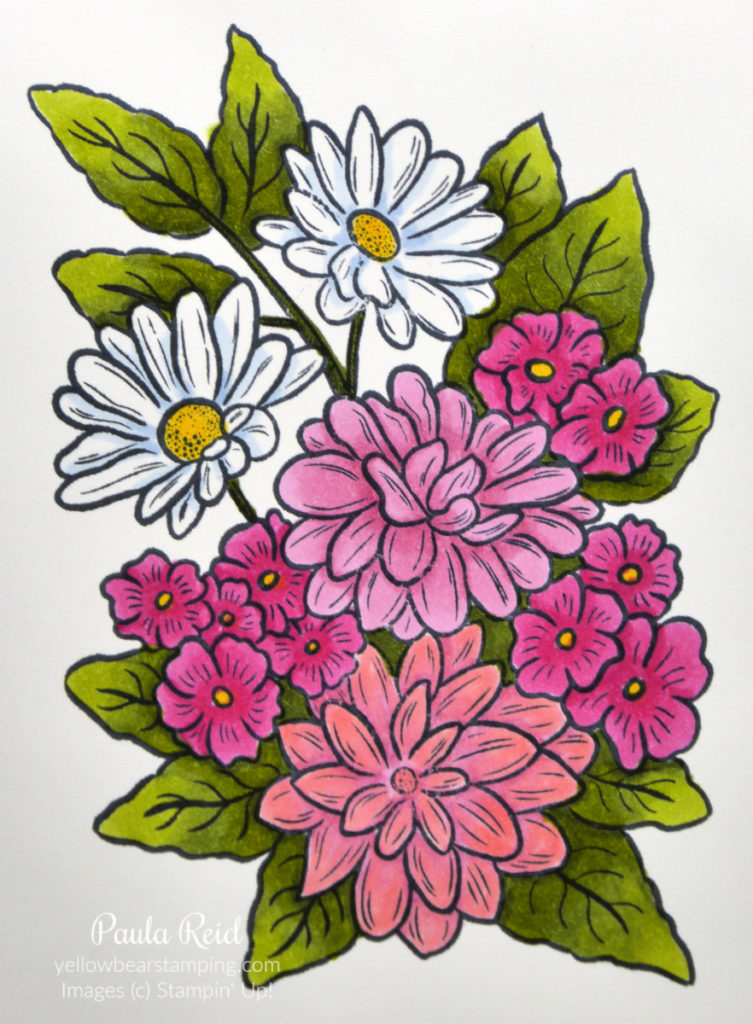
I really liked this card but I didn’t have any of the products she’d used so I checked out my stamps to see what I could use instead and came up with four sets – Daisy Lane, Floral Essence, Timeless Tulips and Varied Vases. That’s the good thing with CASEing – you don’t have to use exactly the same products to get the same effect – use what you have on your shelf.
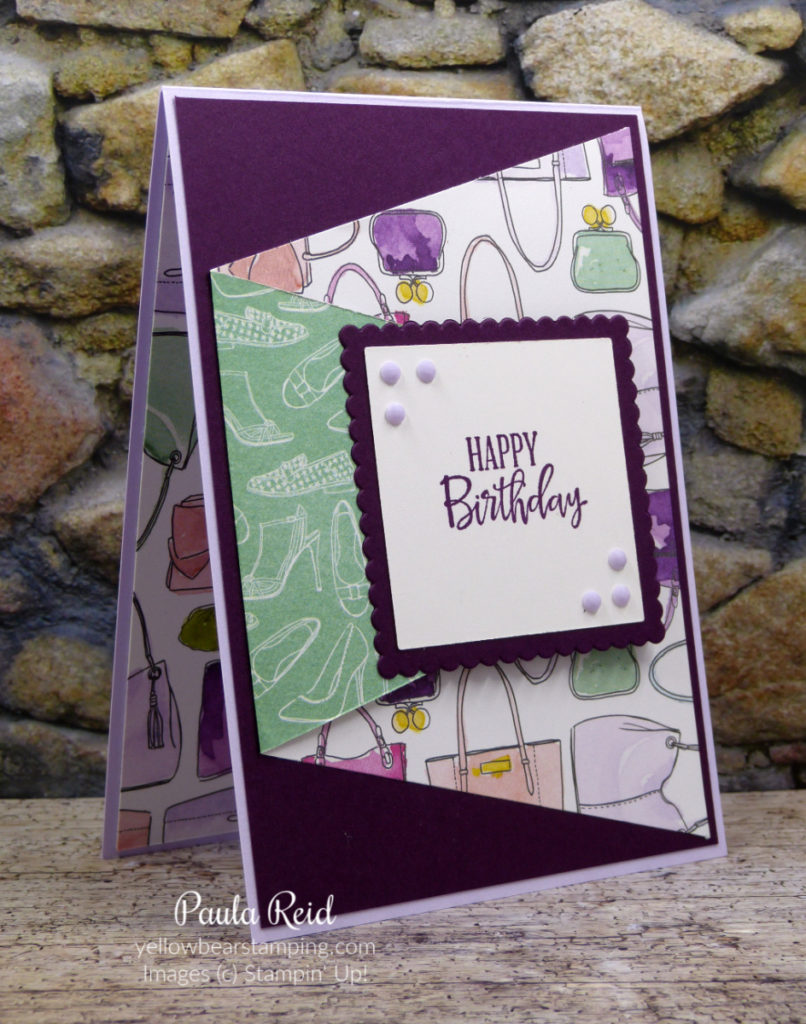
The card bases for the first three cards is Crumb Cake with mats measuring 3 1/4″ and the Whisper White measures 3″.
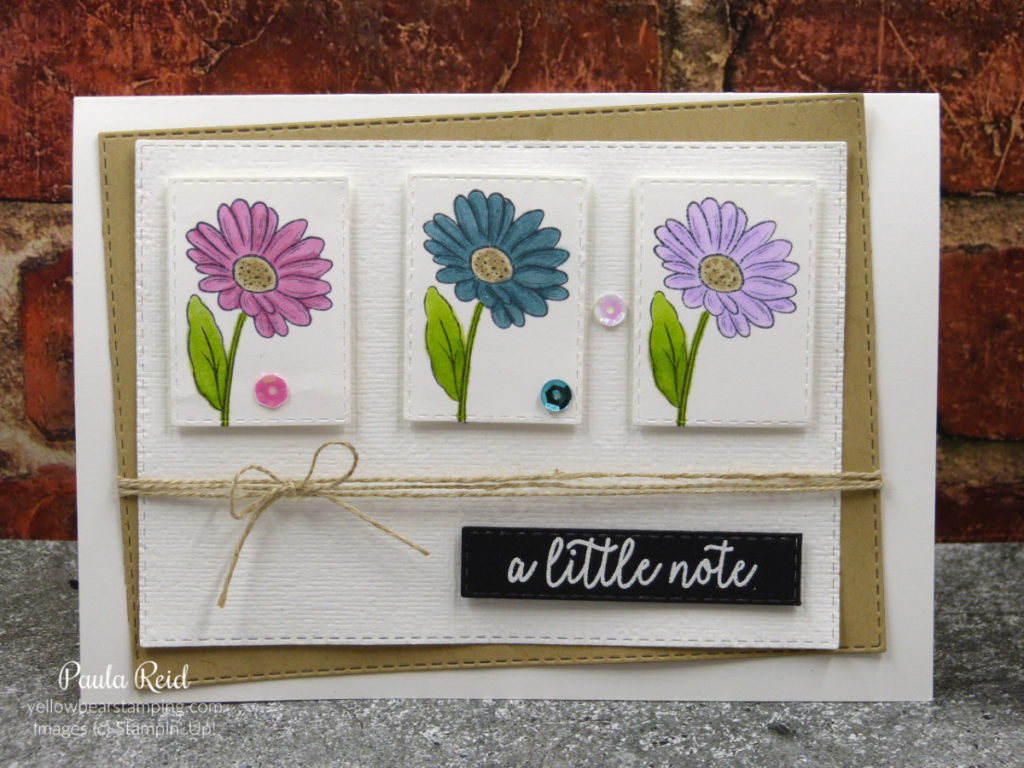
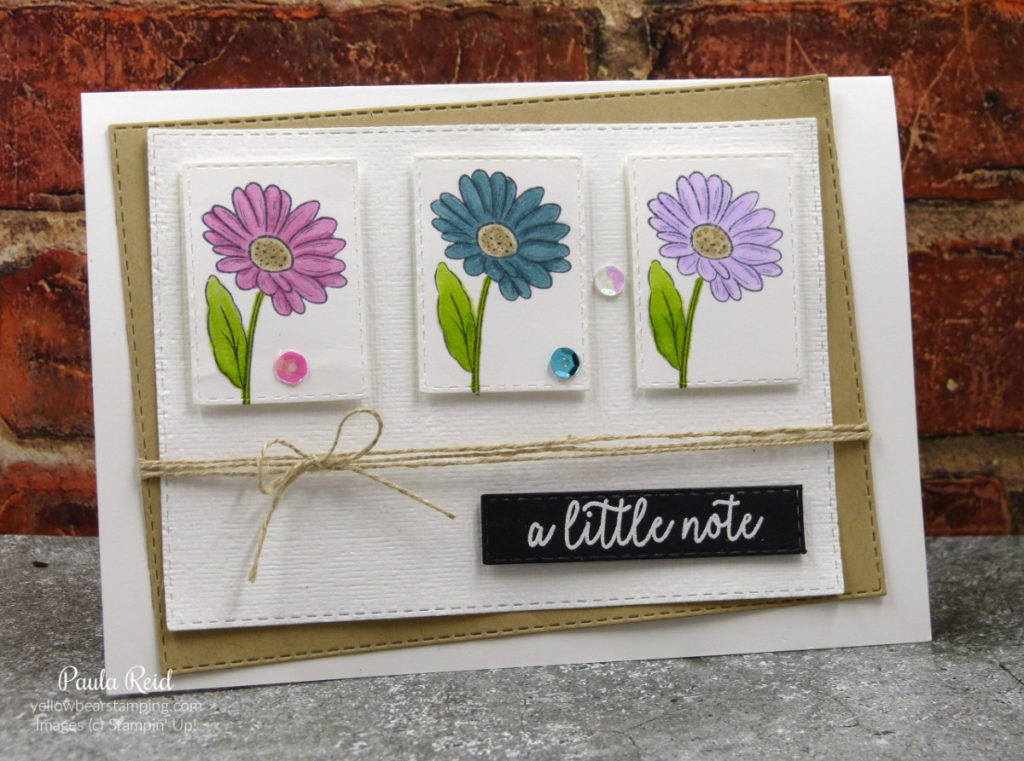
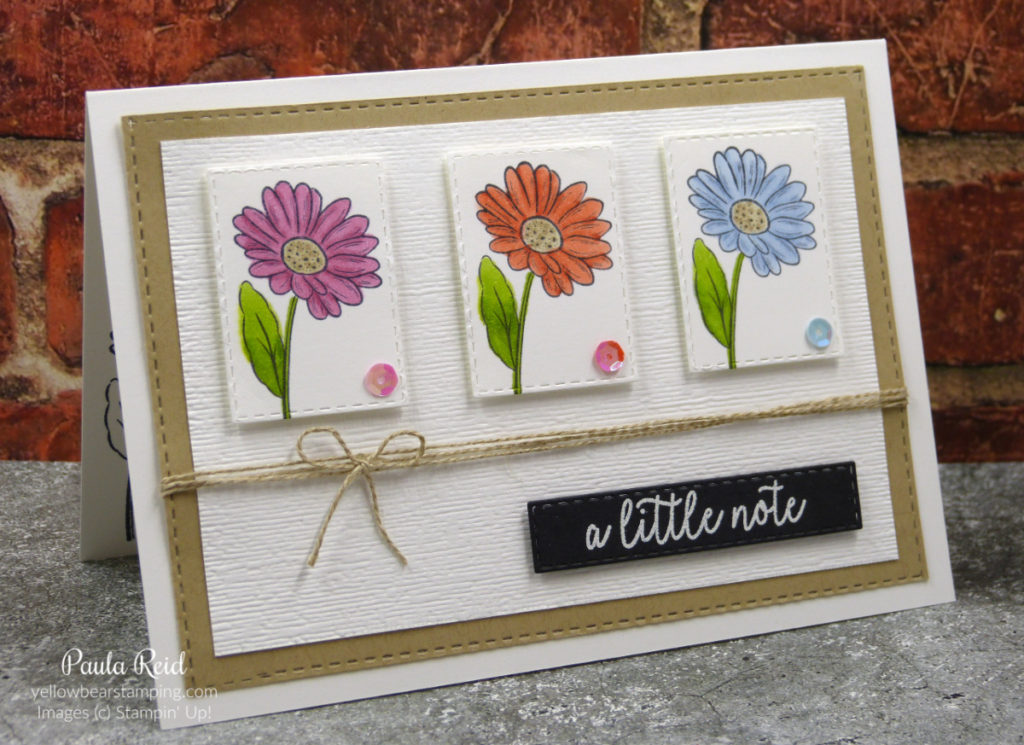
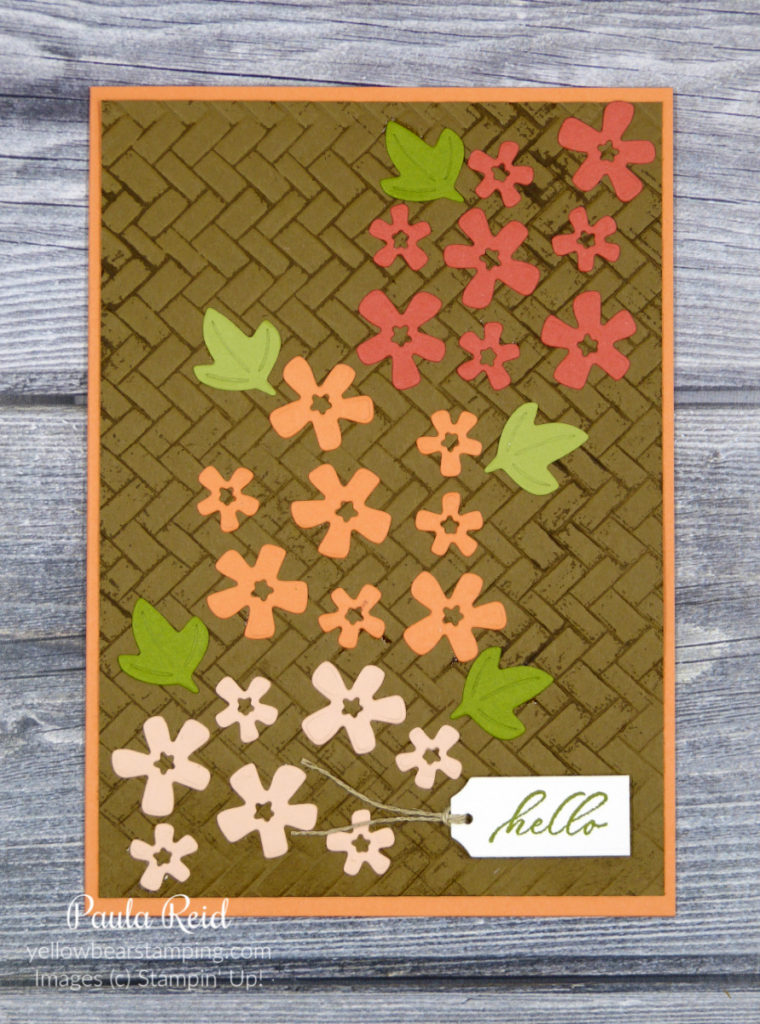
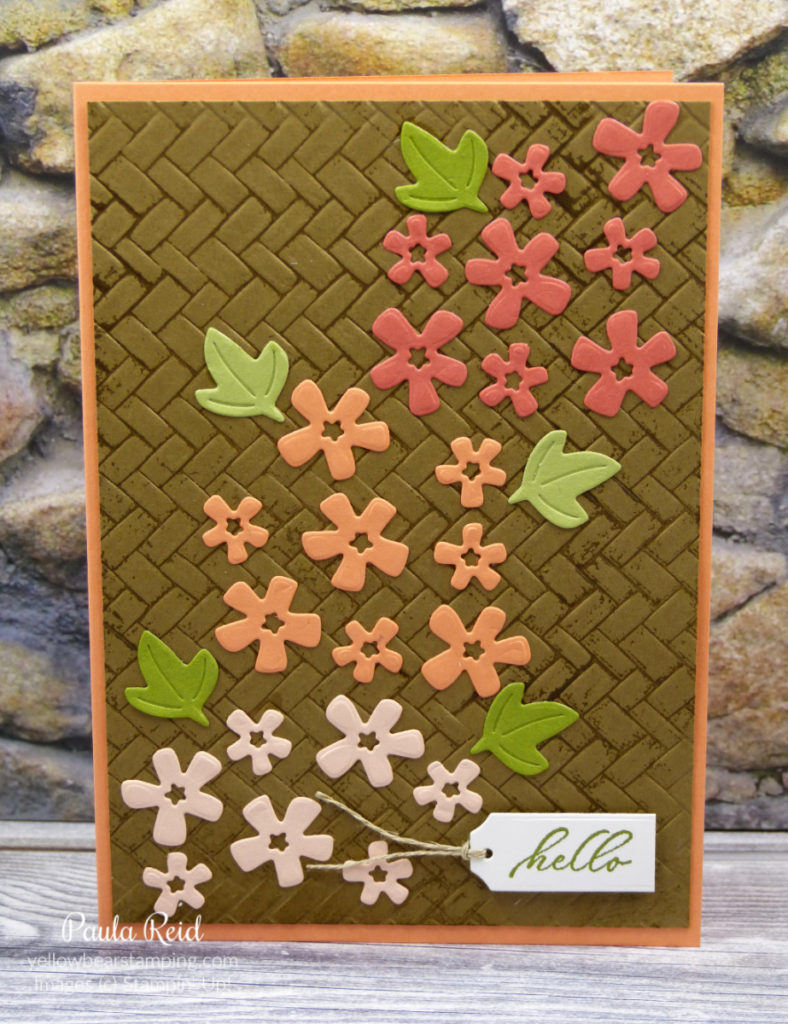
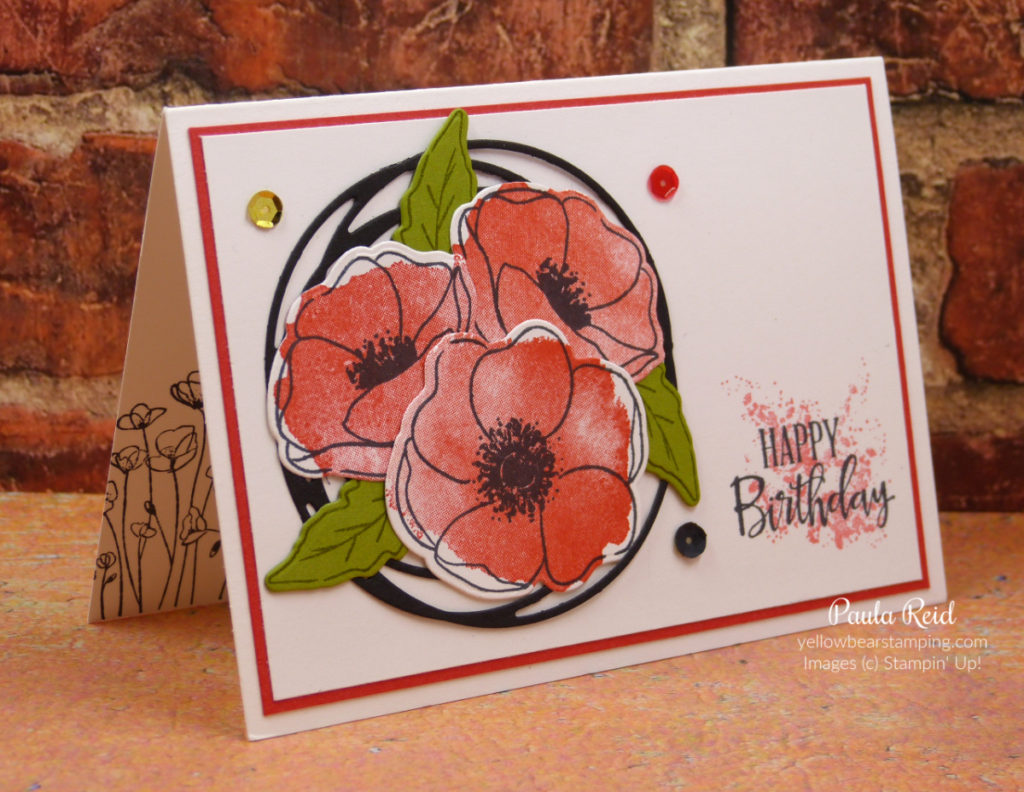
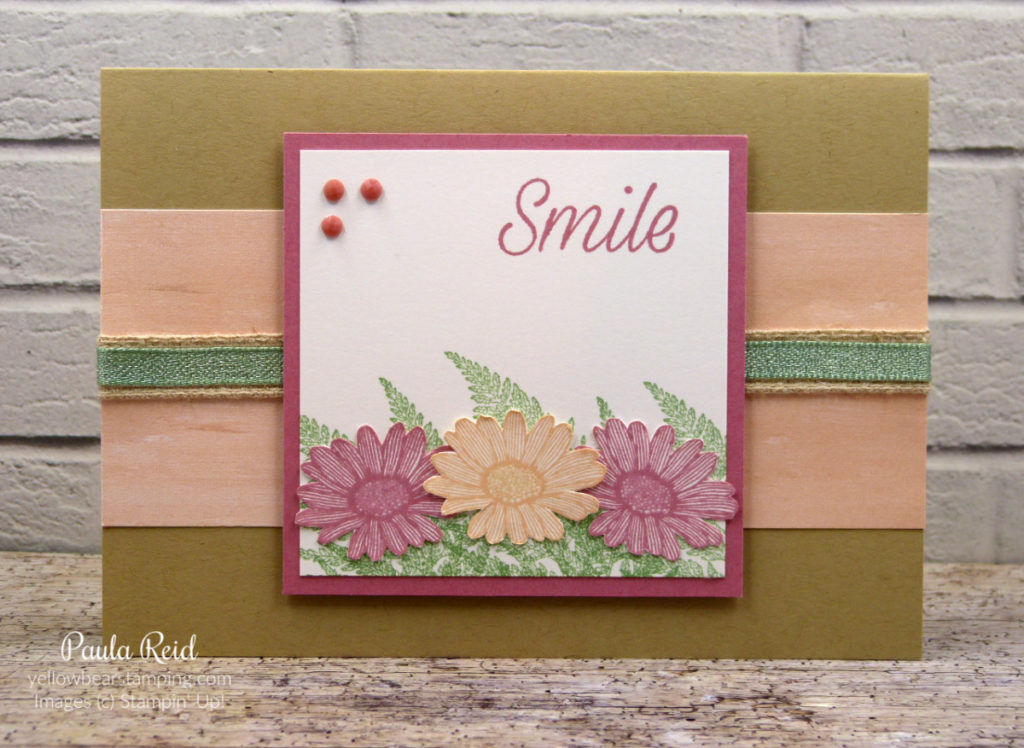
My first card features the Daisy Lane set (page 23 AC). My card recipe is: flowers stamped in Rococo Rose and Petal Pink (‘fussy’ cut), leaves stamped with Mint Macaron, sentiment stamped with Rococo Rose, Rococo Rose mat, DSP – 2 1/4″ strip of Perennial Essence DSP, 2019-2021 In Color Faceted Dots, 1/4″ Mint Macaron Textile Ribbon and 7/16 Natural Trim Ribbon (retired)

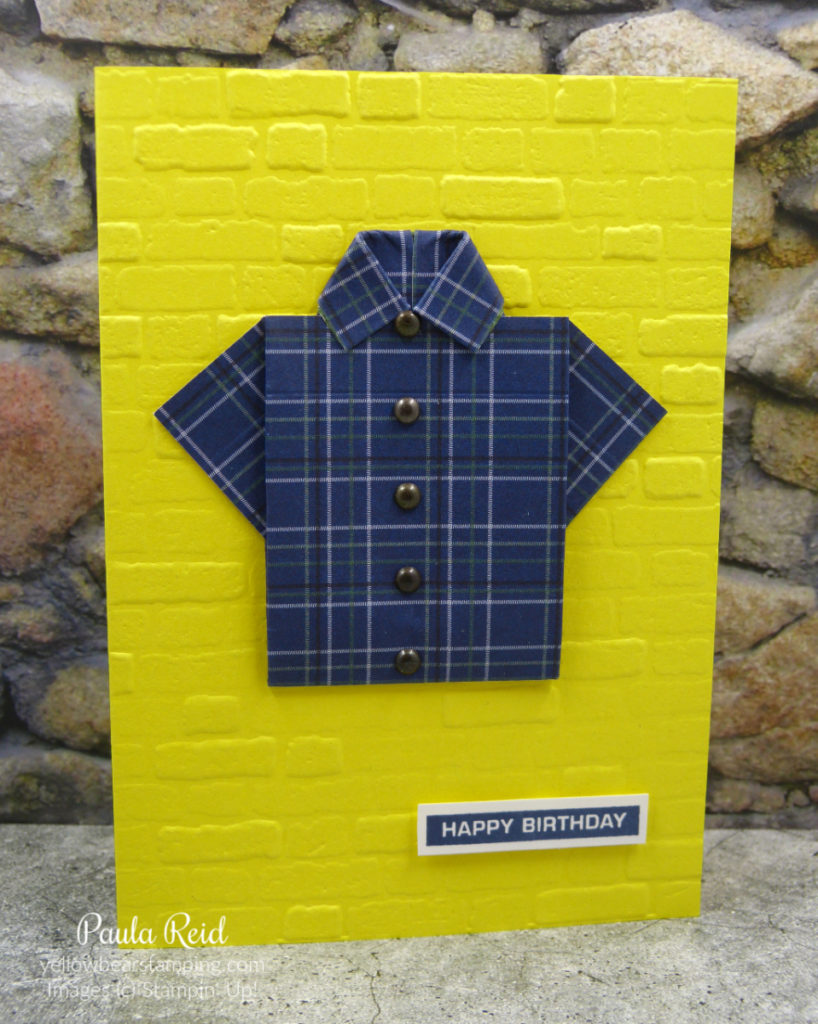
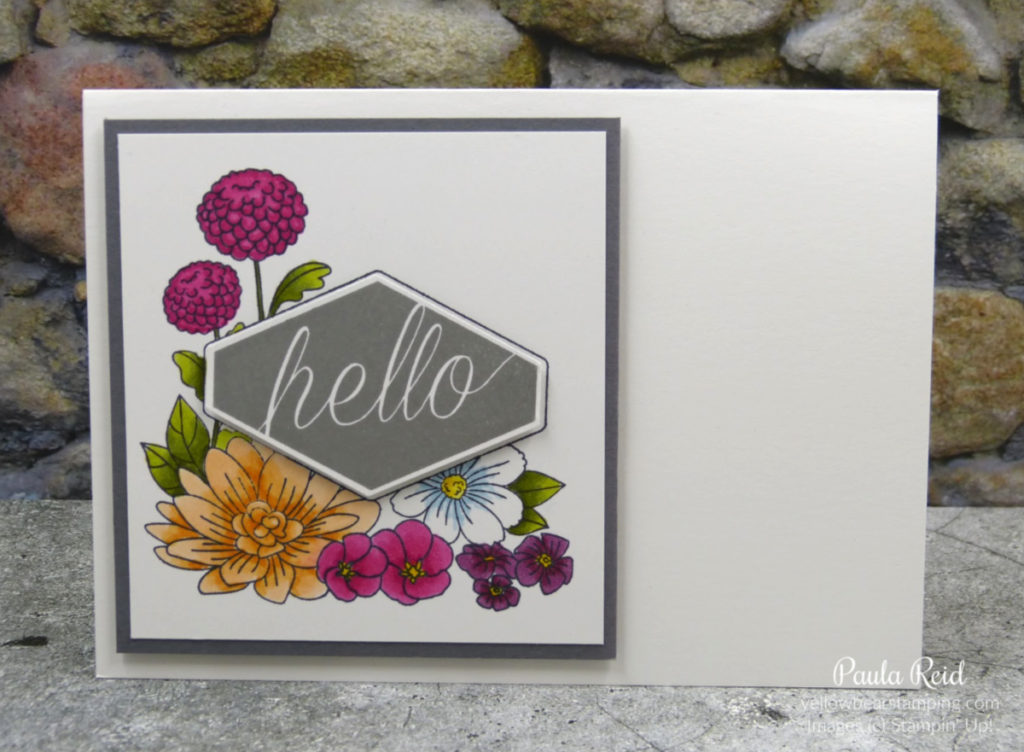
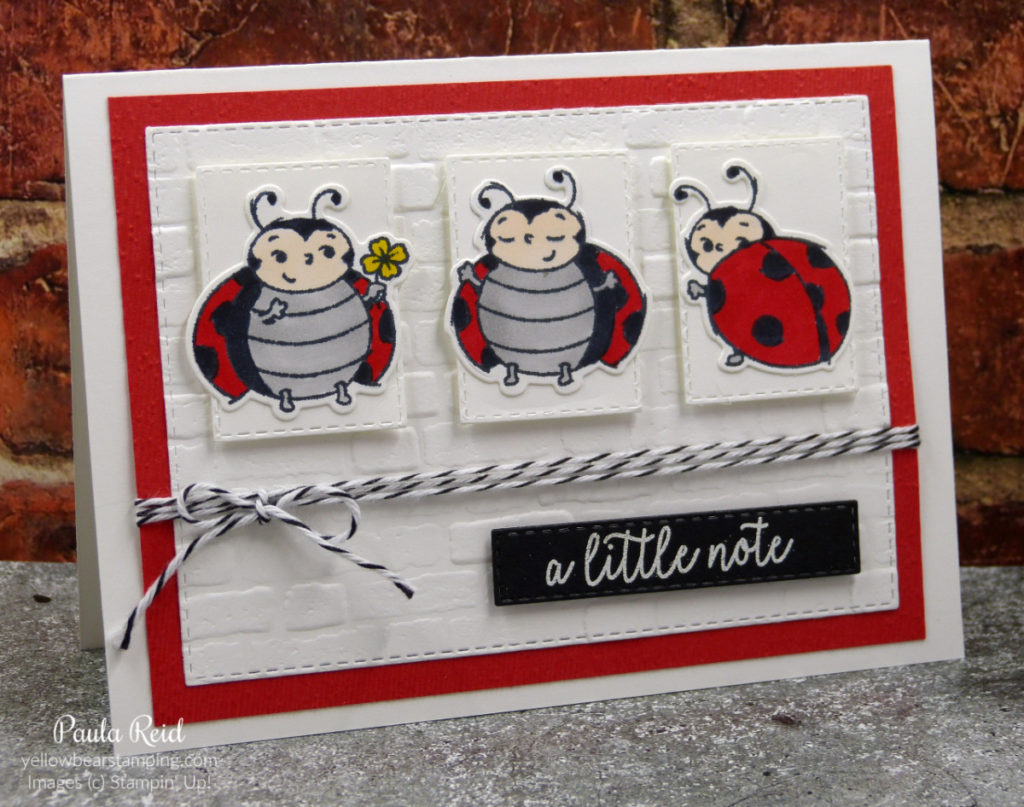
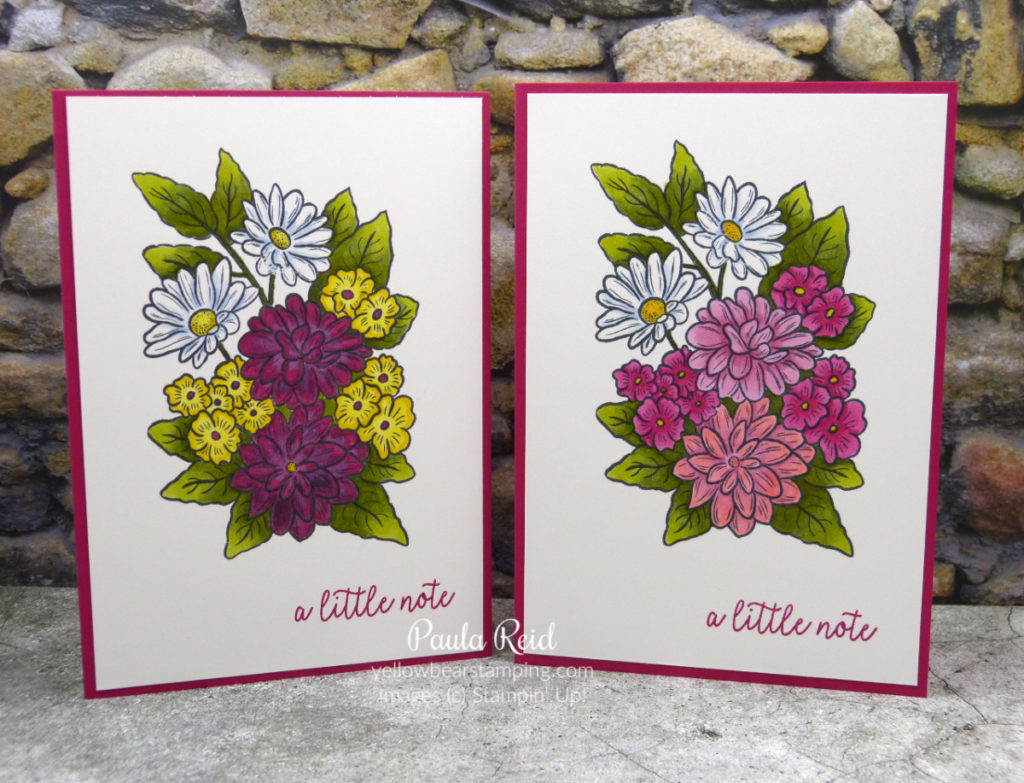
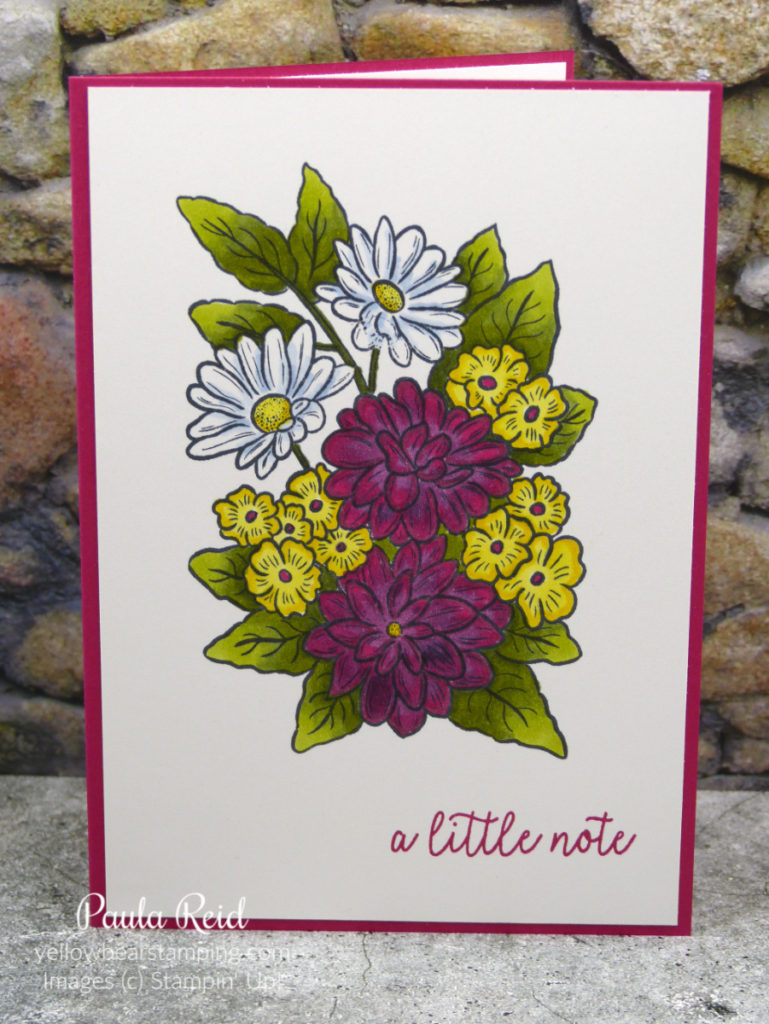
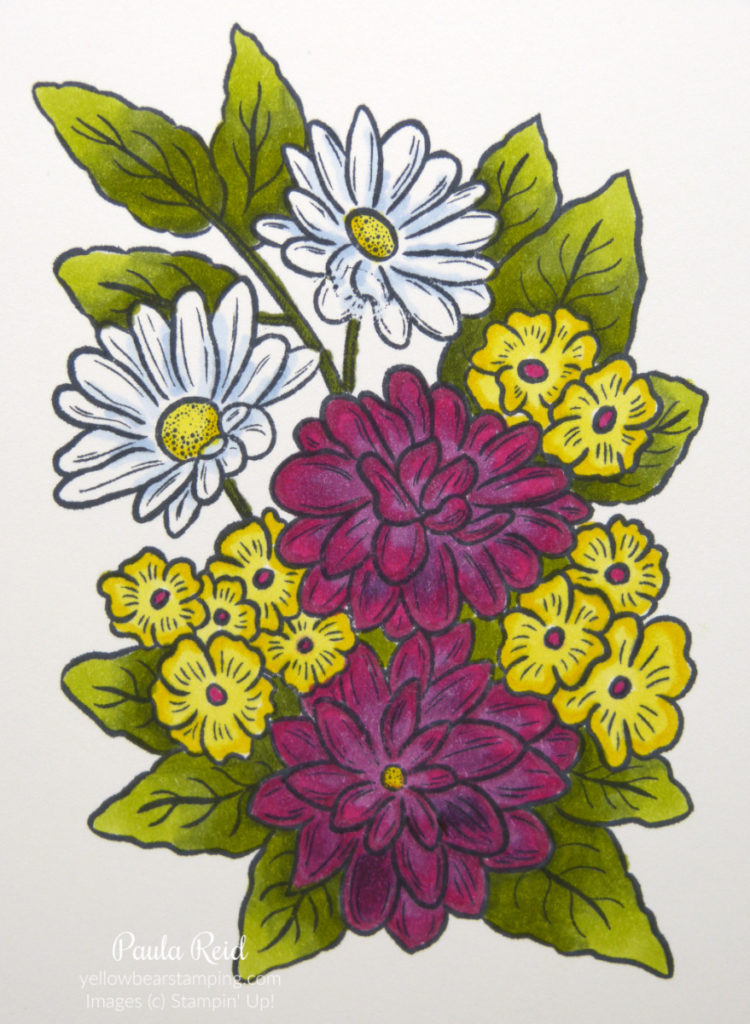
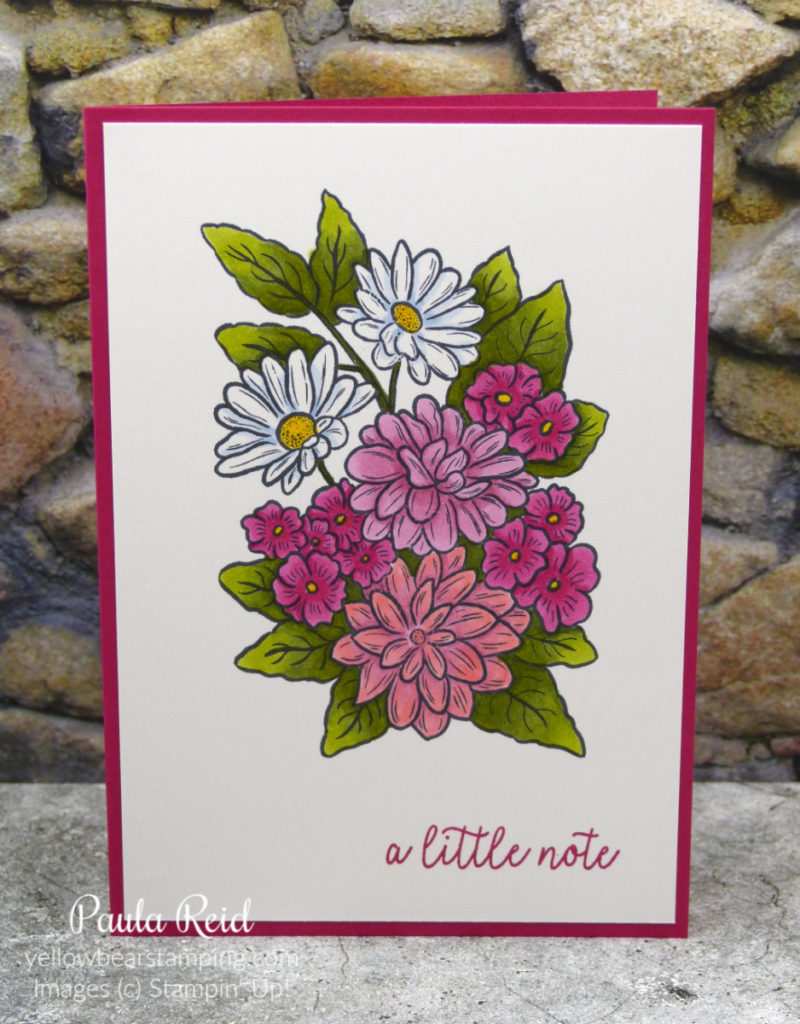
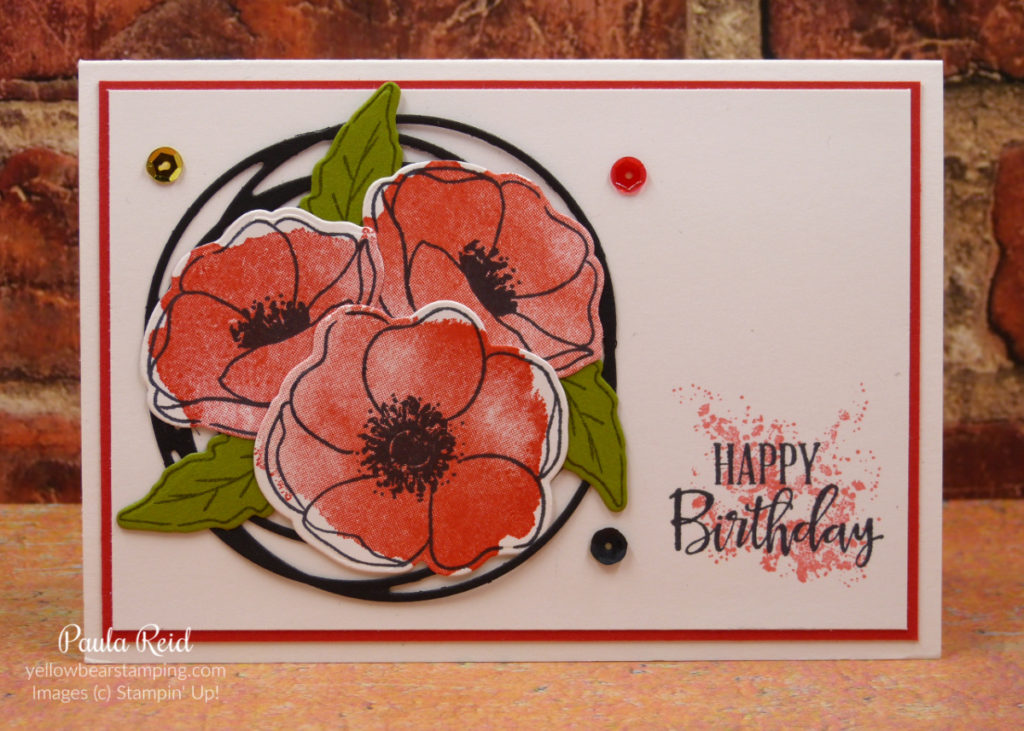
This card features the Floral Essence stamp (page 108 AC). My card recipe is: flowers stamped in Lovely Lipstick and Blackberry Bliss with Pineapple Punch centers (‘fussy’ cut), leaves stamped with Old Olive and coloured in with Old Olive Stampin’ Blend, sentiment stamped with Blackberry Bliss, Blackberry Bliss mat, DSP – 2 1/4″ strip of Perennial Essence DSP, Blackberry Bliss Faceted Dots (retired), 3/8″ Magnolia Lane Line Ribbon.
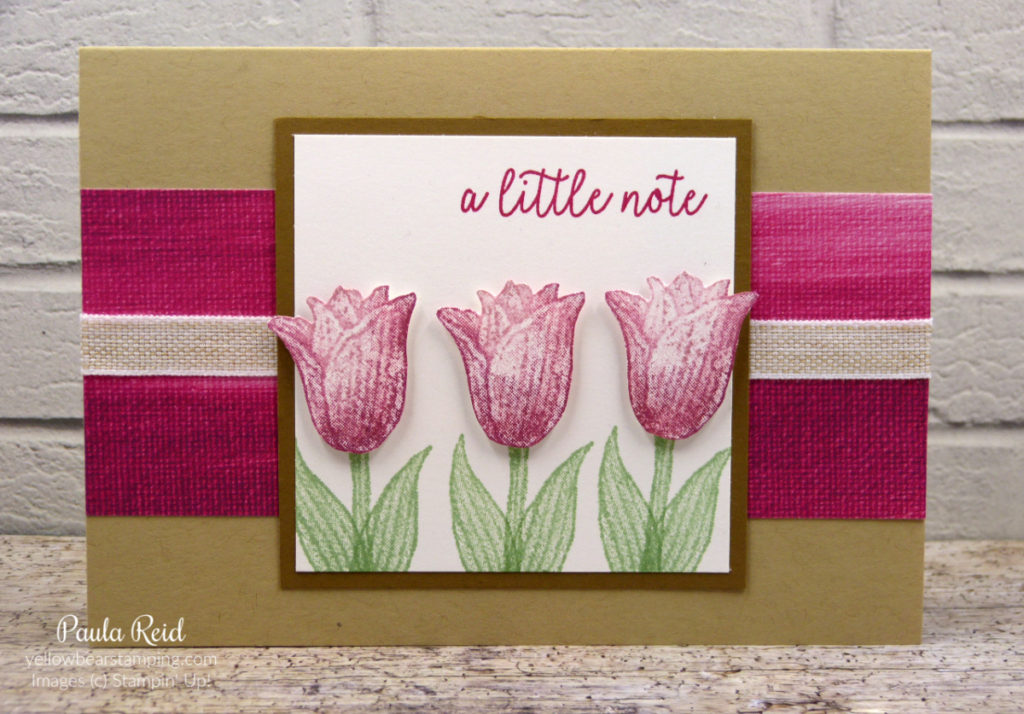
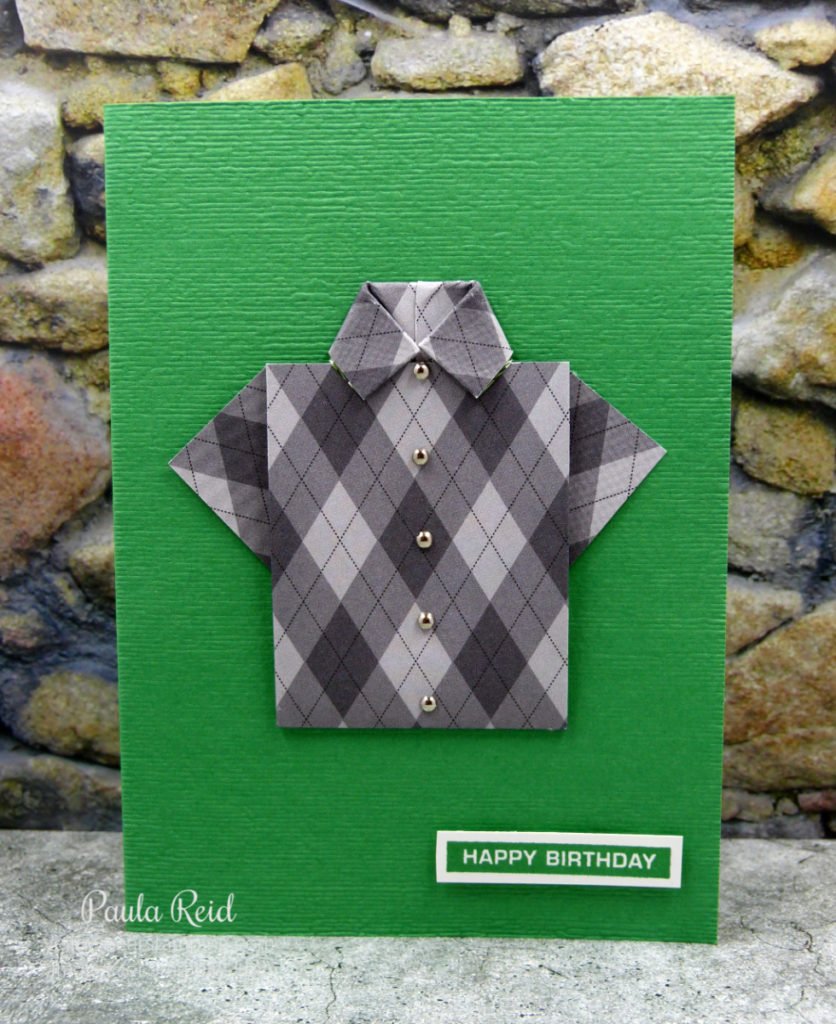
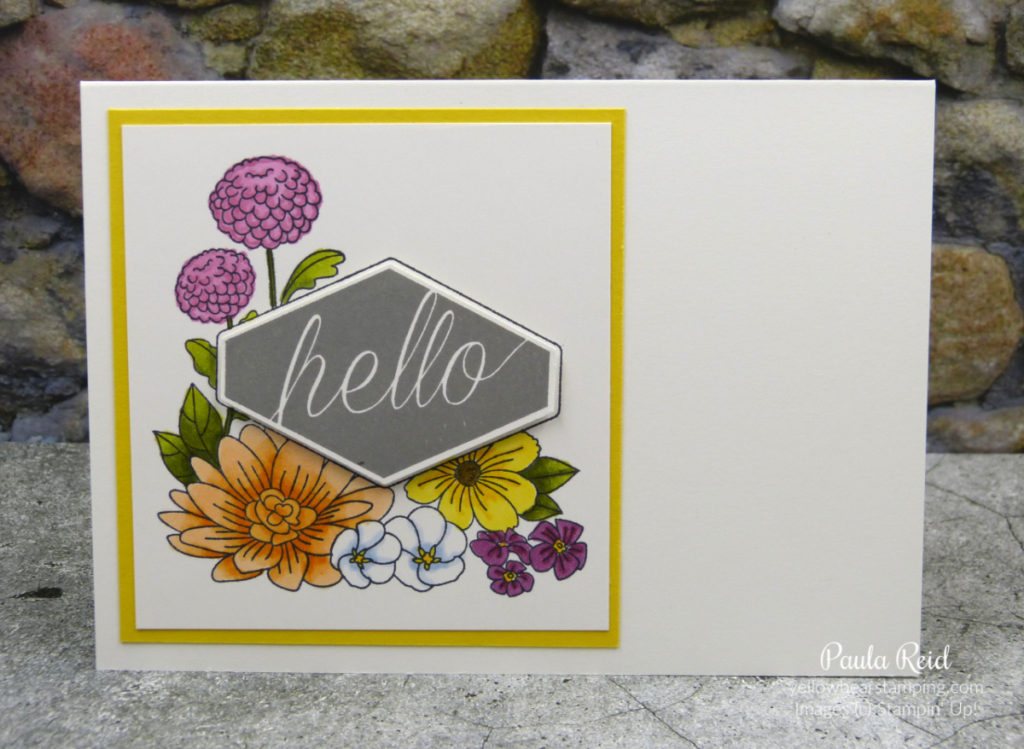
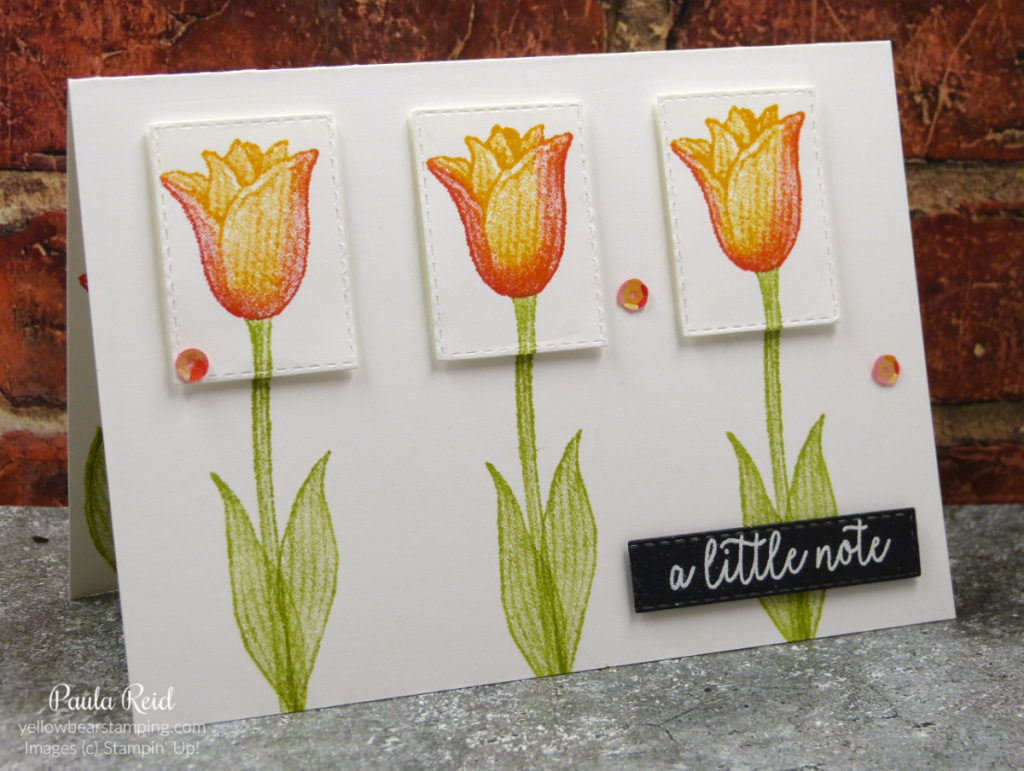
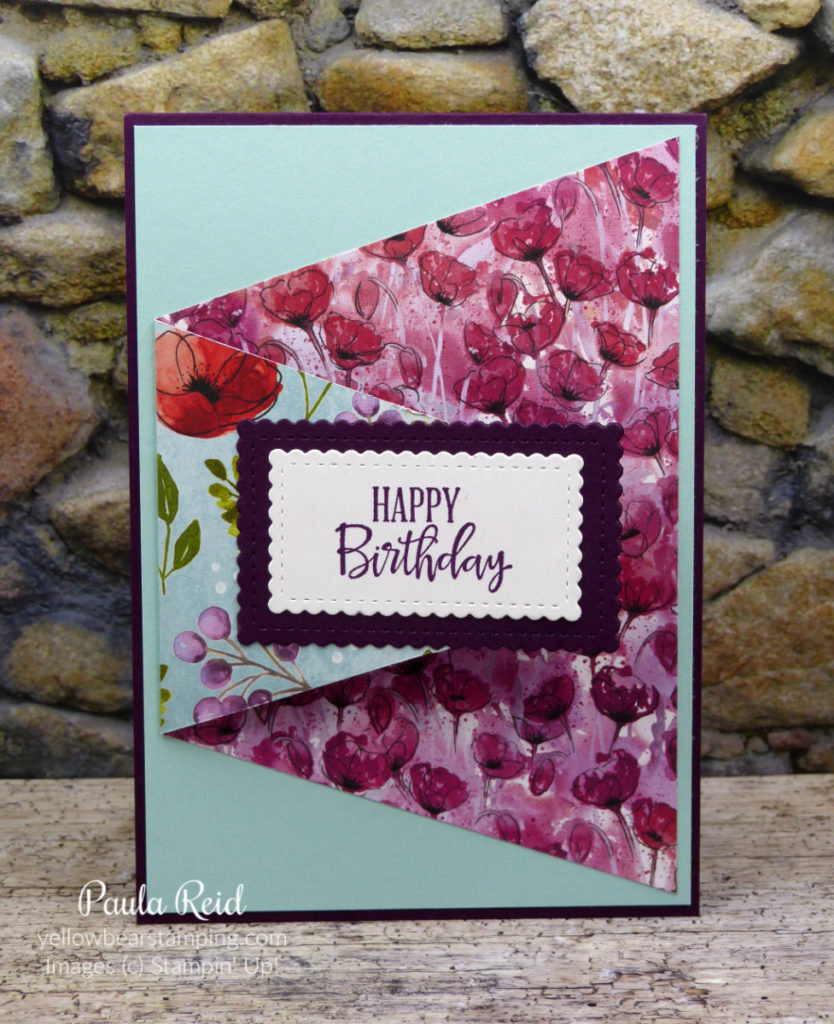
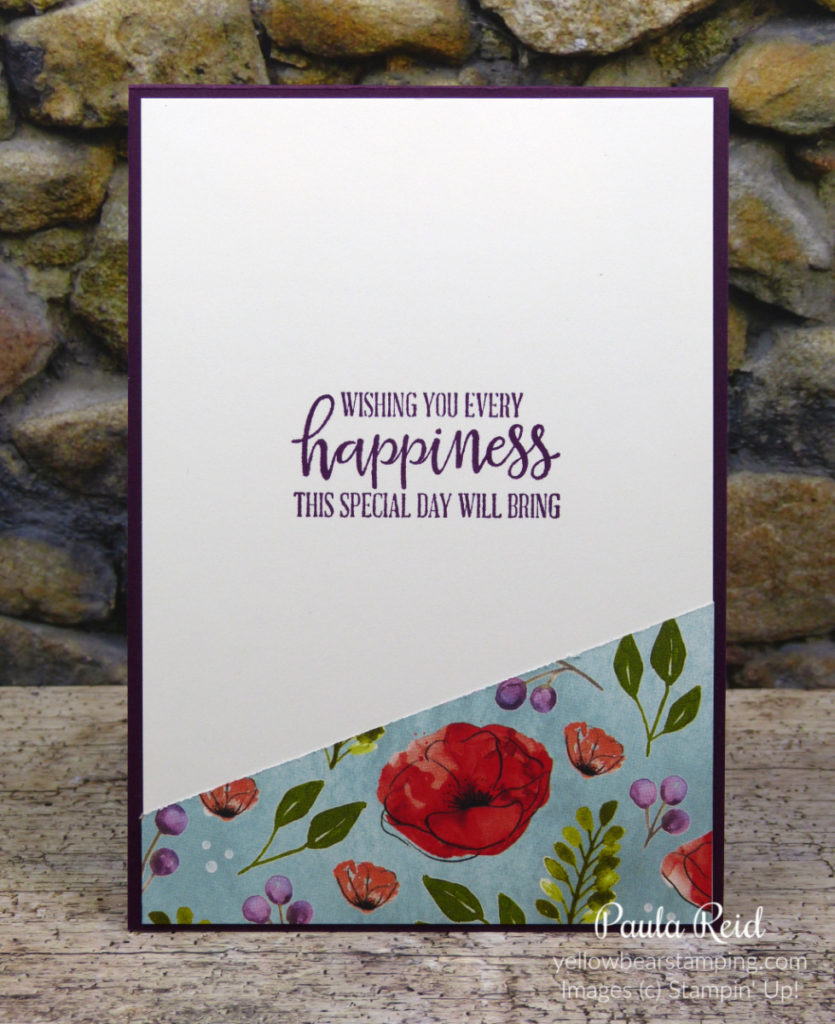
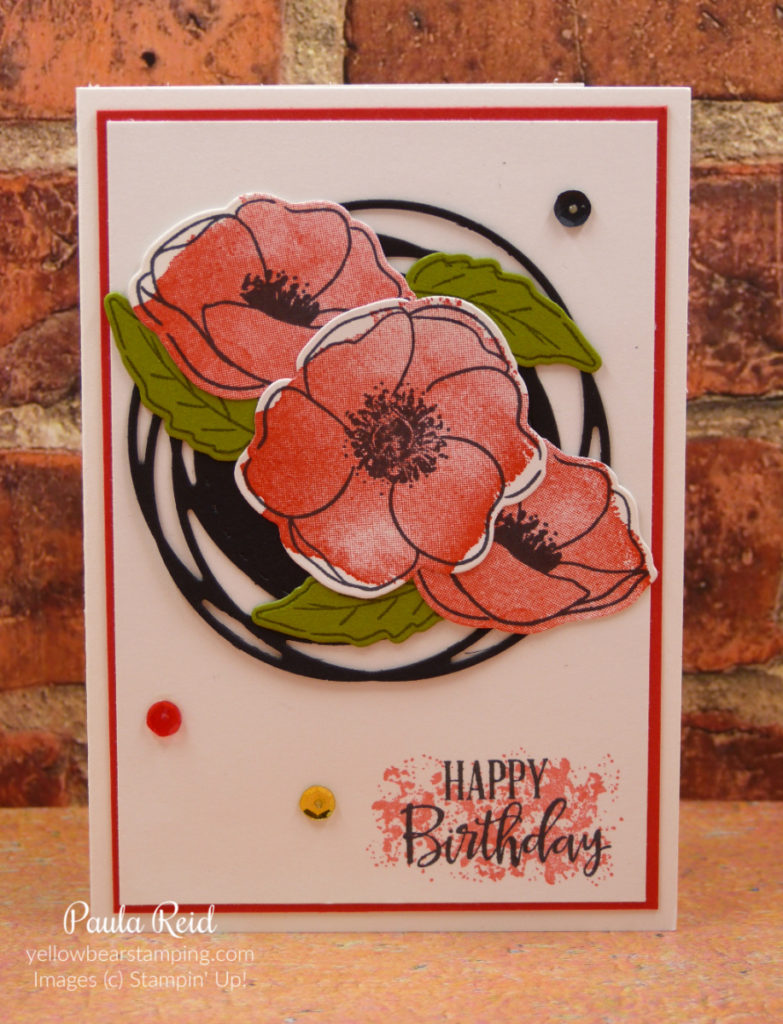
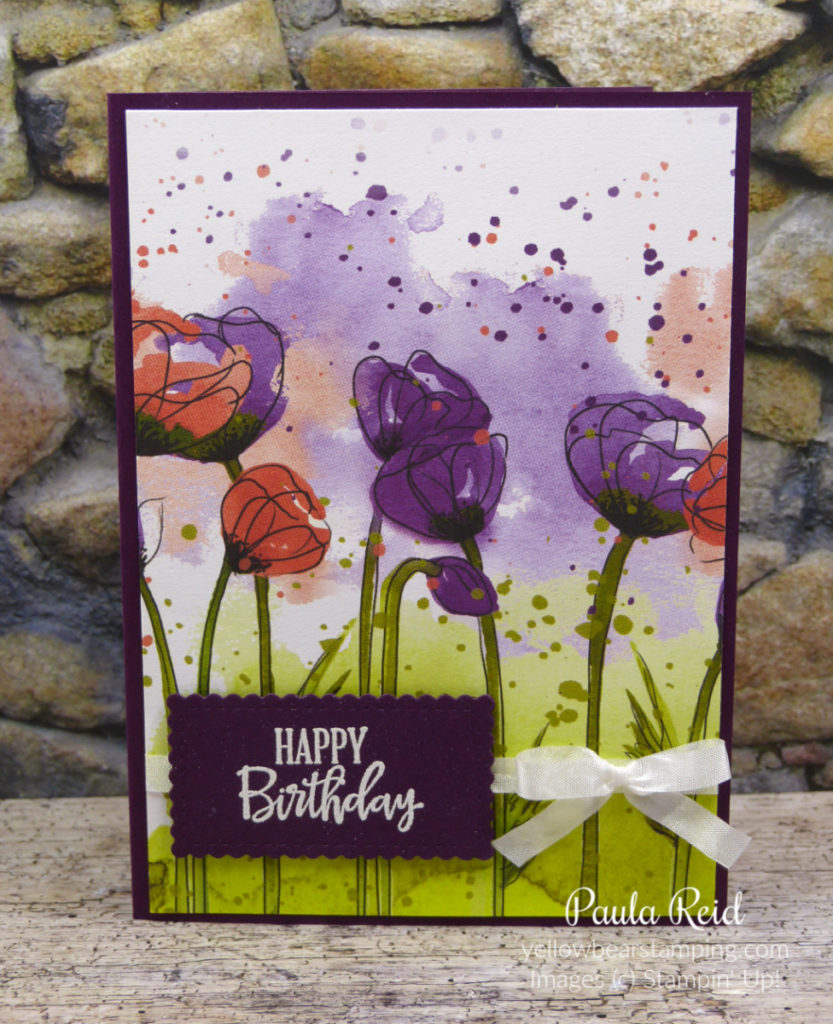
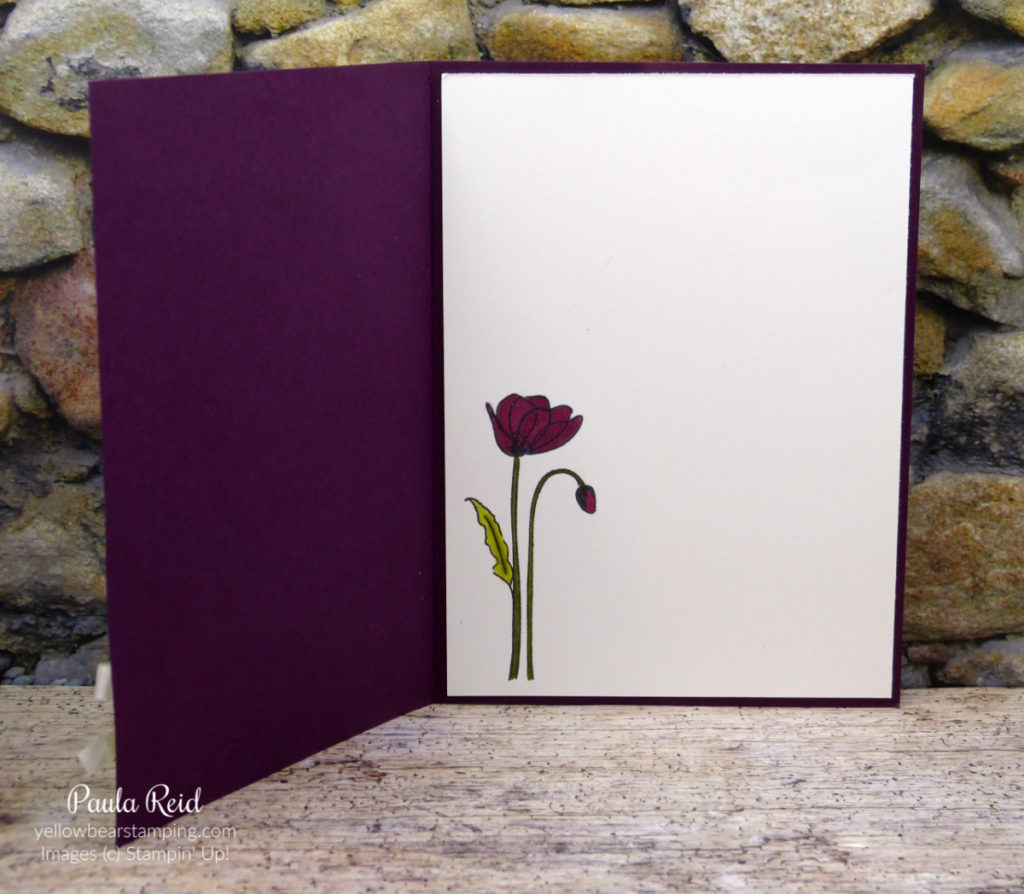
This one features the Timeless Tulips set (page 43 Mini Catalogue). My card recipe is: flowers stamped in Rococo Rose then lightly ‘daubered’ around the edge with Merry Merlot and ‘fussy’ cut, leaves stamped with Mint Macaron, sentiment from Butterfly Gala (page 46 AC) stamped with Rococo Rose, Soft Suede mat, DSP – 2 1/4″ strip of Lily Impressions DSP (Sale-A-Bration retired), 3/8″ Magnolia Lane Line Ribbon.
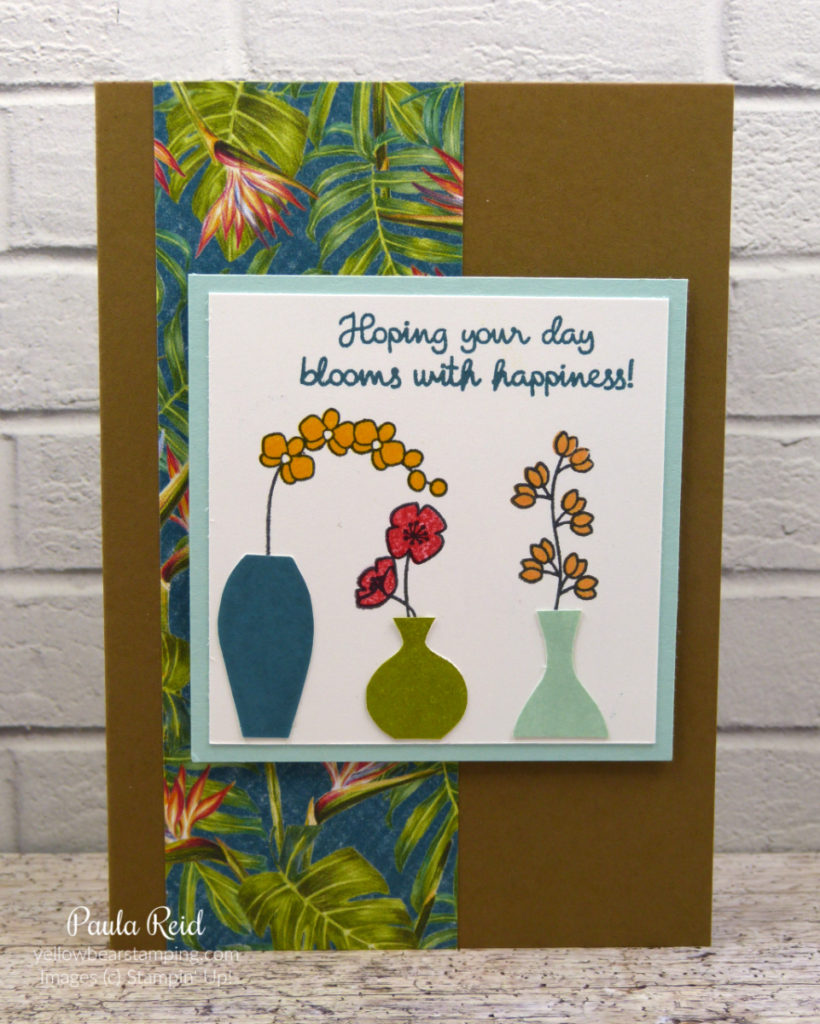
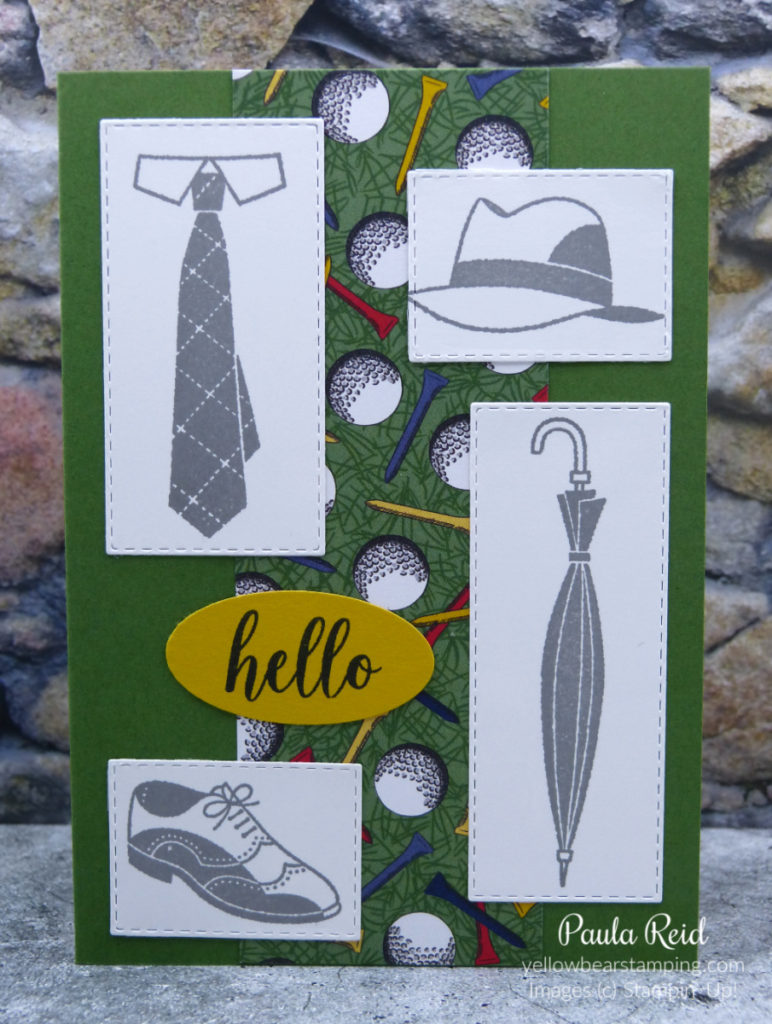
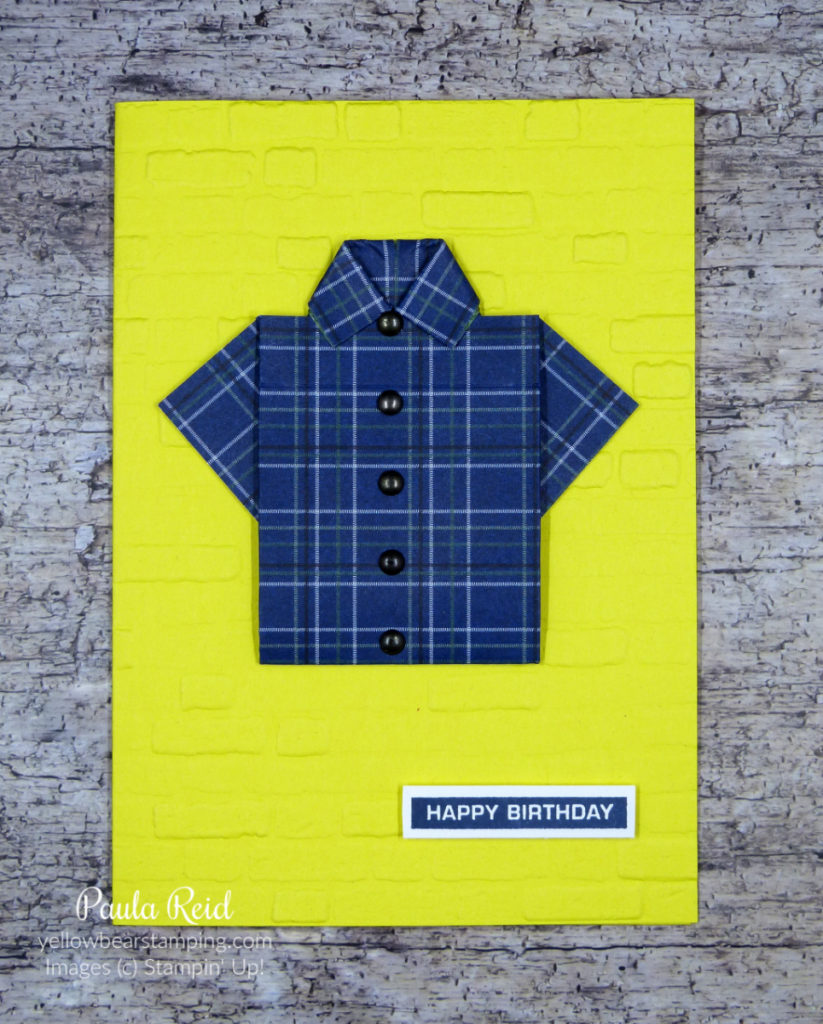
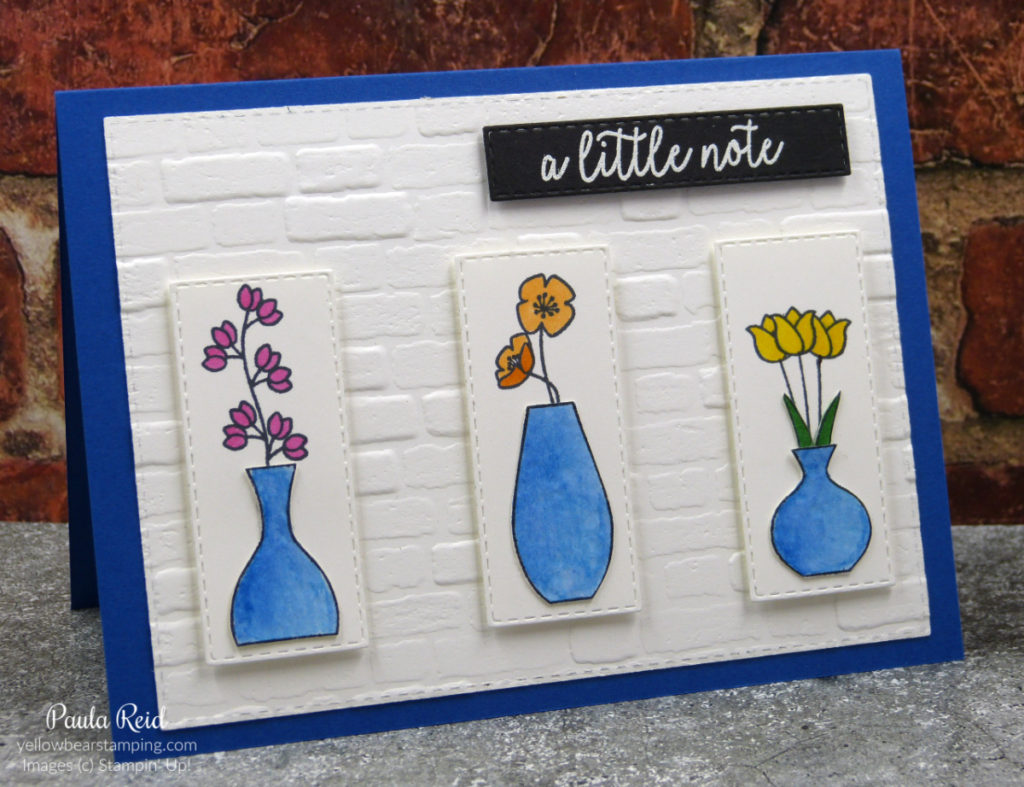
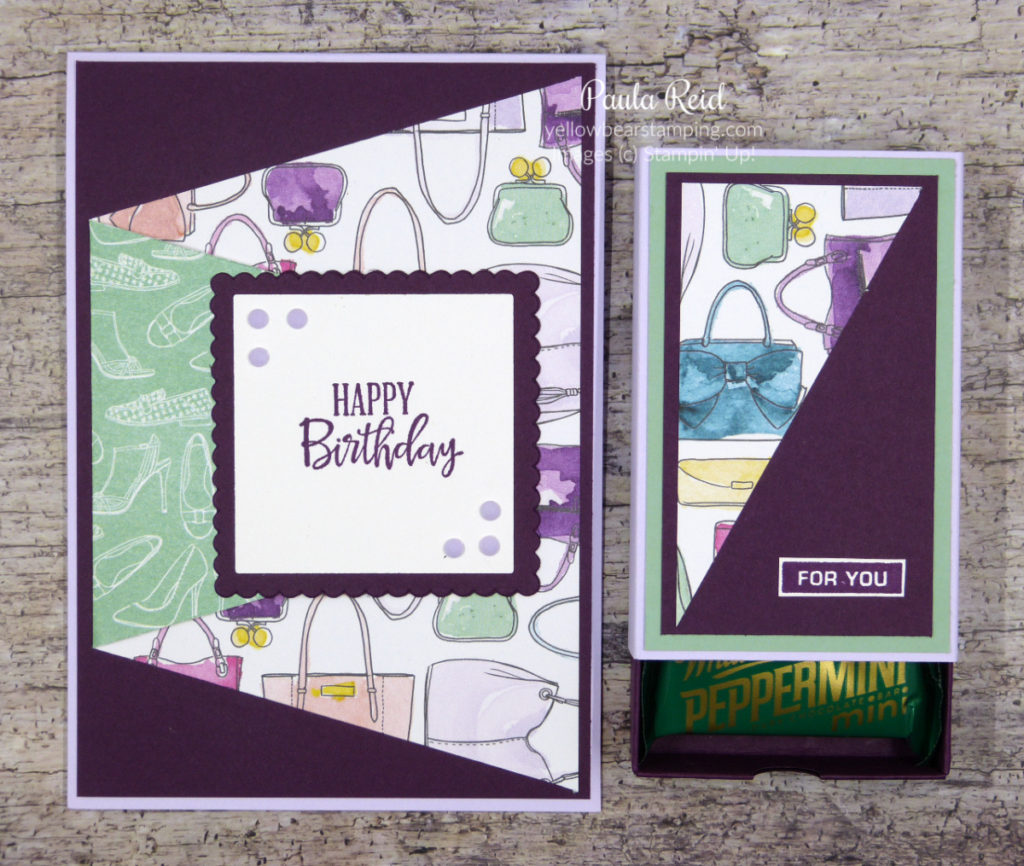
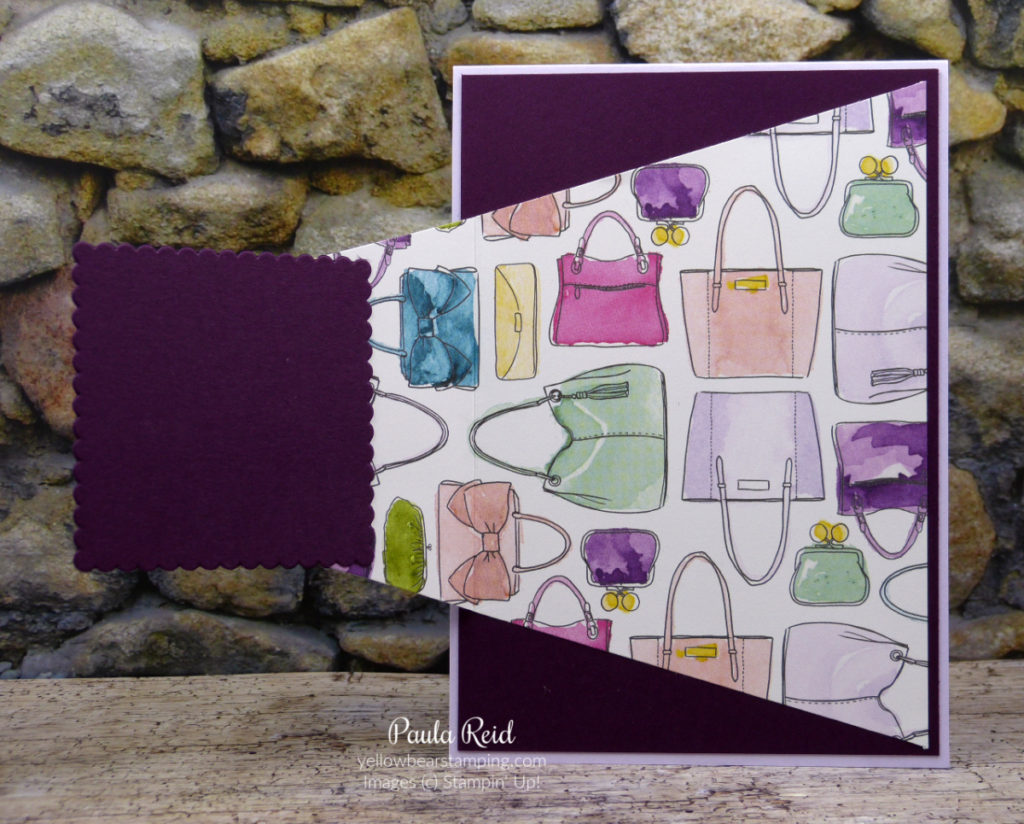
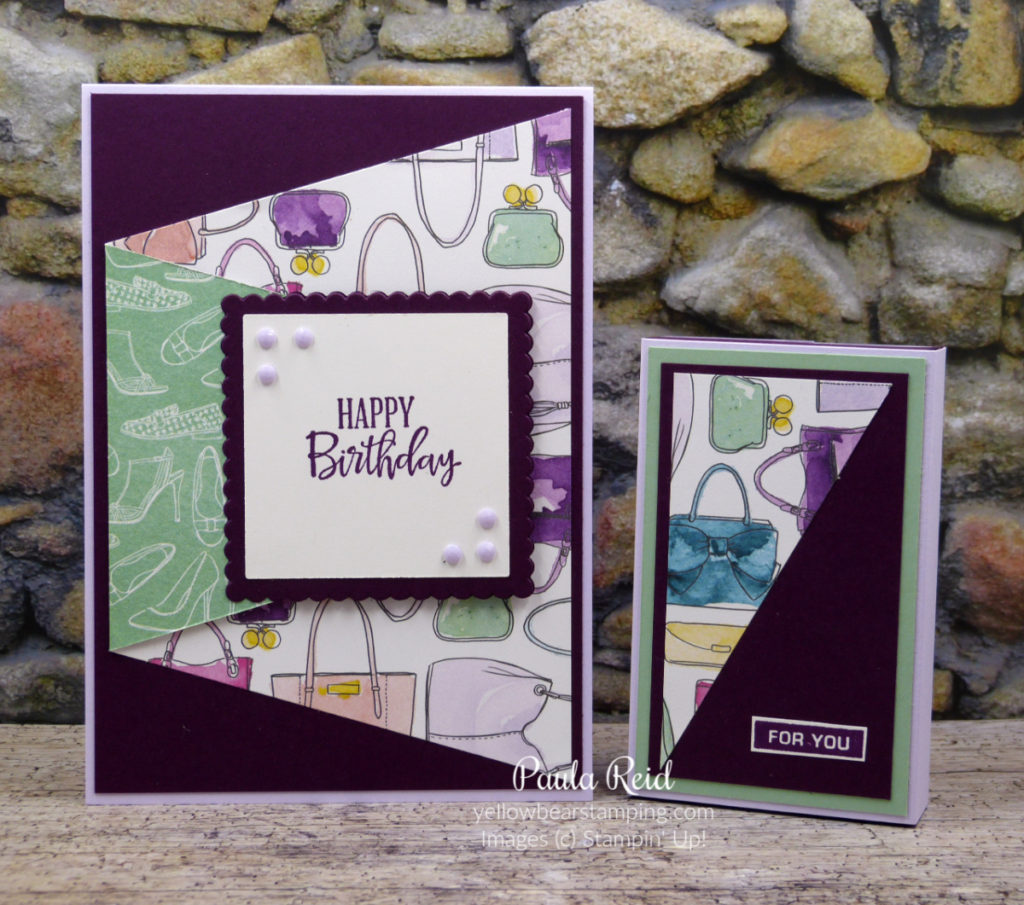
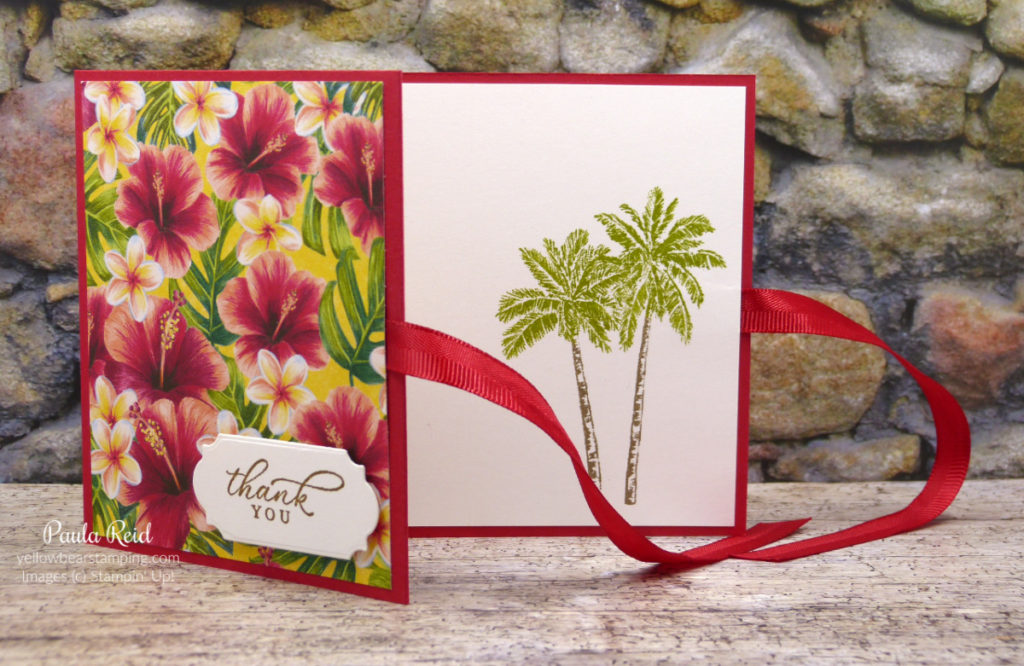
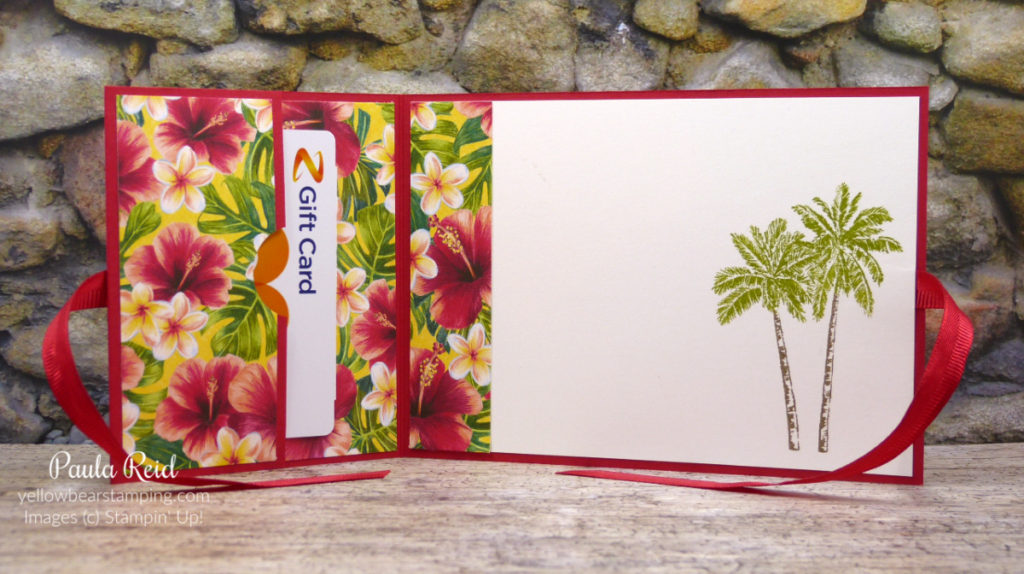
For this final card featuring the Varied Cases set (page 60 AC) I decided to change the orientation and card base colour to Soft Suede – the DSP seemed to go better with this than Crumb Cake. My card recipe is: L to R – Mango Melody flowers/Pretty Peacock vase, Real Red flowers/Old Olive vase, Grapefruit Grove flowers/Pool Party vase – the vases have been punched out with the Vases Builder Punch, sentiment stamped with Pretty Peacock, Pool Party mat, DSP – 2″ strip of Tropical Oasis DSP.
I hope these cards have shown how you too can ‘CASE’ a card you like with the supplies you have. I’d love to see your creations.
Until next time …