Hi there
At the beginning of the year I decided I would share a different technique with you every Tuesday. Today is the last Tuesday of 2021 and for my last share I’ve chosen the Black Ice technique. There are still plenty more techniques to share so I’ll slowly slot them in with other blog posts during 2022.
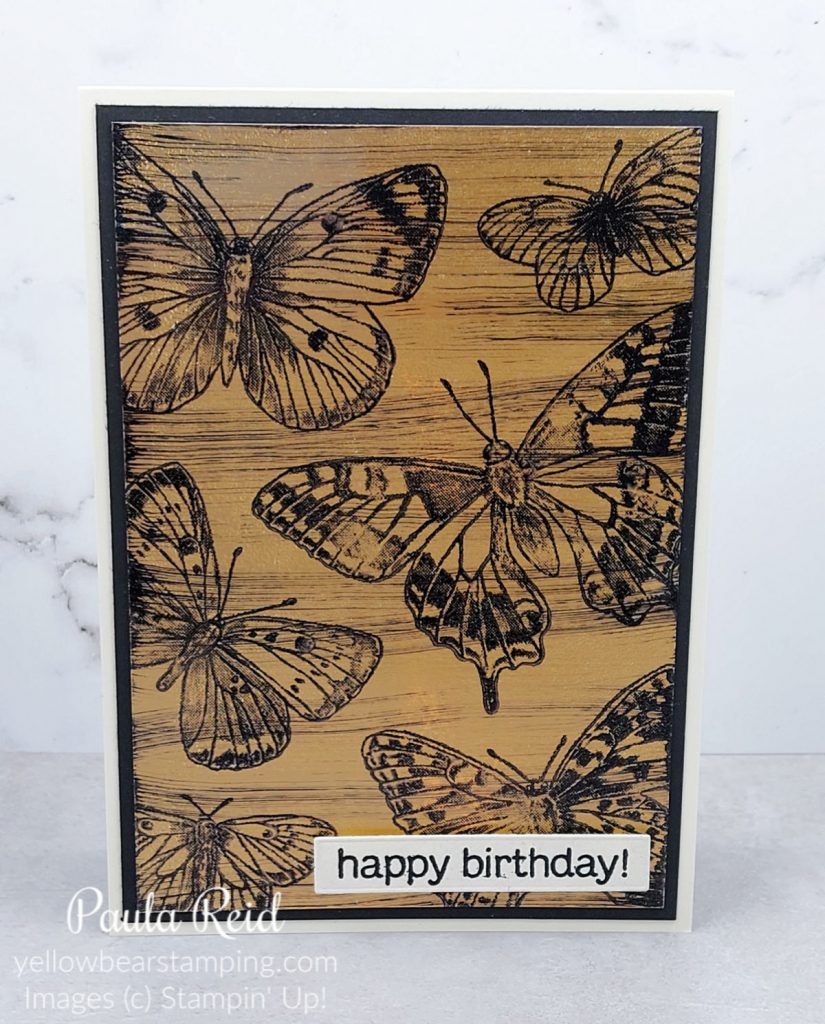
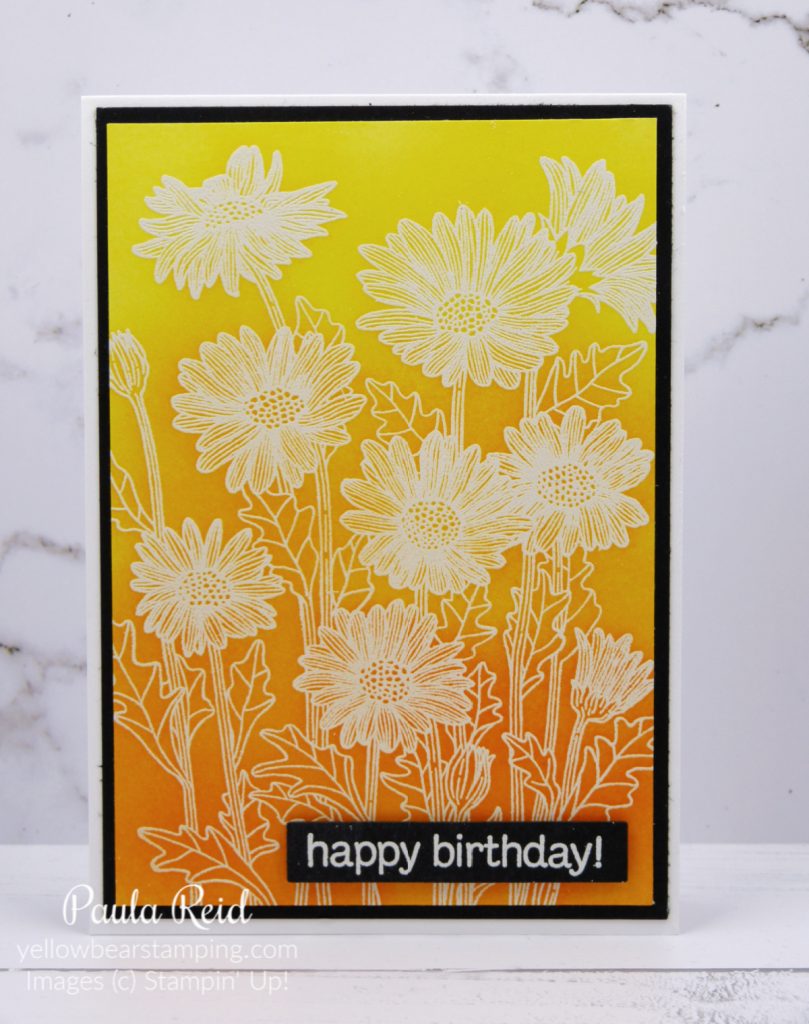
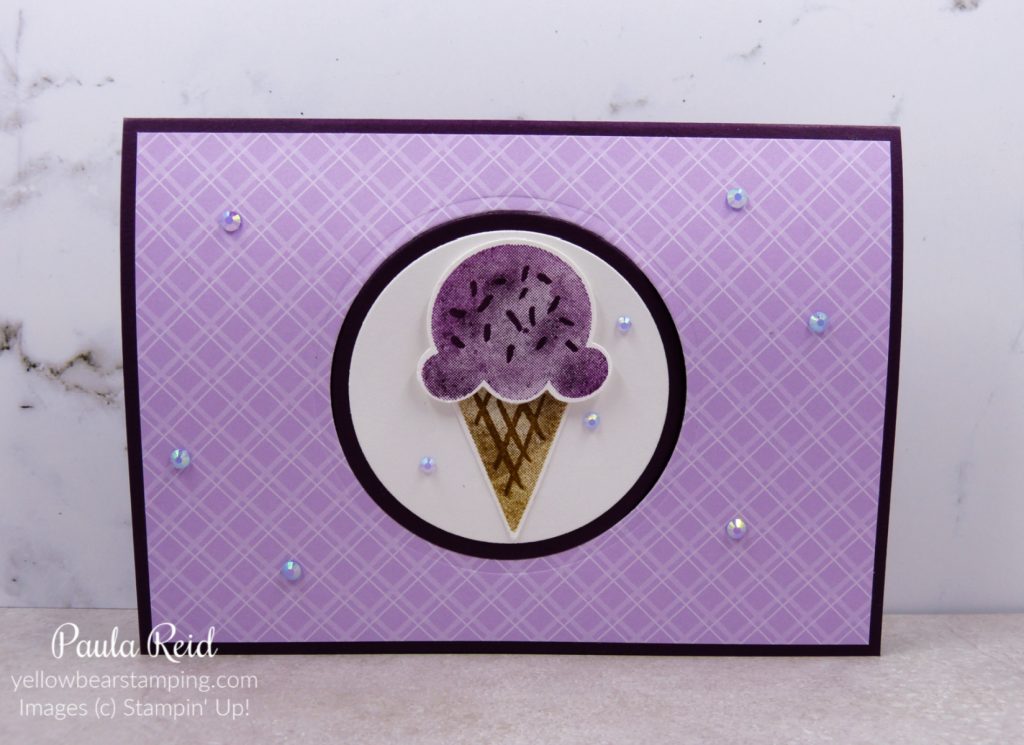
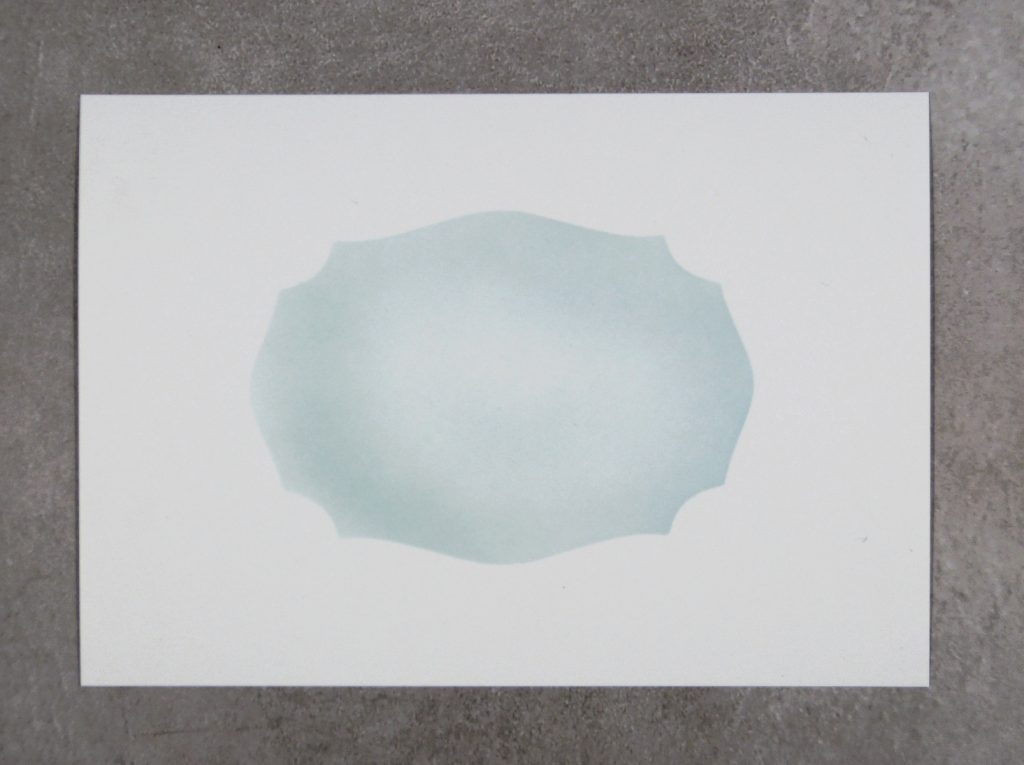
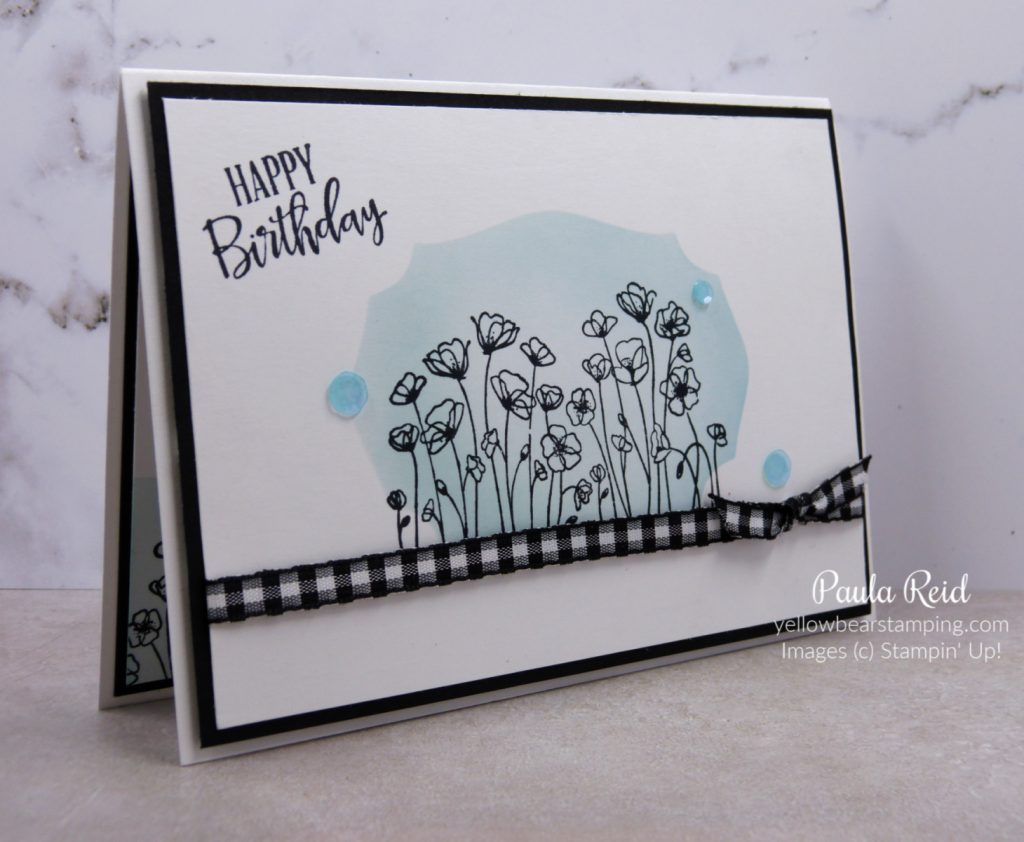
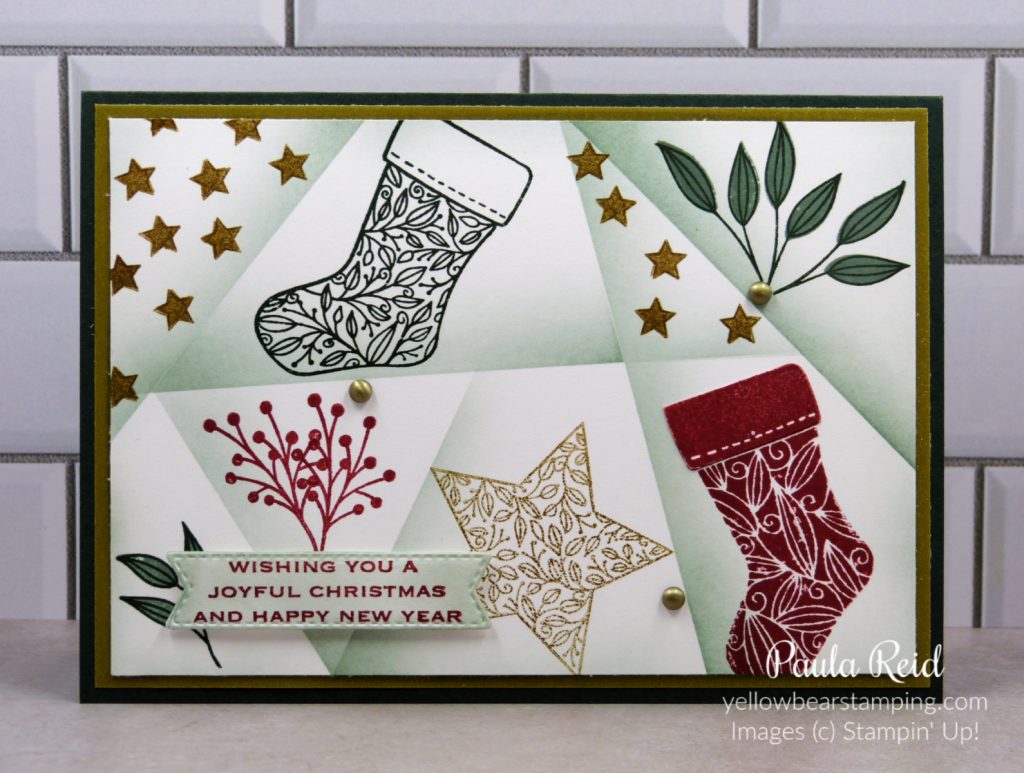
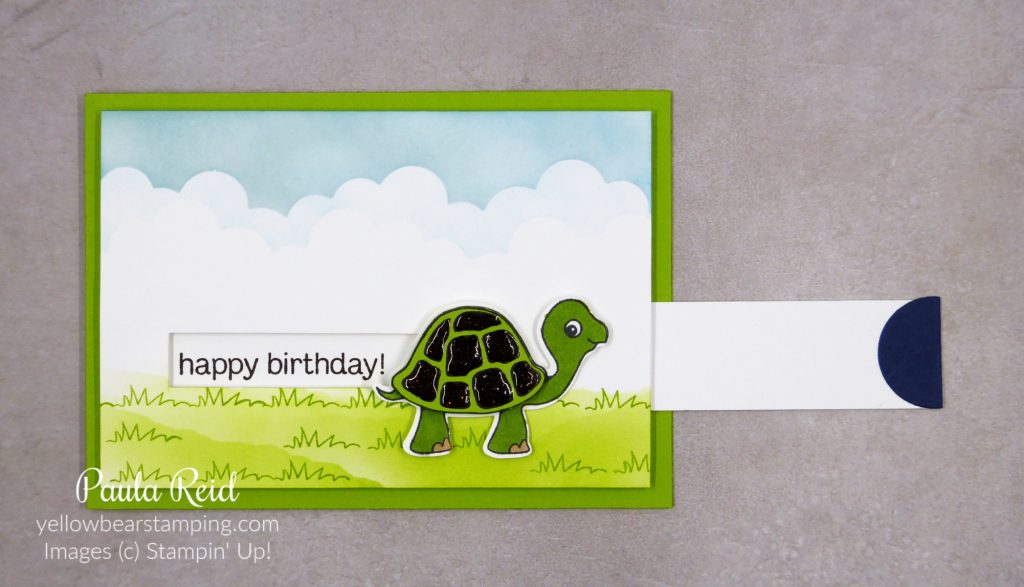
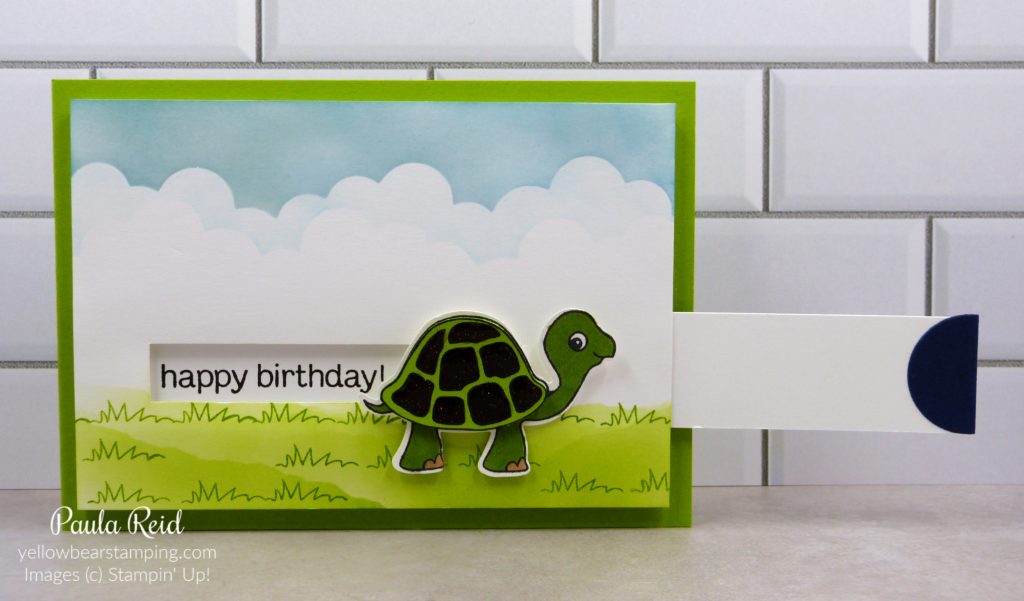
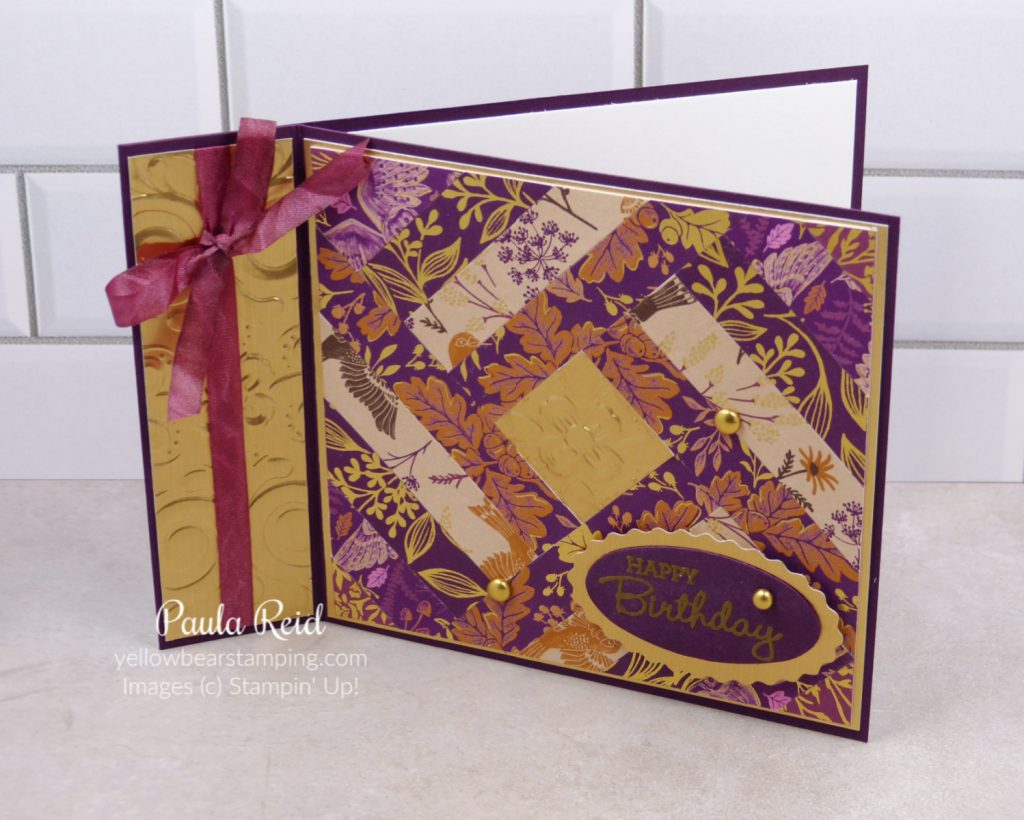
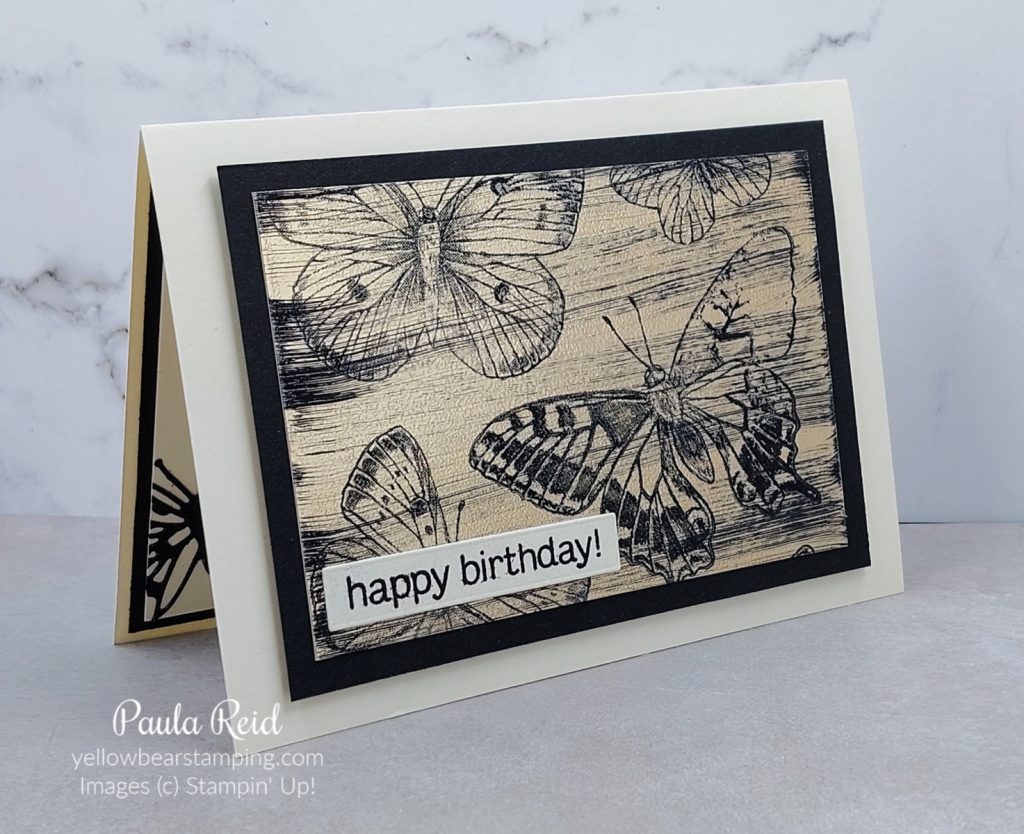
I’ve used the Brushed Metallic Cardstock for this technique – you can also use foil. First up you want to create the ‘streaks’ of black on the cardstock before stamping your image. To do this lightly drag the edge of your Black StazOn ink pad across the cardstock. You want to get a bit of black on the edge of the cardstock and then subtle streaks across the center. Repeat this until you have covered your cardstock. Next stamp your image on top of the streaks. I’ve used the Butterfly Brilliance stamp with the help of my Stamparatus.
Even though the StazOn ink is an alcohol based ink and dries quickly I left mine for a few minutes before this next step. You could also apply your heat tool on a low setting for a few minutes. Taking your VersaMark ink pad lightly drag it across your cardstock to create streaks that run in the same direction as your StazOn lines. You want to barely touch the cardstock. Don’t press down with the VersaMark pad but simply use the weight of the ink pad to apply the clear sticky ink. Apply clear embossing powder over the top and heat with your heat tool. As the powder melts it bubbles and gives an extra dimension to your stamped image.
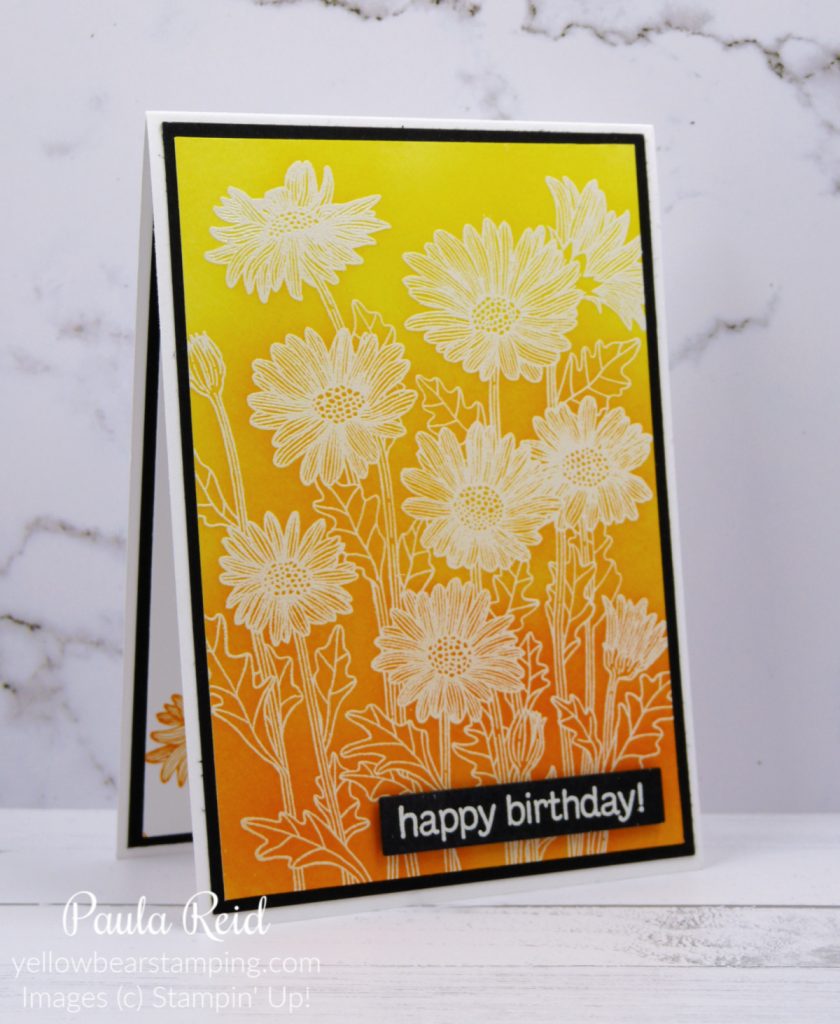
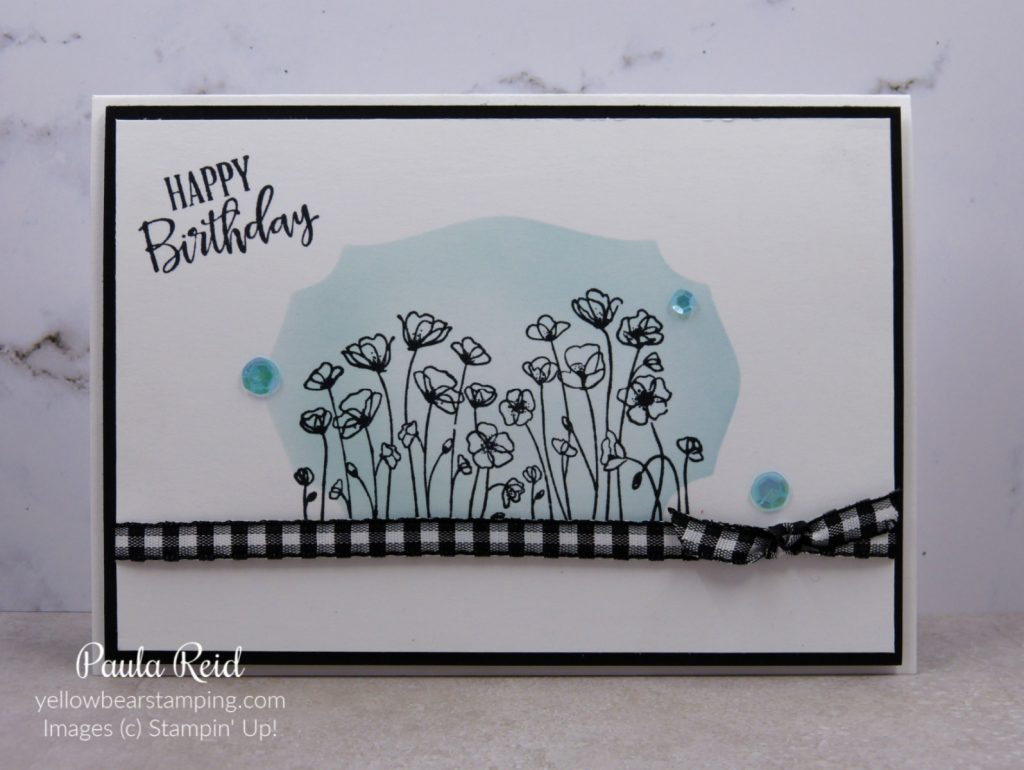
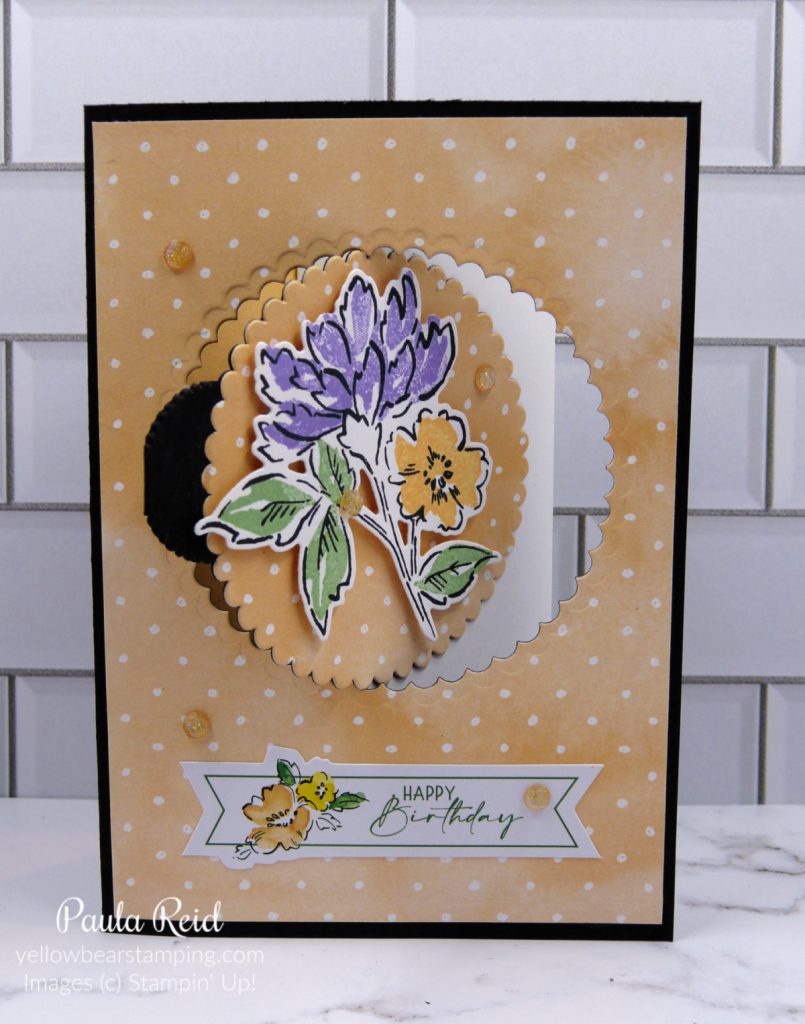
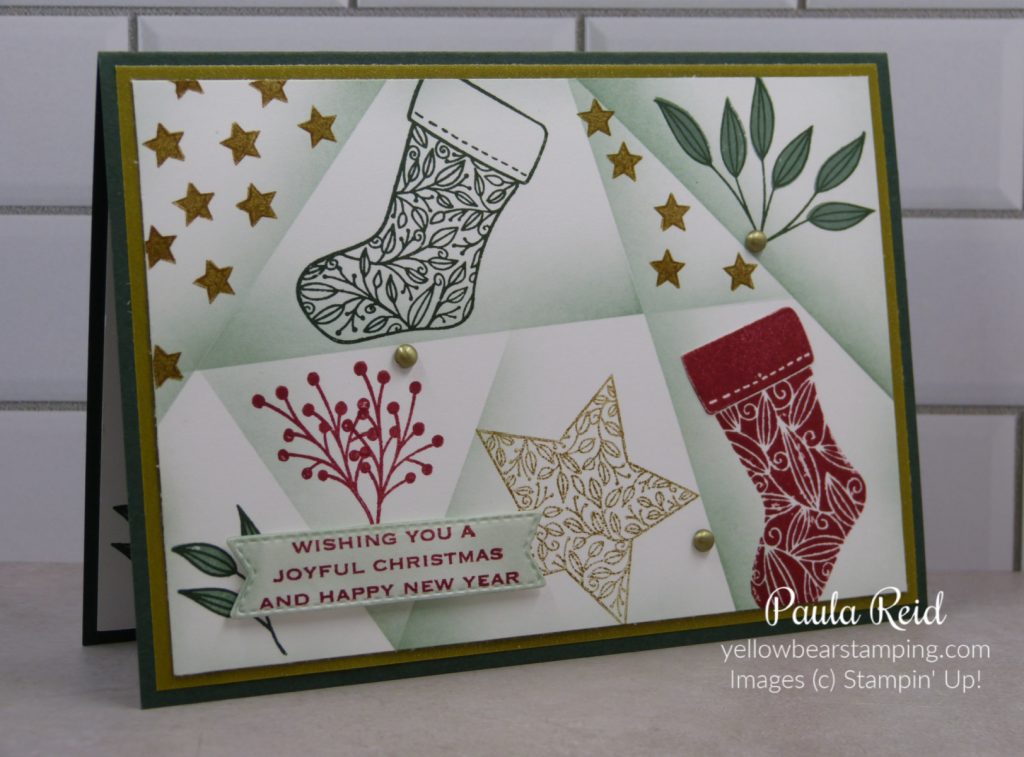
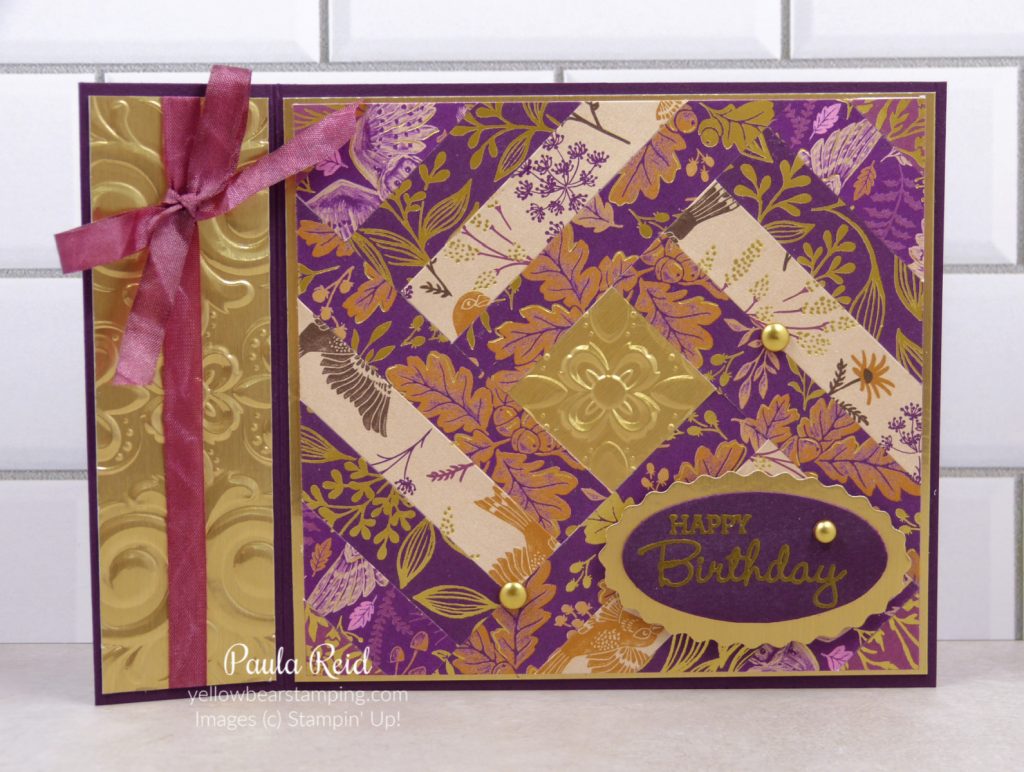
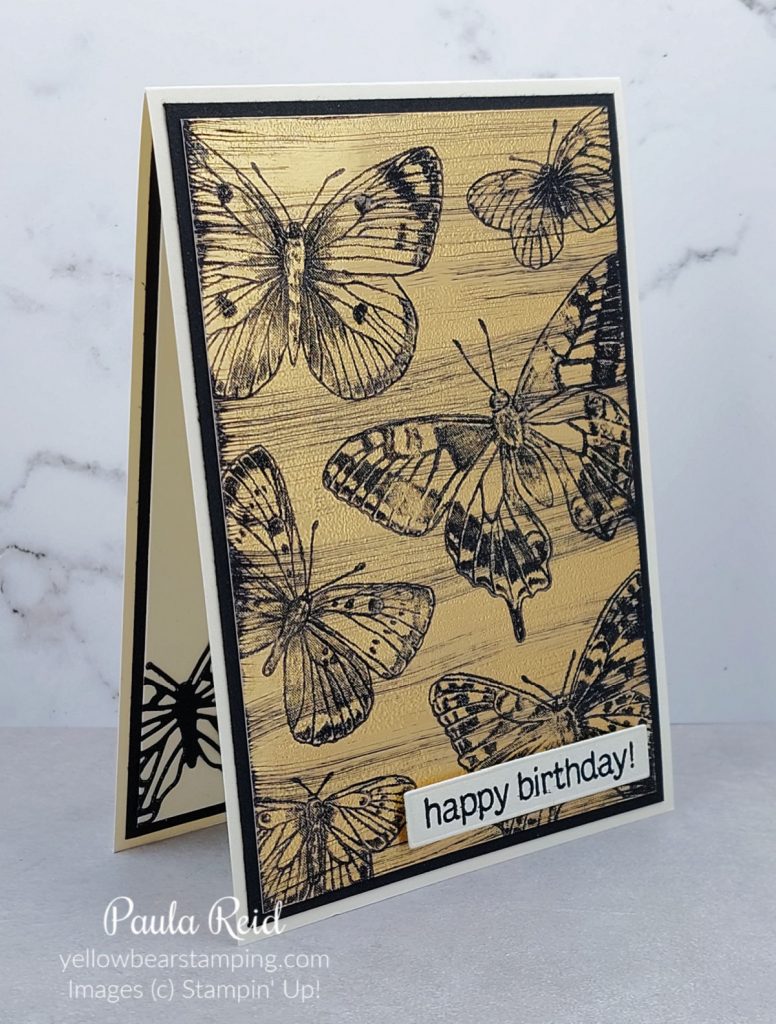
Here’s another card I created with the same image but a different colour cardstock.
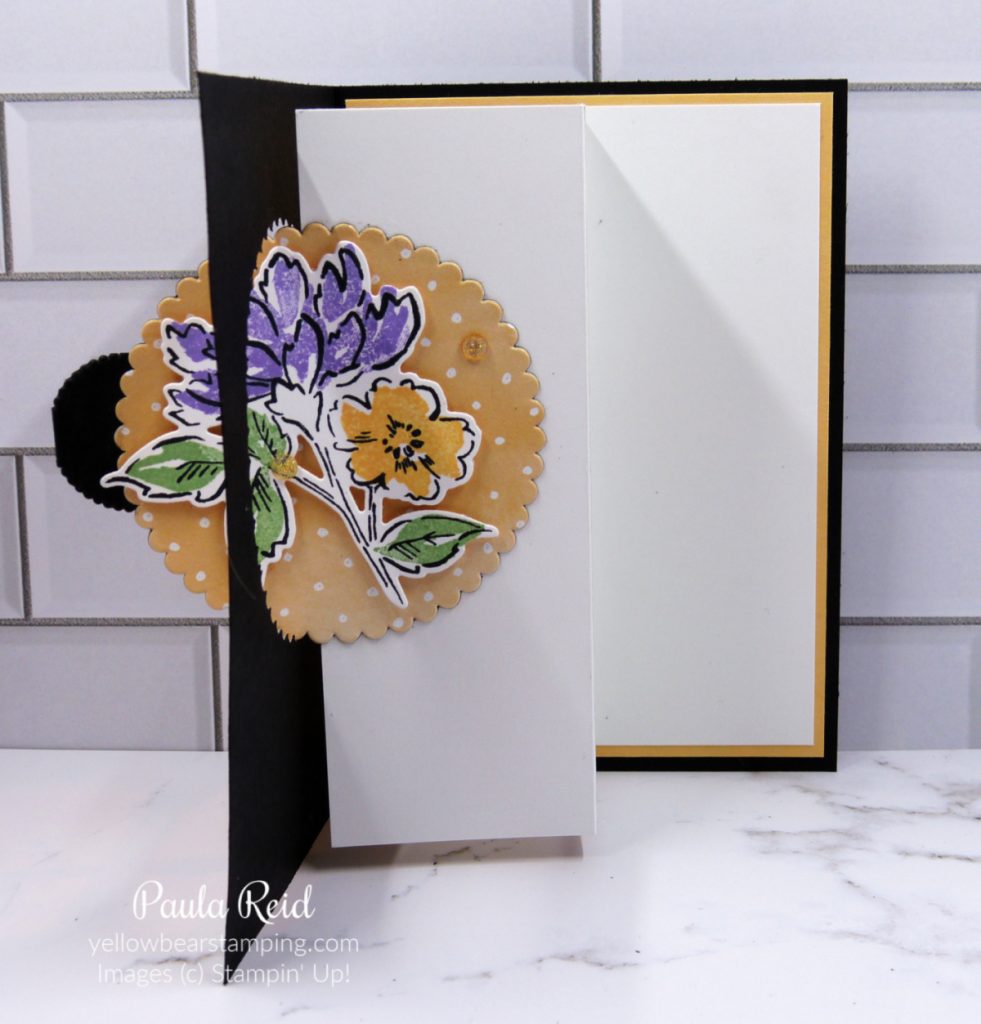
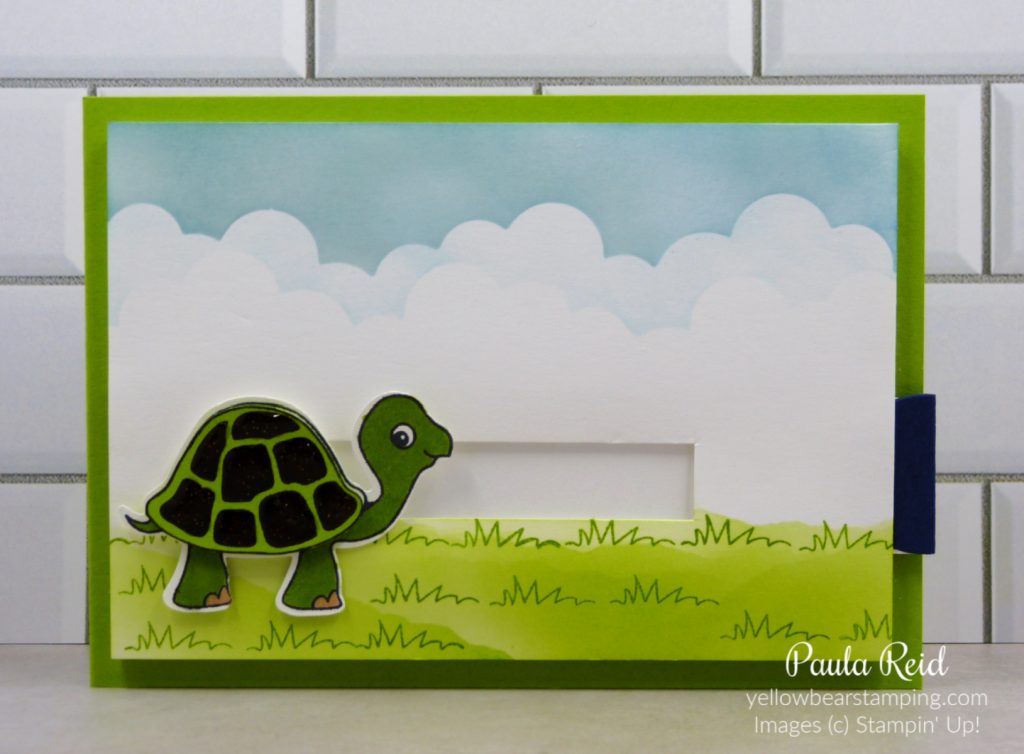
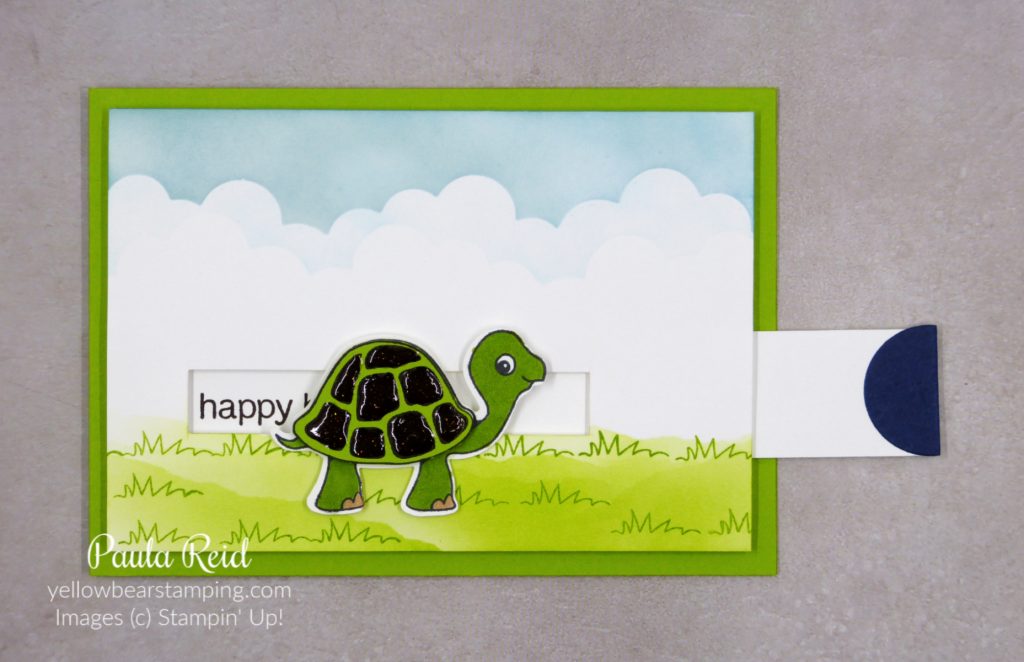
This was my first attempt and was a bit ‘heavy handed’ with the StazOn streaks. Practice makes perfect.
I hope you’ve enjoyed the techniques I’ve shared over the year and have given some of them a try. To find all the techniques I’ve shared you can search for them using the ‘search’ field which can be found at the top right of my blog. Either type in ‘techniques’ or a particular technique you are looking for eg ‘Black Ice’. If you have any questions about any of the techniques I’ve shared please contact me.
Until next time …